

Table of Contents
QUICK RECIPE OVERVIEW
- Prep Time: 25 minutes
- Bake Time: 26 minutes
- Cooling & Chilling Time: 90 minutes
- Servings: 16 thick brownie squares
- Difficulty Level: Easy to Intermediate
RECIPE INTRODUCTION
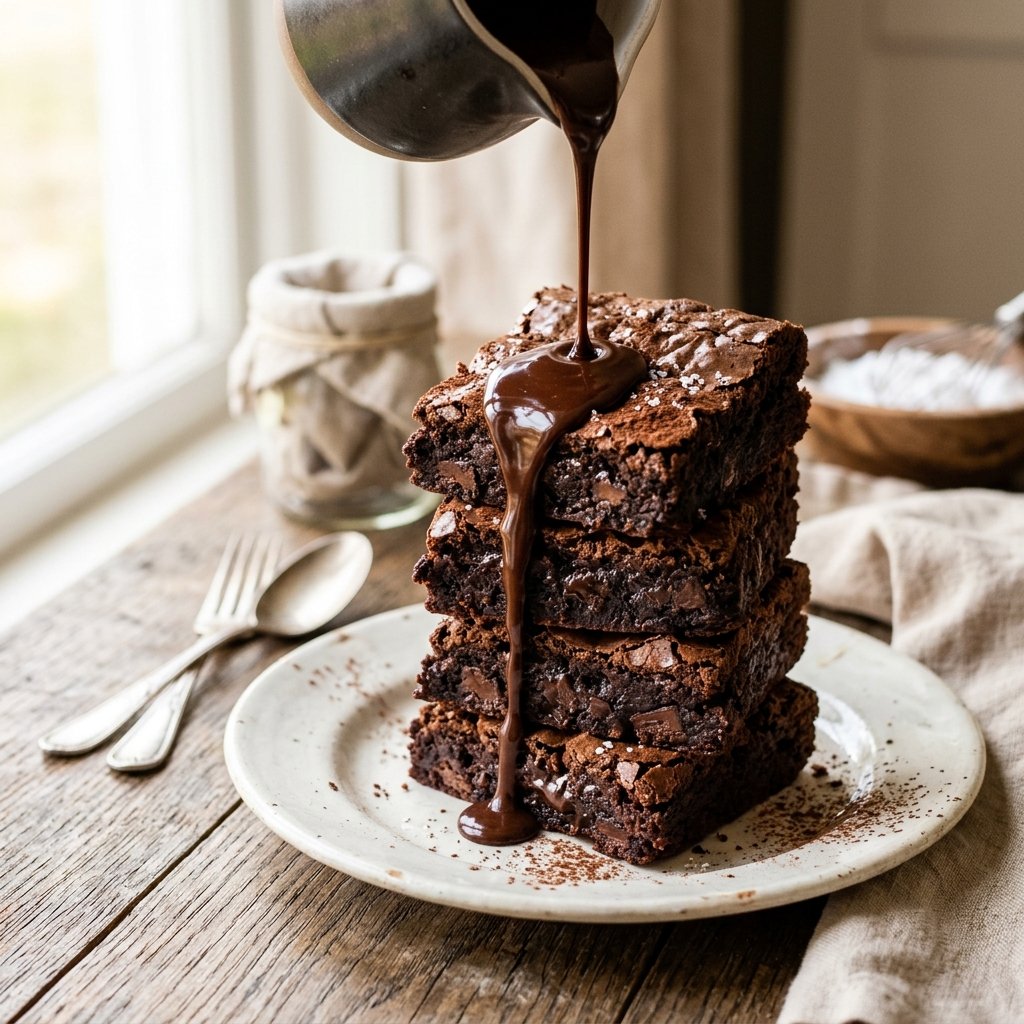
Just take one look at the photograph: a towering stack of thick, dense, dark chocolate brownies with shiny, paper-thin crinkly crusts, drizzled generously with a stream of warm, glistening chocolate fudge sauce pooling over the sides. This is the definition of chocolate comfort food.
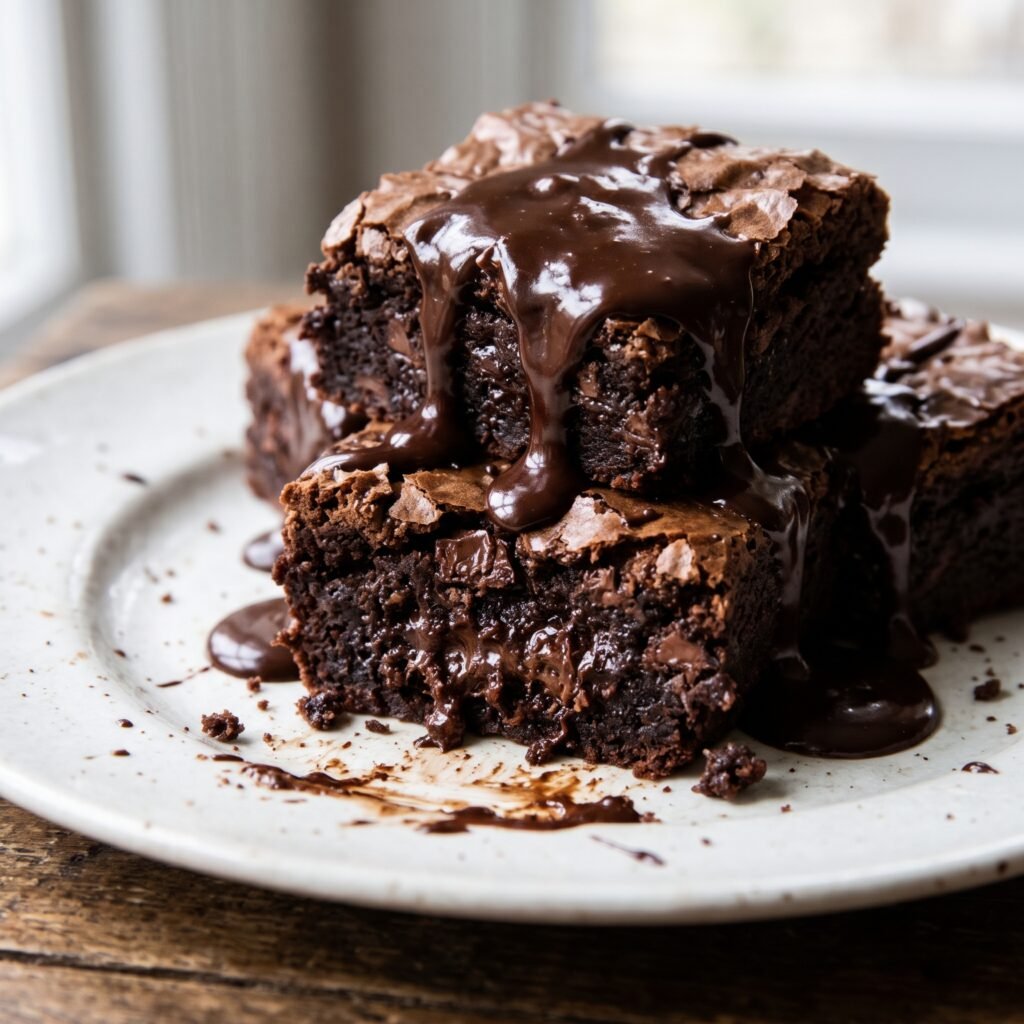
Unlike cakey brownies that rely on excessive flour and baking powder, these brownies are intensely dense, fudgy, and packed with real melted dark chocolate. Every single square has a gooey center loaded with chocolate chunks that melt when warmed.
This recipe breaks down the exact kitchen science needed to achieve that coveted crinkly crust and decadent, melt-in-your-mouth interior.
THE KEY SECRETS TO MAXIMUM FUDGINESS
- No Chemical Leaveners: We omit baking powder and baking soda completely. Leaving out leaveners prevents air pockets from forming, keeping the brownies dense and fudgy.
- The Egg and Sugar Emulsion: Whipping the eggs with warm sugar for 5 minutes dissolves the sugar crystals and creates the thin, glossy meringue-like crust on top.
- Brown Butter & Real Chocolate: Using browned butter paired with melted bittersweet chocolate bars provides unparalleled flavor depth.
- Chilling Before Slicing: Refrigerating the baked brownie slab for at least 1 hour solidifies the chocolate fats, allowing razor-sharp knife cuts without tearing.
COMPLETE INGREDIENTS LIST
[For the Fudgy Brownie Batter]
- 8 oz (225g) premium bittersweet chocolate (65% to 70% cacao), roughly chopped
- 1 cup (225g) unsalted butter, cubed
- 1 1/4 cups (250g) granulated white sugar
- 1/2 cup (100g) packed dark brown sugar (adds molasses moisture and chewiness)
- 4 large eggs (at room temperature)
- 2 teaspoons pure vanilla extract
- 1 cup (125g) all-purpose flour
- 1/3 cup (35g) unsweetened dark Dutch-process cocoa powder
- 1 teaspoon fine sea salt
- 1 cup (175g) semi-sweet chocolate chunks or chips (for molten interior pockets)
[For the Decadent Warm Chocolate Drizzle]
- 1/2 cup (100g) dark chocolate chips
- 1/3 cup (80ml) heavy whipping cream
- 1 tablespoon unsalted butter
- Flaky sea salt (such as Maldon) for garnishing
EQUIPMENT YOU WILL NEED
- 8×8-inch (20×20 cm) metal baking pan (metal conducts heat more evenly than glass)
- Parchment paper sheets
- Heatproof glass mixing bowl (for double boiler)
- Electric hand mixer or balloon whisk
- Silicone spatula
- Sharp chef’s knife for clean cuts
STEP-BY-STEP INSTRUCTIONS
STEP 1: PREHEAT AND PREPARE THE BAKING DISH
Preheat your oven to 350°F (175°C). Line an 8×8-inch metal baking pan with two sheets of parchment paper placed crisscross, leaving a 2-inch overhang on all sides. Lightly grease the parchment with butter. This parchment sling makes lifting the whole brownie slab out effortless.
STEP 2: MELT CHOCOLATE AND BUTTER
Combine the chopped chocolate and cubed butter in a heatproof bowl set over a pot of barely simmering water (bain-marie). Stir with a spatula until completely melted and glossy. Remove from heat and let cool until lukewarm (about 5 minutes).
STEP 3: WHIP EGGS AND SUGARS (THE CRITICAL STEP)
In a separate large bowl, combine the granulated sugar, brown sugar, eggs, and vanilla. Using a hand mixer or balloon whisk, beat vigorously on medium-high speed for 4 to 5 minutes. The mixture should become pale, thick, and ribbon-like. This is what creates the shiny crackly crust.
STEP 4: COMBINE CHOCOLATE AND EGGS
Slowly pour the warm melted chocolate mixture into the whipped eggs while gently stirring with a spatula until completely blended into a rich, dark, glossy batter.
STEP 5: SIFT AND FOLD IN DRY INGREDIENTS
Sift the flour, cocoa powder, and salt directly into the bowl. Using broad folding motions with a rubber spatula, fold gently just until no dry flour streaks remain. Do not overmix. Gently fold in the chocolate chunks.
STEP 6: BAKE WITH PRECISION
Pour the thick batter into the prepared pan and smooth the top. Bake on the middle rack for 24 to 28 minutes.
How to test: Insert a toothpick 2 inches from the edge—it should come out with moist, gooey crumbs. If it comes out dry, the brownies are overbaked.
STEP 7: COOLING AND CHILLING (THE TEXTURE SECRET)
Allow the brownies to cool completely in the pan on a wire rack for 1 hour. For the cleanest bakery cuts, refrigerate the pan for 1 hour before slicing. Cold temperature solidifies the fats, creating clean, sharp squares.
STEP 8: SLICING AND STACKING
Lift the slab out using the parchment overhang and place onto a cutting board. Use a large, sharp chef’s knife to cut into 16 clean squares, wiping the blade clean with a damp warm towel between each cut. Stack 3 or 4 brownies high on a dessert plate as seen in the photograph.
STEP 9: THE SHOWSTOPPING WARM DRIZZLE
Melt the dark chocolate chips, heavy cream, and butter together until smooth and pourable. Pour the warm chocolate sauce generously over the top of the stack, letting it cascade down each layer and pool on the plate. Sprinkle lightly with flaky sea salt and serve immediately.
EXPERT BAKING TIPS FOR MAXIMUM FUDGINESS
- Use metal baking pans instead of glass: Glass pans retain too much heat and cook the edges too quickly before the center sets, leading to hard crusts and an undercooked center.
- Avoid overbaking: Brownies continue to cook from residual heat for 10 minutes after leaving the oven. Always pull them out when the center still looks slightly soft.
- Real chocolate over cocoa alone: Recipes that rely only on cocoa powder tend to be cakey. Real chocolate bars provide cocoa butter which creates that authentic fudgy melt.
- Brown the butter: For an incredible toffee-like undertone, brown the butter in a skillet until golden with brown specks before melting the chocolate.
CREATIVE VARIATIONS
- Toasted Nut Brownies: Fold 3/4 cup of toasted chopped walnuts or pecans into the batter.
- Salted Caramel Swirl: Drop dollops of thick caramel sauce onto the batter in the pan and swirl with a butter knife before baking.
- Peanut Butter Swirl: Melt 1/3 cup creamy peanut butter, dollop on top, and marble through the batter.
- Espresso Boost: Add 1 teaspoon of espresso powder to the melted chocolate to intensify the dark chocolate notes.
Try Our Next Recipe!
Looking for another delicious dessert? Try our Strawberry Cream Cake Recipe and enjoy another sweet homemade treat!
STORAGE & FREEZING
- Room Temperature: Store in an airtight container for up to 4 days with parchment between layers.
- Refrigerated: Chilled brownies stay fresh and extra chewy for up to 7 days.
- Freezing: Wrap individual squares tightly in plastic wrap, place in a freezer zip bag, and freeze for up to 3 months. Thaw at room temperature for 30 minutes, or warm in the microwave for 10 seconds for a fresh-out-of-the-oven experience.
FREQUENTLY ASKED QUESTIONS (FAQS)
Q: Why did my brownies turn out cakey instead of fudgy?
A: Too much flour was added, or chemical leavening (baking powder) was used. Always weigh your flour on a digital scale (125 grams) and never add leaveners.
Q: How do I get that papery crinkly top?
A: You must beat the eggs and sugar for at least 4 full minutes until pale and frothy. The sugar dissolves into the egg whites and forms a delicate meringue crust while baking.
Q: Can I use olive oil or coconut oil instead of butter?
A: Butter provides flavor and milk solids that create structure. If you need a dairy-free option, use refined coconut oil or a quality plant butter block.
Q: Can I cut them while they are still warm?
A: Cutting warm fudgy brownies will result in a messy, gooey crumble. Let them cool and chill first for sharp bakery-style squares, then reheat individual squares if desired.
Q: Can I double this recipe for a 9×13 pan?
A: Yes! Simply double all the ingredients and bake in a 9×13-inch metal pan for 28 to 33 minutes.
