You know those desserts that feel fancy but are secretly easy enough to whip up after dinner? That’s exactly what these whipped chocolate mousse cups are all about! Light as air, yet rich in chocolatey goodness, they’re my go-to when I need something impressive without the fuss. I first made them for a last-minute dinner party, and let’s just say—they disappeared before I could even grab a second spoonful. The best part? You don’t even need to turn on the oven. Seriously, just a bowl, a mixer, and a little patience (though I won’t judge if you sneak a taste straight from the bowl). Trust me, these whipped chocolate mousse cups will make you look like a dessert pro, even on your busiest days. Oh, and if you’re craving more no-fuss sweets, check out my other dessert recipes—there’s always room for another treat!
Why You’ll Love These Whipped Chocolate Mousse Cups
Let me tell you why these whipped chocolate mousse cups became my dessert obsession:
- No cooking required – My kind of recipe! Just whip everything together and you’re done. Perfect for those “I need dessert NOW” moments.
- Ready in 15 minutes – Seriously, by the time you finish cleaning the mixer, the mousse is already chilling in the fridge.
- Rich chocolate flavor – That cocoa powder gives it such deep chocolatey goodness without being too sweet.
- Fancy presentation – Serve them in pretty glasses and watch everyone think you spent hours in the kitchen.
- Endless variations – Top with berries, nuts, or even a dollop of whipped cream for extra wow factor.
Trust me, once you try these, you’ll be making them all the time. They’re that good and that easy!
Ingredients for Whipped Chocolate Mousse Cups
Okay, let’s talk ingredients – and trust me, you probably have most of these in your pantry already! The magic of this recipe is how simple it is. Here’s what you’ll need to make those dreamy whipped chocolate mousse cups:
For the Mousse:
- 1 cup heavy cream – Cold is key here! I always chill my bowl too for extra fluffiness.
- 1/4 cup powdered sugar – No granulated sugar – we want that smooth texture.
- 1/4 cup cocoa powder – Unsweetened and sifted if it’s lumpy. I like Hershey’s Special Dark for extra richness.
- 1 tsp vanilla extract – The good stuff! It makes all the difference.
See? Just four simple ingredients for chocolate heaven. I told you this was easy! The heavy cream does all the heavy lifting (pun totally intended) – when whipped, it creates that cloud-like texture we’re after. And don’t worry if your cocoa powder looks like too much at first – it’ll blend right in as you whip.
How to Make Whipped Chocolate Mousse Cups
Alright, let’s get whipping! This is where the magic happens – turning simple ingredients into cloud-like chocolate bliss. I promise it’s easier than you think, but I’ll walk you through every step so your whipped chocolate mousse cups turn out perfect.
First, grab that cold heavy cream (I told you chilling was important!) and pour it into your mixing bowl. Add the powdered sugar, cocoa powder, and vanilla extract all at once. Now, here’s my trick: start mixing on low speed for about 30 seconds just to combine everything – this prevents a cocoa powder explosion all over your kitchen (learned that the hard way!).
Once it’s combined, crank up that mixer to medium-high and watch the transformation happen. You’ll see the mixture go from liquid to soft peaks in about 2-3 minutes – but don’t stop there! Keep going until you get stiff peaks that hold their shape when you lift the beaters. This is crucial for that airy texture we want.
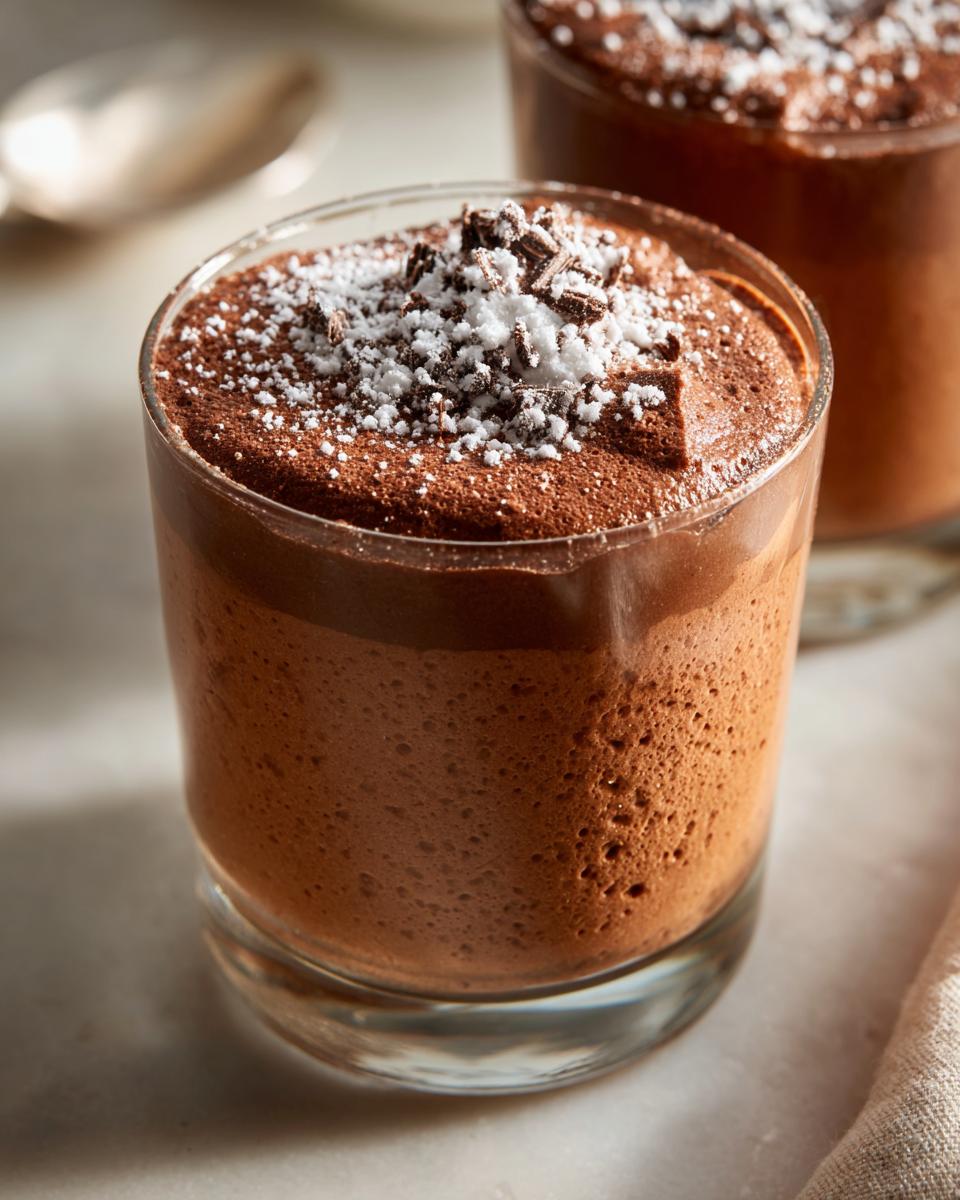
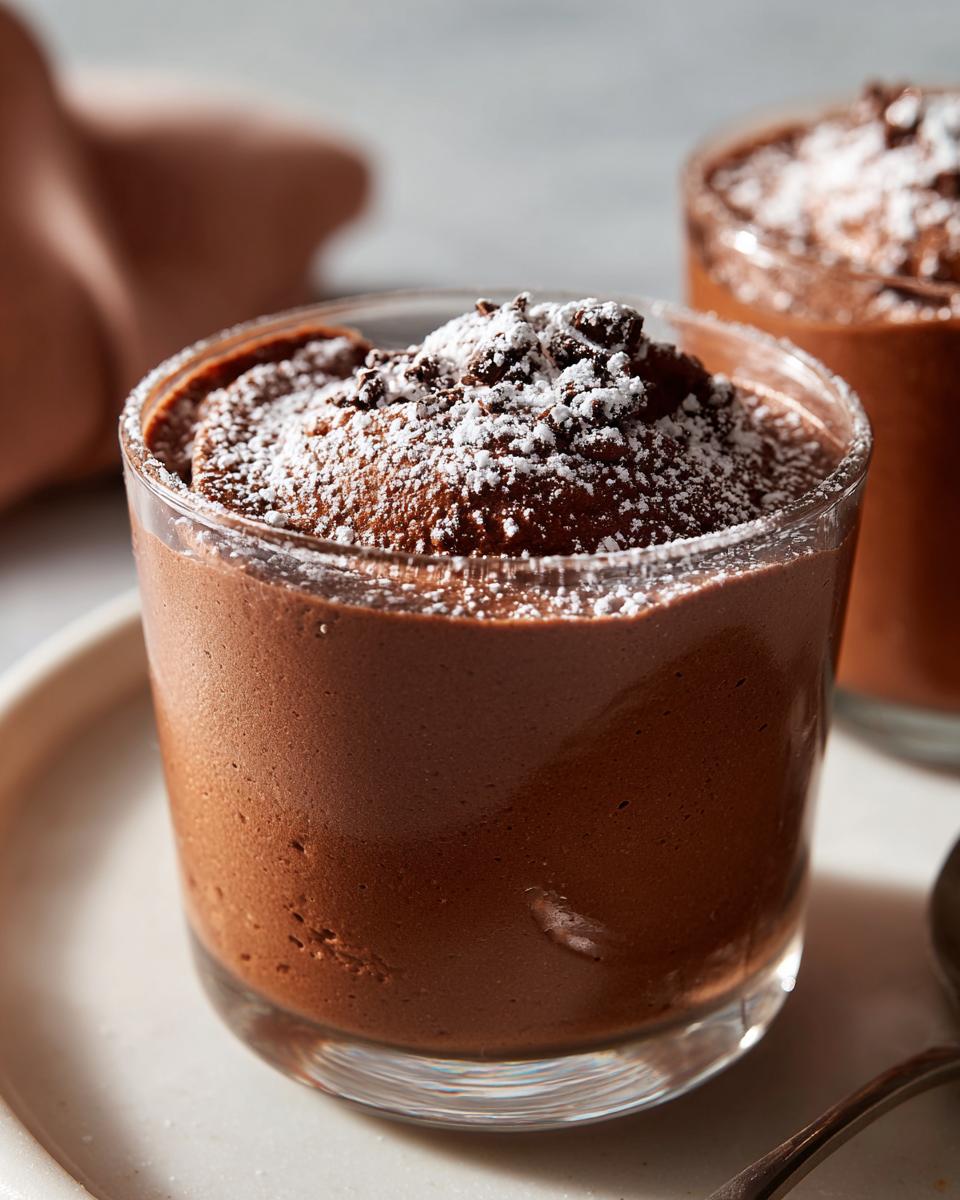
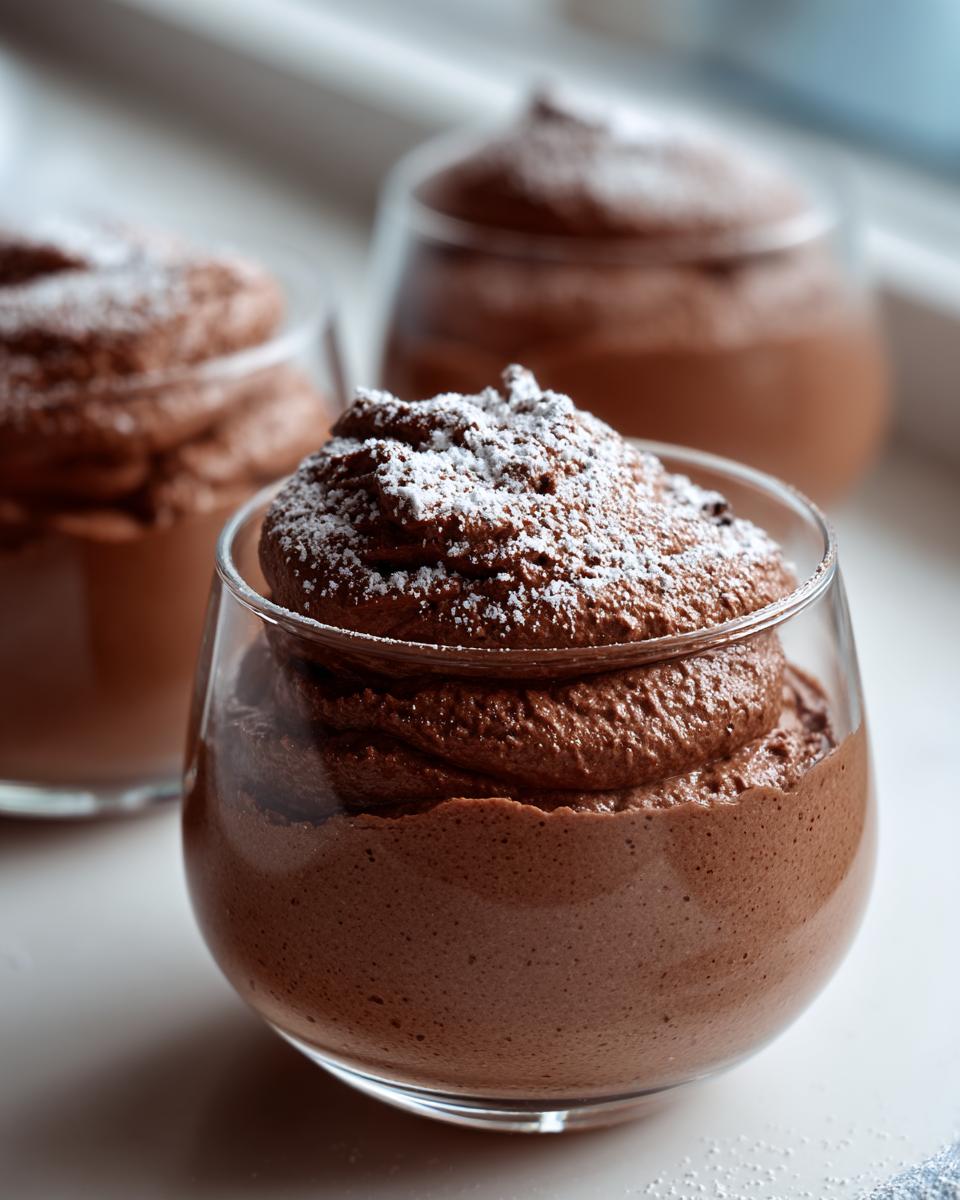
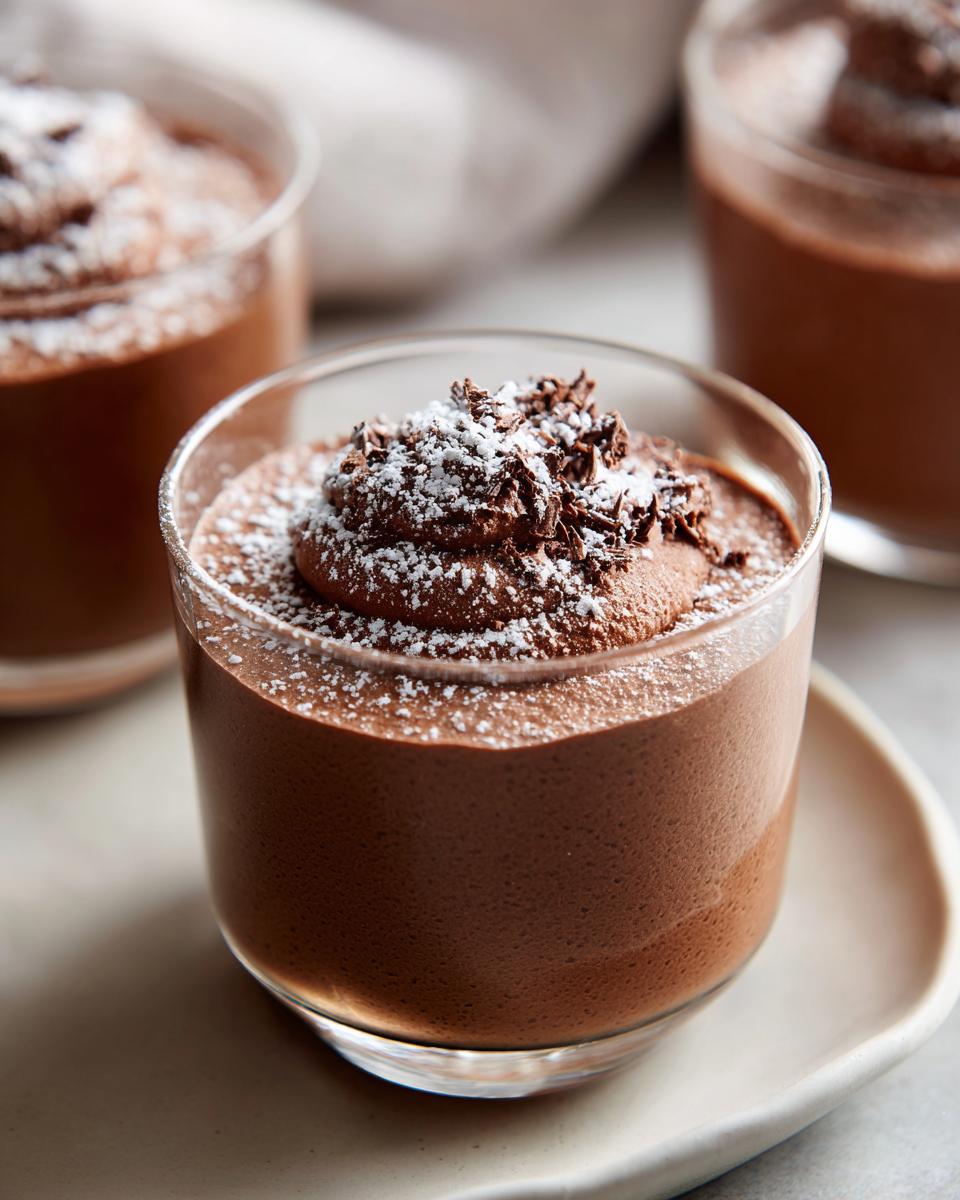
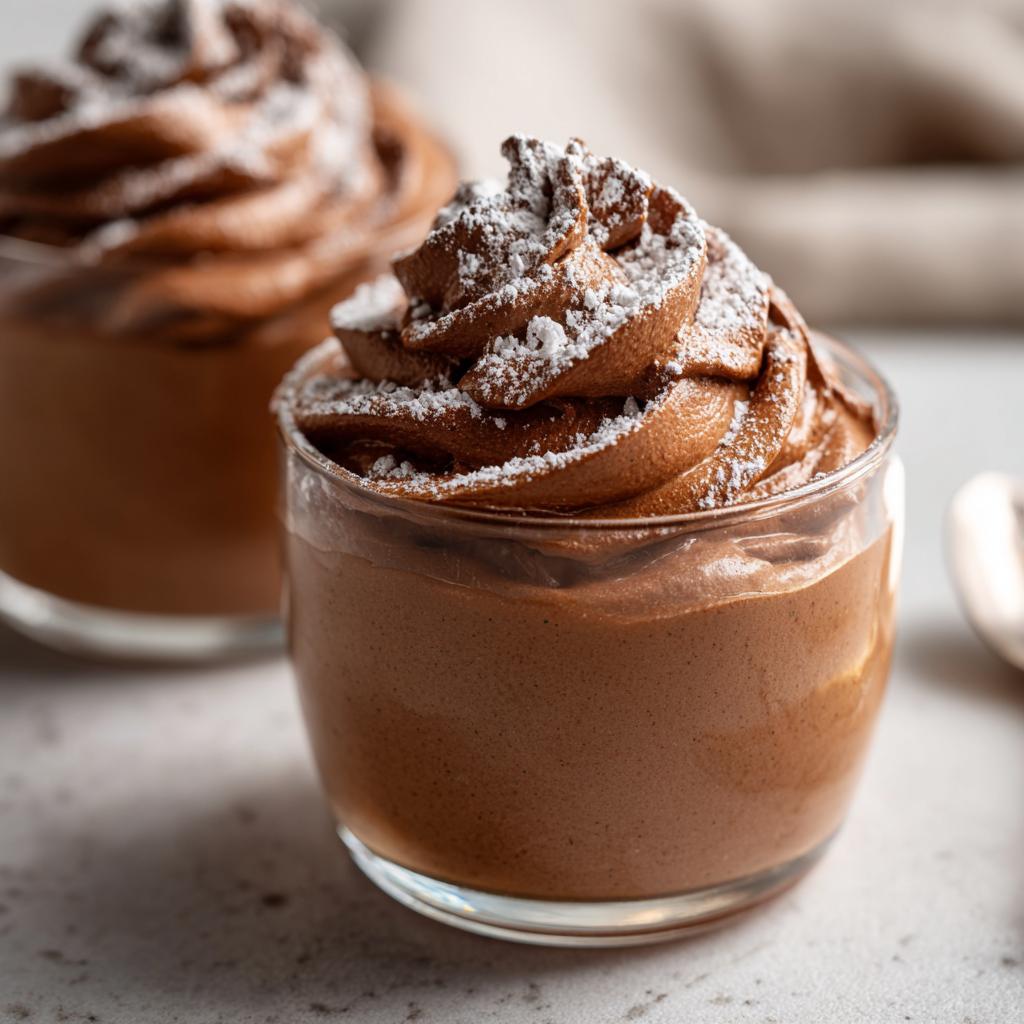
Spoon your gorgeous chocolate clouds into serving cups (I love using clear glasses to show off those layers) and pop them in the fridge for at least an hour. The wait is torture, I know, but it helps the flavors meld and gives you that perfect mousse consistency. If you’re feeling extra fancy, try layering them with crushed Oreos for some crunch!
Tips for Perfect Whipped Chocolate Mousse Cups
Here are my tried-and-true secrets for mousse success:
- Chill everything – Bowl, beaters, even the measuring cups. Cold tools help the cream whip faster and higher.
- Don’t overwhip – Stop as soon as you get stiff peaks or you’ll end up with chocolate butter (yes, that’s a thing).
- Fold in extras gently – If adding berries or nuts, fold them in last with a spatula to keep that airy texture.
- Make ahead magic – These actually taste better after chilling overnight, so they’re perfect for parties!
And here’s my favorite tip – top with fresh raspberries right before serving. The tartness cuts through the rich chocolate beautifully!
Variations for Whipped Chocolate Mousse Cups
Oh, the fun part – playing with flavors! Once you’ve mastered the basic whipped chocolate mousse cups, try these easy twists to keep things exciting:
- Dark chocolate lovers: Swap regular cocoa powder for dark cocoa – it gives an intense, almost bittersweet depth that’s incredible with fresh berries.
- Coffee kick: Add 1 tsp instant espresso powder with the dry ingredients. The coffee enhances the chocolate flavor without tasting like coffee (trust me on this one!).
- Minty fresh: Replace half the vanilla with peppermint extract and top with crushed candy canes for a holiday version.
- Orange dream: Add 1 tbsp orange zest to the mix – the citrus brightens up all that rich chocolate beautifully.
See? Endless possibilities from one simple recipe. Now go get creative!
Serving Suggestions for Whipped Chocolate Mousse Cups
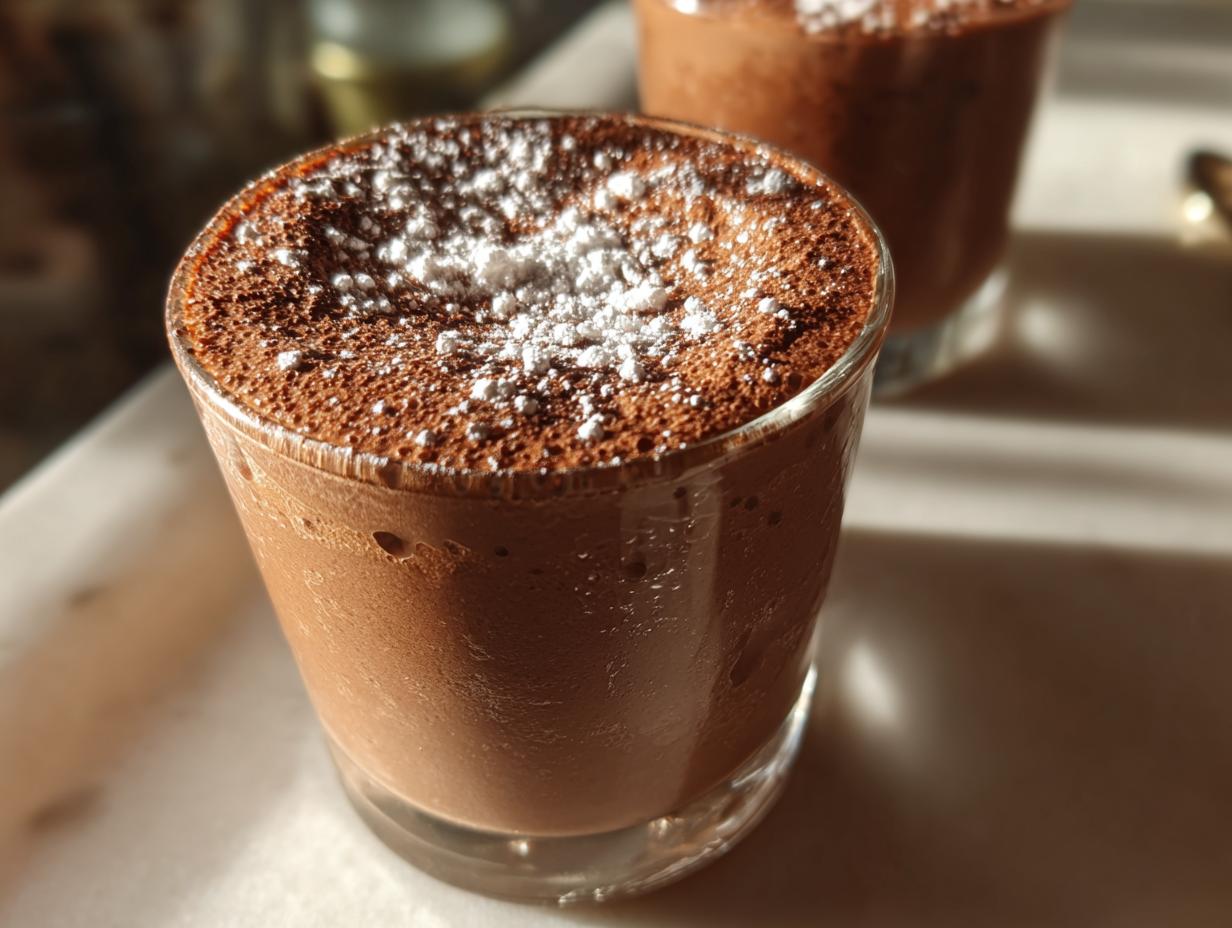
Now for my favorite part – making these whipped chocolate mousse cups look as good as they taste! A simple dusting of cocoa powder transforms them into something restaurant-worthy – just use a fine mesh sieve for that perfect sprinkle. Fresh berries are my go-to topping – raspberries add tartness, strawberries bring sweetness, and blackberries make it all look fancy. Want to really impress? Add a mint leaf or two – suddenly your dessert looks straight out of a Parisian café! And if you’re feeling extra indulgent (I always am), a dollop of whipped cream on top never hurts.
Storage and Reheating Instructions
Okay, let’s talk about storing these little clouds of chocolate joy – though honestly, I’ve never had leftovers stick around long enough to worry about it! If you do manage to save some, just pop them in an airtight container in the fridge. They’ll stay dreamy for about 2-3 days (if they last that long!). And reheating? Forget about it – these whipped chocolate mousse cups are meant to be enjoyed cold, straight from the fridge. Trust me, you won’t want them any other way!
Nutritional Information
Now, I’m no nutritionist, but here’s what I can tell you about these whipped chocolate mousse cups – they’re definitely an indulgence! The exact nutrition will vary based on your specific ingredients (especially the cocoa powder and cream you use). While I can’t give precise numbers, I can say each creamy cup packs plenty of chocolatey goodness with that perfect airy texture we all love. Remember, desserts like this are meant to be savored in moderation – though good luck stopping at just one!
Frequently Asked Questions
Can I use milk chocolate instead of cocoa powder?
Oh, I totally get why you’d ask! While cocoa powder gives that perfect airy texture, you can melt 2 oz of good-quality milk chocolate and let it cool slightly before folding it into the whipped cream. Just know it’ll be denser – more like a chocolate whipped cream than a classic mousse. Still delicious though!
How long can I store the mousse?
These whipped chocolate mousse cups stay dreamy in the fridge for 2-3 days max. After that, they start losing that magical fluffiness. Pro tip: If you’re making them ahead, wait to add any fresh berry toppings until right before serving so they don’t get soggy!
My mousse won’t whip – what went wrong?
Been there! Usually it’s one of three things: cream wasn’t cold enough (I chill mine for at least 30 minutes), your bowl had grease residue (give it a vinegar rinse), or you didn’t whip long enough. Don’t give up – sometimes it just needs another minute or two!
Can I make this dairy-free?
Absolutely! Coconut cream works beautifully – just make sure to refrigerate the can overnight first. The texture will be slightly different but still wonderfully creamy. And use dairy-free chocolate if you’re going that route!
Whipped Chocolate Mousse Cups
Ingredients
Equipment
Method
- In a mixing bowl, combine the heavy cream, powdered sugar, cocoa powder, and vanilla extract.
- Use an electric mixer to whip the mixture until stiff peaks form.
- Spoon the mousse into serving cups and refrigerate for at least 1 hour before serving.
Nutrition
Notes
Tried this recipe?
Let us know how it was!For more amazing recipes, be sure to check out our other sections to explore a variety of ideas that will enrich your cooking experience. Each section offers its own unique flavors to ensure a delightful culinary journey:
Easy and Quick Recipes: A collection of dishes that guarantee delicious meals with minimal effort and time.
Healthy Recipes: Discover healthy and delicious options that fit your lifestyle.
Desserts: A diverse selection of sweets that will add a special touch of sweetness to your table.
Lunch Recipes: Tasty lunch ideas that you can easily prepare to delight your family.
Dinner Recipes: Delicious and easy-to-make recipes that will make your dinner a memorable occasion.