
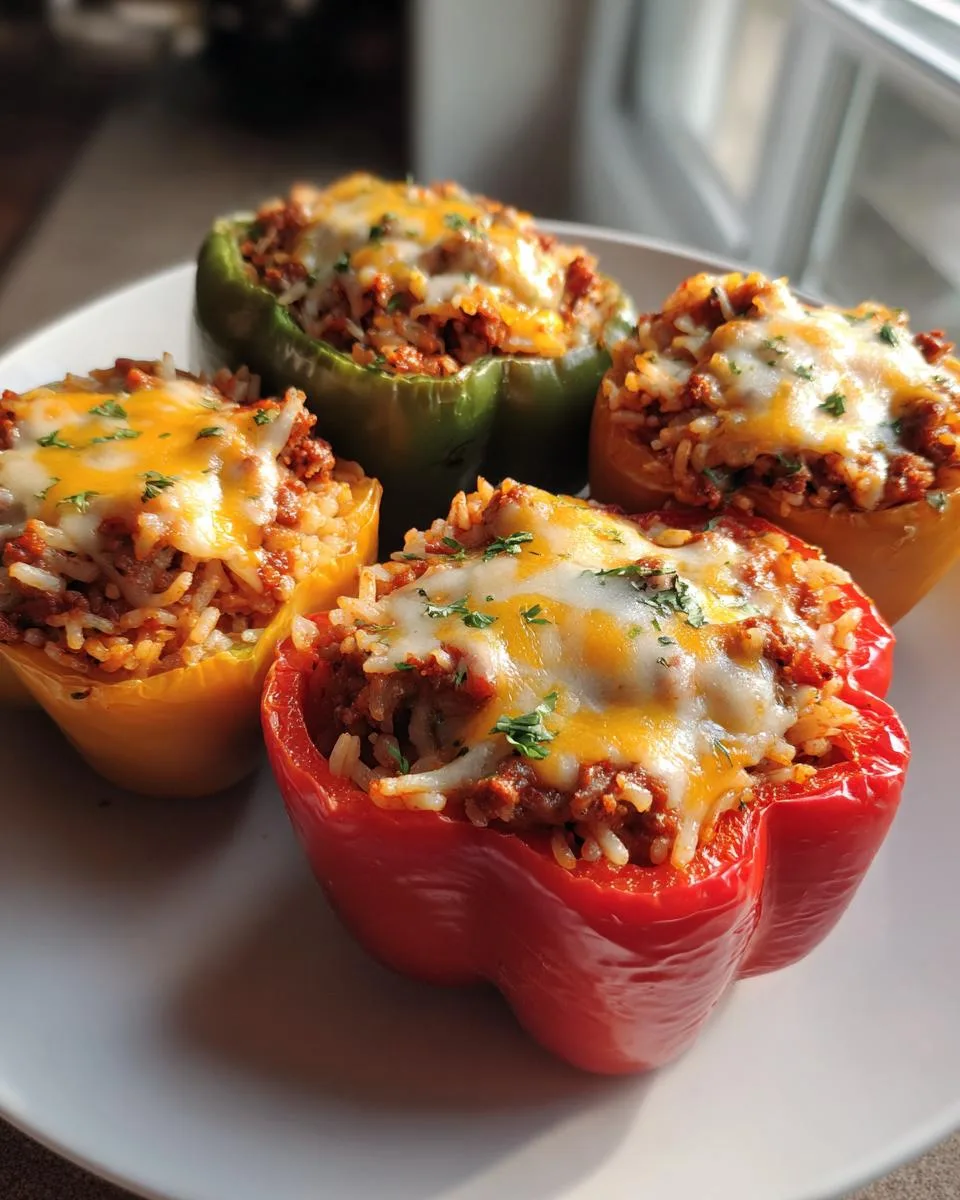
Oh, stuffed bell peppers – they’re my go-to when I need something hearty, healthy, and downright comforting without spending hours in the kitchen. I still remember the first time I made these for my family years ago – my picky eater actually asked for seconds! That’s when I knew this recipe was a keeper. What I love most is how adaptable they are. Got leftover rice? Toss it in. Want to sneak in extra veggies? No problem. They’re like little edible bowls packed with all the good stuff. Perfect for busy weeknights or when you want to impress guests without the stress. Check out more of my favorite dinner recipes if you’re looking for easy meal ideas!
Why You’ll Love These Stuffed Bell Peppers
Listen, I know you’re going to adore these stuffed peppers as much as I do – and here’s why:
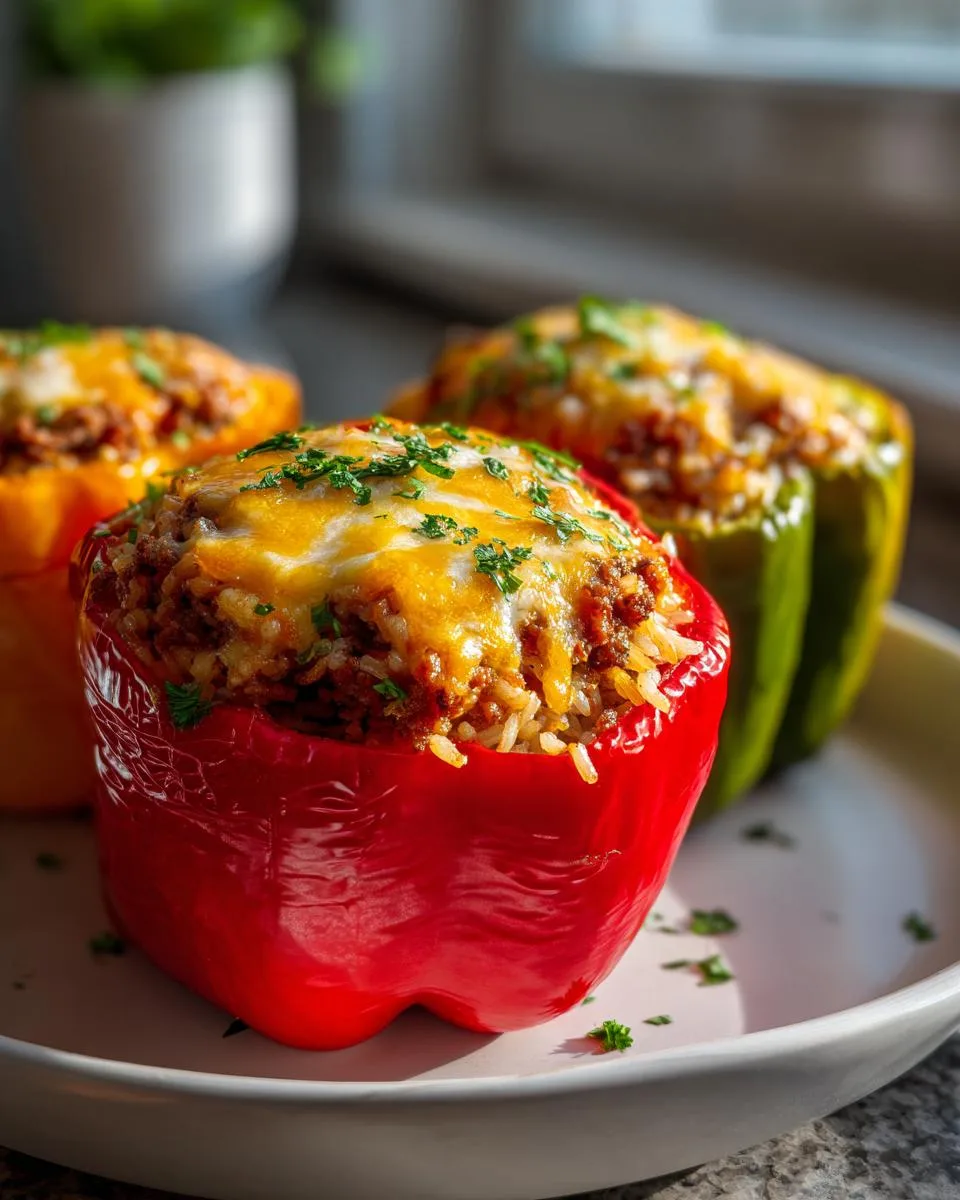
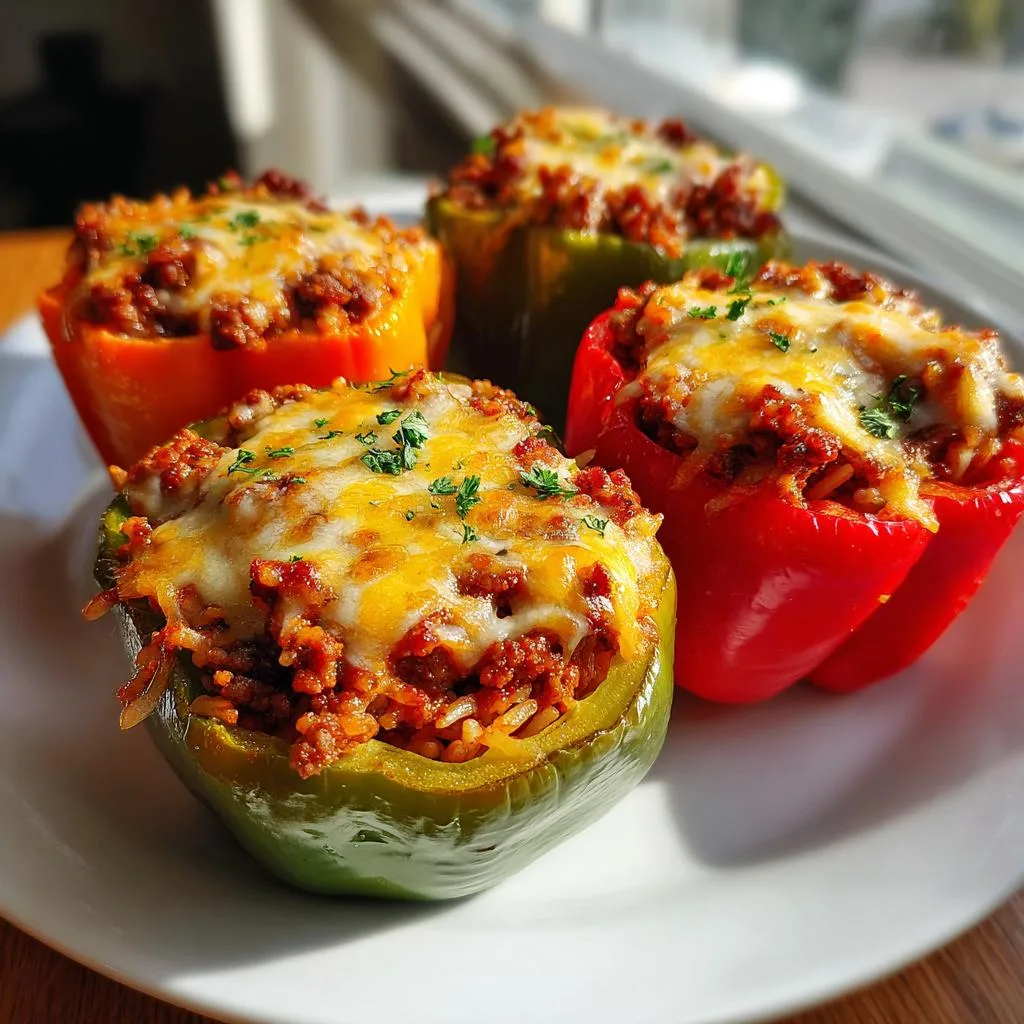
- Hearty comfort food: That satisfying combo of tender peppers, savory beef, and melty cheese just hits different after a long day.
- Your kitchen, your rules: Swap ingredients like you’re the boss – use turkey instead of beef, quinoa instead of rice, or add mushrooms if you’re feeling fancy.
- Kind to your wallet: Basic ingredients that won’t break the bank, and they stretch further than you’d think.
- Nutrient-packed: You’re getting protein, veggies, and grains all in one colorful package – my kids don’t even realize they’re eating something good for them!
Trust me, once you try this recipe, you’ll understand why it’s been my weeknight hero for years.
Ingredients for Stuffed Bell Peppers
Okay, let’s gather our goodies! I always lay everything out first – it makes me feel like I’m on one of those cooking shows (minus the camera crew, sadly). Here’s what you’ll need to make these beauties:
For the Peppers
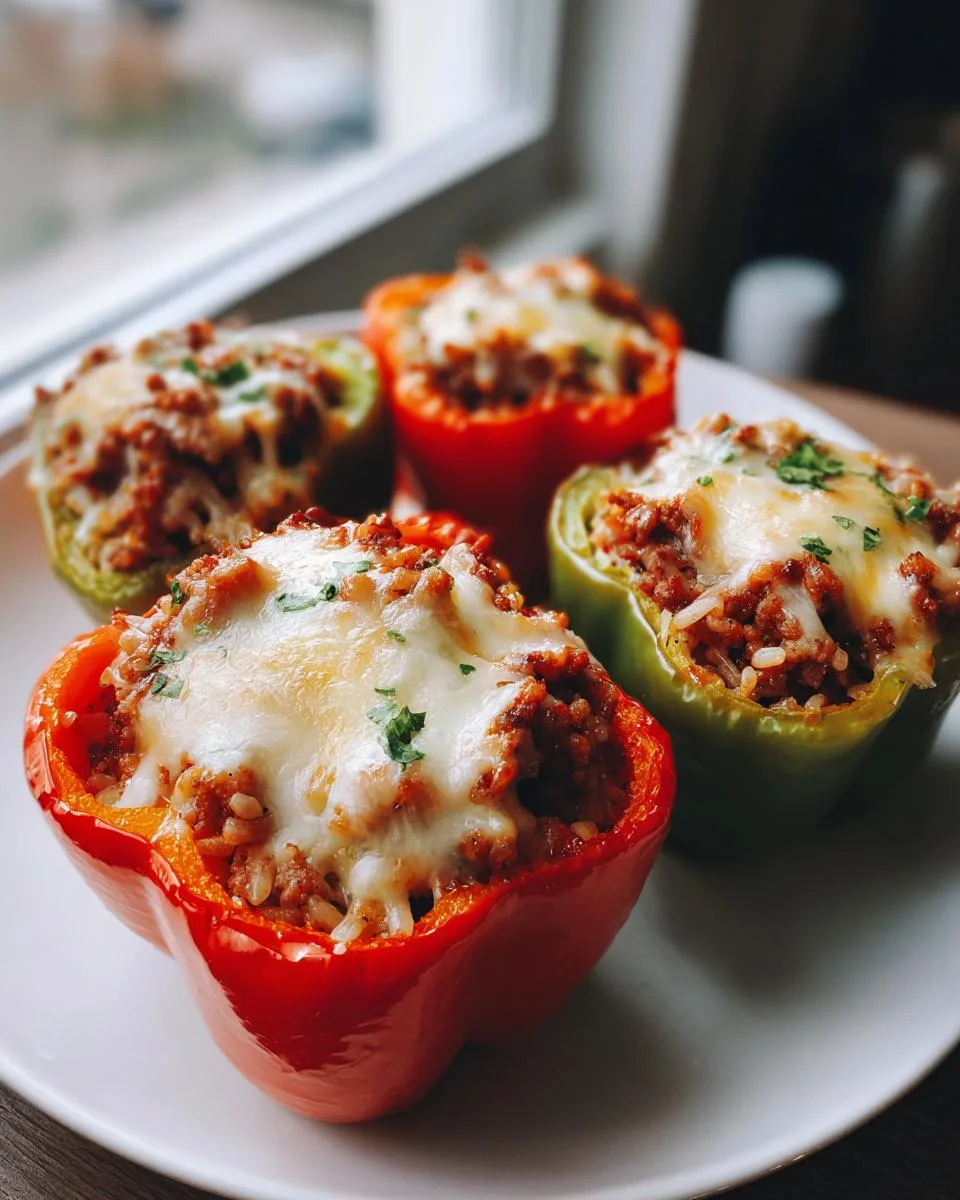
- 4 large bell peppers – any color you like! I’m partial to red and yellow for their sweetness, but green work great too if you want that classic look.
For the Filling
- 1 lb ground beef – I use 85% lean for the best flavor without being too greasy
- 1 cup cooked rice – leftover rice works perfectly here (my little secret for faster prep!)
- 1 small onion, diced – about the size of a baseball
- 2 cloves garlic, minced – or more if you’re a garlic fiend like me
- 1 can (14.5 oz) diced tomatoes – don’t drain them – that juice adds moisture
- 1 tsp salt – plus more to taste
- 1/2 tsp black pepper – freshly cracked if you’ve got it
- 1 tsp dried oregano – rub it between your fingers to wake up the flavor
- 1 cup shredded cheese – I usually grab cheddar, but mozzarella or a blend works too
See? Nothing fancy, just good, honest ingredients that come together into something magical. Now let’s get cooking!
How to Make Stuffed Bell Peppers
Alright, let’s dive into the fun part – making these gorgeous stuffed peppers! I promise it’s easier than it looks, and before you know it, your kitchen will smell amazing. Just follow these simple steps, and you’ll have a dish that looks like you spent hours on it (our little secret).
Prepping the Peppers
First things first – let’s get those peppers ready to be stuffed. Grab your peppers and slice about 1/2 inch off the tops (save those tops – they make cute little “lids” if you want to be fancy). Scoop out all the seeds and white membranes inside – I use a small spoon and just scrape it clean. Rinse them under cool water to get any stray seeds out. Now they’re perfect little edible bowls just waiting to be filled! If your peppers wobble, slice a tiny bit off the bottom to help them stand straight in the baking dish.
Cooking the Filling
Time to make that delicious filling! Heat a large skillet over medium heat and add your ground beef. Break it up with a wooden spoon as it cooks until it’s nicely browned – about 5-6 minutes. Drain off any excess grease (I tilt the pan and use a spoon to scoop it out). Now toss in your diced onion and minced garlic – oh, that smell is heavenly! Cook for about 3 minutes until the onions get soft and translucent. Stir in your cooked rice, that can of diced tomatoes (juice and all!), salt, pepper, and oregano. Let everything get friendly for another 2 minutes, then take it off the heat. This filling is so good I sometimes have to stop myself from eating it straight from the pan!
Assembling and Baking
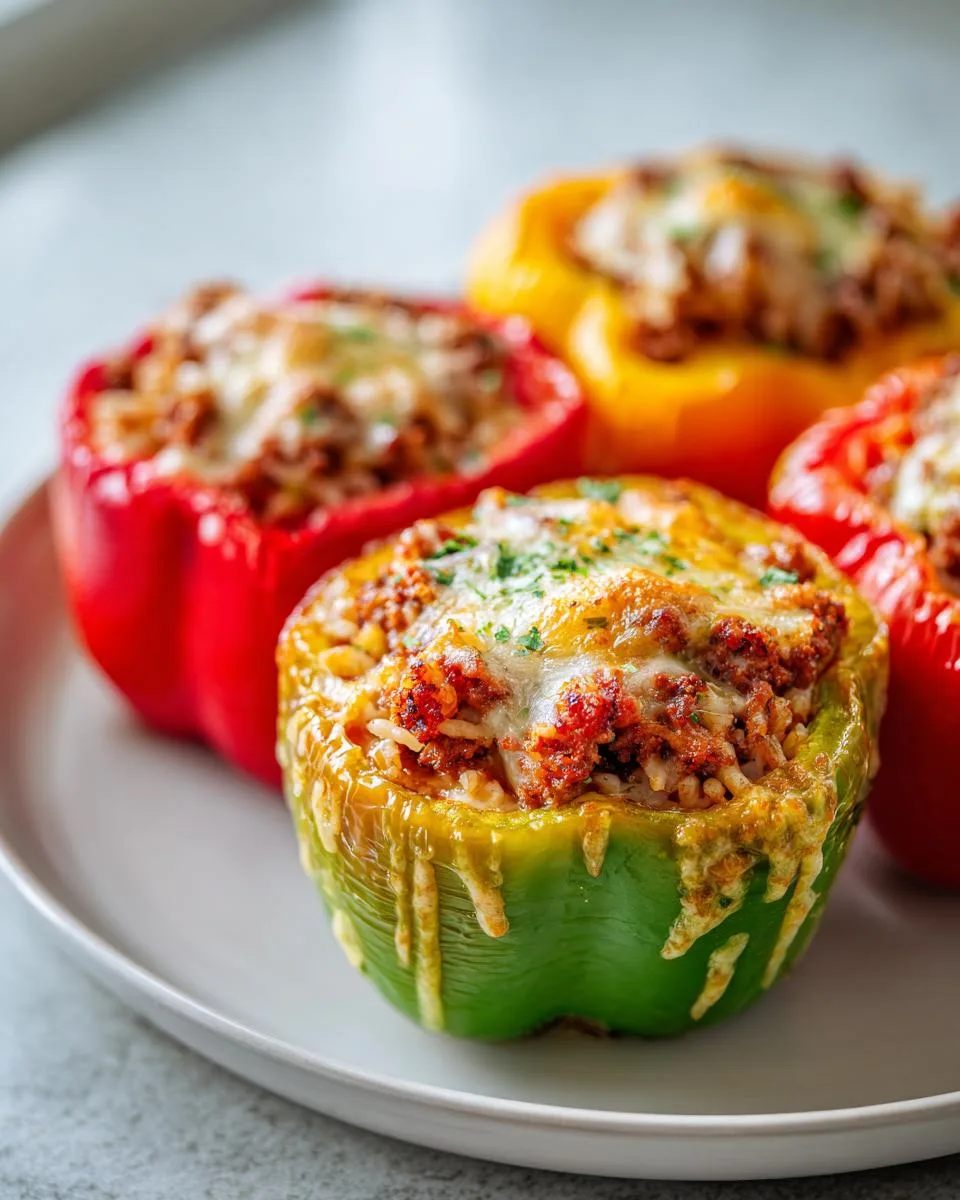
Now for the fun part – stuffing those peppers! Spoon your filling mixture into each pepper, packing it in gently but not too tight. Place them in your baking dish – if you’ve got any extra filling, just scatter it around the peppers in the dish (waste not, want not!). Cover the whole dish tightly with foil – this helps the peppers steam and get nice and tender. Pop them in your preheated 375°F oven for 35 minutes. Then, take them out, remove the foil, and sprinkle that glorious cheese on top. Back in the oven they go, uncovered this time, for about 10 minutes until the cheese is melted and bubbly. Pro tip: if you want extra browning on the cheese, broil for the last minute or two – just keep an eye on them! Let them cool for 5 minutes before serving – trust me, they’re piping hot inside. Now dig in and enjoy your masterpiece! For more oven-baked goodness, check out my oven-baked chicken recipe next.
Tips for Perfect Stuffed Bell Peppers
After making these dozens of times (okay, maybe hundreds), I’ve picked up some tricks that’ll take your stuffed peppers from good to “oh my goodness, can I have the recipe?” Here’s what I’ve learned:
Pick the right peppers: Look for ones that stand up straight on their own – wide bottoms are your friend here. Green peppers hold their shape best, but if you want sweeter ones, go for red or orange (just know they’ll be a tad softer).
Drain that beef well: After browning, tilt the pan and spoon out as much grease as you can. Too much fat makes the filling greasy instead of flavorful. I sometimes even blot it with paper towels – worth the extra step!
Let them rest: I know it’s tempting to dig right in, but waiting 5 minutes after baking lets the filling set so it doesn’t spill everywhere when you cut into them. Plus, it saves your tongue from third-degree burns – win-win!
Variations for Stuffed Bell Peppers
One of my favorite things about stuffed peppers? You can reinvent them a hundred different ways without messing up the magic! Here are some of my go-to twists when I’m feeling creative or need to use what’s in my fridge:
Protein swaps: Not feeling beef? Ground turkey or chicken work beautifully – just add an extra pinch of oregano or Italian seasoning to boost flavor. For a vegetarian version, try my favorite lentil soup trick – use cooked lentils instead of meat (about 2 cups). They give that same hearty texture with extra fiber!
Grain alternatives: Out of rice? Quinoa or couscous make excellent substitutes – just adjust cooking times accordingly. I sometimes even use cauliflower rice when I want to lighten things up (pro tip: squeeze out excess moisture first).
Veggie boost: Toss in diced zucchini, mushrooms, or spinach when sautéing the onions. My kids never notice the extra veggies, and I get to feel like a sneaky kitchen ninja.
Serving Suggestions for Stuffed Bell Peppers
Now that you’ve made these gorgeous stuffed peppers, let’s talk about how to serve them up like a pro! I love pairing them with a crisp Greek orzo salad – the fresh flavors balance the richness perfectly. Crusty garlic bread is my weakness for soaking up any juices, or keep it light with simple roasted veggies.
And hey, if you’re lucky enough to have leftovers (rare in my house!), chop them up and toss with pasta the next day, or scramble them into eggs for a killer breakfast. My husband swears by stuffing the cold leftovers into pita pockets with extra cheese – not traditional, but oh-so-delicious!
Storing and Reheating Stuffed Bell Peppers
Okay, let’s talk leftovers – because let’s be real, sometimes you actually have some (though in my house, it’s a miracle if two peppers survive dinner). Here’s how I keep them tasting fresh and delicious:
Fridge storage: Let them cool completely, then pop them in an airtight container. They’ll stay good for 3-4 days – but honestly, they never last that long at my place! The peppers soften a bit more overnight, but I kinda love that extra tenderness.
Freezer magic: These freeze beautifully! Wrap each pepper individually in foil, then seal in a freezer bag. They’ll keep for 2-3 months. Thaw overnight in the fridge before reheating.
Reheating right: The oven is your best friend here – 350°F for about 15-20 minutes brings them back to life. Microwave works in a pinch (cover with a damp paper towel), but the cheese won’t get that perfect melty texture. Either way, they might be slightly softer than fresh, but just as tasty!
Nutritional Information for Stuffed Bell Peppers
Okay, let’s talk numbers – but remember, these are just estimates since your exact ingredients might vary (like how much cheese you “accidentally” add – no judgment here!). Per serving (that’s one glorious stuffed pepper), you’re looking at:
- 350 calories – pretty reasonable for such a satisfying meal!
- 22g protein – thanks to that hearty beef and cheese combo
- 25g carbs – mostly from the rice and peppers
- 4g fiber – those pepper walls are doing good work
- 120% daily vitamin C – bell peppers are basically nature’s multivitamin
Not too shabby for something that tastes like comfort food, right? Just keep in mind that if you tweak the recipe (like using turkey instead of beef or adding extra veggies), your numbers will change a bit. But hey, that’s the fun of cooking!
For more amazing recipes, be sure to check out our other sections to explore a variety of ideas that will enrich your cooking experience. Each section offers its own unique flavors to ensure a delightful culinary journey:
Easy and Quick Recipes: A collection of dishes that guarantee delicious meals with minimal effort and time.
Healthy Recipes: Discover healthy and delicious options that fit your lifestyle.
Desserts: A diverse selection of sweets that will add a special touch of sweetness to your table.
Lunch Recipes: Tasty lunch ideas that you can easily prepare to delight your family.
Dinner Recipes: Delicious and easy-to-make recipes that will make your dinner a memorable occasion.
Frequently Asked Questions
Can I use uncooked rice in stuffed bell peppers?
Oh, I’ve tried this shortcut before – and learned the hard way! Uncooked rice absorbs too much liquid and leaves your peppers dry. Always use cooked rice (leftover works great!). If you’re in a pinch, parboil the rice first – just cook it halfway before adding to the filling. Trust me, your future self will thank you for the perfect texture!
How do I prevent my stuffed peppers from getting soggy?
Here’s my secret: don’t overstuff them! Leave about 1/4 inch at the top – the filling expands as it bakes. Also, make sure your filling isn’t too wet (drain those canned tomatoes well). And that foil cover during baking? Non-negotiable – it steams the peppers just right without making them mushy. A little crispness is what makes them perfect!
Can I prepare stuffed bell peppers ahead of time?
Absolutely! I do this all the time for easy dinners. Prep them completely (right up to the baking step), cover tightly, and refrigerate for up to 24 hours. Just add 5-10 extra minutes to the baking time since they’re going in cold. The flavors actually get better as they sit – it’s like meal prep magic!
What’s the best way to reheat leftovers?
The oven is your best bet – 350°F for about 15 minutes keeps the texture perfect. Microwave works (cover with a damp paper towel), but the peppers get softer. My sneaky trick? Chop up leftovers and fry them in a skillet with eggs for an amazing breakfast hash. Waste not, want not!
Can I freeze stuffed bell peppers?
You bet! Cool them completely, wrap individually in foil, then seal in freezer bags. They’ll keep for 2-3 months. To reheat, thaw overnight in the fridge, then bake at 350°F until heated through (about 25 minutes). The peppers soften more after freezing, but the flavor stays delicious – perfect for those “I don’t feel like cooking” nights!
Stuffed Bell Peppers
Ingredients
Equipment
Method
- Preheat the oven to 375°F (190°C). Cut the tops off the bell peppers and remove the seeds and membranes.
- In a large skillet, cook the ground beef over medium heat until browned. Drain excess fat.
- Add the onion and garlic to the skillet and cook until softened, about 3 minutes.
- Stir in the cooked rice, diced tomatoes, salt, pepper, and oregano. Cook for another 2 minutes.
- Fill each bell pepper with the beef and rice mixture. Place them in a baking dish.
- Cover with foil and bake for 35 minutes. Remove the foil, sprinkle with cheese, and bake for another 10 minutes.