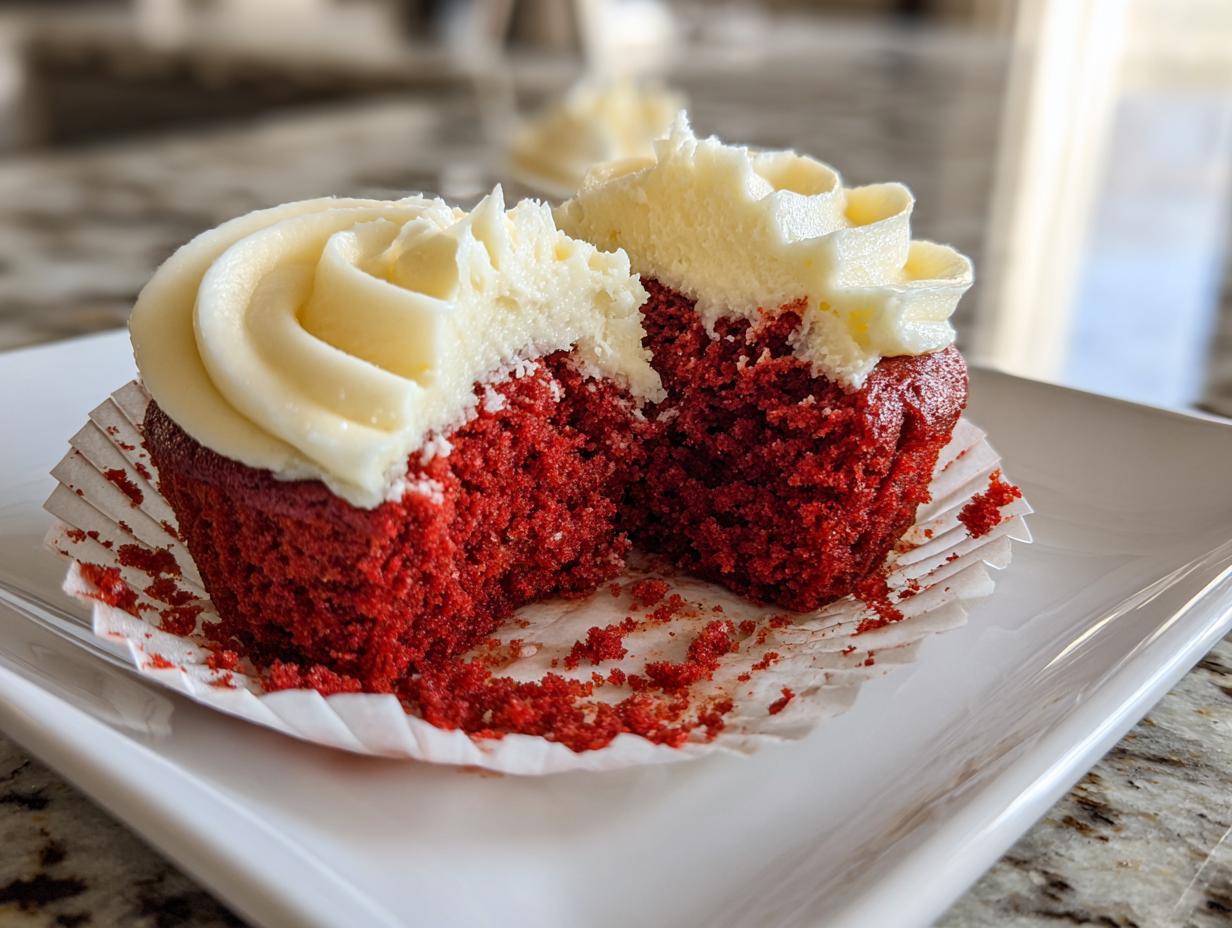
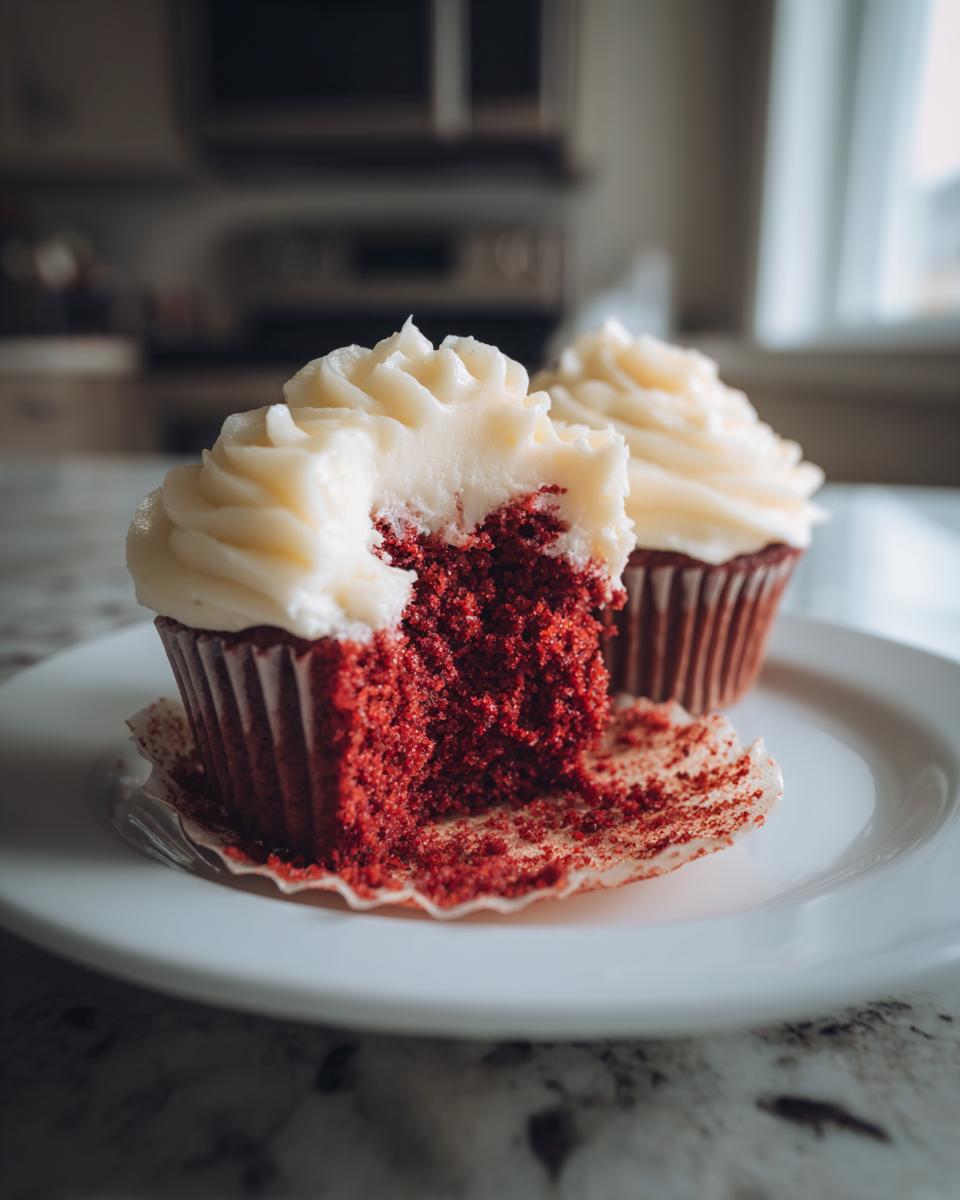
Oh, red velvet cupcakes – just saying those words makes me smile! There’s something magical about that deep red color paired with the subtle cocoa flavor that’s made these treats a classic for generations. I still remember the first time I baked them for my niece’s birthday party – her eyes lit up when she saw that vibrant red batter turning into fluffy little cakes. That moment hooked me forever on the joy of baking red velvet cupcakes. What makes them special isn’t just their stunning appearance, but that perfect balance between rich cocoa and tangy buttermilk that creates a flavor unlike any other dessert. Whether it’s Valentine’s Day, Christmas, or just a Tuesday that needs brightening, these cupcakes always feel like a celebration.
Why You’ll Love These Red Velvet Cupcakes
Trust me, these aren’t your average cupcakes – they’re little bites of pure joy! Here’s why they’ll become your new go-to:
- Just-right sweetness: That perfect balance of cocoa and vanilla makes them rich without being too sugary
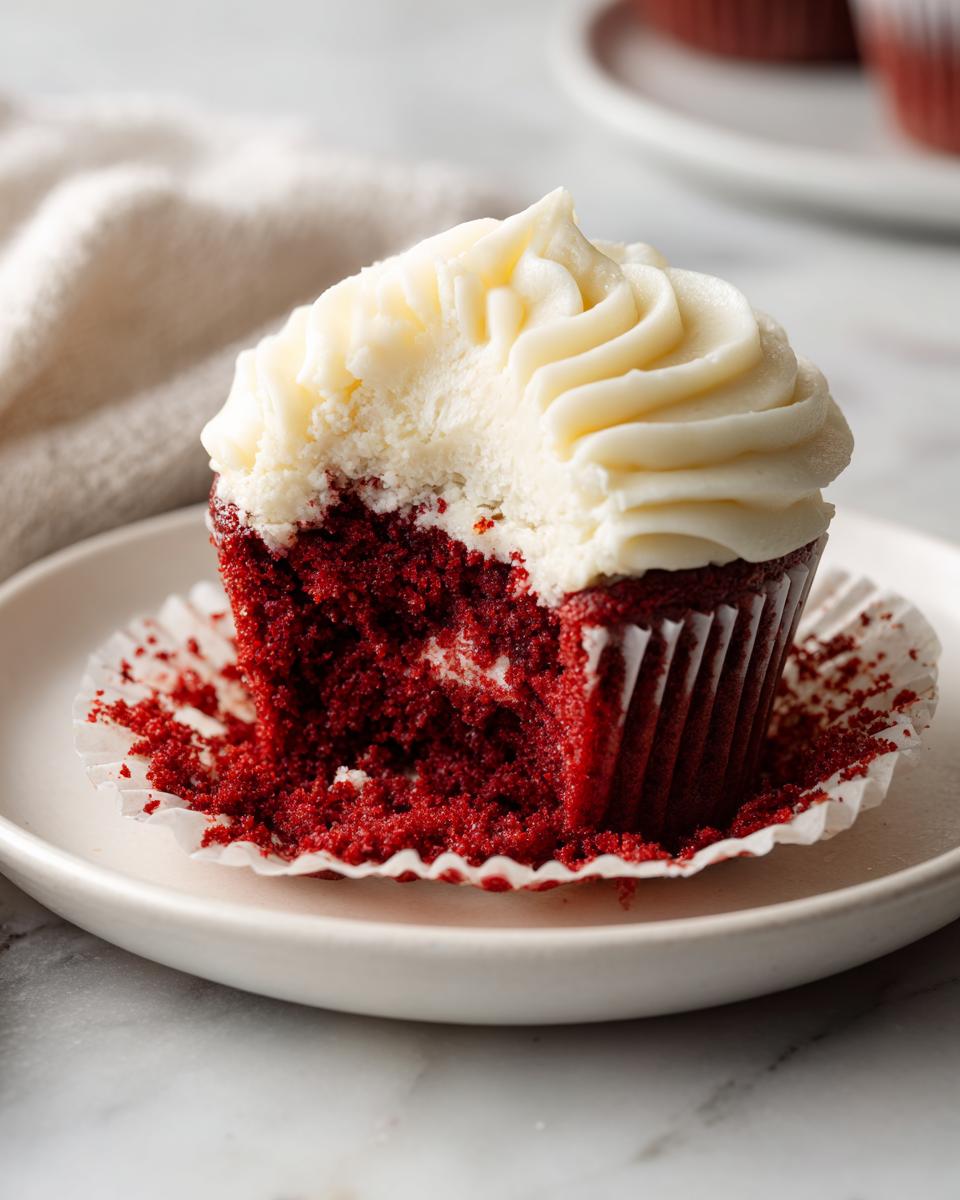
- Magical texture: The buttermilk and vinegar create the most tender, moist crumb you’ll ever taste
- Foolproof recipe: Even if you’re a beginner, you can nail these with my simple steps
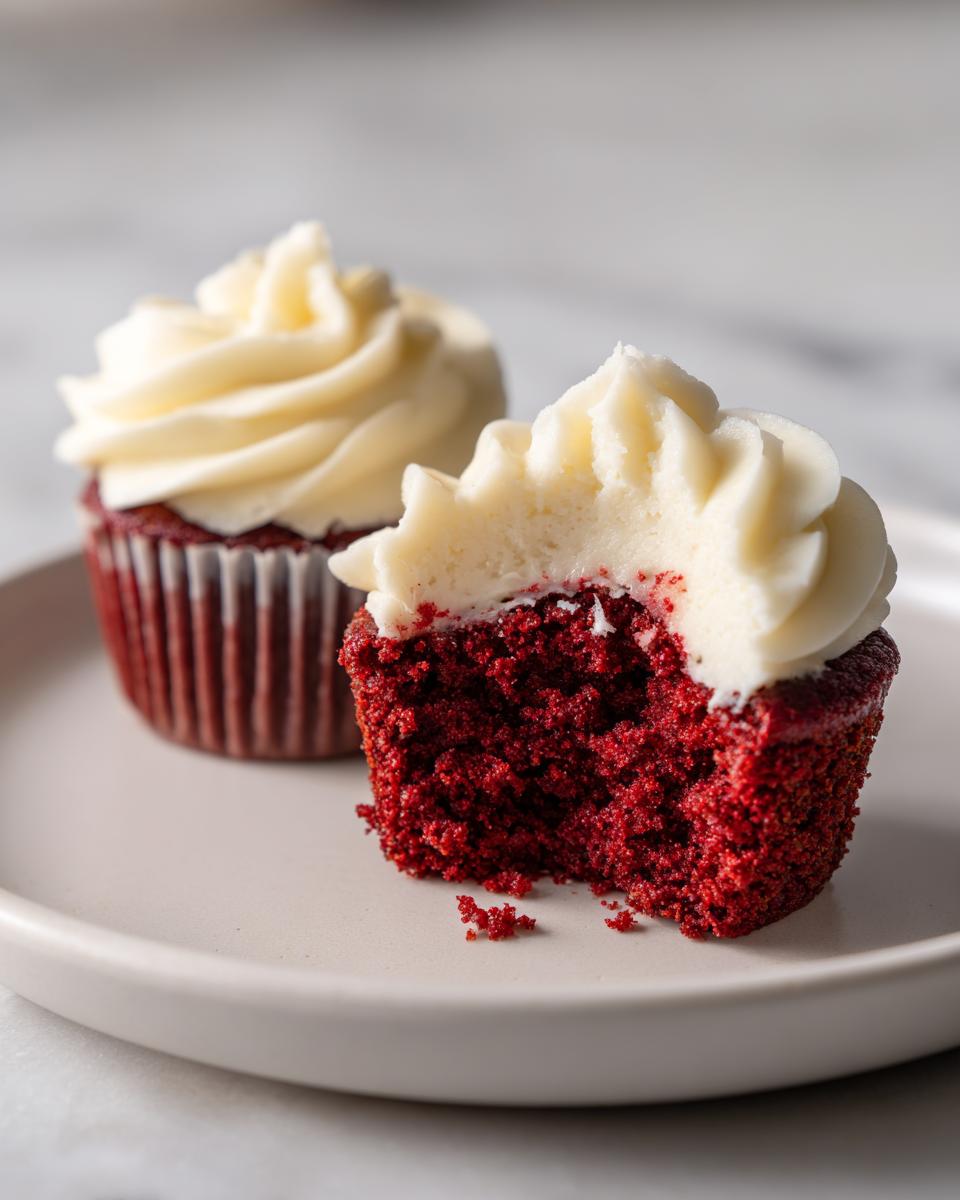
- That iconic cream cheese frosting: Silky smooth and just tangy enough to cut through the sweetness
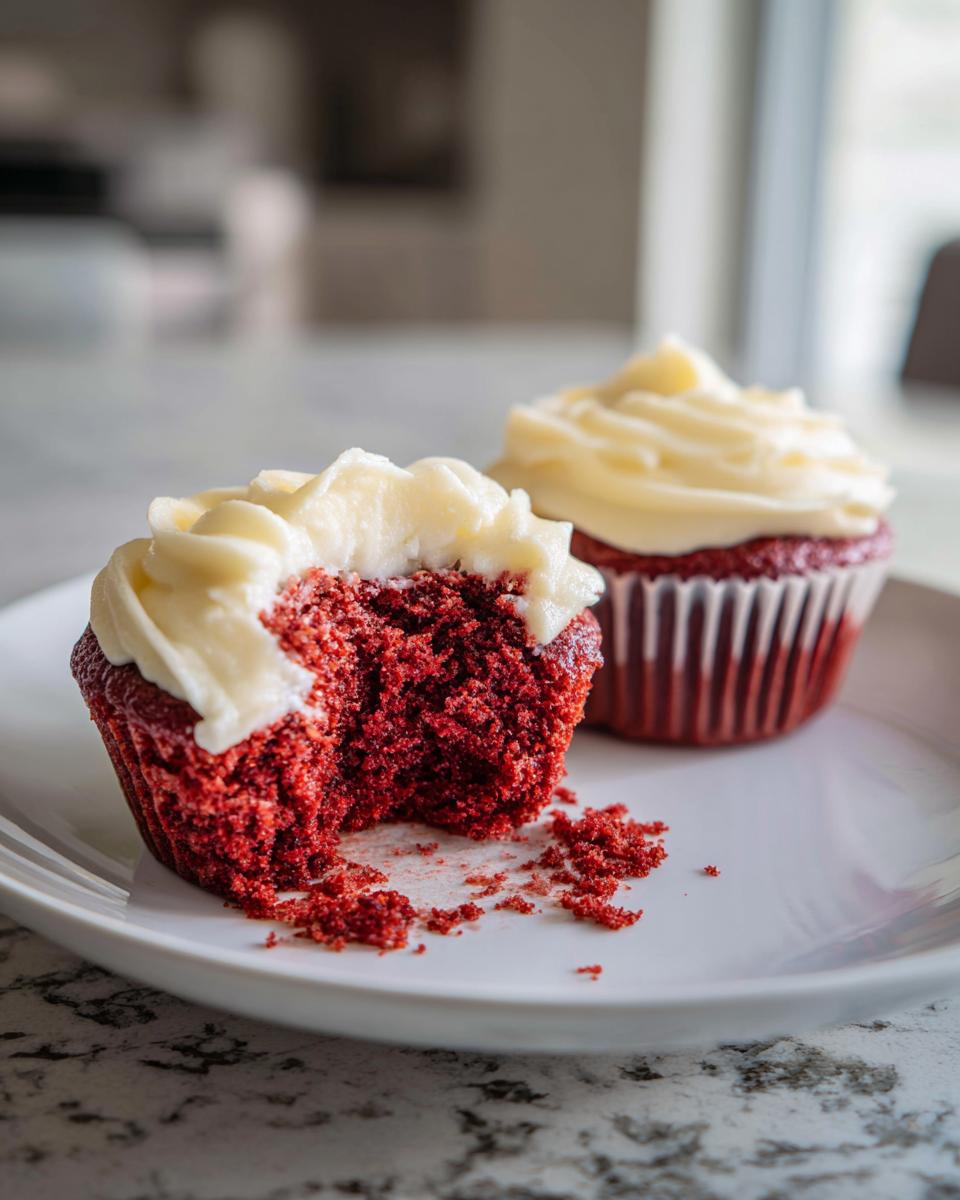
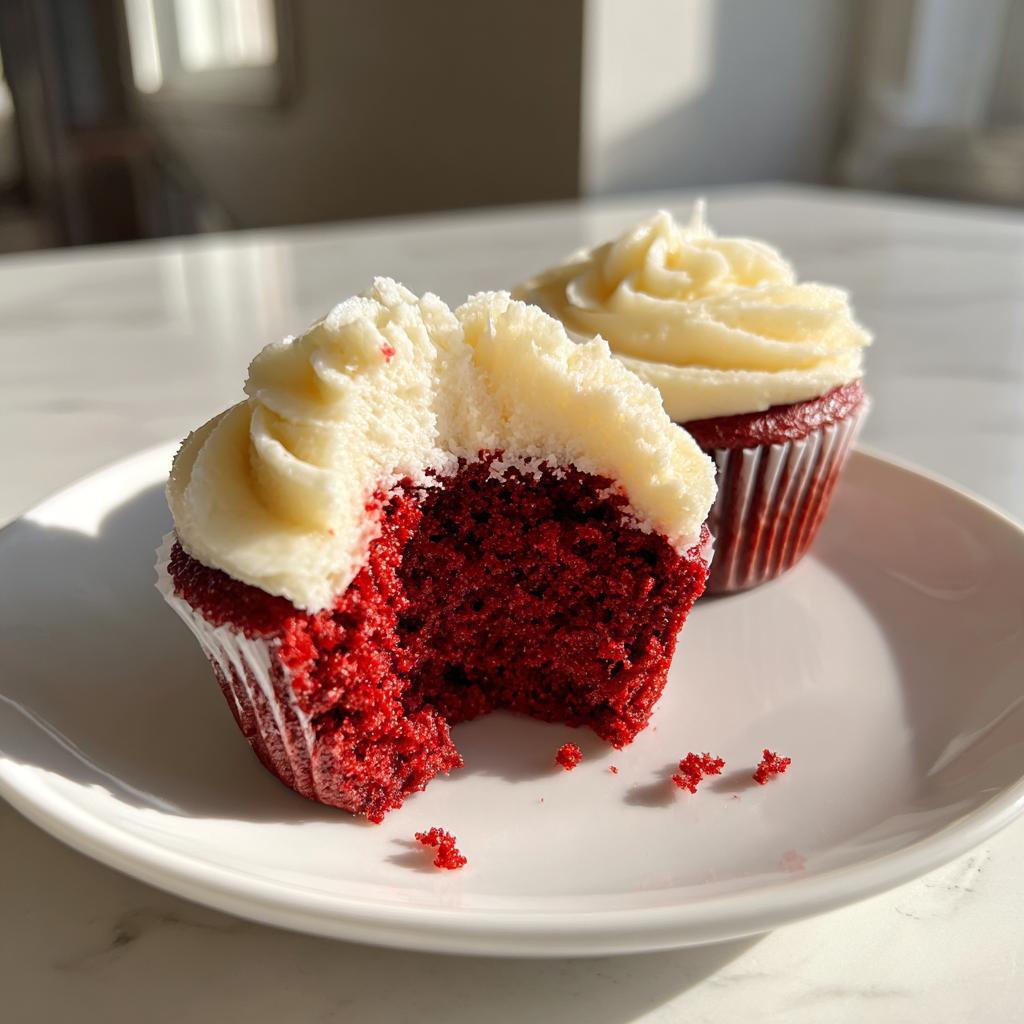
- Instant wow factor: That vibrant red color makes every bite feel like a special occasion
I make these for every celebration now – they disappear faster than I can frost them!
Ingredients for Red Velvet Cupcakes
Gathering the right ingredients is half the battle when making perfect red velvet cupcakes. I’ve learned through trial and error that quality matters – especially with that iconic red hue and tender crumb. Here’s everything you’ll need, divided neatly between the cupcakes and that dreamy frosting.
For the Cupcakes
Let’s start with the dry team: 1 ½ cups of all-purpose flour (spooned and leveled, please – no packing!), 1 cup granulated sugar, 1 teaspoon each of baking soda and cocoa powder (yes, just a teaspoon – we’re going for subtle chocolate flavor), and ½ teaspoon salt. The wet ingredients are where the magic happens: 1 cup buttermilk (no substitutes if you can help it), 1 tablespoon red food coloring (I prefer gel for vibrant color), 1 teaspoon vanilla extract, 1 tablespoon white vinegar (this reacts with the baking soda for lift), ½ cup vegetable oil, and 1 large egg at room temperature.
For the Frosting
Now for the crowning glory! You’ll need 8 ounces of cream cheese and ½ cup unsalted butter – both softened to room temperature (this is non-negotiable for smooth frosting). Add 4 cups powdered sugar (sifted to avoid lumps) and 1 teaspoon vanilla extract. Pro tip: Let your dairy ingredients sit out for at least 30 minutes – cold cream cheese will give you lumpy frosting, and nobody wants that!
Equipment Needed for Red Velvet Cupcakes
You don’t need fancy gadgets to make spectacular red velvet cupcakes – just a few trusty tools from your kitchen. My must-haves: a standard muffin tin (the 12-cup kind), cupcake liners (go for the greaseproof ones), and an electric mixer for that dreamy frosting. Honestly, I’ve made do with just a whisk when desperate, but your arms will thank you for using a mixer! A piping bag with a star tip gives those pretty swirls, but a zip-top bag with the corner snipped off works in a pinch. Oh, and don’t forget your trusty measuring cups and spoons – baking is science, after all!
How to Make Red Velvet Cupcakes
Alright, let’s get baking! I promise this process is way easier than it looks, and the results will make you feel like a pastry chef. Follow my steps exactly, and you’ll have perfect red velvet cupcakes every time. Just remember – the secret is in not overworking the batter. Treat it gently, like you’re folding in clouds!
Preparing the Batter
First things first – preheat that oven to 350°F (175°C) and line your muffin tin with those cute cupcake liners. Now, in a large mixing bowl, whisk together all your dry ingredients: flour, sugar, baking soda, cocoa powder, and salt. In another bowl, whisk the wet team – buttermilk, food coloring, vanilla, vinegar, oil, and egg until they’re best friends. Here’s the fun part – pour the wet ingredients into the dry and stir just until combined. I mean it – stop when you still see a few flour streaks! Overmixing is the enemy of tender cupcakes, and we’ve worked too hard to let that happen.
Baking the Cupcakes
Now, grab your ice cream scoop (or a ¼ cup measure) and fill each liner about two-thirds full. Trust me, leaving room means they’ll rise beautifully instead of overflowing like mini volcanoes. Pop them in the oven for 18-20 minutes – set a timer because the color makes it tricky to judge doneness. They’re ready when a toothpick comes out with just a few moist crumbs, not wet batter. Let them cool in the pan for 5 minutes, then transfer to a wire rack. I know it’s tempting, but don’t frost them warm – patience makes perfect cupcakes!
Making the Frosting
While those beauties cool, let’s make that luscious frosting. Beat the softened cream cheese and butter together until they’re completely smooth – no lumps allowed! Gradually add the powdered sugar about a cup at a time, mixing well after each addition. Finally, mix in the vanilla. Pro tip from my baking adventures: if your frosting seems too soft, chill it for 15 minutes before piping. When your cupcakes are completely cool, go wild with that piping bag! Swirls, rosettes, or just a generous dollop – however you frost them, they’ll be irresistible.
Tips for Perfect Red Velvet Cupcakes
After making about a hundred batches (okay, maybe more – I lose count when I’m baking!), I’ve picked up some game-changing tricks for flawless red velvet cupcakes every time. First rule: room temperature ingredients aren’t just nice – they’re mandatory! Cold eggs or buttermilk make the batter separate faster than kids spotting an ice cream truck. Let everything sit out for at least 30 minutes before mixing. Second tip: that vinegar isn’t optional – it reacts with the baking soda to give you that perfect rise and tender crumb, even if you can’t taste it. And here’s my secret weapon: when testing doneness, don’t wait for a completely clean toothpick. A few moist crumbs mean they’ll stay deliciously soft after cooling. Biggest mistake I see? Frosting warm cupcakes – the frosting will melt into sad little puddles! Wait until they’re completely, totally, no-question-about-it cooled. Oh, and if your food coloring keeps fading, try gel instead of liquid. It gives that classic red velvet pop without changing the batter’s consistency. Follow these, and you’re golden!
Storage and Serving Suggestions for Red Velvet Cupcakes
Now that you’ve made these beauties, let’s talk about keeping them fresh! Cream cheese frosting means these cupcakes need refrigeration – just pop them in an airtight container and they’ll stay perfect for up to 3 days. But here’s my little secret: take them out about 30 minutes before serving. That cream cheese frosting tastes infinitely better at room temperature when it’s soft and luscious. If you’re transporting them, keep them cool in a cooler bag, then let them warm up slightly before serving. And please – resist the urge to microwave them! That gorgeous texture we worked so hard for deserves to shine naturally.
Nutritional Information for Red Velvet Cupcakes
Okay, let’s be real – we’re not eating red velvet cupcakes for their health benefits! But for those curious, each cupcake (with frosting) clocks in at about 320 calories, with 15g fat, 45g carbs, and 3g protein. Remember, these numbers can vary based on your exact ingredients and how generously you frost them (and let’s be honest – I always frost generously!). These are estimates, so if you’re counting carefully, you might want to recalculate based on your specific brands and measurements.
Frequently Asked Questions About Red Velvet Cupcakes
I get asked about red velvet cupcakes all the time – here are the questions that pop up most often in my kitchen (and my best answers)!
Can I make these without red food coloring?
Absolutely! The color is just for show – the flavor comes from that cocoa-buttermilk combo. They’ll taste just as delicious, just more chocolatey-looking. If you want natural color, try beet powder (though it’ll give an earthier flavor).
What can I use instead of buttermilk?
No buttermilk? No problem! Mix 1 cup milk with 1 tablespoon lemon juice or vinegar and let it sit for 5 minutes. It won’t be exactly the same, but it’ll give you that tangy lift we need.
Why did my cupcakes turn out dry?
Overbaking is usually the culprit – those last few minutes make all the difference! Also check your oven temp with a thermometer; mine runs hot and I always reduce the time slightly.
Can I freeze these cupcakes?
Yes! Freeze unfrosted cupcakes for up to 3 months. Thaw overnight in the fridge, then frost fresh. The frosting itself doesn’t freeze well – make it fresh when you’re ready to serve.
Got more questions? Drop me a line – I love helping fellow bakers troubleshoot!
Red Velvet Cupcakes
Ingredients
Equipment
Method
- Preheat the oven to 350°F (175°C). Line a muffin tin with cupcake liners.
- In a large bowl, whisk together flour, sugar, baking soda, cocoa powder, and salt.
- In another bowl, mix buttermilk, food coloring, vanilla extract, vinegar, vegetable oil, and egg until smooth.
- Combine the wet and dry ingredients, stirring until just mixed.
- Divide the batter evenly among the cupcake liners, filling each about two-thirds full.
- Bake for 18-20 minutes or until a toothpick inserted comes out clean. Let cool completely.
- For the frosting, beat cream cheese and butter until smooth. Gradually add powdered sugar and vanilla, mixing until fluffy.
- Frost the cooled cupcakes using a piping bag or spatula.
Nutrition
Notes
Tried this recipe?
Let us know how it was!For more amazing recipes, be sure to check out our other sections to explore a variety of ideas that will enrich your cooking experience. Each section offers its own unique flavors to ensure a delightful culinary journey:
Easy and Quick Recipes: A collection of dishes that guarantee delicious meals with minimal effort and time.
Healthy Recipes: Discover healthy and delicious options that fit your lifestyle.
Desserts: A diverse selection of sweets that will add a special touch of sweetness to your table.
Lunch Recipes: Tasty lunch ideas that you can easily prepare to delight your family.
Dinner Recipes: Delicious and easy-to-make recipes that will make your dinner a memorable occasion.