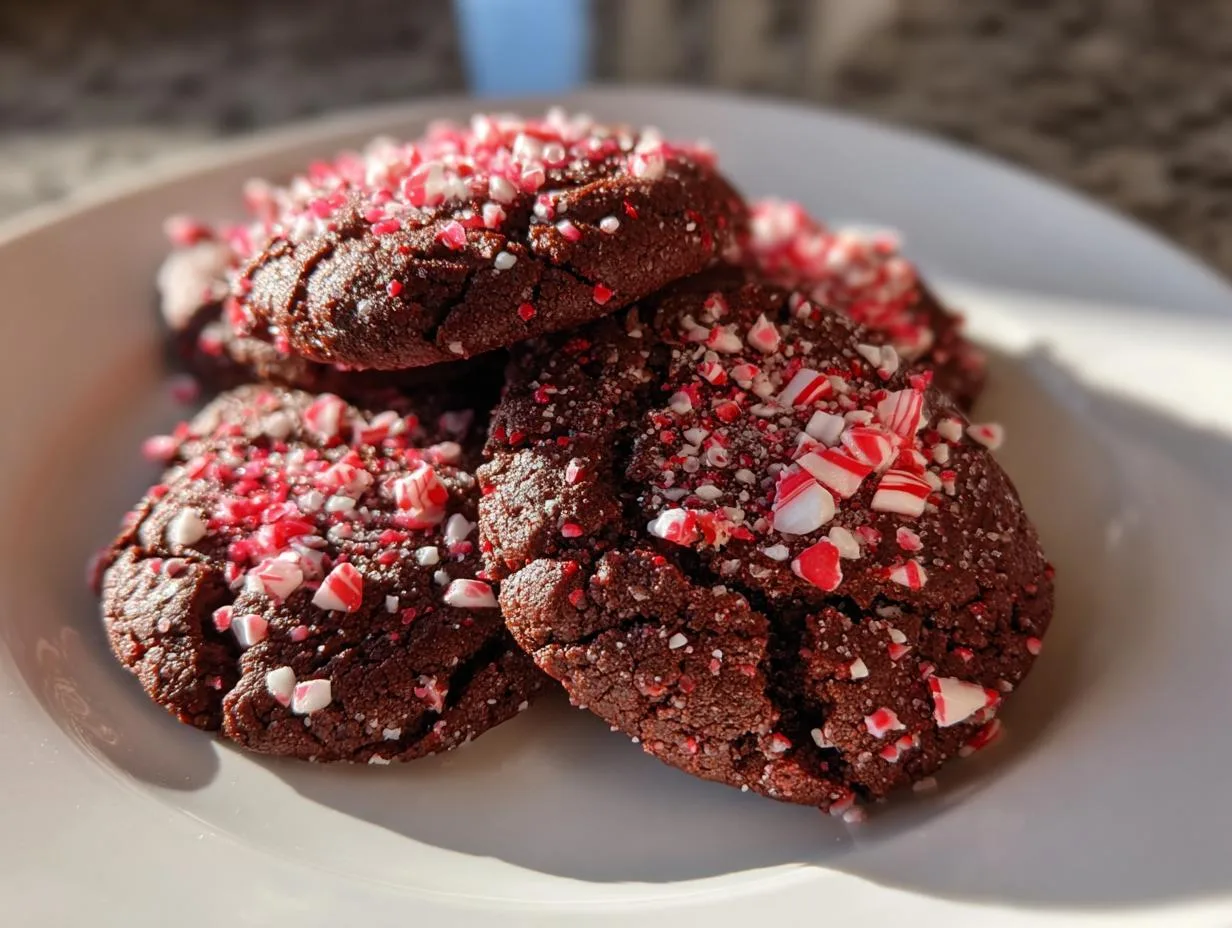
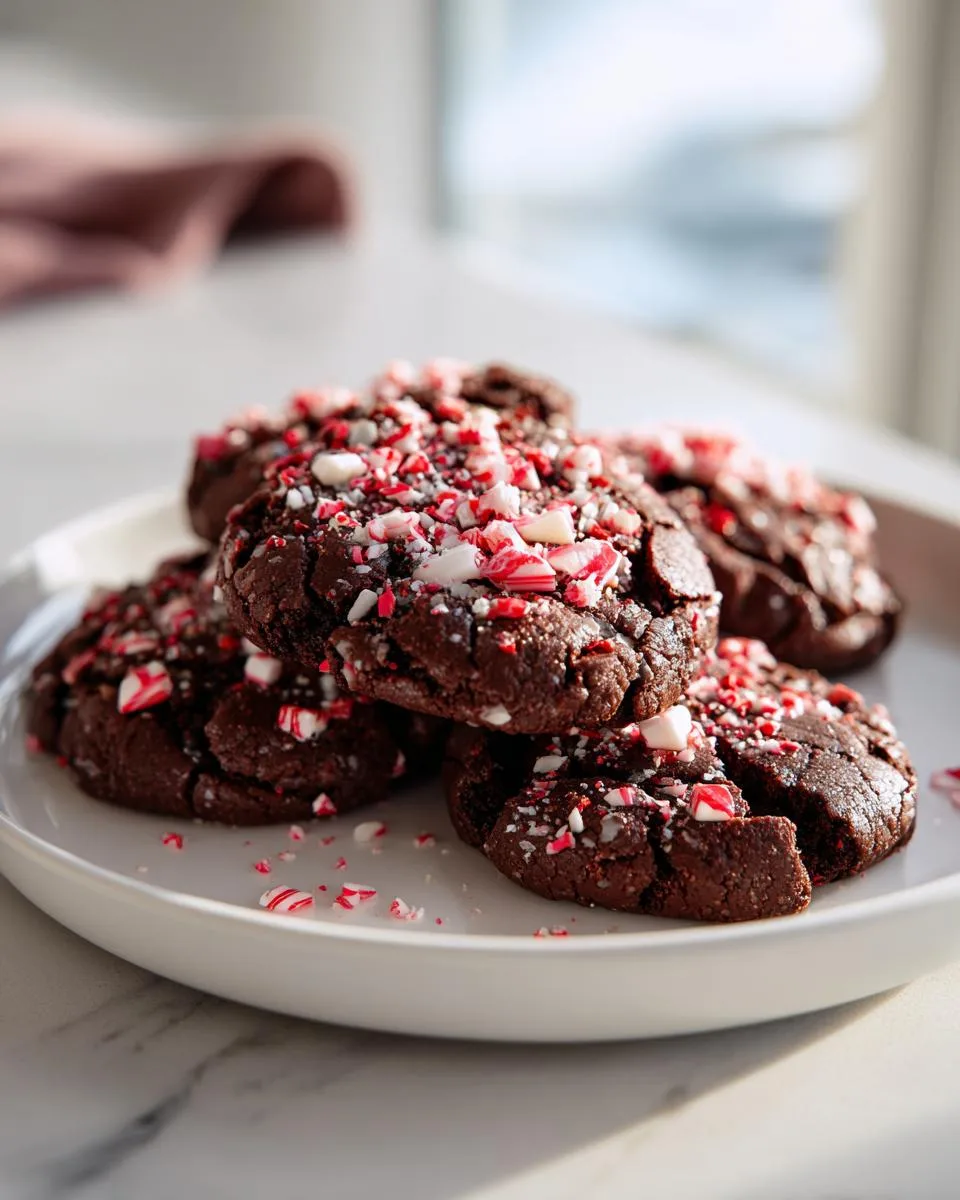
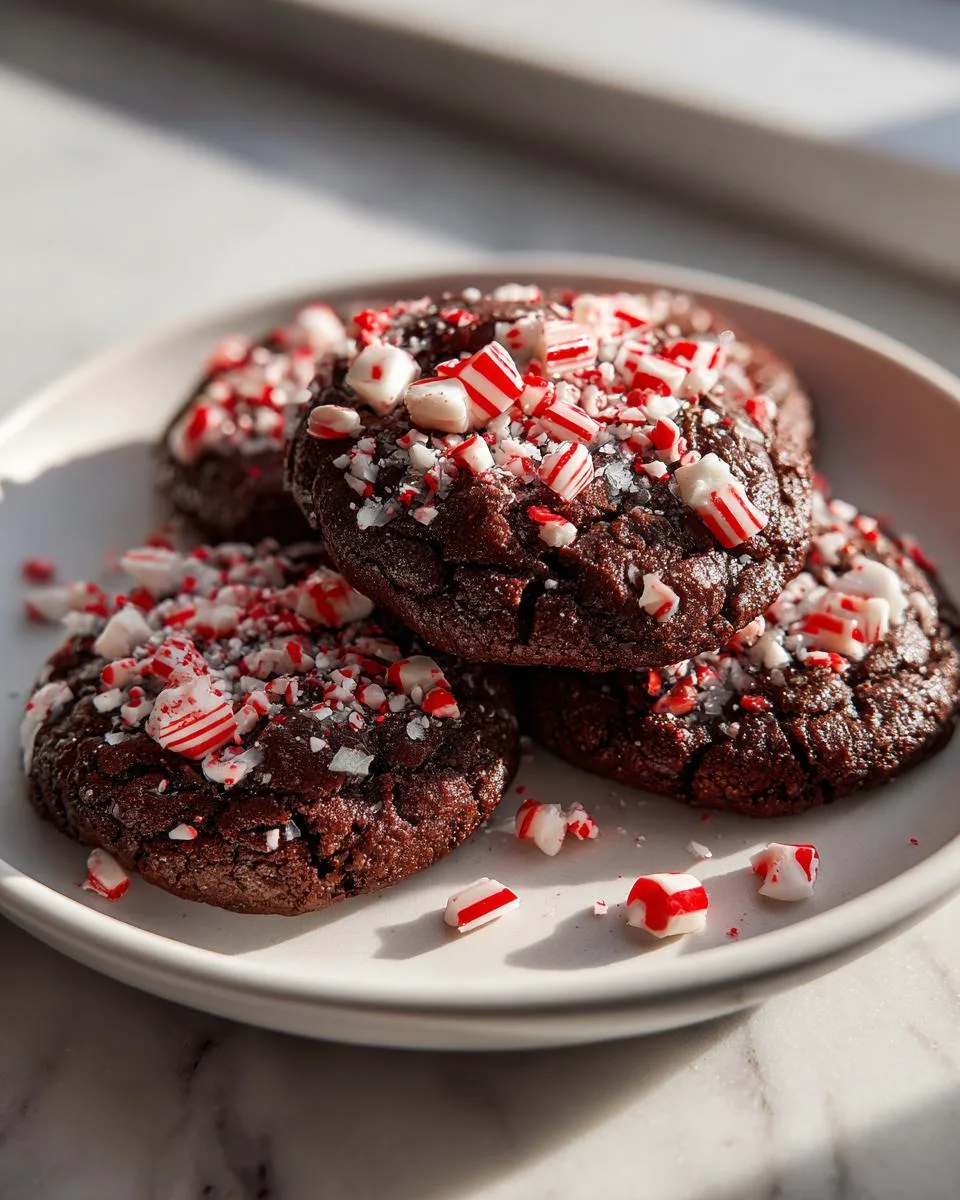
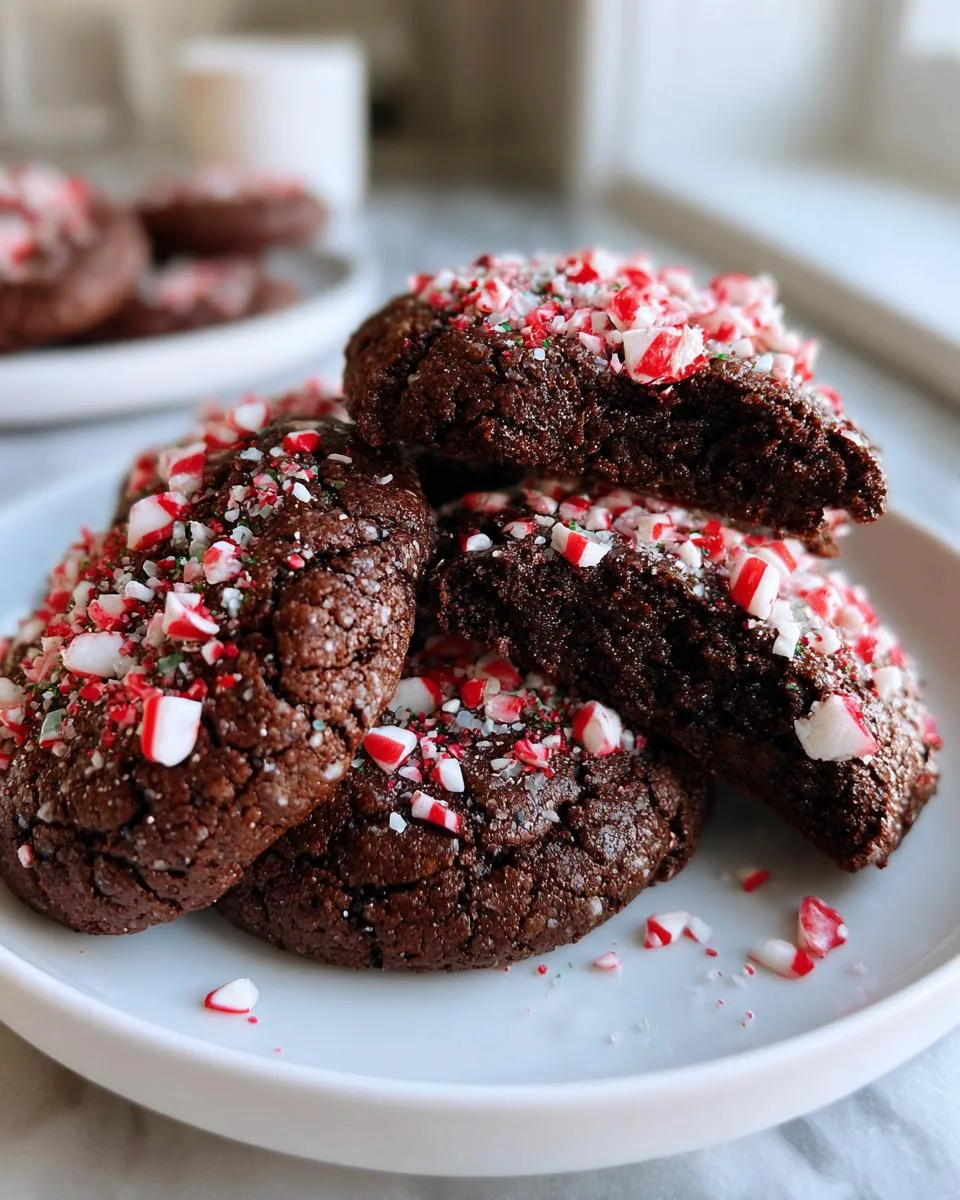
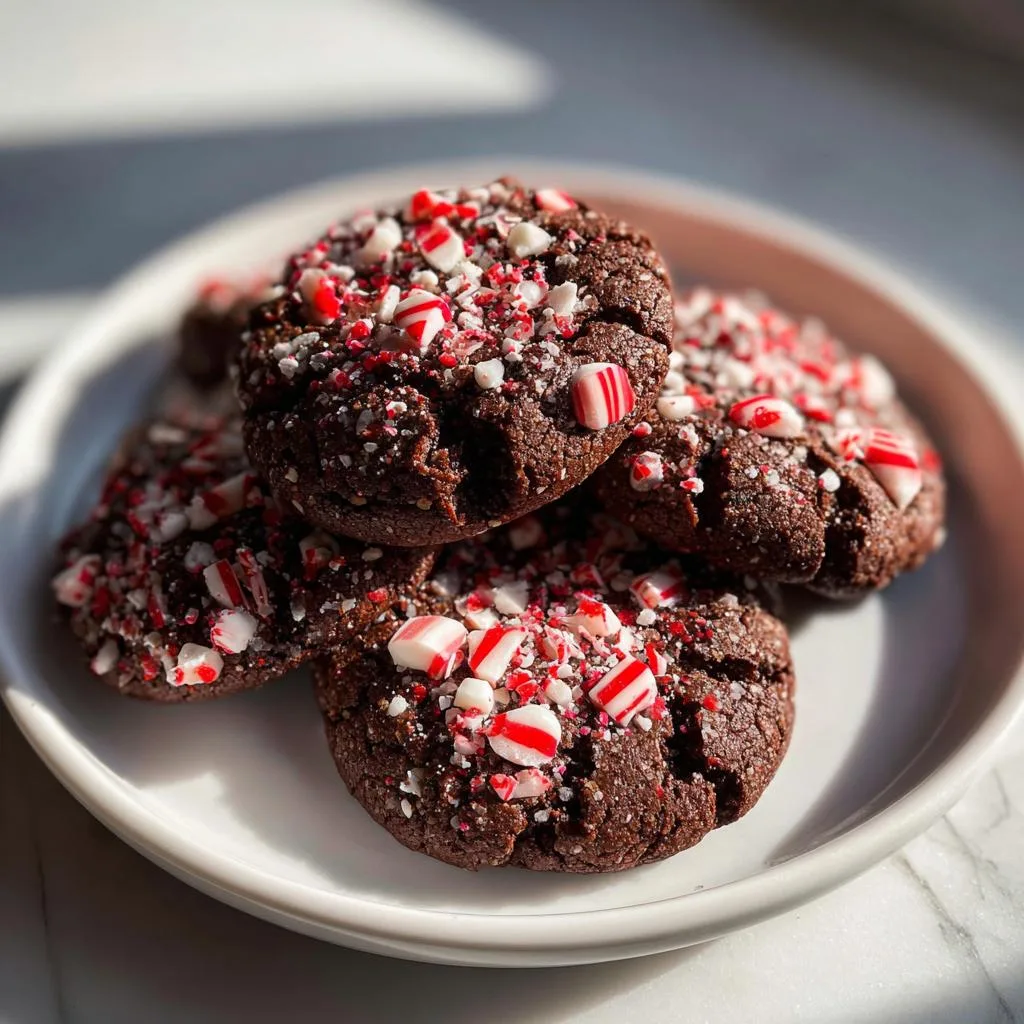
There’s something magical about the holidays—the twinkling lights, the cozy sweaters, and, of course, the smell of freshly baked cookies filling the house. But nothing beats the irresistible combo of rich chocolate and cool peppermint in these peppermint chocolate cookies. They’re my go-to festive treat, whether I’m hosting friends or packing them up as edible gifts. I still remember the first time I made them with my niece—her face lit up when she took that first bite, and now it’s our yearly tradition. Trust me, one taste of these, and you’ll be hooked. They’re the perfect little indulgence for any holiday gathering, and they come together so easily—just 25 minutes from bowl to plate! If you love holiday desserts, these cookies are a must-try.
Why You’ll Love These Peppermint Chocolate Cookies
Oh, where do I even start with these little bites of joy? First off, they’re so easy—just 25 minutes from start to finish, which means you can whip them up last-minute when surprise guests arrive (or when that cookie craving hits hard). The rich chocolate base is decadent but not overwhelming, and the peppermint twist? It’s like a festive little high-five in every bite. Perfect for holiday parties, cookie swaps, or just treating yourself while binge-watching holiday movies. And trust me, they disappear fast—I’ve yet to meet someone who doesn’t go back for seconds!
Ingredients for Peppermint Chocolate Cookies
Okay, let’s talk ingredients—because getting these right is what makes these cookies shine. I’ve made this recipe enough times to know that quality matters, especially with the chocolate and peppermint. Here’s what you’ll need, split into two simple groups:
For the Cookies
- 1 cup all-purpose flour – Spoon and level it, don’t scoop! That little trick keeps the cookies tender.
- ½ cup cocoa powder – Go for the good stuff here. Dutch-processed gives the deepest chocolate flavor.
- ½ tsp baking soda – Just enough lift without making them cakey.
- ¼ tsp salt – Balances the sweetness and makes the flavors pop.
- ½ cup unsalted butter, softened – Leave it out for 30 minutes—it should dent slightly when pressed.
- ¾ cup granulated sugar – For that perfect crisp edge and chewy center.
- 1 large egg – Room temperature blends better. Cold eggs can make the dough seize up.
- 1 tsp vanilla extract – The secret background note that ties everything together.
- ½ tsp peppermint extract – Start here; you can always add more if you love that extra kick!
For the Topping
- ½ cup crushed peppermint candies – Crush them just before rolling so they stay fresh and sparkly. Pro tip: Use a zip-top bag and a rolling pin—it’s way less messy!
See? Nothing fancy, just good, simple ingredients that work magic together. Now, let’s get mixing!
How to Make Peppermint Chocolate Cookies
Alright, let’s get to the fun part—making these peppermint chocolate cookies! Don’t worry, it’s easier than you think. I’ve made this recipe so many times I could probably do it in my sleep (and honestly, I might have once during a late-night baking spree). Follow these steps, and you’ll have perfect cookies every time.
- Preheat your oven to 350°F (175°C) and line your baking sheet with parchment paper. Trust me, this saves so much cleanup time later.
- In a bowl, whisk together the flour, cocoa powder, baking soda, and salt. I like to sift the cocoa powder first—it gets rid of any lumps and makes the cookies extra smooth.
- In another bowl, beat the butter and sugar until it’s light and fluffy. This takes about 2 minutes with a mixer. You’ll know it’s ready when it looks almost like whipped cream.
- Add the egg, vanilla, and peppermint extract and mix until just combined. Don’t overdo it here—we’re not making bread!
- Gradually add the dry ingredients to the wet, mixing until the dough comes together. It’ll be thick and fudgy, like brownie batter. Yum.
- Now for the fun part: roll the dough into 1-inch balls (I use a cookie scoop for this—less mess!) and roll each one in the crushed peppermint candies. Press lightly so the candies stick.
- Space them 2 inches apart on the baking sheet—they’ll spread a little. Bake for exactly 10 minutes. They might look underdone, but that’s perfect! They’ll firm up as they cool.
- Let them cool on the sheet for 5 minutes before moving to a wire rack. This is crucial—if you move them too soon, they’ll fall apart. Patience is key!
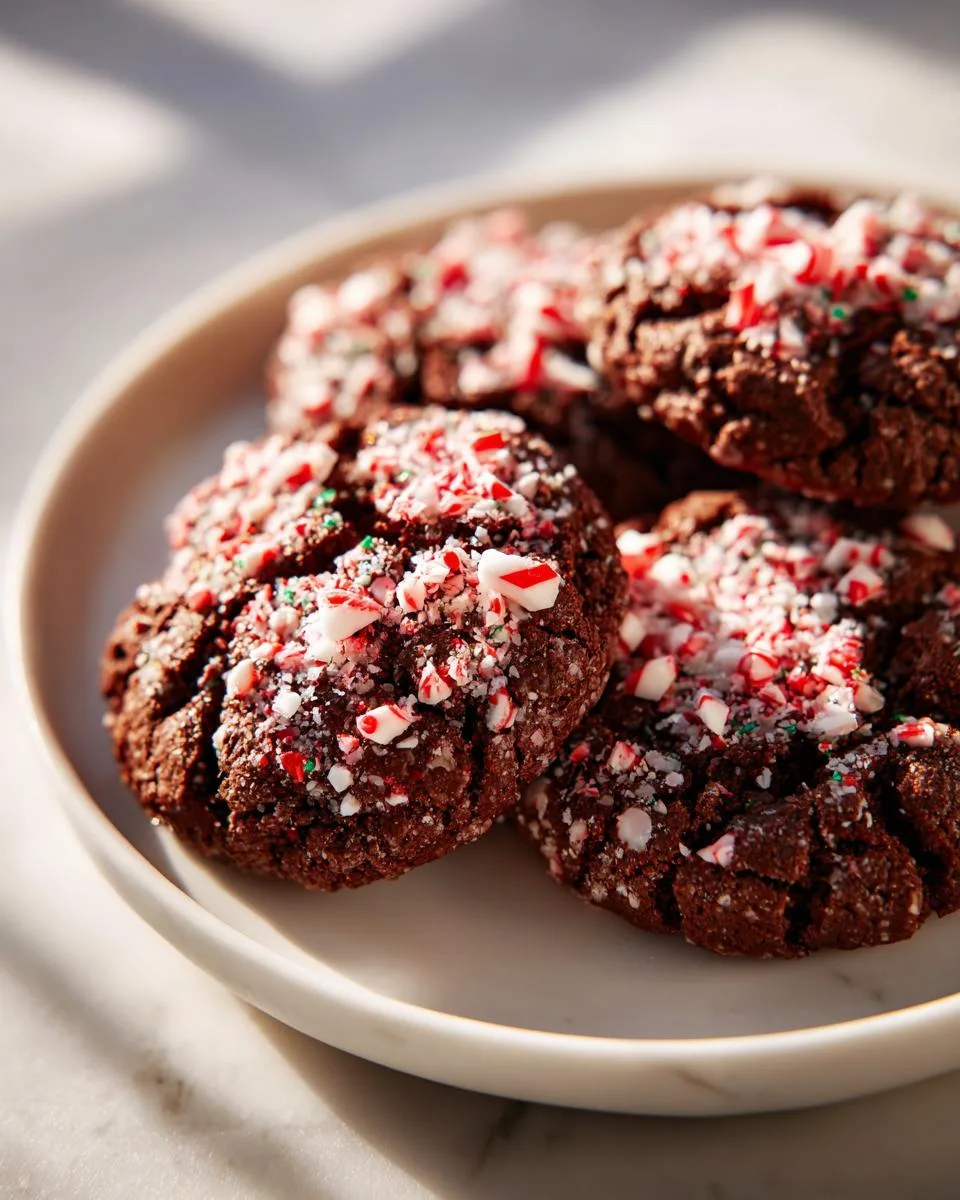
And voilà! You’ve got a batch of festive, minty-chocolatey goodness. These pair perfectly with a glass of cold milk or a cup of hot cocoa. If you’re feeling extra fancy, try drizzling them with melted white chocolate—it takes them to the next level. For more chocolatey inspiration, check out my chocolate banana bread—it’s another crowd-pleaser!
Tips for Perfect Peppermint Chocolate Cookies
Here are my tried-and-true tips to make sure your cookies turn out amazing:
- Don’t overmix the dough—stop as soon as the flour disappears. Overmixing makes tough cookies.
- Adjust the peppermint extract to taste. Love that cool minty kick? Add an extra ¼ tsp. Prefer it subtle? Stick to ½ tsp.
- Let the cookies cool on the sheet before transferring. They’re delicate when hot but firm up beautifully.
- Crush the peppermint candies just before using—they stay fresher and stick better to the dough.
Follow these, and you’ll have cookies that look (and taste!) like they came from a bakery. Happy baking!
Storage and Serving Suggestions
These peppermint chocolate cookies stay fresh and delicious for days—if they last that long! I always stash them in an airtight container at room temperature, where they keep their perfect texture for up to 5 days (though let’s be real, mine never make it past day two). For serving? A tall glass of cold milk is classic, but dunking them in hot cocoa takes the cozy factor to 11. Perfect for holiday movie nights!
Peppermint Chocolate Cookies FAQs
I get so many questions about these peppermint chocolate cookies—and hey, I asked the same things when I first made them! Here are the answers to the most common ones that pop up (usually while someone’s licking batter off a spoon).
Can I use mint extract instead of peppermint?
Technically yes, but be careful! Peppermint extract has that bright, cool flavor we love, while mint extract can taste more like spearmint (think gum). If that’s all you have, start with half the amount and taste-test—you can always add more. But for the classic holiday flavor, peppermint’s the way to go.
How do I stop my cookies from spreading too much?
Oh, I’ve been there—flat, sad cookies are the worst! First, make sure your butter is softened, not melted. Chill the dough for 30 minutes if your kitchen’s warm. And always use parchment paper—it helps them bake evenly. If they still spread, try adding an extra tablespoon of flour next time.
Can I freeze the dough for later?
Absolutely! Roll the dough balls first, freeze them on a tray until solid (about an hour), then toss them in a bag. When you’re ready, bake straight from frozen—just add 1-2 extra minutes. Perfect for when surprise guests arrive or, you know, when midnight cookie cravings strike.
Why are my cookies dry?
Overbaking is usually the culprit—they keep cooking a bit on the tray after you pull them out. Also, measure your flour correctly (spoon and level, don’t scoop!). And don’t skip the egg—it adds moisture. If all else fails, a quick microwave zap with a damp paper towel revives them like magic.
Can I use candy canes instead of peppermint candies?
Yes! Crushed candy canes work great—just avoid the ones with stripes, since the colors can bleed. Pro tip: Put them in a zip-top bag and whack them with a rolling pin. It’s oddly satisfying and makes the perfect crunchy topping.
Nutritional Information
Now, I’m no nutritionist, but I know you might be curious about what’s in these peppermint chocolate cookies! Keep in mind that values can vary based on your exact ingredients and brands—my homemade crushed peppermints might be different from yours. That said, here’s the general scoop per cookie: about 120 calories, 5g fat (3g saturated), 18g carbs (12g sugar), and 1g protein. Not bad for a festive treat, right? Just remember—these are meant to be enjoyed, not counted! Life’s too short to stress over cookie math.
Share Your Peppermint Chocolate Cookies
Nothing makes me happier than seeing your cookie creations! Did you add a twist to these peppermint chocolate cookies? Maybe a drizzle of white chocolate or a sprinkle of sea salt? Snap a pic and share it with me—I’d love to feature your baking wins! Drop a comment below, rate the recipe (be honest—I can take it!), or tag me on social media so we can all drool over your festive treats. And if you ever have questions, reach out—I’m always here to help troubleshoot or just chat cookies. Happy baking, friends!
Peppermint Chocolate Cookies
Ingredients
Equipment
Method
- Preheat the oven to 350°F (175°C) and line a baking sheet with parchment paper.
- In a bowl, whisk together the flour, cocoa powder, baking soda, and salt.
- In another bowl, beat the butter and sugar until light and fluffy. Add the egg, vanilla extract, and peppermint extract, mixing well.
- Gradually add the dry ingredients to the wet ingredients, mixing until just combined.
- Roll the dough into 1-inch balls, then roll each ball in the crushed peppermint candies.
- Place the cookies on the baking sheet, spacing them 2 inches apart. Bake for 10 minutes.
- Let the cookies cool on the baking sheet for 5 minutes before transferring to a wire rack.
Nutrition
Notes
Tried this recipe?
Let us know how it was!For more amazing recipes, be sure to check out our other sections to explore a variety of ideas that will enrich your cooking experience. Each section offers its own unique flavors to ensure a delightful culinary journey:
Easy and Quick Recipes: A collection of dishes that guarantee delicious meals with minimal effort and time.
Healthy Recipes: Discover healthy and delicious options that fit your lifestyle.
Desserts: A diverse selection of sweets that will add a special touch of sweetness to your table.
Lunch Recipes: Tasty lunch ideas that you can easily prepare to delight your family.
Dinner Recipes: Delicious and easy-to-make recipes that will make your dinner a memorable occasion.