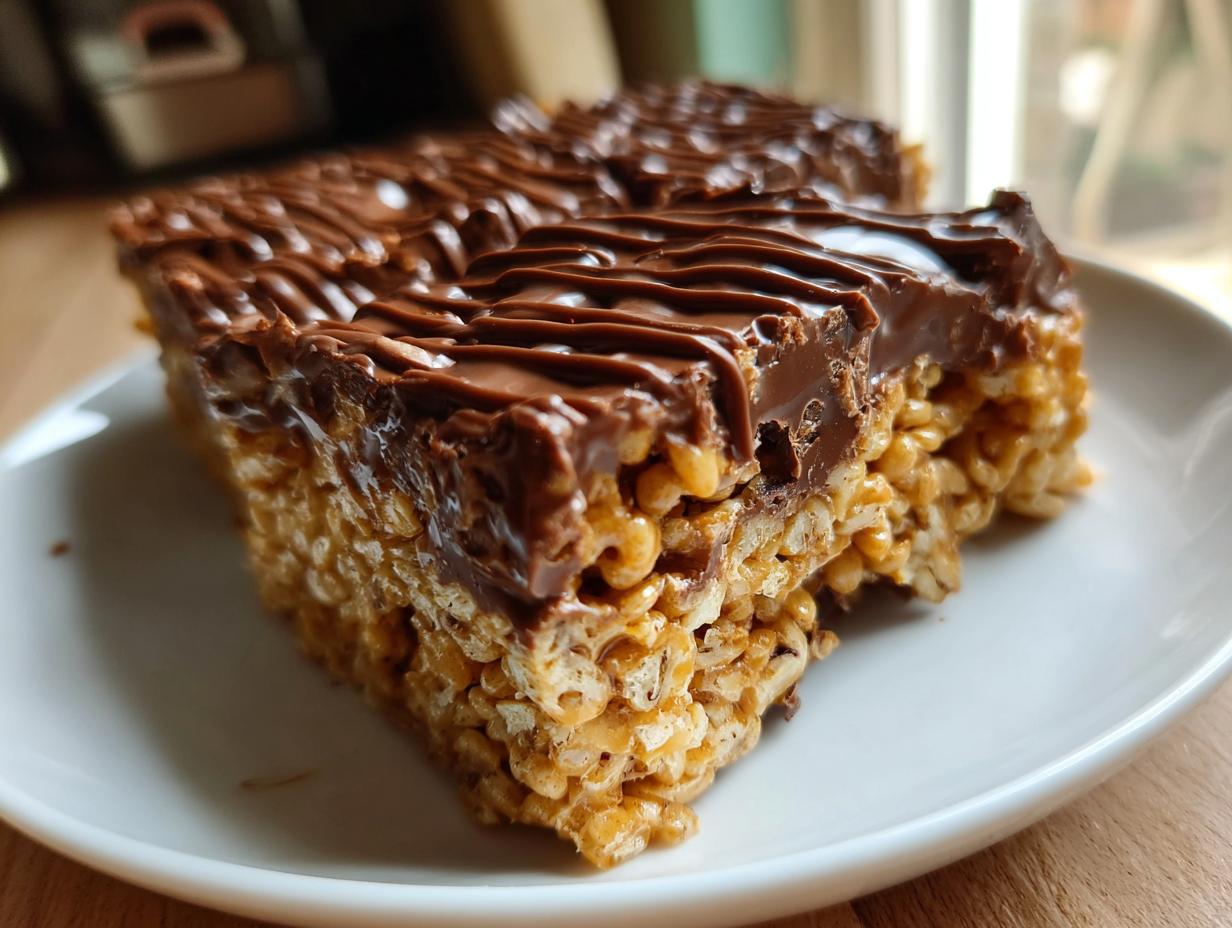
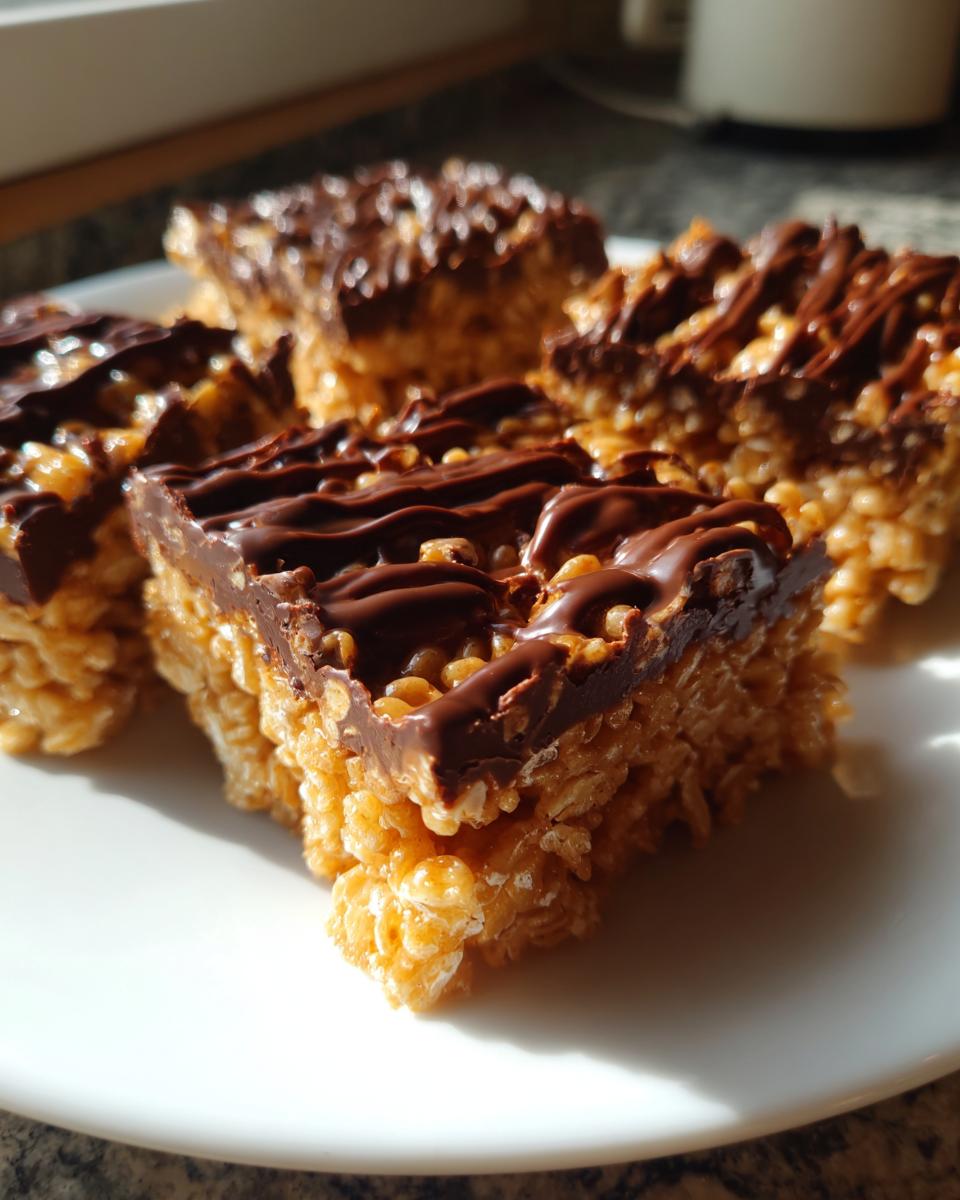
Oh my goodness, peanut butter rice krispie bars are my absolute weakness! There’s something magical about that perfect combo of sweet peanut butter and crispy cereal that takes me right back to childhood summers. I remember my mom whipping up a batch when friends came over – the whole house would smell like toasted peanuts and honey. Now I make them whenever I need a quick dessert fix or want to impress guests without turning on the oven. These no-bake wonders come together in minutes and disappear even faster. Whether you’re craving something sweet or need a last-minute treat for a potluck, these peanut butter rice krispie bars never disappoint. Check out more of my favorite easy dessert ideas if you love simple recipes like this one!
Why You’ll Love These Peanut Butter Rice Krispie Bars
Let me count the ways these peanut butter rice krispie bars will steal your heart (and probably become your new favorite dessert)!
- No oven required – Seriously, just a saucepan and some stirring. Perfect for hot summer days when baking sounds miserable.
- Ready in 20 minutes – From pantry to pan faster than you can say “I need something sweet right now!”
- Kid-approved magic – Little hands love helping press the mixture into the pan (and licking the spoon afterward).
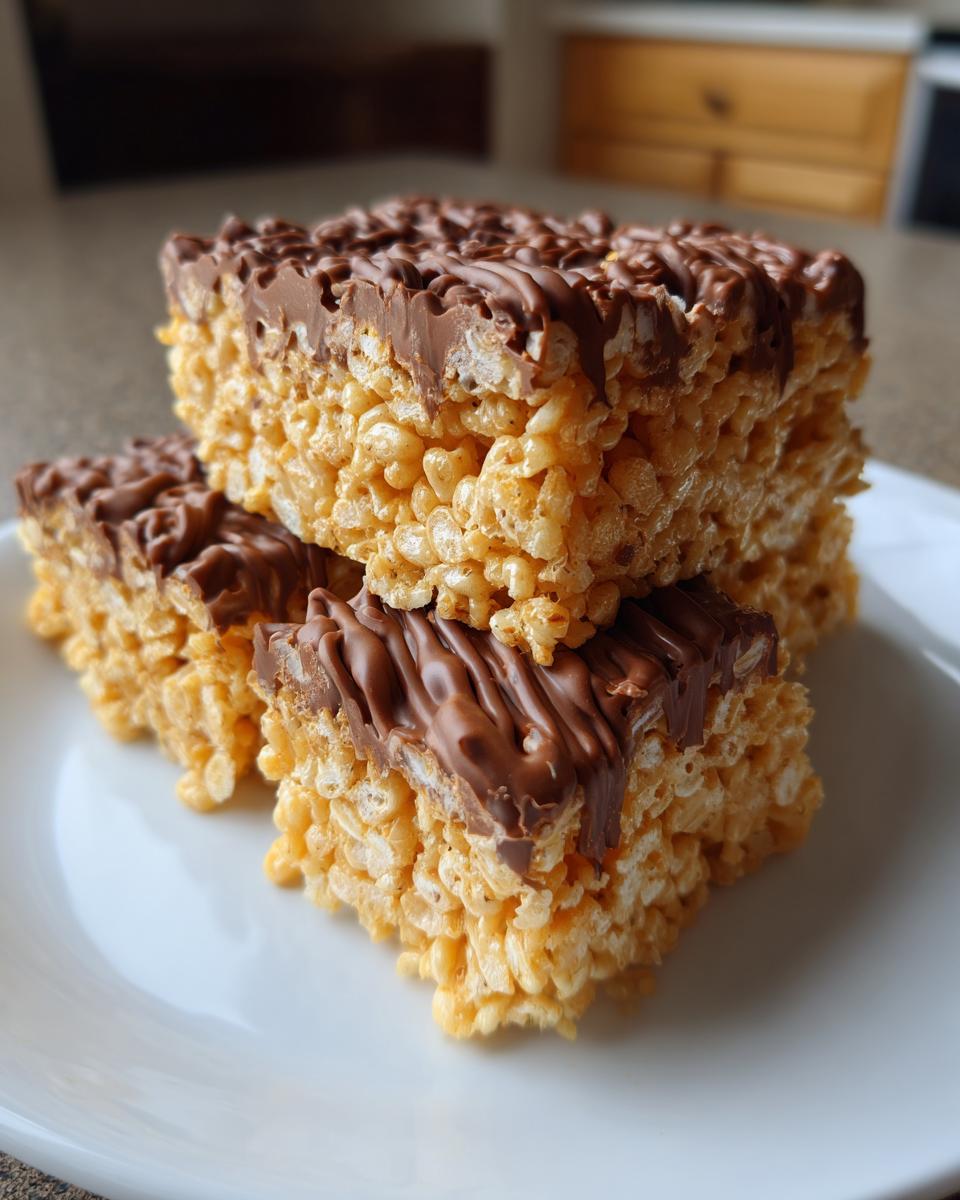
- That addictive crunch – The crispy cereal with creamy peanut butter creates the most satisfying texture.
- Crowd-pleaser alert – I’ve never brought these to a party without someone asking for the recipe.
- Customizable fun – Add chocolate chips, sprinkles, or sea salt on top to make them your own.
Trust me, once you try this recipe, you’ll understand why I always keep the ingredients stocked!
Ingredients for Peanut Butter Rice Krispie Bars
Gathering ingredients for these peanut butter rice krispie bars is almost as easy as making them! I’ve learned over the years that quality matters here – splurge on good peanut butter and you’ll taste the difference. Here’s everything you’ll need to create these irresistible treats:
For the Bars
- 1 cup creamy peanut butter – Don’t even think about the natural kind that separates! We need that smooth, spreadable texture.
- 1/2 cup honey – The perfect sweetener that helps everything stick together beautifully.
- 3 cups rice krispie cereal – Freshness matters! If your box has been open awhile, the bars won’t have that signature crunch.
- 1 tsp vanilla extract – Just a splash to round out all those delicious flavors.
For the Topping
- 1/2 cup chocolate chips – Semi-sweet is my favorite, but milk chocolate works too if you’ve got a sweet tooth.
- 1 tbsp peanut butter – This helps the chocolate drizzle smoothly and adds extra peanut flavor.
See? Just six simple ingredients for bars that taste like pure nostalgia. Now let’s get mixing!
How to Make Peanut Butter Rice Krispie Bars
Okay, friends – let’s make some magic happen! These peanut butter rice krispie bars are so simple you’ll wonder why you ever bothered with complicated desserts. I’ve made this recipe probably a hundred times (no exaggeration), and here’s exactly how I get perfect results every single time.
First things first – line that 9×9 pan with parchment paper. Trust me, you’ll thank me later when your bars pop right out without sticking. Now grab your saucepan and let’s melt the peanut butter and honey together over low heat. Keep stirring until it’s smooth as silk – this usually takes me about 3 minutes. Don’t walk away though! Burnt peanut butter smells terrible and ruins the whole batch.
Once it’s melted, take it off the heat and stir in that vanilla extract. The aroma will make your kitchen smell like heaven. Now dump in all that crispy rice cereal and mix like crazy until every single piece is coated. I use a big wooden spoon for this – it just feels right!
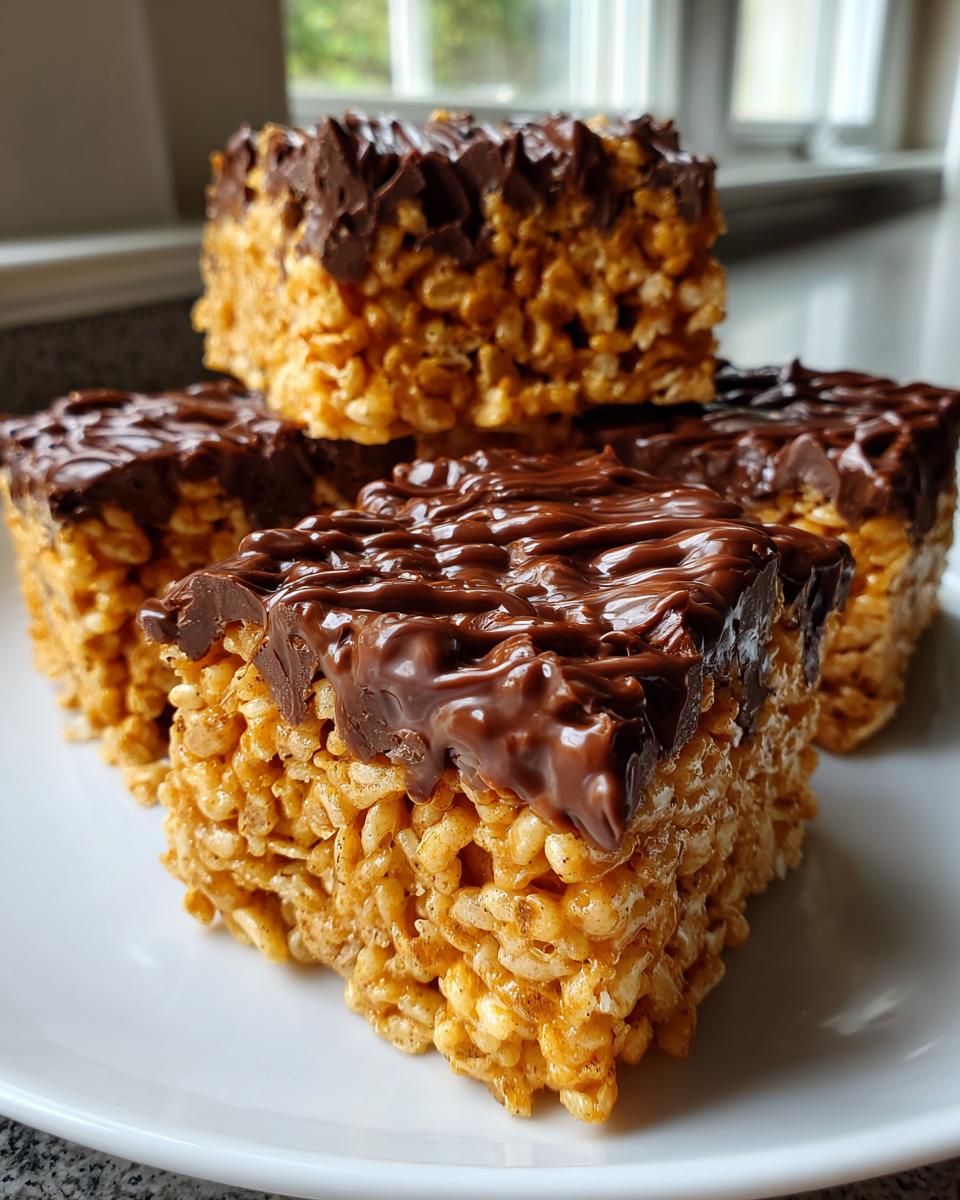
Here’s my secret trick: press the mixture into your prepared pan REALLY firmly. I mean it – use all your strength! This keeps the bars from crumbling later. Then pop them in the fridge while you melt the chocolate topping. Just microwave the chips and peanut butter in 30-second bursts, stirring between each one. Drizzle it over your chilled bars in whatever fancy pattern you like (or just go wild – I won’t judge).
The hardest part? Waiting that full hour for them to set! But it’s worth it for that perfect crisp-chewy texture. If you’re craving more no-bake goodness, try my no-bake Oreo cheesecake next – it’s another crowd favorite!
Tips for Perfect Peanut Butter Rice Krispie Bars
After making these peanut butter rice krispie bars more times than I can count, I’ve learned all the tricks to guarantee perfect results every time! First – don’t skimp on pressing that mixture into the pan. I mean really lean into it with all your weight. Those bars need to be packed tight or they’ll crumble when you cut them.
Here’s my golden rule: parchment paper is non-negotiable. Trying to pry these sticky bars out of a greased pan is a nightmare I wouldn’t wish on anyone. And when melting the chocolate topping, go slow! Thirty-second bursts in the microwave with stirring in between keeps it from seizing up into a grainy mess.
Oh! And if your peanut butter mixture seems too thick to coat the cereal evenly, add a teaspoon of vegetable oil to loosen it up. Works like a charm! The most important tip? Let them chill the full hour before cutting – patience rewards you with that perfect crisp-chewy texture we all love.
Variations for Peanut Butter Rice Krispie Bars
Oh, the fun you can have with these peanut butter rice krispie bars! Once you’ve mastered the basic recipe (which is perfect as-is, don’t get me wrong), try these delicious twists that’ll make each batch exciting:
Sweet & Salty: Mix in a handful of crushed pretzels or sprinkle flaky sea salt on top before the chocolate sets. That salty crunch against the sweet peanut butter? Absolute magic!
Nutty Delight: Swap half the cereal for chopped peanuts or almonds. Extra crunch, extra flavor – what’s not to love?
Chocolate Lover’s Dream: Stir in mini chocolate chips with the cereal, or go wild with a double layer of melted chocolate on top.
Maple Twist: Replace the honey with pure maple syrup for a deeper, richer sweetness that pairs beautifully with the peanut butter.
The best part? You can mix and match these ideas to create your perfect custom bar. Just don’t blame me when you can’t stop making batch after batch!
Storage and Serving Suggestions
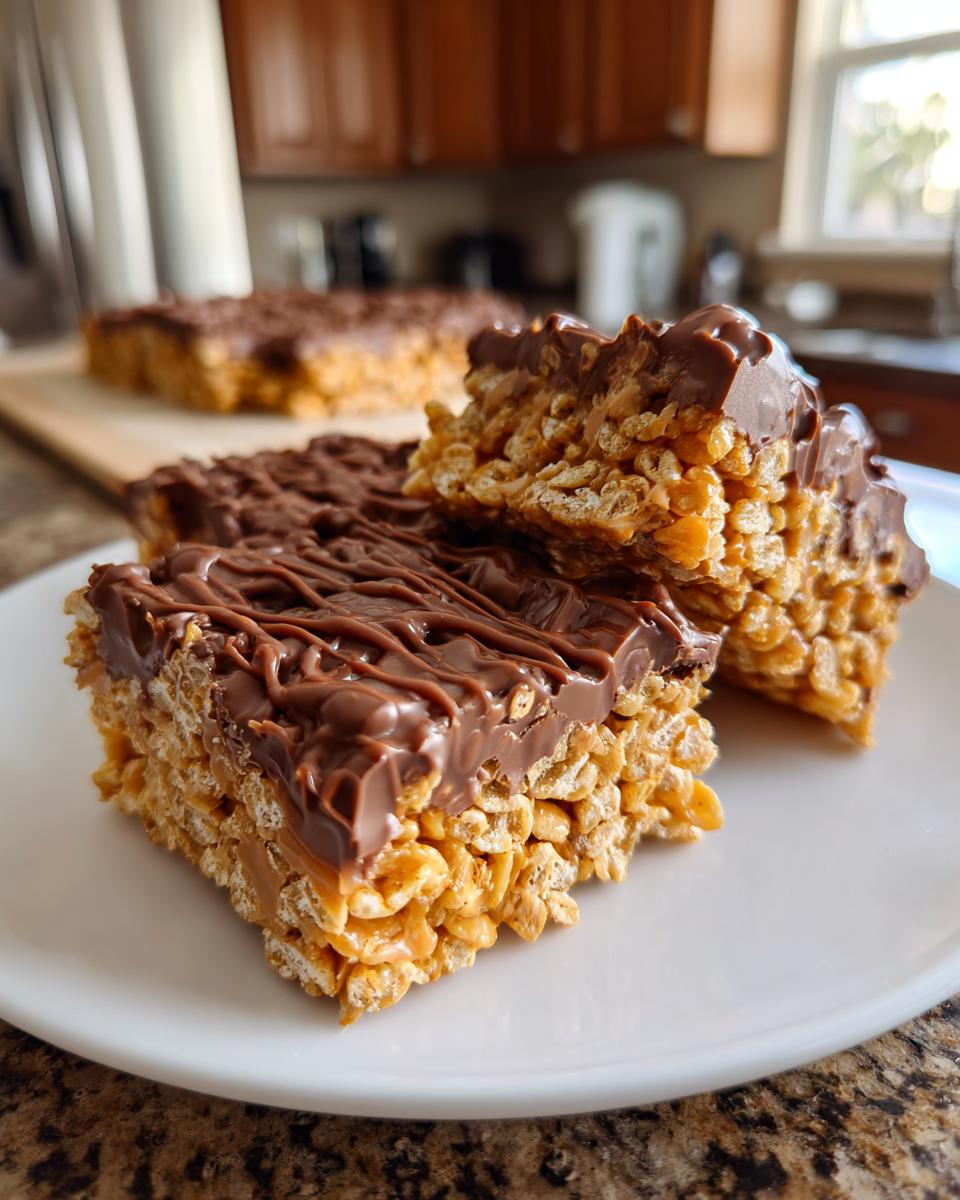
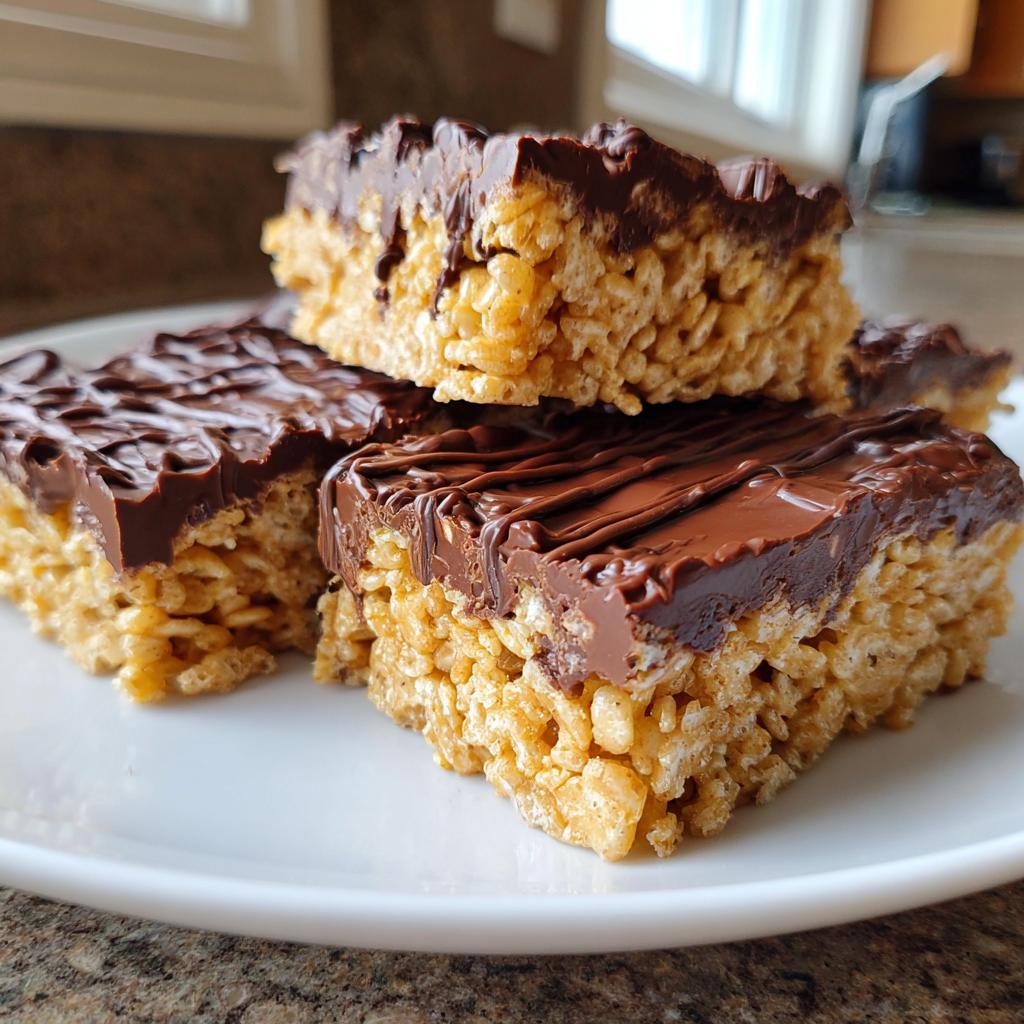
Here’s the scoop on keeping your peanut butter rice krispie bars fresh and delicious! I always store mine in an airtight container in the fridge – the cold helps them keep that perfect chewy-crispy texture. They’ll stay amazing for about 5 days (if they last that long!). For parties, I cut them into cute little squares and arrange them on a platter. They’re fantastic with a cold glass of milk or crumbled over vanilla ice cream. Pro tip: let them sit at room temperature for 10 minutes before serving – that peanut butter flavor really pops when they’re not ice-cold!
Nutritional Information
Now, I’m no nutritionist, but I can tell you these peanut butter rice krispie bars pack some decent energy! Keep in mind these numbers are just estimates – your exact counts might vary depending on the brands you use. They’ve got protein from the peanut butter, carbs for quick energy, and just enough sweetness to satisfy that dessert craving without going overboard. Everything in moderation, right? Just don’t ask me to stop at one bar – that’s basically impossible!
Frequently Asked Questions
Can I use crunchy peanut butter instead of creamy?
Absolutely! I actually love the extra texture from crunchy peanut butter – those little peanut bits add such a nice surprise. Just know your bars won’t be quite as smooth when you press them into the pan. If you’re worried about consistency, try mixing half creamy and half crunchy for the best of both worlds!
How long do these peanut butter rice krispie bars last?
In my house? Maybe 24 hours if I’m lucky! But seriously, they’ll stay fresh in an airtight container in the fridge for about 5 days. The cereal might lose a tiny bit of crispness after day 3, but they’ll still taste amazing. You can also freeze them for up to a month – just thaw at room temperature for 10 minutes before serving.
Can I substitute the honey with something else?
You bet! Maple syrup works beautifully and gives a lovely rich flavor. Agave nectar is another great option if you prefer. Just avoid corn syrup – it makes the bars way too sticky. Whatever you use, keep the same measurements and you’ll be golden.
Why won’t my bars stick together?
Oh no! This usually happens if you didn’t press the mixture firmly enough into the pan or if your peanut butter mixture wasn’t warm enough to properly coat the cereal. Next time, really pack it down hard with your hands (I sometimes use the bottom of a measuring cup to help). And make sure your peanut butter-honey mixture is nice and hot before adding the cereal!
Can I make these vegan?
Easy peasy! Just use maple syrup instead of honey and check that your chocolate chips are vegan-certified. The rest of the ingredients are already plant-based. I’ve made them this way for my vegan friends and they couldn’t tell the difference – still just as delicious!
Peanut Butter Rice Krispie Bars
Ingredients
Equipment
Method
- Line a 9×9 inch baking pan with parchment paper.
- In a saucepan, melt peanut butter and honey over low heat, stirring until smooth.
- Remove from heat and stir in vanilla extract.
- Add rice krispie cereal and mix until fully coated.
- Press the mixture firmly into the prepared pan.
- Melt chocolate chips and peanut butter together, then drizzle over the bars.
- Chill in the refrigerator for at least 1 hour before cutting into bars.
Nutrition
Notes
Tried this recipe?
Let us know how it was!For more amazing recipes, be sure to check out our other sections to explore a variety of ideas that will enrich your cooking experience. Each section offers its own unique flavors to ensure a delightful culinary journey:
Easy and Quick Recipes: A collection of dishes that guarantee delicious meals with minimal effort and time.
Healthy Recipes: Discover healthy and delicious options that fit your lifestyle.
Desserts: A diverse selection of sweets that will add a special touch of sweetness to your table.
Lunch Recipes: Tasty lunch ideas that you can easily prepare to delight your family.
Dinner Recipes: Delicious and easy-to-make recipes that will make your dinner a memorable occasion.