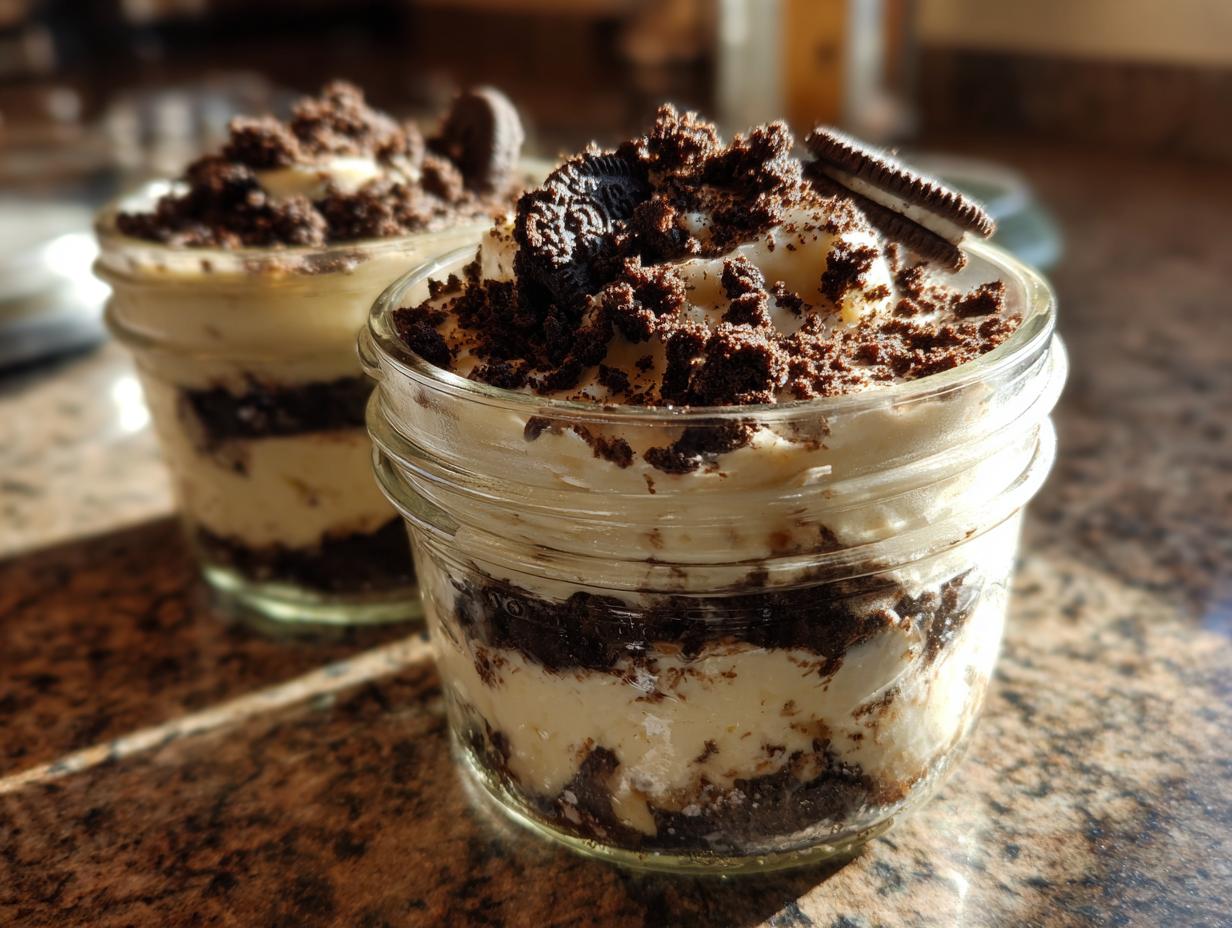
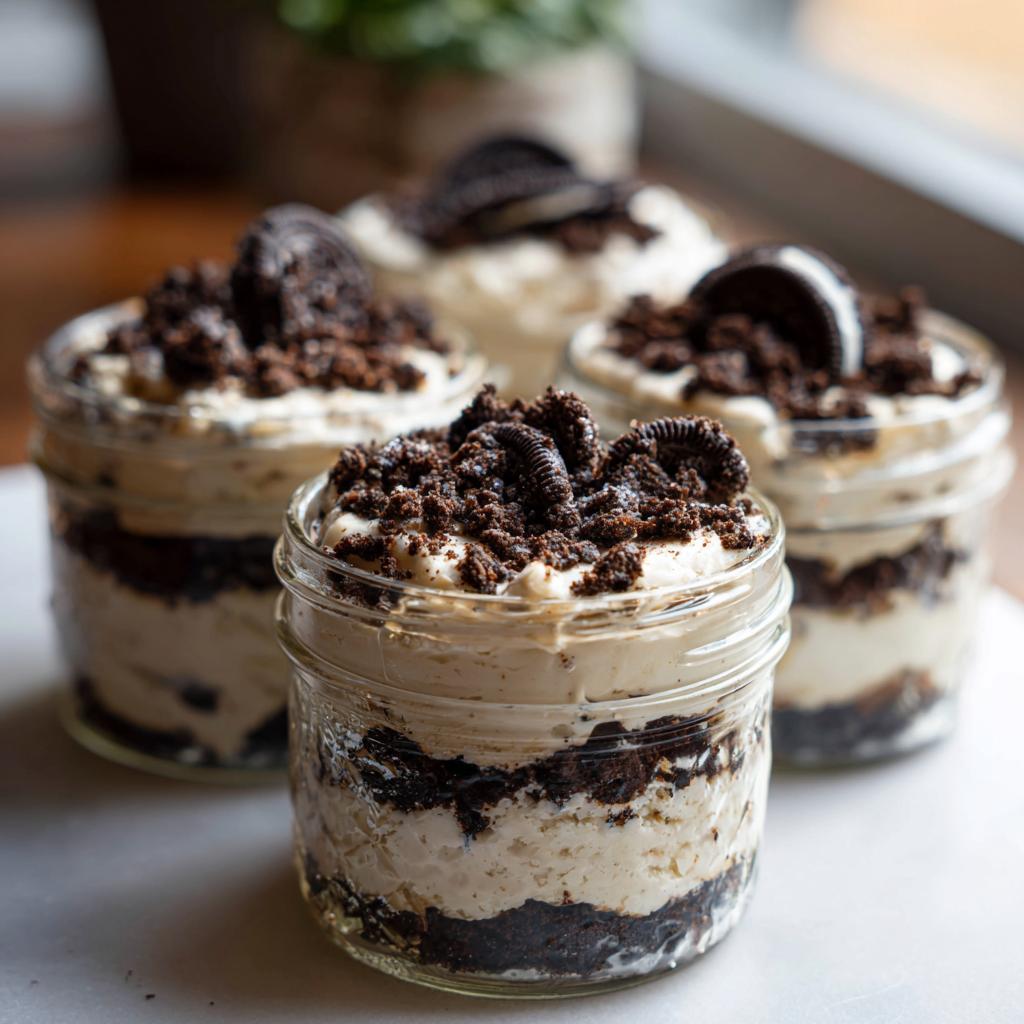
You know those nights when you need a quick dessert that looks like you spent hours on it? These Oreo cheesecake dessert jars are my secret weapon! I can’t tell you how many times I’ve whipped these up last-minute when friends popped over. The best part? No oven required – just layer crushed Oreos with creamy cheesecake filling, and you’ve got little pots of chocolatey heaven ready in 15 minutes flat. After testing dozens of no-bake recipes over the years (trust me, I’ve had my share of kitchen fails!), these little jars became my go-to for summer barbecues, book club nights, or just when my sweet tooth attacks. They’re like personal cheesecakes – except way easier and more fun to eat with a spoon straight from the jar! Head over to my dessert recipes if you love no-fuss sweet treats like I do.
Why You’ll Love These Oreo Cheesecake Dessert Jars
Let me count the ways these little jars will steal your heart (and probably your diet resolutions)! Here’s why they’re always the first dessert to disappear at my house:
- No oven needed – Perfect for when it’s too hot to bake or you’re just feeling lazy (we’ve all been there!)
- Ready in 15 minutes – Faster than ordering takeout, and way more satisfying
- Built-in portion control – Though let’s be real, I’ve been known to “accidentally” eat two
- Impossible to mess up – Even my kitchen-disaster-prone cousin can make these look fancy
Seriously, the hardest part is waiting that one hour for them to chill – but I won’t judge if you sneak a spoonful early!
Ingredients for Oreo Cheesecake Dessert Jars
Okay, let’s talk ingredients – and I promise, there’s nothing weird or fancy here! This is one of those magical recipes where simple stuff transforms into something amazing. I’ve made these jars so many times I could probably do it in my sleep, but I still double-check my ingredients every time. Here’s what you’ll need:
For the Crust
- 12 Oreo cookies – crushed (cream filling and all – that’s where the magic is!)
- 2 tbsp melted butter – I usually zap mine for 15 seconds because I’m impatient
For the Cheesecake Filling
- 8 oz cream cheese – softened (leave it out for 30 minutes, or cheat with 10 seconds in the microwave)
- 1/4 cup granulated sugar – just enough sweetness without going overboard
- 1 tsp vanilla extract – the good stuff if you’ve got it
- 1/2 cup heavy cream – whipped to soft peaks (cold cream whips best!)
- 4 Oreo cookies – crushed, for topping (because more Oreos is always better)
See? Nothing complicated! Just grab these basics and you’re minutes away from the creamiest, dreamiest Oreo cheesecake jars ever. Pro tip: Buy extra Oreos – you’ll want to snack while you cook!
Equipment Needed for Oreo Cheesecake Dessert Jars
Don’t worry – you don’t need fancy gadgets for these jars! Here’s what I grab every time:
- Mixing bowl – Any medium-sized bowl works, but I love my glass one so I can see when everything’s perfectly combined
- Electric mixer – Or just flex those arm muscles with a whisk (I’ve done both – the mixer definitely wins when I’m feeling lazy!)
- 4 small jars – Mason jars, cute dessert glasses, even cleaned-out jam jars – whatever makes you happy!
That’s seriously it! No special tools required – just grab what you’ve got and let’s make some magic happen.
How to Make Oreo Cheesecake Dessert Jars
Alright, let’s get to the fun part – making these irresistible Oreo cheesecake jars! I’ve made this recipe more times than I can count, and I’ve learned a few tricks along the way. Follow these steps, and you’ll have perfect little jars of happiness in no time:
- Mix the crust – Toss those crushed Oreos with melted butter until it looks like wet sand. Don’t be shy – really get in there with your hands if you want! This is the foundation of your jar, so make sure every crumb gets buttery love.
- Press into jars – Divide the mixture between your jars and press firmly with the back of a spoon. I like to make mine about 1/4 inch thick – enough to hold up to that creamy filling but not so much it overpowers it.
- Beat the filling – Whip the cream cheese, sugar, and vanilla until smooth. This is where my no-bake cheesecake obsession started! Scrape the bowl halfway through – trust me, you don’t want lumps.
- Fold in the cream – Gently mix in the whipped cream until just combined. Overmixing here makes the filling loose, and we want that luxurious texture!
- Layer it up – Spoon or pipe the filling over your crusts. I sometimes do two layers of each for extra drama – because why not?
- Top it off – Sprinkle with those extra crushed Oreos. The crunch against the creamy filling? Absolute perfection.
- Chill out – Pop them in the fridge for at least an hour. I know it’s hard to wait, but this sets everything beautifully. Pro tip: Make them in the morning for dessert that night!
See? Easy peasy! The hardest part is resisting the urge to eat them straight away. But that hour of chilling gives you time to clean up and maybe sneak a spoonful of leftover filling… not that I’d know anything about that!
Tips for Perfect Oreo Cheesecake Dessert Jars
After making these jars more times than I can count (and yes, eating them just as often!), I’ve picked up some tricks that’ll take yours from good to “oh my goodness, give me the recipe!” good:
- Chill that cream cheese – Room temp is good, but slightly chilled cream cheese whips up fluffier without turning soupy. I pop mine in the freezer for 10 minutes if I’m in a hurry!
- Go full-fat or go home – This is dessert, friends. Low-fat cream cheese and whipped topping just don’t give that same luxurious mouthfeel. Treat yourself!
- Crush those Oreos right – For the crust, I pulse mine in a food processor until they’re like fine sand. No big chunks means no crumbling when you dig in with your spoon.
- Time your toppings – Add those final Oreo crumbs right before serving to keep them crisp. Though between us? I sometimes add extra right after making them because I can’t resist!
Follow these simple tricks, and you’ll have people begging you to bring these jars to every gathering. Not that I’d know from experience… okay, maybe I do!
Variations for Oreo Cheesecake Dessert Jars
One of my favorite things about these jars is how easily you can mix them up! Here are some fun twists I’ve tried (and loved):
- Mint Oreos – Swap in the green ones for a festive twist that tastes like Christmas in a jar!
- Chocolate sauce layers – Drizzle some between the crust and filling for extra richness (because chocolate is always a good idea).
- Gluten-free option – Use your favorite GF cookies – the texture works just as well.
Dairy-free? No problem! Coconut cream whips up beautifully instead of heavy cream. The possibilities are endless – have fun with it!
Serving and Storing Oreo Cheesecake Dessert Jars
Here’s the scoop on keeping these little jars perfect! Serve them chilled – that hour in the fridge makes all the difference for that dreamy cheesecake texture. They’ll keep happily in your fridge for up to 3 days (if they last that long!). Just pop some plastic wrap over the tops to keep them fresh. One warning though – don’t freeze them! The creamy filling gets weirdly grainy when thawed. Trust me, I learned that lesson the hard way after trying to stash some for “later.” Now I just make fresh batches when the craving hits – which happens more often than I’d like to admit!
Nutritional Information for Oreo Cheesecake Dessert Jars
Okay, let’s be real – we’re not eating these jars for their health benefits! But since you asked (or maybe just feel a tiny bit guilty), here’s the scoop on what’s in each delicious serving. Remember, these numbers are estimates – they’ll vary based on your exact ingredients and how generous you are with those Oreo crumbs!
Each jar clocks in at about:
- 420 calories – Worth every single one!
- 28g fat – That’s where all the creamy goodness comes from
- 38g carbs – Mostly from those irresistible Oreos
- 5g protein – Surprise! A little protein in your dessert
There you have it – the facts without any of the guilt. Now go enjoy your jar (or two… I won’t tell)!
FAQs About Oreo Cheesecake Dessert Jars
Can I use other cookies besides Oreos?
Absolutely! I’ve tried everything from golden Oreos to chocolate chip cookies – they all work great. Just keep in mind that sweeter cookies might need less sugar in the filling. My personal favorite swap? Those peanut butter sandwich cookies – they add such a delicious twist!
How long do these dessert jars last in the fridge?
They’ll stay perfect for about 3 days chilled, though in my house they never last that long! The crust might soften a bit by day two, but the flavor just gets better. Pro tip: If you see separation (which rarely happens), just give them a quick stir before serving.
Can I make these jars ahead of time?
You bet! These are my go-to make-ahead dessert. Just assemble everything except the final Oreo topping, then add that right before serving to keep it crunchy. The filling actually sets better after a few hours in the fridge – win-win!
Oreo Cheesecake Dessert Jars
Ingredients
Equipment
Method
- Mix crushed Oreos and melted butter in a bowl until combined.
- Press the mixture into the bottom of each jar to form the crust.
- Beat cream cheese, sugar, and vanilla until smooth.
- Fold in whipped cream until fully incorporated.
- Spoon the cheesecake filling over the crust in each jar.
- Top with additional crushed Oreos.
- Refrigerate for at least 1 hour before serving.
Nutrition
Notes
Tried this recipe?
Let us know how it was!For more amazing recipes, be sure to check out our other sections to explore a variety of ideas that will enrich your cooking experience. Each section offers its own unique flavors to ensure a delightful culinary journey:
Easy and Quick Recipes: A collection of dishes that guarantee delicious meals with minimal effort and time.
Healthy Recipes: Discover healthy and delicious options that fit your lifestyle.
Desserts: A diverse selection of sweets that will add a special touch of sweetness to your table.
Lunch Recipes: Tasty lunch ideas that you can easily prepare to delight your family.
Dinner Recipes: Delicious and easy-to-make recipes that will make your dinner a memorable occasion.