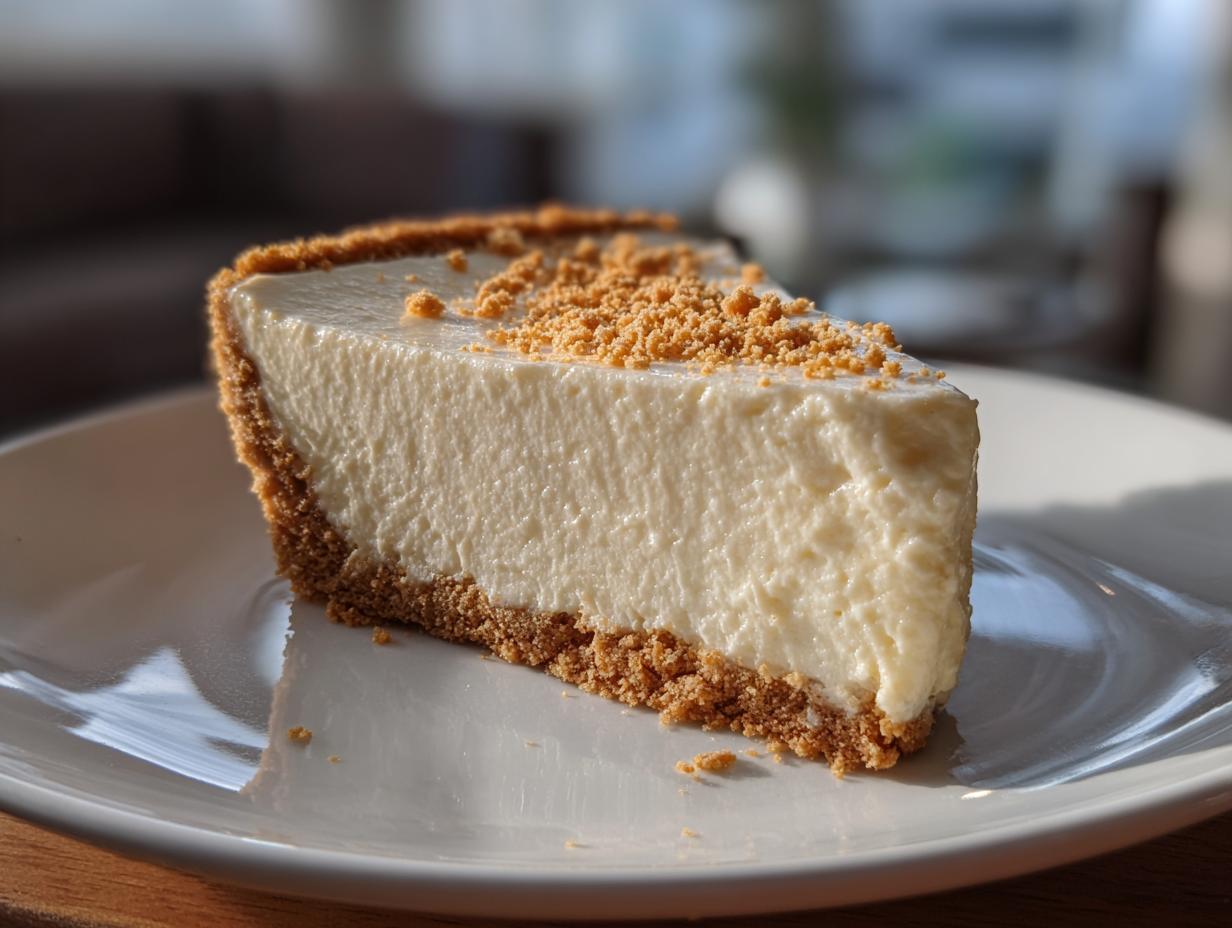
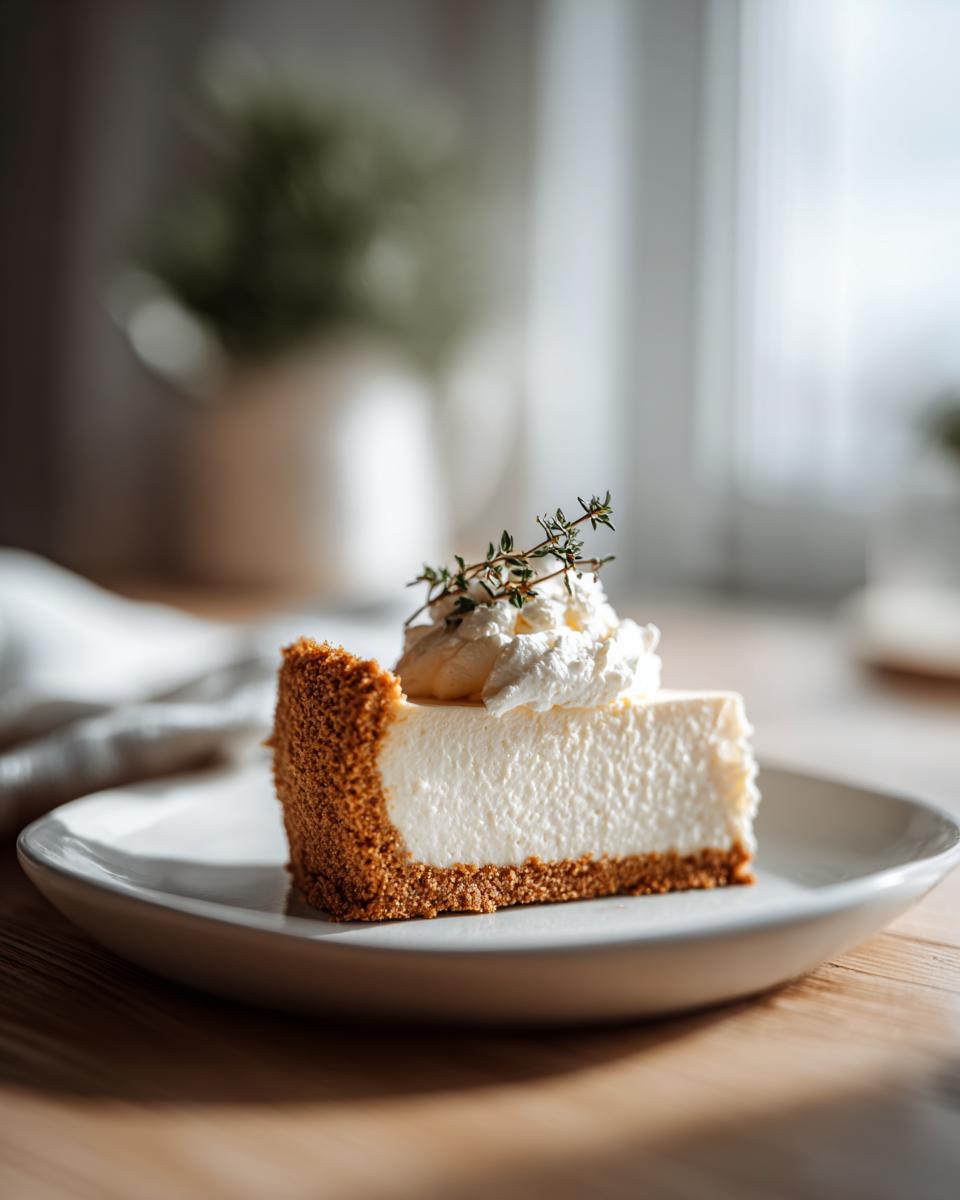
Oh my gosh, let me tell you about my absolute favorite lifesaver dessert – no bake cheesecake! It’s perfect for those days when you need something sweet but don’t want to turn on the oven (especially during summer when it’s already hot enough). I first made this recipe when I was in college and needed an impressive dessert for a potluck – with zero baking skills and no proper equipment. The moment I took my first creamy, dreamy bite, I was hooked! Now it’s my go-to for last-minute gatherings, and trust me, no one ever guesses how ridiculously easy it is. The best part? You can whip it up in just 20 minutes flat, then let the fridge do all the work while you relax. Check out more of my favorite dessert recipes if you’re as obsessed with easy sweets as I am!
Why You’ll Love This No Bake Cheesecake Dessert
Listen, I know I’m biased, but this no bake cheesecake is truly magical – and here’s why you’ll fall head over heels for it too:
- No oven required – Perfect for hot summer days or when you just can’t be bothered to preheat that darn oven
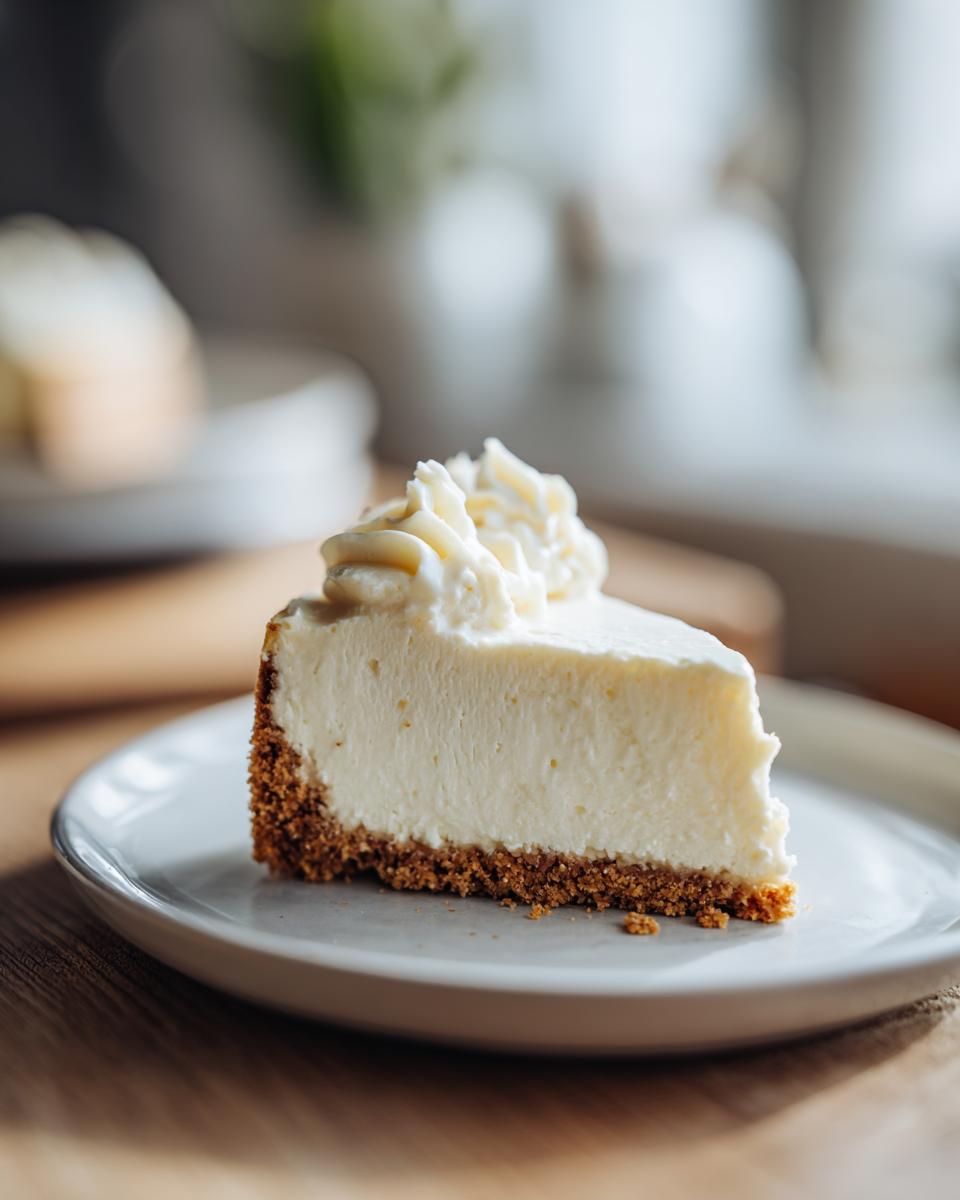
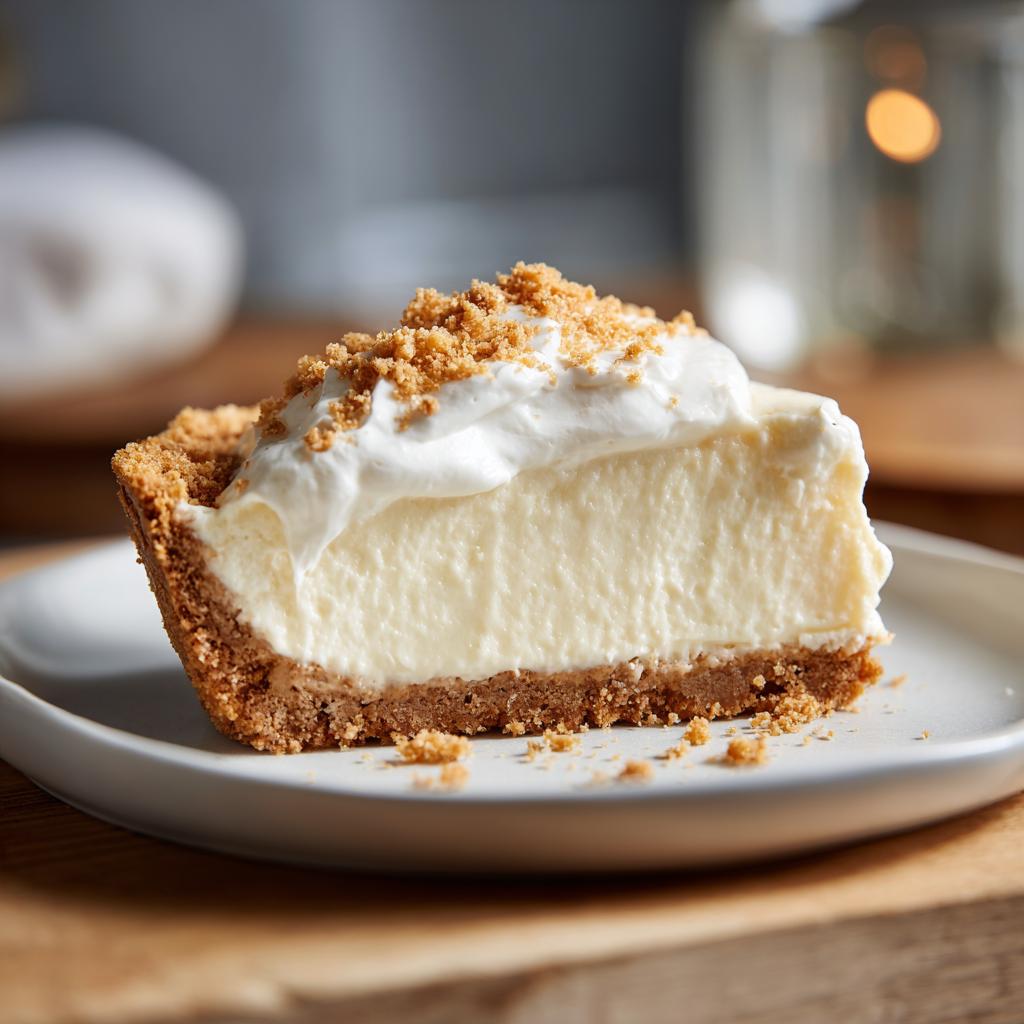
- Creamy dreamy texture – That velvety smooth filling will make you swear it came from a fancy bakery
- Ready in 20 minutes (plus chilling) – Faster than ordering dessert delivery!
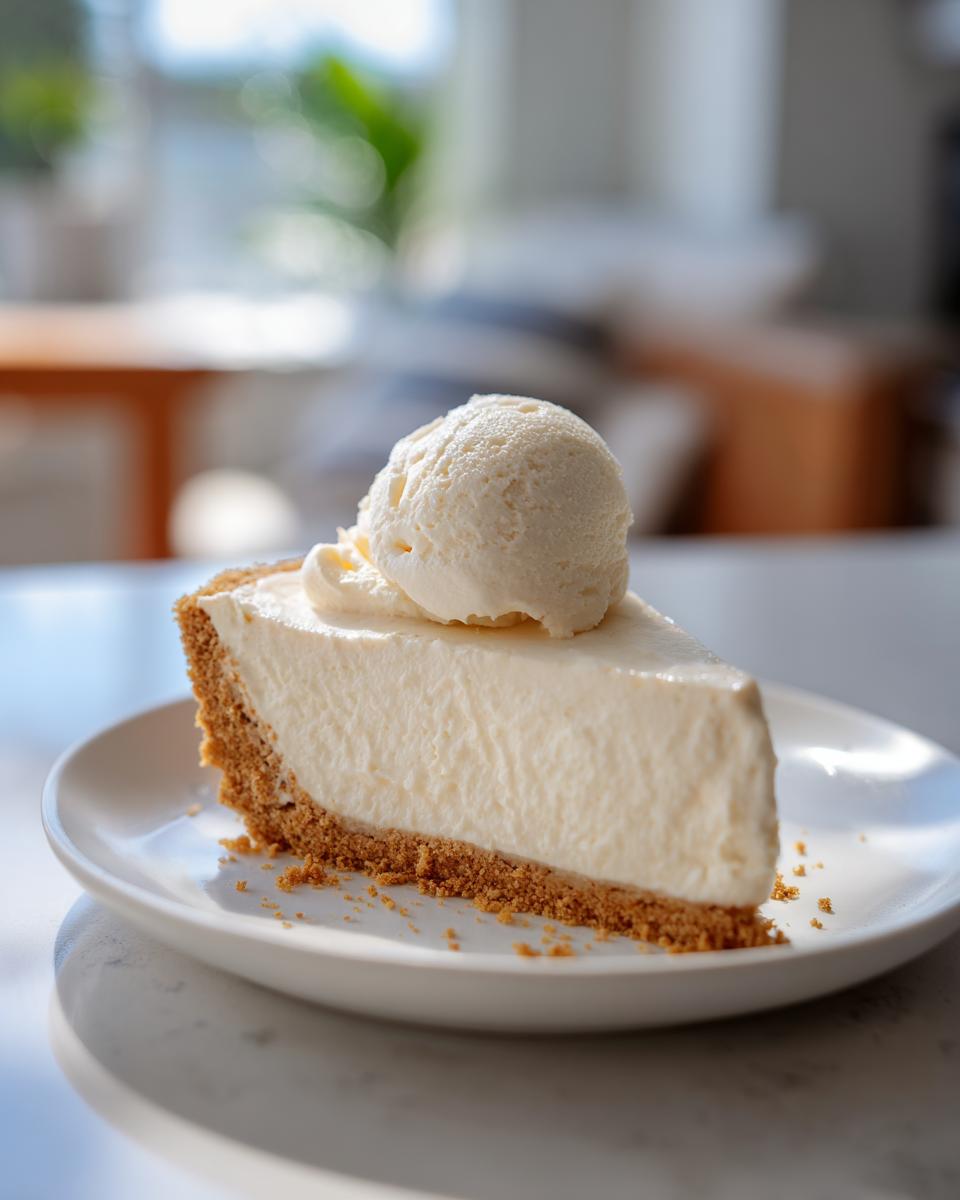
- Endless topping options – Fresh berries, chocolate sauce, caramel drizzle – go wild with whatever you’ve got
- Foolproof – Even my baking-challenged cousin can’t mess this one up
Seriously, this recipe has saved my bacon more times than I can count when unexpected guests show up. The compliments will pour in, and only you’ll know how ridiculously simple it was to make!
Ingredients for No Bake Cheesecake Desserts
Okay, let’s talk ingredients – and I mean exactly what you’ll need to make this dreamy dessert come together. I’ve learned through trial and error (mostly error) that using the right stuff makes all the difference between “meh” and “OMG!” Here’s everything you’ll need, split into two easy groups:
For the Crust
First up, that glorious graham cracker base that gives the perfect crunch:
- 1½ cups graham cracker crumbs – Trust me, buy whole crackers and crush them yourself for the best texture
- 6 tablespoons melted butter – The glue that holds it all together
- 2 tablespoons sugar – Just enough sweetness to balance the tangy filling
Pro tip: Press this mixture really firmly into your pan – like, use the bottom of a glass if you have to. A loose crust means cheesecake disaster!
For the Filling
Now for the star of the show – that creamy, dreamy filling:
- 16 oz cream cheese – Must be softened! Cold cream cheese = lumpy filling (been there, cried over that)
- 1 cup heavy cream – The secret to that cloud-like texture
- ½ cup sugar – Adjust to your sweet tooth
- 1 teaspoon vanilla extract – Pure only, please!
The key here? Beat that cream cheese until it’s completely smooth before adding anything else. Any little lumps now will haunt you later!
Equipment Needed for No Bake Cheesecake Desserts
Okay, let’s talk tools – and don’t worry, you won’t need anything fancy here! Just a few basic kitchen essentials that’ll make whipping up this cheesecake a breeze. Here’s what I always grab from my cabinets:
- A good mixing bowl – Big enough to contain all that creamy goodness without overflow disasters
- 9-inch springform pan – The MVP of cheesecake baking (makes serving SO much easier)
- Electric mixer – Hand mixer works great too – just don’t try whisking by hand unless you want Popeye arms
That’s seriously it! No special gadgets required – just these three trusty tools and you’re golden. Now let’s get mixing!
How to Make No Bake Cheesecake Desserts
Alright, let’s get to the fun part – actually making this dreamy no bake cheesecake! I’ll walk you through each step like I’m right there in your kitchen with you (wish I was – we could lick the bowl together!). Don’t worry if you’re a beginner – I’ve included all my little tricks to make sure yours turns out perfect.
- Mix the crust ingredients: Grab a medium bowl and toss in those graham cracker crumbs, melted butter, and sugar. Stir until it looks like wet sand – you know it’s ready when you can squeeze a handful and it holds its shape. Pour this into your springform pan and press it down firmly with your fingers or the bottom of a glass. Pro tip: I like to go up the sides about half an inch for extra crunch in every bite!
- Beat the cream cheese: Now for the magic! In a large bowl, beat that softened cream cheese until it’s completely smooth – no lumps allowed! This usually takes about 2 minutes with an electric mixer. Scrape down the sides halfway through – those sneaky lumps love to hide there. If you’re wondering whether it’s smooth enough, keep going for another 30 seconds. Trust me!
- Add sugar and vanilla: Once your cream cheese is silky smooth, beat in the sugar and vanilla extract. The mixture should look creamy and slightly fluffy now. Taste it (chef’s privilege!) and add more sugar if you like it sweeter. I sometimes add a pinch of salt here to really make the flavors pop.
- Whip the heavy cream: In a separate bowl, whip the heavy cream until stiff peaks form. How do you know it’s ready? When you lift the beaters out, the peaks should stand straight up without flopping over. If they droop, keep whipping! This usually takes about 3-4 minutes. For extra stability, chill your bowl and beaters first – it makes a noticeable difference.
- Fold it all together: Now gently fold the whipped cream into your cream cheese mixture. I like to do this in three additions – it helps keep that airy texture we worked so hard for. Use a rubber spatula and make big, sweeping folds from the bottom up. Stop when you stop seeing white streaks – overmixing will deflate all that fluffiness!
- Chill time: Pour your beautiful filling over the crust and smooth the top. Now comes the hardest part – waiting! Pop it in the fridge for at least 4 hours, though overnight is even better. The longer it chills, the firmer it gets. Want to speed things up? Try my no bake Oreo cheesecake version that sets even faster!
See? Told you it was easy! Now just resist the temptation to peek every 30 minutes (I never can), and soon you’ll have the creamiest, dreamiest cheesecake ready to wow everyone. Top it with whatever makes your heart happy – fresh berries, chocolate sauce, or just dig right in as-is!
Tips for Perfect No Bake Cheesecake Desserts
Alright, let me share all my hard-earned wisdom for cheesecake perfection – because I’ve made every mistake possible so you don’t have to! First rule: let that cream cheese soften completely. I’m talking room temperature for at least an hour – no cheating with the microwave unless you want lump city. And here’s my secret: chill the mixing bowl and beaters before whipping the cream – it stabilizes everything beautifully.
Avoid the temptation to overmix the filling! Those gentle folds we talked about? They’re not just for looks – aggressive stirring will deflate all that gorgeous fluffiness you worked so hard for. And here’s a game-changer: run a knife around the edge before chilling. This prevents cracking when you release the springform later.
Need to serve in a hurry? Pop the assembled cheesecake in the freezer for 1-2 hours instead of refrigerating. Just don’t forget it’s in there (uh, not that I’ve ever done that…). But really, patience pays off – overnight chilling gives the best texture and flavor. Your future self will thank you!
Variations for No Bake Cheesecake Desserts
Oh friends, here’s where the real fun begins! Once you’ve mastered the basic no bake cheesecake (which, let’s be honest, you totally have by now), it’s time to play mad scientist with flavors. I love how this recipe becomes a blank canvas for whatever mood strikes me – fruity, chocolatey, or somewhere in between. My kitchen experiments have led to some glorious (and a few hilarious) discoveries!
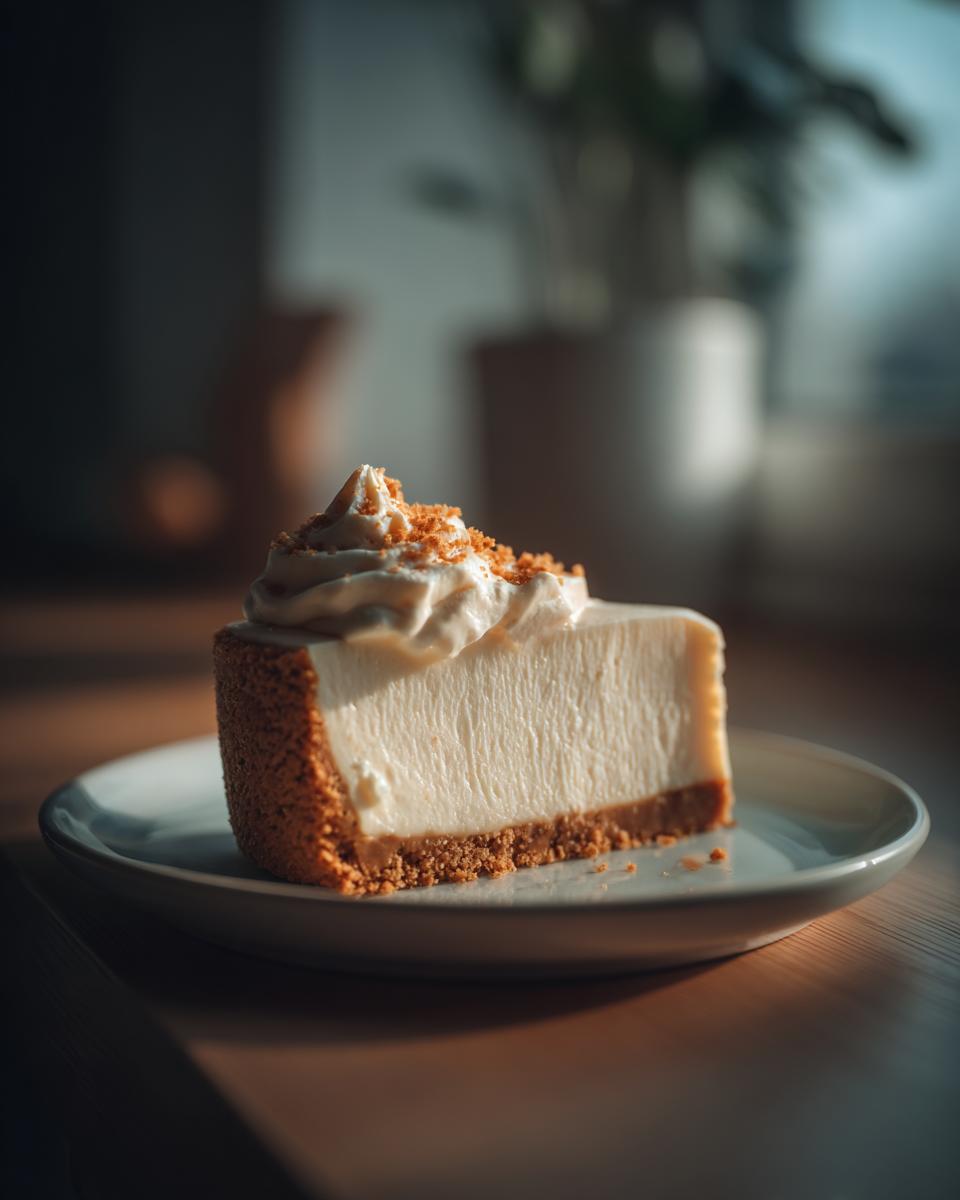
For a bright, zesty twist, try adding 2 tablespoons of lemon zest to the filling – it cuts through the richness beautifully. Or swirl in some fruit puree before chilling – raspberry or mango work wonders. Feeling indulgent? Top with warm chocolate ganache or caramel sauce right before serving. And if you’re craving something truly decadent, check out my chocolate banana cheesecake variation that’s become a family favorite.
One of my happiest accidents? Swirling in strawberry jam and pairing it with a pretzel crust – it’s like my strawberry pretzel salad but in cheesecake form! The salty-sweet combo is unreal. Really, the only limit is your imagination (and maybe how many ingredients you have on hand). What flavor combo will you try first?
Serving and Storing No Bake Cheesecake Desserts
Okay, let’s talk about the best part – serving up this creamy masterpiece! First rule: use a hot knife for clean slices. Just run your knife under hot water, wipe it dry, and make one smooth cut. Repeat between each slice – it makes all the difference between messy wedges and picture-perfect servings. Want those Instagram-worthy slices? Dip your knife in hot water before each cut!
Now, storing leftovers (if there are any!): Cover tightly with plastic wrap or transfer to an airtight container. It’ll keep beautifully in the fridge for 3 days – though honestly, mine never lasts that long. Pro tip: Place a paper towel over the top before sealing to prevent condensation from making the top soggy.
Freezing? Absolutely! Wrap individual slices in plastic wrap, then foil, and freeze for up to 1 month. Thaw overnight in the fridge when cravings strike. Just don’t tell anyone you’ve got emergency cheesecake stashed away – that’s our little secret!
Nutritional Information
Okay, let’s talk numbers – but don’t let them scare you away from enjoying every creamy bite! Each slice of this heavenly no bake cheesecake comes in at about 350 calories. Here’s the breakdown:
- 25g carbs – Mostly from that delicious graham cracker crust
- 25g fat – That’s where all the creamy richness comes from
- 5g protein – A little bonus to balance out the indulgence
Now, full disclosure – these numbers can vary depending on your exact ingredients. Used full-fat cream cheese? Maybe a tad higher. Sugar-free crust? Could be lower. But honestly, when something tastes this good, who’s counting? Just enjoy every blissful bite!
Frequently Asked Questions
Can I use a different crust for my no bake cheesecake?
Absolutely! While graham crackers are classic, I’ve had amazing results with crushed Oreos, vanilla wafers, even pretzels for a salty-sweet twist. The key is keeping the same butter-to-crumb ratio so it holds together. Just pulse your alternative crust ingredients until fine crumbs form – I’ve found about 1½ cups of whatever you’re using works perfectly with 6 tablespoons melted butter.
Help! My filling is too runny – how can I fix it?
Oh honey, I’ve been there! First, make sure you chilled it long enough (at least 4 hours). If it’s still soupy, pop it in the freezer for an hour. Next time, whip your cream to super stiff peaks and don’t skimp on chilling your bowl first. Also, double-check your cream cheese was truly softened – cold cream cheese won’t incorporate properly.
Can I make no bake cheesecake ahead of time?
You’re speaking my language! This dessert actually gets better with time. I regularly make it 2 days before serving – the flavors meld beautifully. Just wait to add any fresh fruit toppings until right before serving. It keeps perfectly in the fridge for up to 3 days, or freeze for a month (though I’ve never managed to keep one uneaten that long!).
Why did my cheesecake crack when I took it out of the pan?
Ah, the heartbreak! This usually happens if you didn’t run a knife around the edge before chilling. Next time, loosen the sides after about 30 minutes in the fridge – this lets the filling settle without sticking. Also, avoid drastic temperature changes – sudden cold can make it contract too quickly. And remember, even cracked cheesecake still tastes amazing – just cover it with toppings!
Can I make this recipe without a springform pan?
No springform? No problem! I’ve used a regular pie plate in a pinch – just know you’ll serve it differently. For individual portions, try lining muffin tins with parchment squares – perfect single-serve cheesecakes! The crust might be slightly trickier to press in, but the taste is just as delicious. Just chill them in the tins before carefully lifting out.
No Bake Cheesecake
Ingredients
Equipment
Method
- Mix graham cracker crumbs, melted butter, and sugar in a bowl.
- Press the mixture into the bottom of a 9-inch springform pan.
- Beat cream cheese, sugar, and vanilla until smooth.
- Whip heavy cream until stiff peaks form, then fold into cream cheese mixture.
- Spread filling over crust and refrigerate for at least 4 hours.
Nutrition
Notes
Tried this recipe?
Let us know how it was!For more amazing recipes, be sure to check out our other sections to explore a variety of ideas that will enrich your cooking experience. Each section offers its own unique flavors to ensure a delightful culinary journey:
Easy and Quick Recipes: A collection of dishes that guarantee delicious meals with minimal effort and time.
Healthy Recipes: Discover healthy and delicious options that fit your lifestyle.
Desserts: A diverse selection of sweets that will add a special touch of sweetness to your table.
Lunch Recipes: Tasty lunch ideas that you can easily prepare to delight your family.
Dinner Recipes: Delicious and easy-to-make recipes that will make your dinner a memorable occasion.