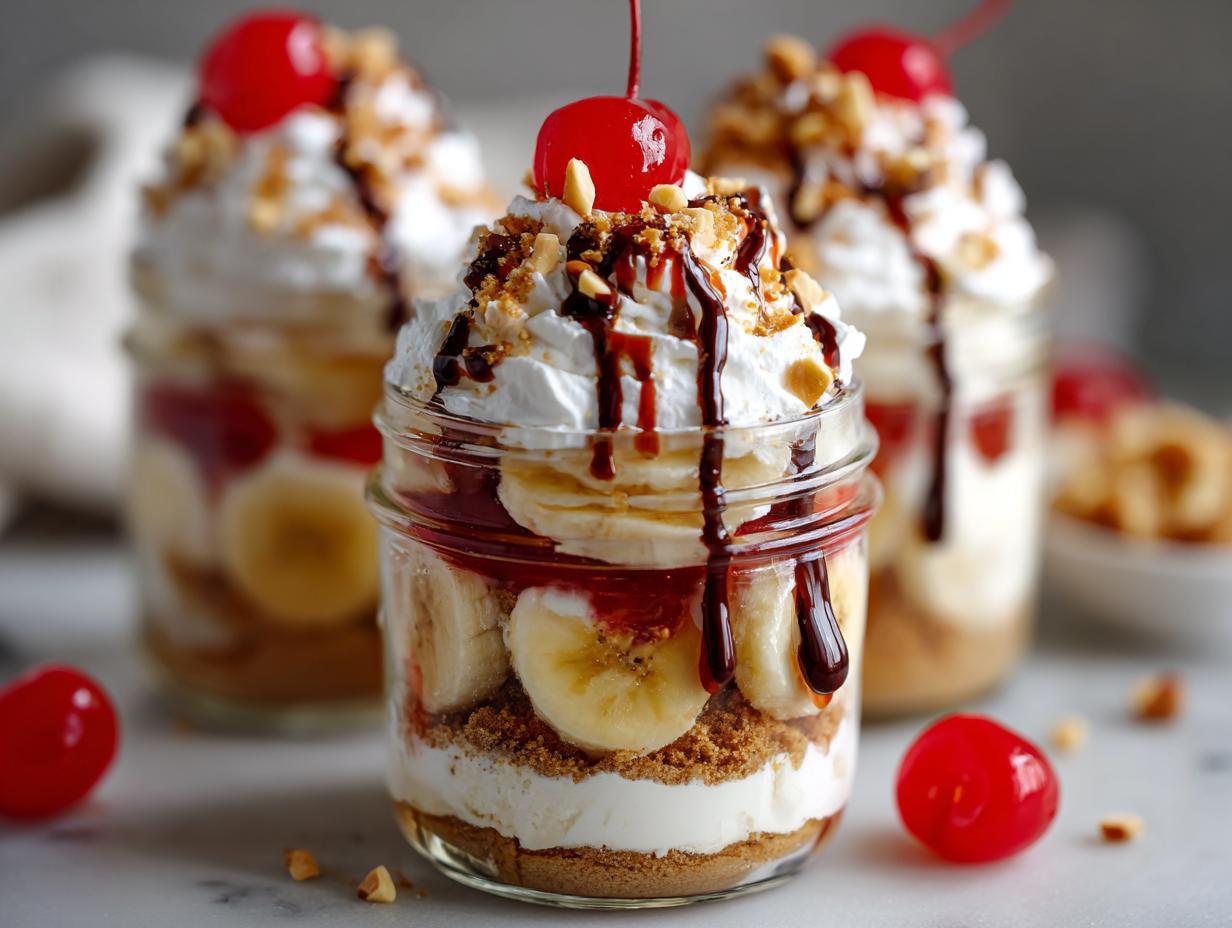
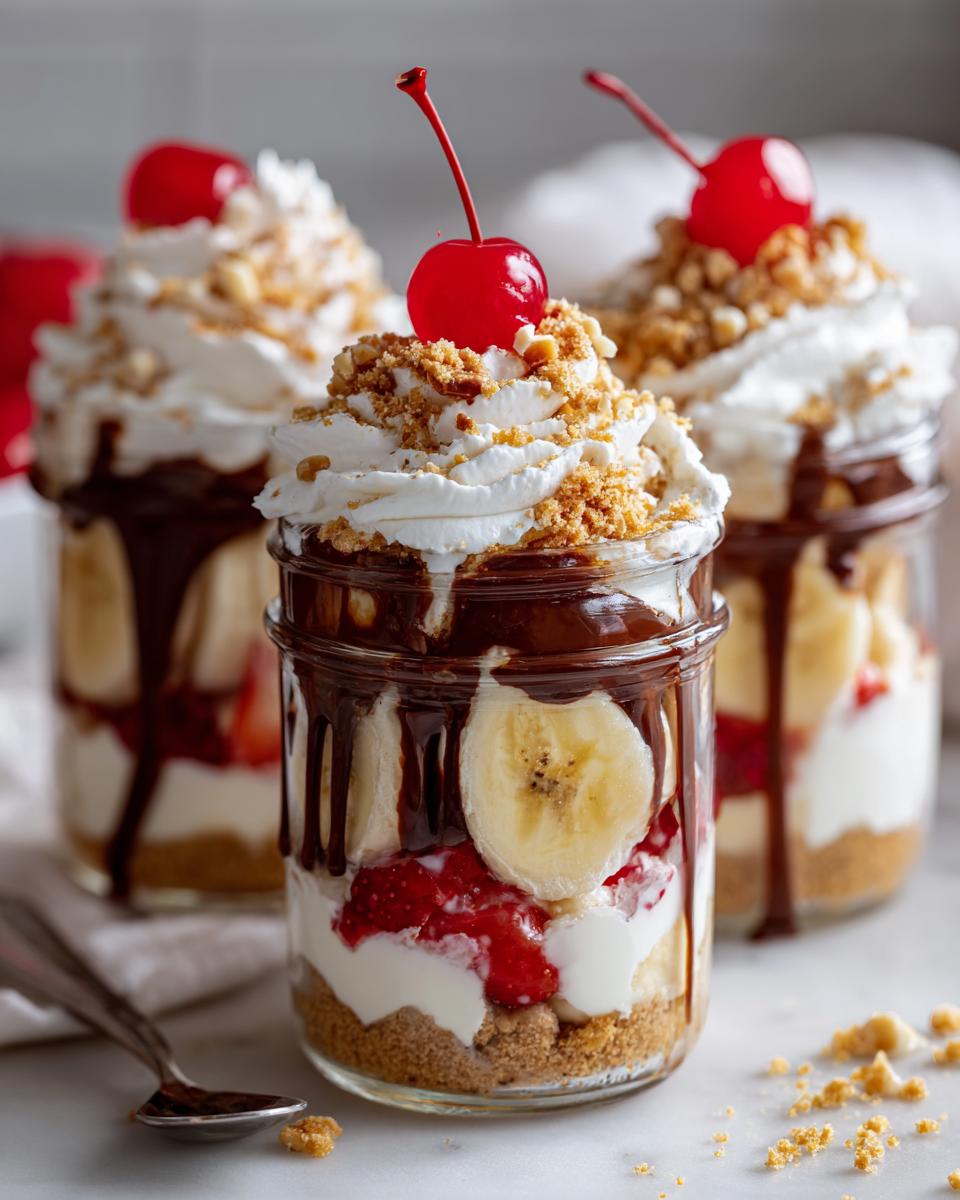
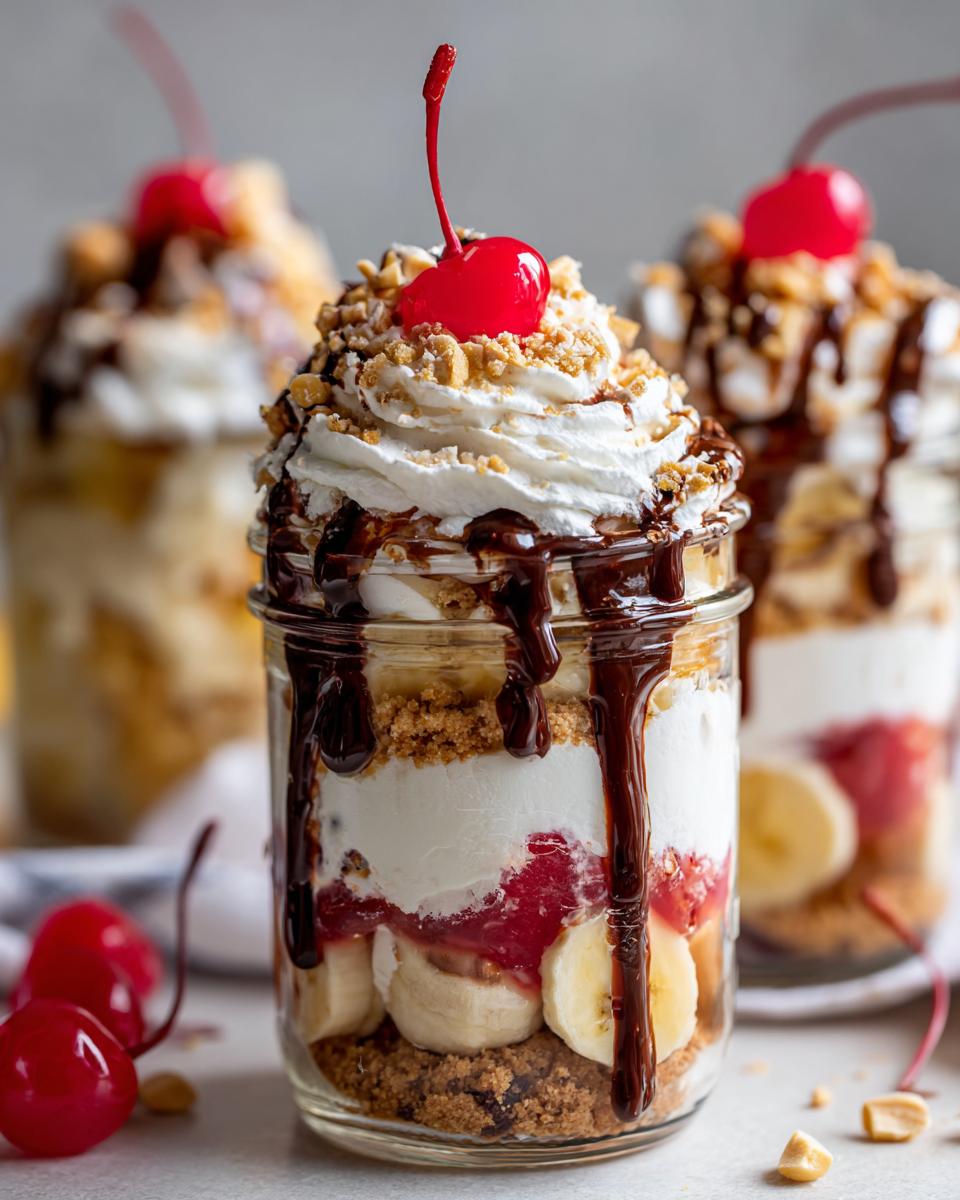
You know that moment when you’re craving something sweet but don’t want to turn on the oven? That’s exactly when I discovered the magic of no bake banana split dessert jars. Last summer, I needed a quick treat for an impromptu backyard gathering, and these little jars saved the day! They capture all the nostalgic flavors of a classic banana split – the creamy pudding, fresh bananas, and that irresistible chocolate-strawberry drizzle – but in adorable individual portions. The best part? You can whip them up in 20 minutes flat, no baking required. Just layer, chill, and watch them disappear. I’ve since made these for everything from potluck desserts to kids’ sleepovers, and they’re always the first thing gone. Trust me, once you try these, you’ll keep coming back to this no-fuss recipe all season long.
Why You’ll Love These No Bake Banana Split Dessert Jars
Oh my goodness, where do I even start with why these little jars are absolute perfection? First off, they’re so dang easy – we’re talking 20 minutes from start to finish, and most of that time is just letting them chill in the fridge while you kick back with a coffee (or sneak a spoonful of leftover whipped cream).
But here’s what really makes them special:
- Party magic: I can’t tell you how many times these have saved me when unexpected guests show up. Just pull out some cute jars from the cupboard – instant fancy dessert that looks like you spent hours!
- Make it your own: My kids love customizing theirs with different toppings (crushed Oreos, anyone?), and I’ve been known to swap in chocolate pudding when I need that extra cocoa fix.
- Kid-approved: Let’s be real – anything served in its own little container with a cherry on top automatically becomes 10x more exciting to children. Mine beg to help layer the ingredients!
- Summer lifesaver: No oven means no heating up the kitchen – crucial when it’s 90 degrees out and the last thing you want is to bake.
Seriously, these jars are like edible happiness in glass form. Once you try them, you’ll understand why they’ve become my go-to dessert for everything from backyard BBQs to “I just need something sweet right now” moments.
Ingredients for No Bake Banana Split Dessert Jars
Okay, let’s talk ingredients – because the magic of these dessert jars starts with gathering just the right stuff. I’ve made these enough times to know exactly what works (and what doesn’t). Here’s everything you’ll need, broken down by layer so you can assemble them like a pro:
For the Base:
- 1 cup graham cracker crumbs (about 8 full sheets crushed – I just toss them in a bag and roll with a rolling pin when I’m feeling lazy)
- 1/4 cup melted butter (salted or unsalted both work, but I prefer salted for that sweet-salty kick)
For the Filling:
- 1 cup whipped cream (freshly whipped or the good stuff from a can – no judgment here!)
- 1 cup prepared vanilla pudding (I use instant pudding mix because I’m impatient, but homemade is divine if you’ve got time)
- 2 bananas, sliced (wait to slice these until right before assembly to prevent browning)
For the Topping:
- 1/4 cup chocolate syrup (the kind you’d drizzle on ice cream – I keep a squeeze bottle in my fridge just for these)
- 1/4 cup strawberry sauce (homemade or store-bought – my secret is warming it slightly so it drizzles prettily)
- 1/4 cup chopped nuts (I use walnuts, but pecans or almonds would be delicious too)
- 4 maraschino cherries (because what’s a banana split without that iconic cherry on top?)
That’s it! Simple ingredients that come together to create something magical. Now let’s get layering!
How to Make No Bake Banana Split Dessert Jars
Alright, let’s get to the fun part – assembling these adorable little jars! I’ve made this so many times I could probably do it in my sleep, but I’ll walk you through each step carefully. The key is taking your time with the layers – think of it like building a delicious edible tower.
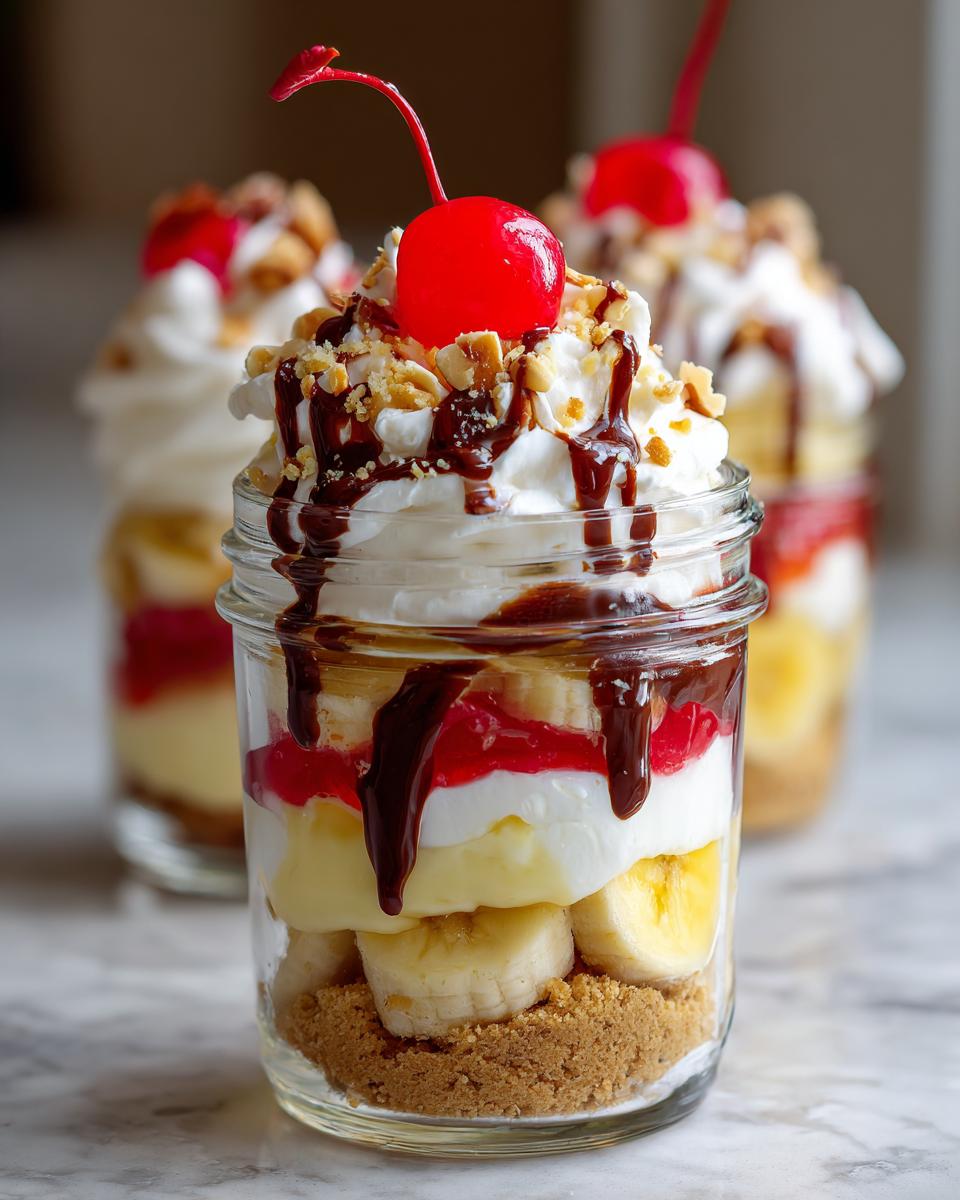
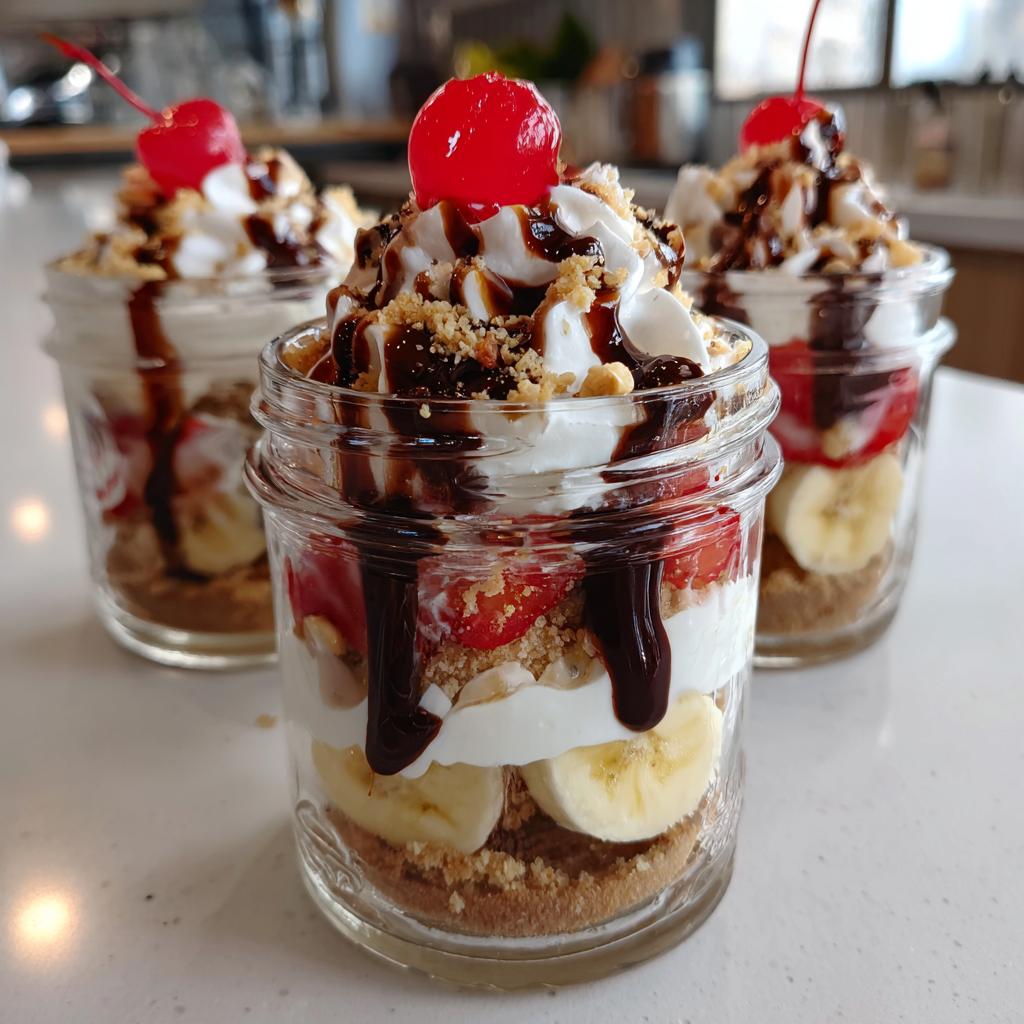
First, grab your jars (I use 8-ounce mason jars because they’re cute and the perfect size). Now, let’s build from the bottom up:
- The crust: Mix those graham cracker crumbs with melted butter until it looks like wet sand. Press about 2 tablespoons into each jar – I use the back of a spoon to really pack it down. This is your foundation, so make it sturdy!
- The pudding layer: Spoon about 1/4 cup of vanilla pudding over the crust in each jar. Pro tip: tilt the jar slightly as you pour to keep the sides clean. Smooth it out gently – no need to be perfect, it’ll get covered anyway.
- Banana time: Add your freshly sliced bananas (about half a banana per jar). Arrange them in a single layer – this prevents them from all sinking to one side. If you’re making these ahead, you might want to brush the bananas with a little lemon juice to keep them from browning.
- Whipped cream cloud: Pile on that fluffy goodness! I use about 1/4 cup per jar, swooping it into pretty peaks with a spoon. This is where it starts looking like a real banana split.
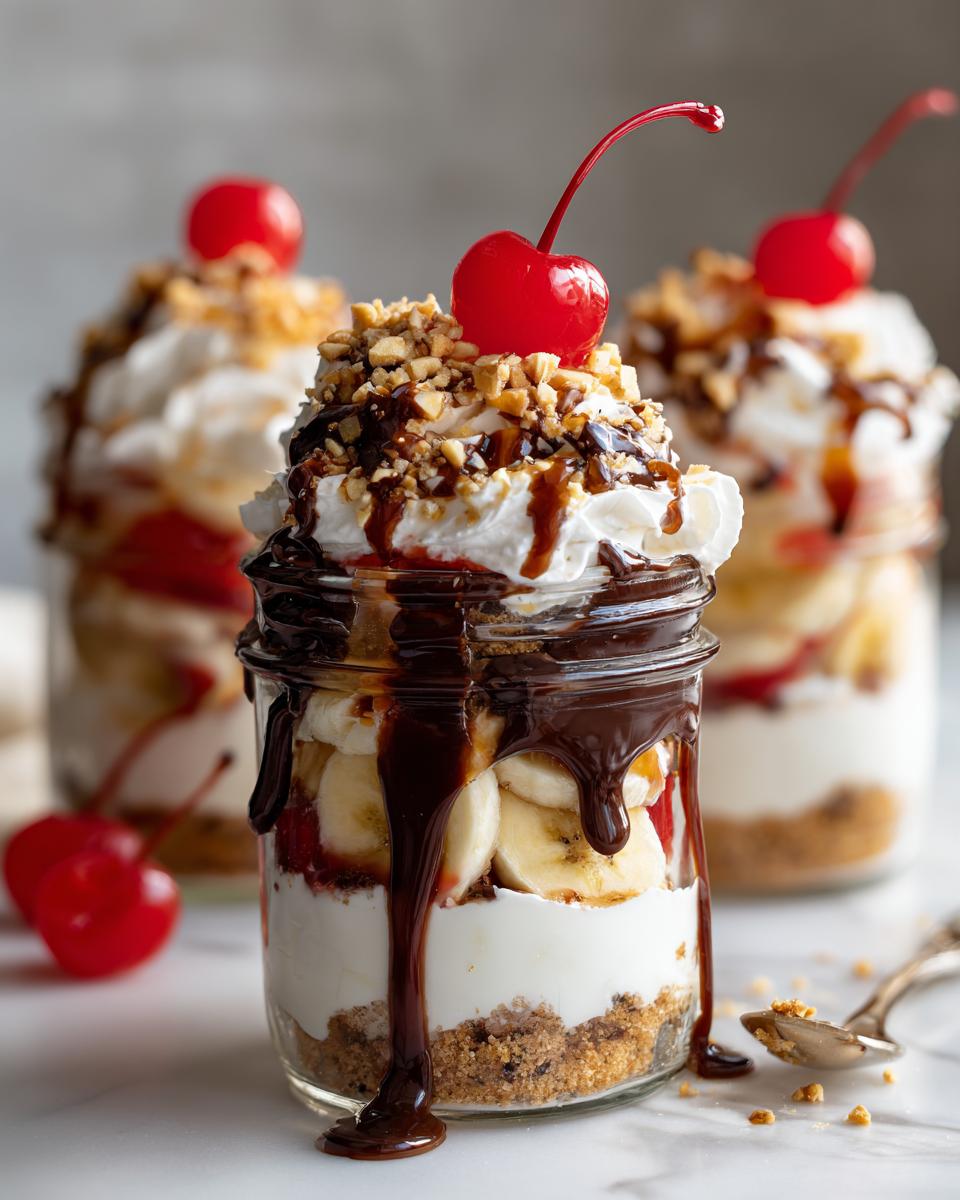
- The fun toppings: Drizzle chocolate and strawberry sauces in zigzags (about 1 tablespoon each per jar). Sprinkle with chopped nuts, then crown each one with a cherry. The more dramatic, the better!
Now the hardest part – waiting! Pop them in the fridge for at least an hour to let everything set. I know it’s tempting to dig in right away, but trust me, that chill time makes all the difference in flavor and texture.
Tips for Perfect No Bake Banana Split Dessert Jars
After making these more times than I can count, here are my can’t-live-without tips:
- Banana ripeness matters: Use bananas that are yellow with a few brown spots – they’re sweeter and softer, just like in a real banana split.
- Chill your jars first: About 15 minutes in the freezer helps the crust set faster and keeps everything nicely chilled.
- Sweetness control: If you’re watching sugar, use sugar-free pudding mix and light whipped topping. It still tastes amazing!
- Layer thickness: Keep each layer about 1/2 inch thick for the perfect bite ratio. Too thick and it’s overwhelming, too thin and you lose the flavors.
Remember, these are meant to be fun and forgiving – if your layers aren’t picture-perfect, they’ll still taste incredible. The beauty is in the delicious mess!
Variations for No Bake Banana Split Dessert Jars
Oh, the possibilities! One of my favorite things about these dessert jars is how easily you can mix them up. When I get bored (or just want to use what’s in my fridge), here are the variations my family goes crazy for:
Berry Bliss: Swap the bananas for fresh strawberries or mixed berries – perfect when you want something a little tangier. I sometimes even layer both bananas AND berries for the ultimate fruit combo.
Chocolate Lover’s Dream: Use chocolate pudding instead of vanilla, and add a sprinkle of mini chocolate chips with the nuts. My son calls this his “grown-up chocolate banana split” (though let’s be real – I eat it just as often as he does).
Cookie Crunch: Replace the graham cracker crust with crushed Oreos or vanilla wafers. Pro tip: sandwich cookies make the crust extra rich, so you might want to use a bit less butter to keep it from getting too soft.
The best part? You can mix and match these ideas to create your own signature jar. That’s half the fun!
Serving and Storing No Bake Banana Split Dessert Jars
Here’s the thing about these little jars – they’re best served ice cold, straight from the fridge. I like to pull them out about 5 minutes before serving to take the chill off just slightly. Want to make them extra special? Keep some extra toppings on the side – maybe a little bowl of crushed peanuts or extra cherries – so everyone can customize their perfect bite.
Now, about storing them – these will keep beautifully in the fridge for about 24 hours. Just cover the tops with plastic wrap or those cute little mason jar lids. Fair warning though – the bananas might get a tiny bit brown after several hours (totally normal!). If that bothers you, you can always assemble everything except the bananas ahead of time, then add those fresh right before serving. Honestly though? A little browning never stopped me from devouring every last spoonful!
Nutritional Information for No Bake Banana Split Dessert Jars
Okay, let’s be real for a second – these dessert jars are definitely a treat, not health food! But since we’re all curious, here’s what you should know: The nutritional values will vary depending on your specific ingredients (like whether you use full-fat or sugar-free pudding, real whipped cream vs. light, etc.).
I always tell my friends that these are about balance – yes, there’s sugar and carbs, but you’re also getting potassium from the bananas and some protein from the nuts. Everything in moderation, right? Just enjoy them as an occasional indulgence – life’s too short not to savor that perfect banana-chocolate-strawberry combo now and then!
Frequently Asked Questions
Can I make these banana split jars ahead of time?
Absolutely! These little beauties actually get better after chilling for a bit. You can assemble them completely (except maybe saving the cherry for last) up to 24 hours in advance. Just keep them covered in the fridge. The graham crust might soften slightly, but in my opinion, that just makes it even more delicious – like the bottom of an ice cream cone that’s soaked up all the good stuff!
Can I use frozen bananas instead of fresh?
Oh honey, no – frozen bananas turn into complete mush when they thaw! I learned this the hard way when I tried to shortcut the process one busy afternoon. Fresh is definitely the way to go here. If you’re worried about bananas going bad before you make these, check out my chocolate banana recipes for other ways to use them up!
How do I keep the bananas from turning brown?
Here’s my little trick – right after slicing the bananas, give them a quick toss with a teaspoon of lemon juice. The acid slows down the browning without affecting the flavor much. Some people swear by pineapple juice too! But honestly? A little browning never hurt anyone – it’s just oxidation, and the taste is still perfect. I only bother with the lemon juice when I’m making these for a party or need them to look picture-perfect.
No Bake Banana Split Dessert Jars
Ingredients
Method
- Mix graham cracker crumbs with melted butter. Press into the bottom of 4 jars.
- Layer vanilla pudding over the crust in each jar.
- Add sliced bananas on top of the pudding.
- Top with whipped cream.
- Drizzle with chocolate syrup and strawberry sauce.
- Sprinkle chopped nuts and place a cherry on top.
- Refrigerate for at least 1 hour before serving.
Notes
Tried this recipe?
Let us know how it was!For more amazing recipes, be sure to check out our other sections to explore a variety of ideas that will enrich your cooking experience. Each section offers its own unique flavors to ensure a delightful culinary journey:
Easy and Quick Recipes: A collection of dishes that guarantee delicious meals with minimal effort and time.
Healthy Recipes: Discover healthy and delicious options that fit your lifestyle.
Desserts: A diverse selection of sweets that will add a special touch of sweetness to your table.
Lunch Recipes: Tasty lunch ideas that you can easily prepare to delight your family.
Dinner Recipes: Delicious and easy-to-make recipes that will make your dinner a memorable occasion.