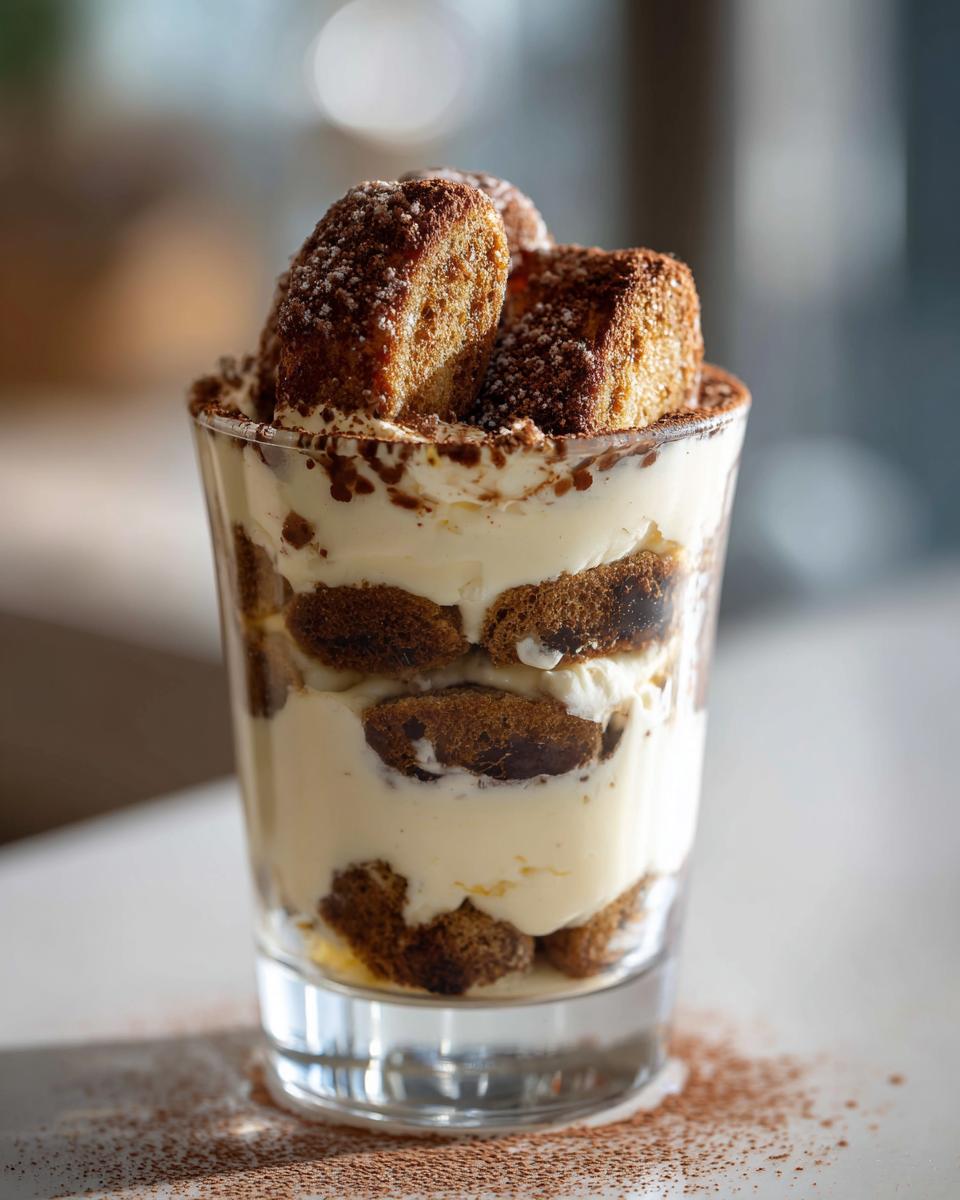
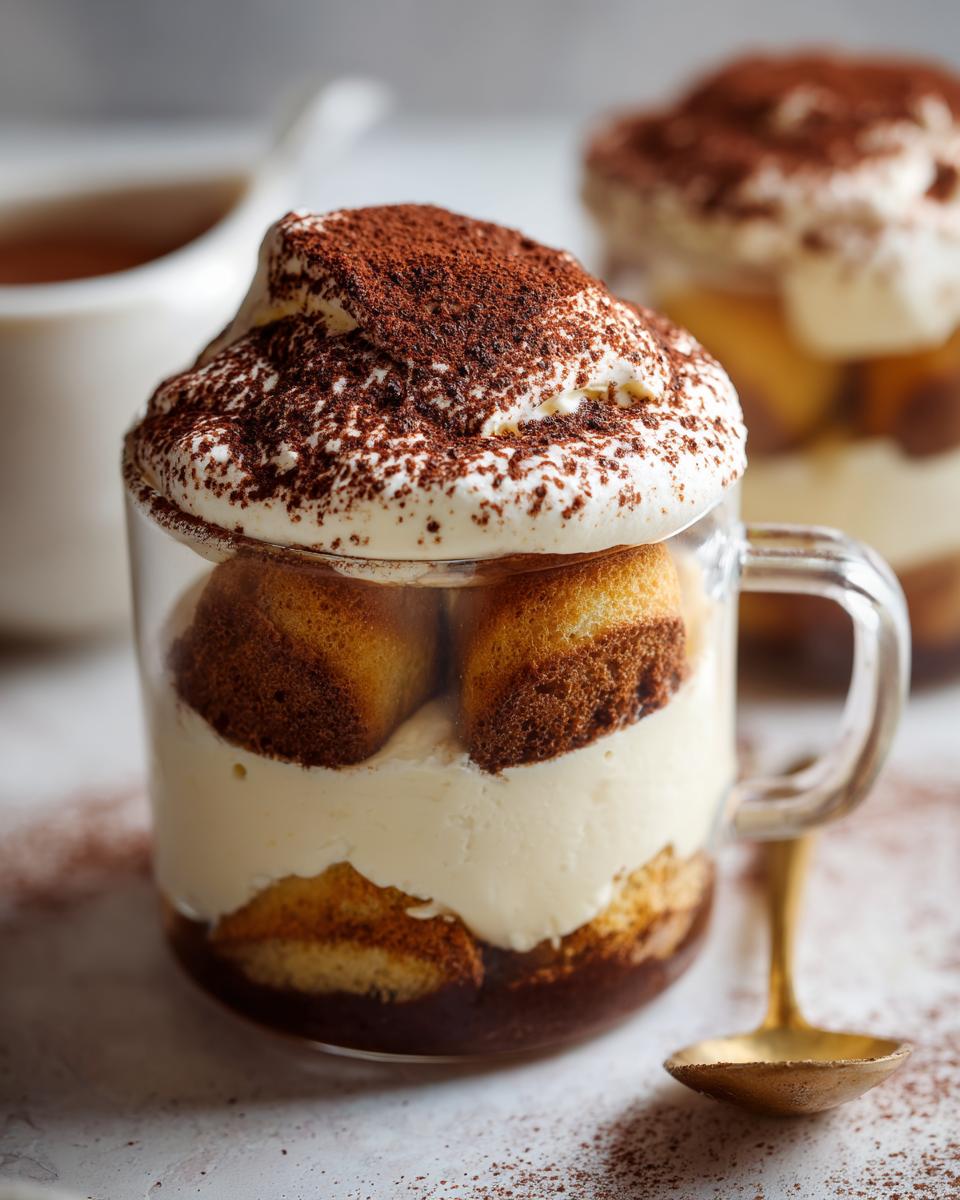
Oh, let me tell you about my latest obsession – these adorable mini tiramisu dessert cups! I first made them for a girls’ night in, and let me tell you, they disappeared faster than my willpower around chocolate. There’s something so special about having your own personal portion of this classic Italian dessert. No messy slicing, no fighting over who gets the bigger piece – just perfect little cups of coffee-soaked ladyfingers and creamy mascarpone heaven. The best part? They look fancy but are actually super simple to throw together. Trust me, once you try these, you’ll be making them for every dinner party, potluck, or just because it’s Tuesday!
Why You’ll Love These Mini Tiramisu Dessert Cups
Oh, where do I even begin with why these little cups of joy have stolen my heart? First off – portion control is a joke when regular tiramisu is involved. Before you know it, you’ve eaten half the pan! With these mini versions, everyone gets their own perfect serving without the guilt (or the arguing over who took more).
Here’s what makes them absolutely magical:
- No baking required – Just mix, layer, and chill. My kind of dessert, especially when my oven’s already full of dinner.
- Easy to customize – Add a splash of liqueur for adults, swap in decaf for kids, or even try chocolate-dipped ladyfingers if you’re feeling fancy.
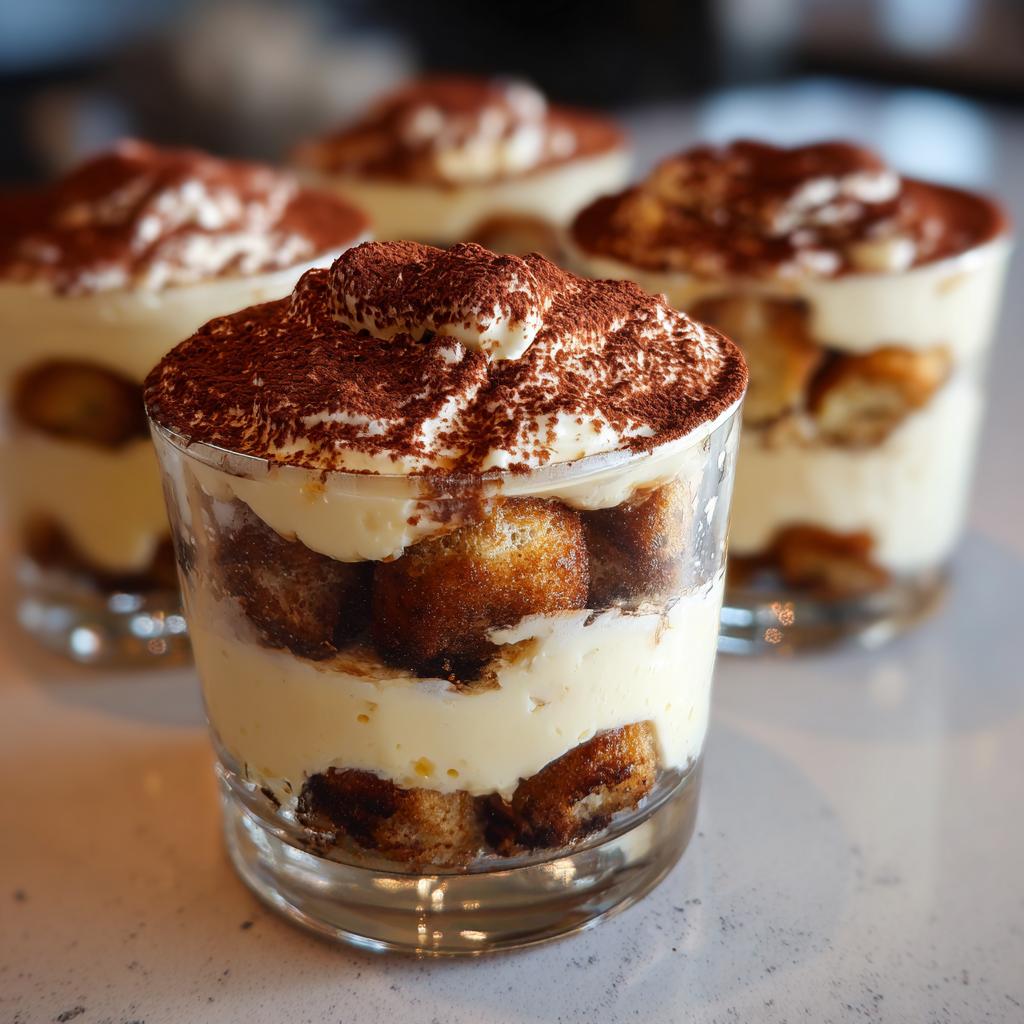
- Instant Wow factor – The layered look in clear cups makes them look like you slaved for hours, when really they come together in 20 minutes flat.
I first discovered these gems when I needed a last-minute dessert for book club – now they’re my go-to for every occasion. If you’re looking for more no-bake inspiration, check out our collection of favorite desserts – but fair warning, these tiramisu cups might just become your new obsession too!
Ingredients for Mini Tiramisu Dessert Cups
Okay, confession time – I’ve tried making tiramisu with all sorts of shortcuts over the years, but these are the ingredients that really make these mini cups sing. Trust me, the right components make all the difference between “meh” and “more please!”
For the Coffee Mixture
- 1 cup strong brewed coffee, cooled (I use espresso when I’m feeling fancy)
- 2 tbsp coffee liqueur (optional, but oh-so-good)
For the Cream
- 8 oz mascarpone cheese (this is the star, don’t skimp!)
- 1/2 cup heavy cream
- 1/4 cup granulated sugar
- 1 tsp vanilla extract
For Assembly
- 12 ladyfinger cookies (the crisp ones work best)
- 2 tbsp cocoa powder for dusting
Ingredient Substitutions & Tips
Listen, I get it – sometimes you gotta improvise! Here’s my cheat sheet:
- No liqueur? Just skip it – the coffee flavor still shines through.
- Out of heavy cream? Whipped cream from the can works in a pinch (just don’t tell any Italians I said that).
- Gluten-free? Swap in gluten-free ladyfingers – they soak up the coffee just as nicely.
The mascarpone is non-negotiable though – that rich, velvety texture makes the cream layer absolutely dreamy. I once tried substituting cream cheese and… let’s just say it wasn’t my proudest baking moment!
How to Make Mini Tiramisu Dessert Cups
Alright, let’s get to the fun part – assembling these little beauties! I promise it’s easier than resisting a second helping (which, let’s be honest, you probably won’t). Follow these steps and you’ll have restaurant-worthy dessert cups that’ll impress everyone.
- Mix your coffee bath: In a shallow dish (I use my grandma’s old pie plate), combine the brewed coffee and liqueur if using. This is where the magic starts – that rich coffee aroma is already making my kitchen smell like an Italian café!
- Whip up the cream: In a mixing bowl, beat the mascarpone, heavy cream, sugar, and vanilla until smooth and creamy. You’ll know it’s ready when it forms soft peaks that hold their shape – think cloud-like perfection.
- Dip with care: Here’s the trickiest part – dunk each ladyfinger into the coffee mixture for just 1-2 seconds (count “one Mississippi” in your head). Any longer and they’ll turn to mush – trust me, I learned this the soggy way!
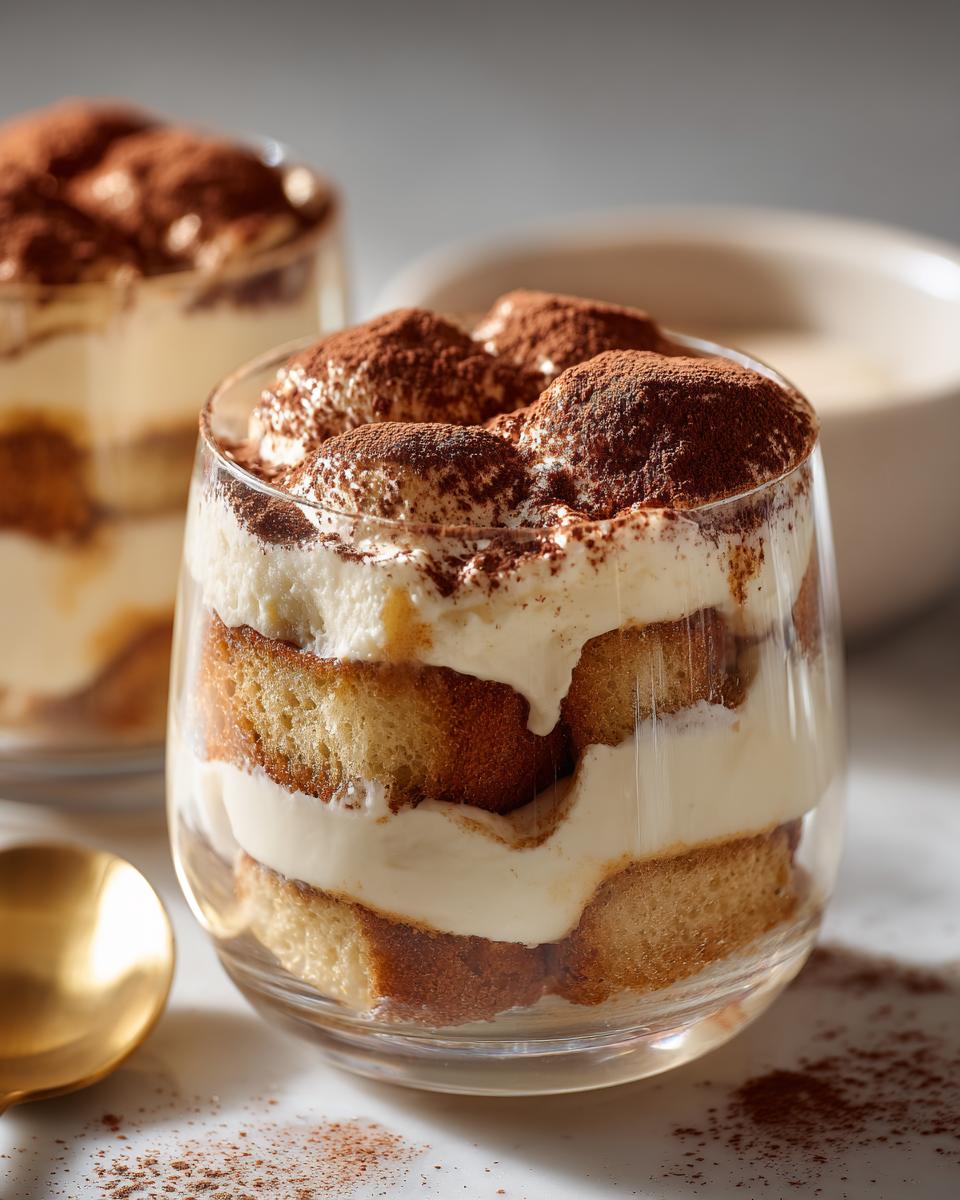
- Layer with love: Place 2 dipped ladyfingers at the bottom of each cup, then spoon half the cream mixture over them. Repeat with another layer of dipped cookies and the remaining cream.
- Chill out: Pop them in the fridge for at least 2 hours – this waiting game is the hardest part! The flavors need time to get to know each other.
- The finishing touch: Right before serving, dust with cocoa powder through a fine mesh sieve for that picture-perfect finish.
See? Told you it was easy! If you love no-bake desserts as much as I do, you’ll adore our no-bake Oreo cheesecake too – it’s another crowd-pleaser that comes together in minutes.
Pro Tips for Perfect Mini Tiramisu
After making these more times than I can count (okay fine, I stopped counting after batch #12), here are my hard-earned secrets:
- Chill your mixing bowl before whipping the cream – it helps everything come together faster and fluffier.
- Sift that cocoa powder unless you want clumpy polka dots on top (not the cute kind).
- Make ahead magic: These actually taste better the next day as the flavors meld. Just wait to dust with cocoa until serving.
- Use room temp mascarpone – it blends smoother than when cold straight from the fridge.
There you have it – my foolproof path to mini tiramisu perfection. Now go forth and impress your friends with your newfound Italian dessert skills!
Serving and Storing Mini Tiramisu Dessert Cups
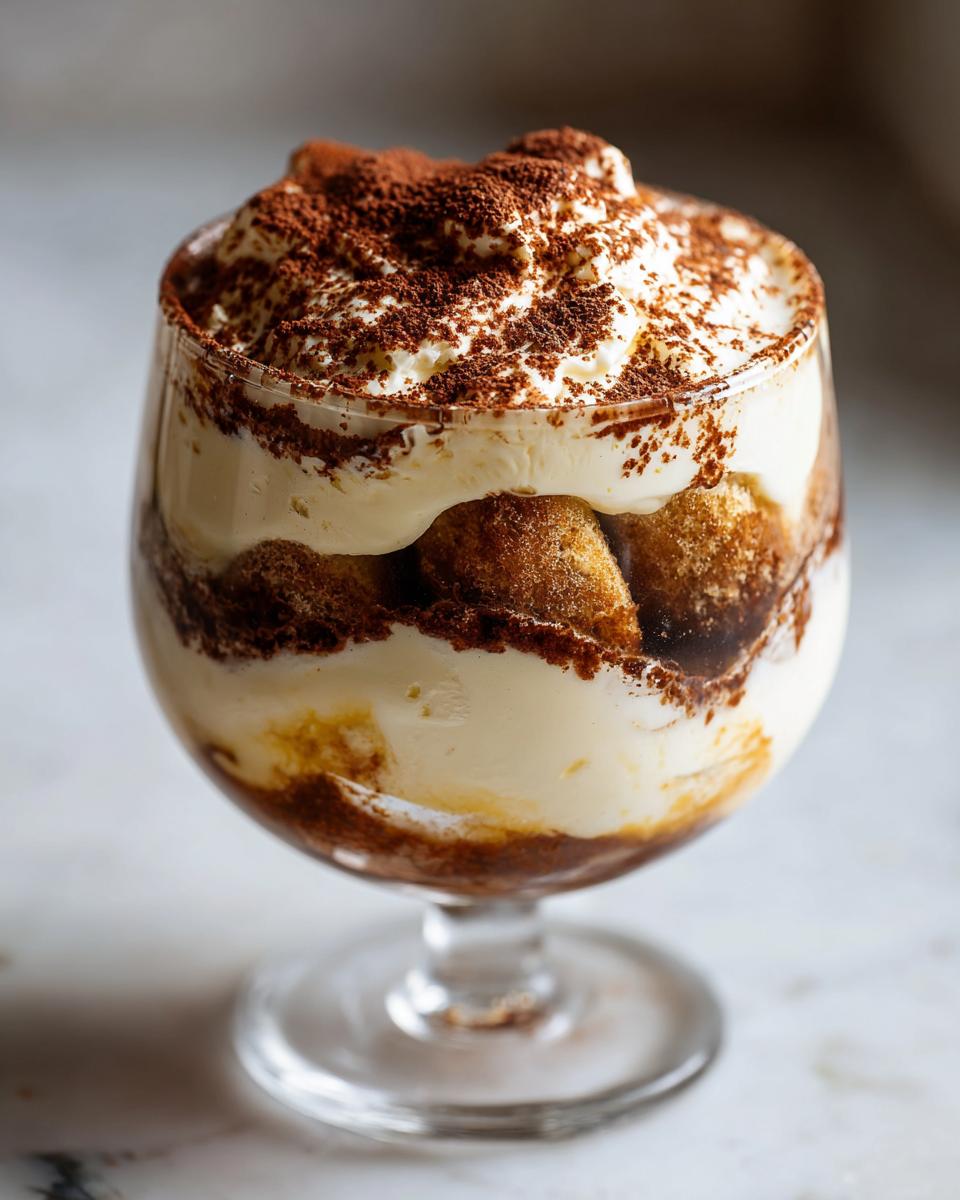
Oh, the fun part – making these little cups look as gorgeous as they taste! I love serving them with a sprig of fresh mint on top – that pop of green against the cocoa dusting makes them look straight out of a fancy café. Sometimes I’ll add a few chocolate shavings too (because when is more chocolate ever a bad idea?).
Now, here’s my golden rule for storing: these babies need to stay chilled in the fridge. They’ll keep beautifully for up to 2 days – if they last that long in your house! Just cover them lightly with plastic wrap so they don’t pick up any fridge smells. And whatever you do, don’t freeze them. I learned that lesson the hard way – the texture turns grainy and all that lovely creaminess disappears. Trust me, they’re so delicious they won’t need freezing anyway!
Nutritional Information for Mini Tiramisu Dessert Cups
Okay, let’s be real – we’re not eating tiramisu for its health benefits! But since you asked (or maybe just feel slightly guilty about that second cup), here’s the scoop on what’s in these little treats. Remember, these numbers are estimates – your exact counts might vary based on ingredient brands or how generous you are with that mascarpone layer!
Each mini tiramisu dessert cup clocks in at about:
- 320 calories
- 22g fat (13g saturated – but hey, that’s where all the creamy goodness comes from!)
- 25g carbohydrates
- 5g protein
Want to lighten things up? Try using reduced-fat mascarpone or less sugar in the cream mixture – just know it’ll change the texture a bit. Personally? I say life’s too short to skimp on dessert – especially when the portions are already perfectly petite!
FAQs About Mini Tiramisu Dessert Cups
I get asked these questions all the time when I serve these adorable cups – so let me save you the trouble of texting me at midnight when you’re in the middle of making them!
Can I make mini tiramisu cups ahead of time?
Absolutely! In fact, they taste even better after chilling overnight. Just wait to dust with cocoa powder until right before serving – otherwise it might get absorbed and lose that pretty contrast.
What if I don’t want to use alcohol?
No problem at all! Simply skip the coffee liqueur and use all brewed coffee. For extra flavor, try adding a teaspoon of vanilla to the coffee mixture instead. If you love coffee desserts, you might enjoy our iced coffee recipes too!
What kind of cups work best?
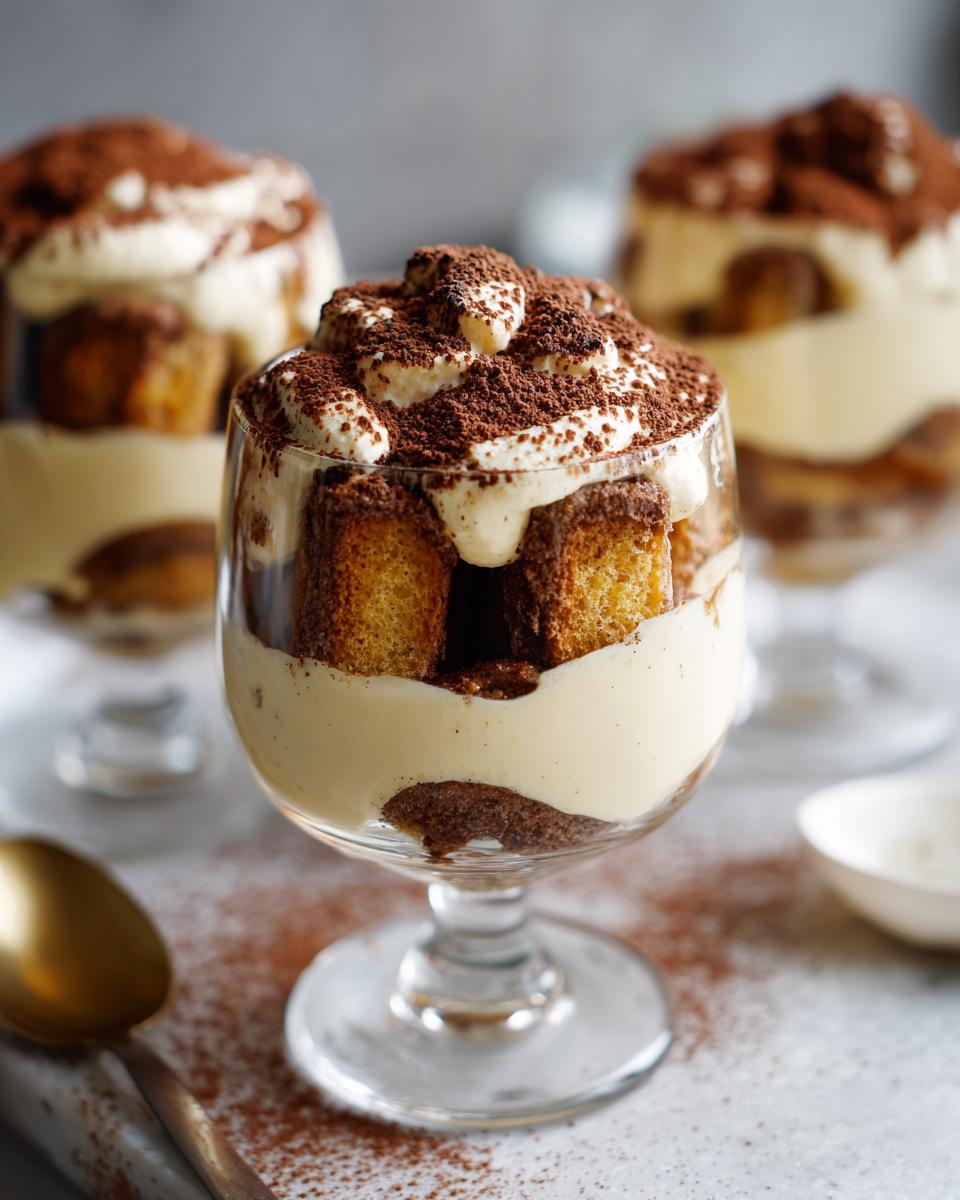
I’m partial to clear glass or ceramic cups – they show off those gorgeous layers! Just make sure whatever you use is refrigerator-safe. I’ve even used pretty mason jars in a pinch.
Can I use something besides ladyfingers?
Technically yes, but… the texture won’t be quite right. Ladyfingers soak up just enough coffee without turning mushy. If you must substitute, try sponge cake cubes – but dip them for only half a second!
How long do leftovers last?
They’ll keep covered in the fridge for 2-3 days, though they’re best within the first 24 hours. The ladyfingers do soften over time, but I’ve never had any complaints about “day-old” tiramisu in my house!
More Dessert Recipes to Try
If these mini tiramisu cups have you craving more easy, irresistible desserts (I totally get it!), you’ve got to try some of my other favorites. My homemade chocolate chip ice cream is the perfect creamy companion to any coffee dessert – just saying! And for something completely different but equally delicious, our lemon coconut bars bring sunny citrus flavor that’ll make your taste buds dance.
Honestly, once you start making these mini desserts, you’ll want to try them all – they’re just too cute and too tasty to resist. What can I say? I have a serious sweet tooth, and I’m not afraid to share the joy!
Mini Tiramisu Dessert Cups
Ingredients
Equipment
Method
- In a shallow dish, mix the brewed coffee and coffee liqueur. Set aside.
- In a mixing bowl, beat the mascarpone, heavy cream, sugar, and vanilla until smooth and creamy.
- Dip each ladyfinger into the coffee mixture for 1-2 seconds, then place 2 ladyfingers at the bottom of each dessert cup.
- Divide half of the mascarpone mixture evenly among the cups.
- Repeat with another layer of dipped ladyfingers and the remaining mascarpone mixture.
- Chill the cups in the refrigerator for at least 2 hours.
- Dust with cocoa powder before serving.
Nutrition
Notes
Tried this recipe?
Let us know how it was!For more amazing recipes, be sure to check out our other sections to explore a variety of ideas that will enrich your cooking experience. Each section offers its own unique flavors to ensure a delightful culinary journey:
Easy and Quick Recipes: A collection of dishes that guarantee delicious meals with minimal effort and time.
Healthy Recipes: Discover healthy and delicious options that fit your lifestyle.
Desserts: A diverse selection of sweets that will add a special touch of sweetness to your table.
Lunch Recipes: Tasty lunch ideas that you can easily prepare to delight your family.
Dinner Recipes: Delicious and easy-to-make recipes that will make your dinner a memorable occasion.