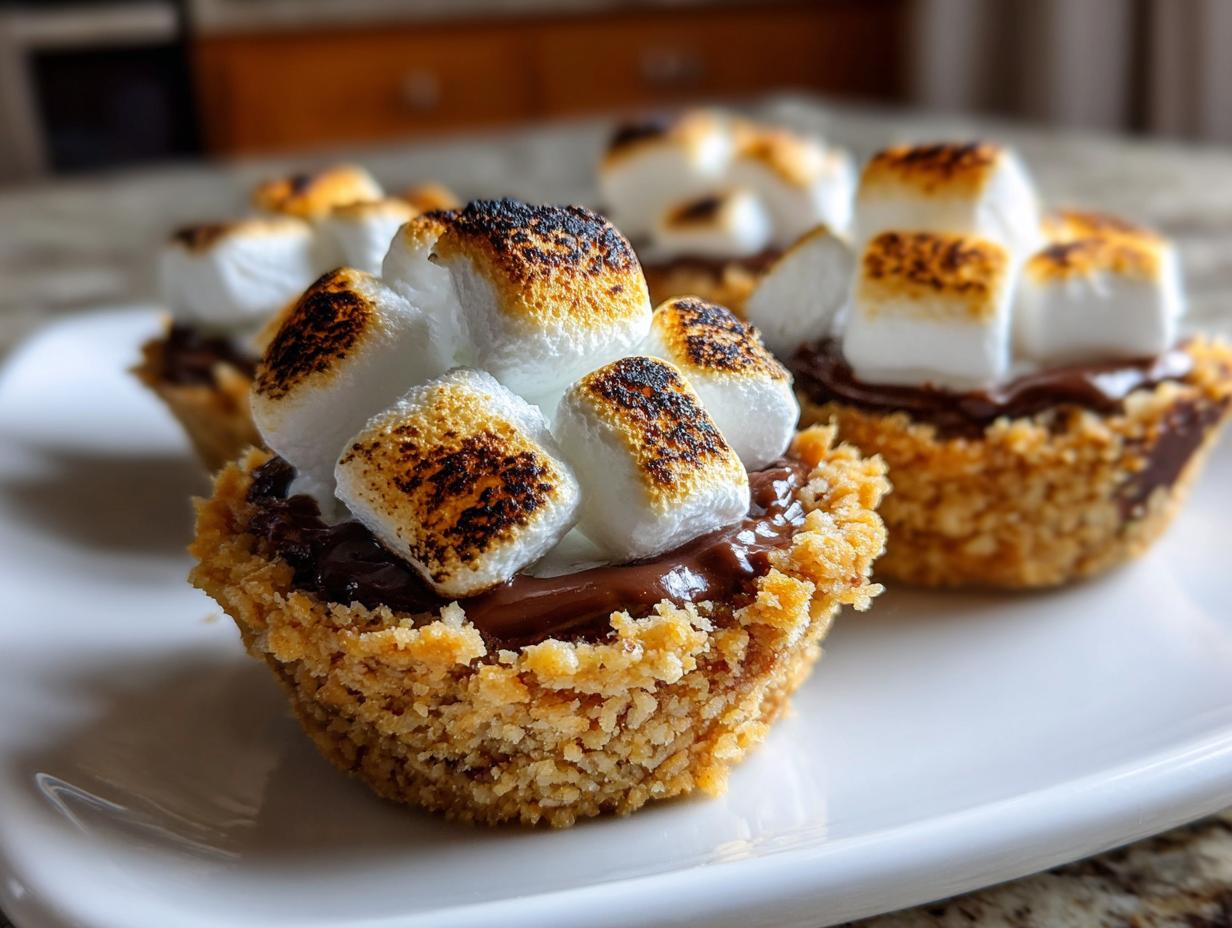
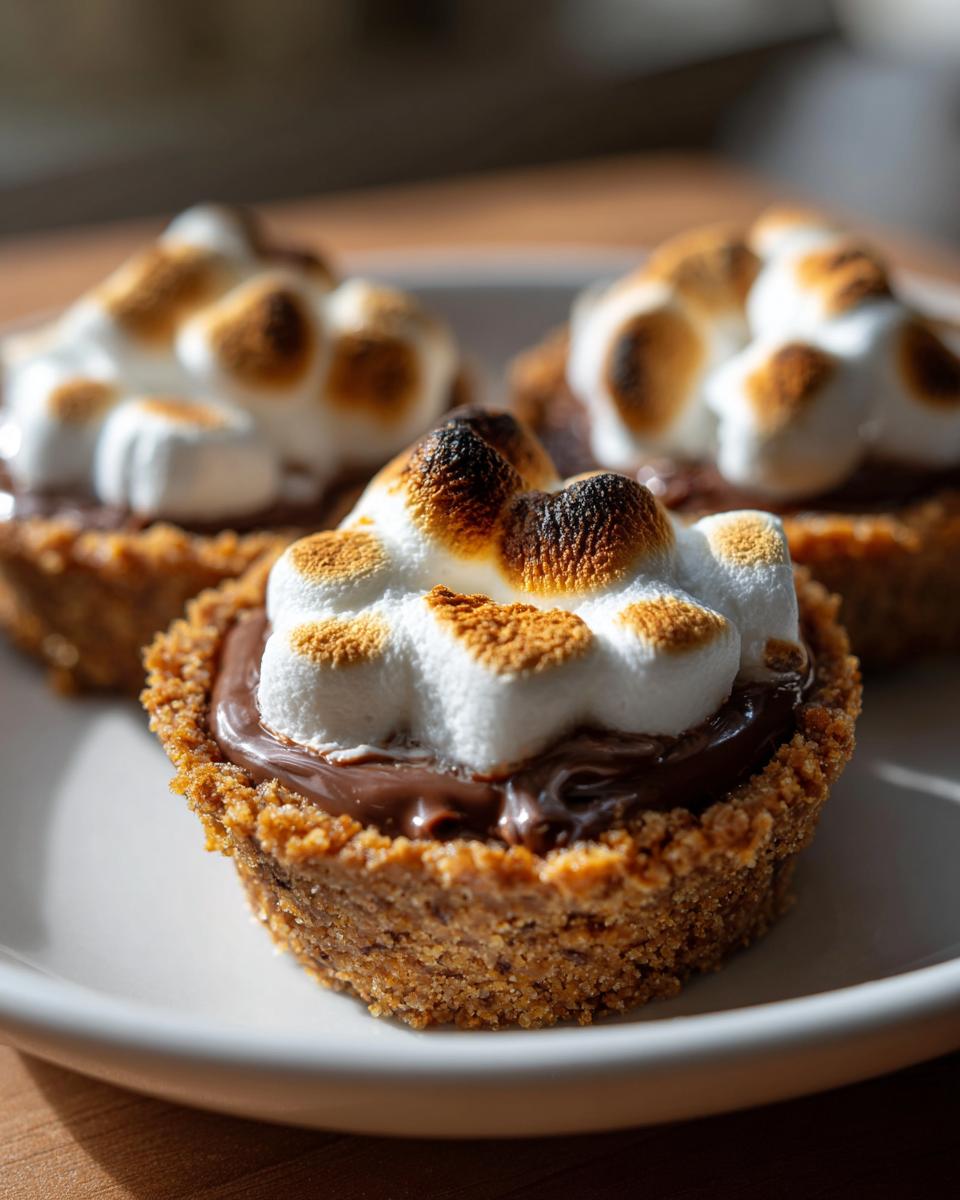
There’s something magical about s’mores that instantly transports me back to childhood summers by the campfire. That perfect combo of gooey marshmallow, melty chocolate, and crunchy graham cracker just hits different. My mini s’mores dessert cups bring all that nostalgia indoors—no campfire required! I first made these for my niece’s birthday party last year when rain ruined our bonfire plans. The kids went wild for their personal “campfires” in cupcake form, and honestly? The adults might’ve fought over the last few. Now they’re my secret weapon for any gathering where I want smiles and sticky fingers. Check out my other favorite dessert recipes if you love easy treats like these!
Why You’ll Love These Mini S’mores Dessert Cups
Oh my gosh, these little cups are absolute game-changers! Let me tell you why they’ve become my go-to dessert:
- Lightning fast – From pantry to plate in under 20 minutes? Yes please! When that sweet tooth hits at 9pm, I can have these ready before my Netflix show finishes loading.
- Zero campfire required – All the nostalgia without the smoke in your eyes or sticky marshmallow in your hair. My apartment-dwelling friends thank me for this one constantly.
- Party perfect – No messy assembly line! Each guest gets their own perfectly portioned cup. I brought these to a potluck last month and they disappeared faster than the chips and dip.
- Endlessly customizable – Swap in peanut butter chips, add a sprinkle of sea salt, or go wild with different chocolates. I’ve even done a “grown-up” version with a dash of cinnamon that had everyone begging for the recipe.
Trust me, once you try these, you’ll never look at regular s’mores the same way again!
Ingredients for Mini S’mores Dessert Cups
Okay, let’s talk ingredients! The beauty of these mini s’mores cups is how simple they are – just six ingredients total, and you probably have most in your pantry right now. Here’s what you’ll need:
For the Crust
- 1 1/2 cups graham cracker crumbs (that’s about 12 full sheets – I just toss mine in a ziplock and roll with a wine bottle when I’m feeling lazy)
- 6 tbsp unsalted butter, melted (none of that margarine business – trust me, the real stuff makes all the difference)
- 2 tbsp sugar (just a little sweet boost for the crust)
For the Filling
- 1 cup milk chocolate chips (I’m partial to Ghirardelli, but use what you love)
- 1 cup mini marshmallows (the tiny ones melt so perfectly!)
Ingredient Substitutions and Tips
Now, let’s get creative! If you’re gluten-free, swap in gluten-free graham crackers – they work just as well. For dairy-free friends, use coconut oil instead of butter and dairy-free chocolate chips. Pro tip: splurge on good quality chocolate chips – they melt smoother and taste infinitely better than bargain brands. And if you’re feeling fancy? Try dark chocolate chips with a sprinkle of flaky sea salt on top before broiling. Absolute heaven!
How to Make Mini S’mores Dessert Cups
Alright, let’s get to the fun part – making these adorable little s’mores cups! I promise it’s easier than keeping track of roasting sticks at a campfire. Just follow these simple steps and you’ll have perfect mini desserts in no time.
- Prep your pans: Preheat that oven to 350°F (175°C) and line a muffin tin with paper liners. I like using the grease-proof ones – nobody wants their s’mores sticking! If you’re out of liners, just give the tin a quick spray with non-stick spray.
- Make that crust: In a medium bowl, mix together your graham cracker crumbs, melted butter, and sugar until it looks like wet sand. Then press about 2 tablespoons into each muffin cup – I use the bottom of a shot glass to get it nice and compact. Don’t skip this step – a firm crust means no crumbling when you bite in!
- Bake briefly: Pop those crusts in the oven for just 5 minutes. This sets them so they hold their shape but stay tender. Let them cool slightly while you grab your chocolate chips – about 5 minutes should do.
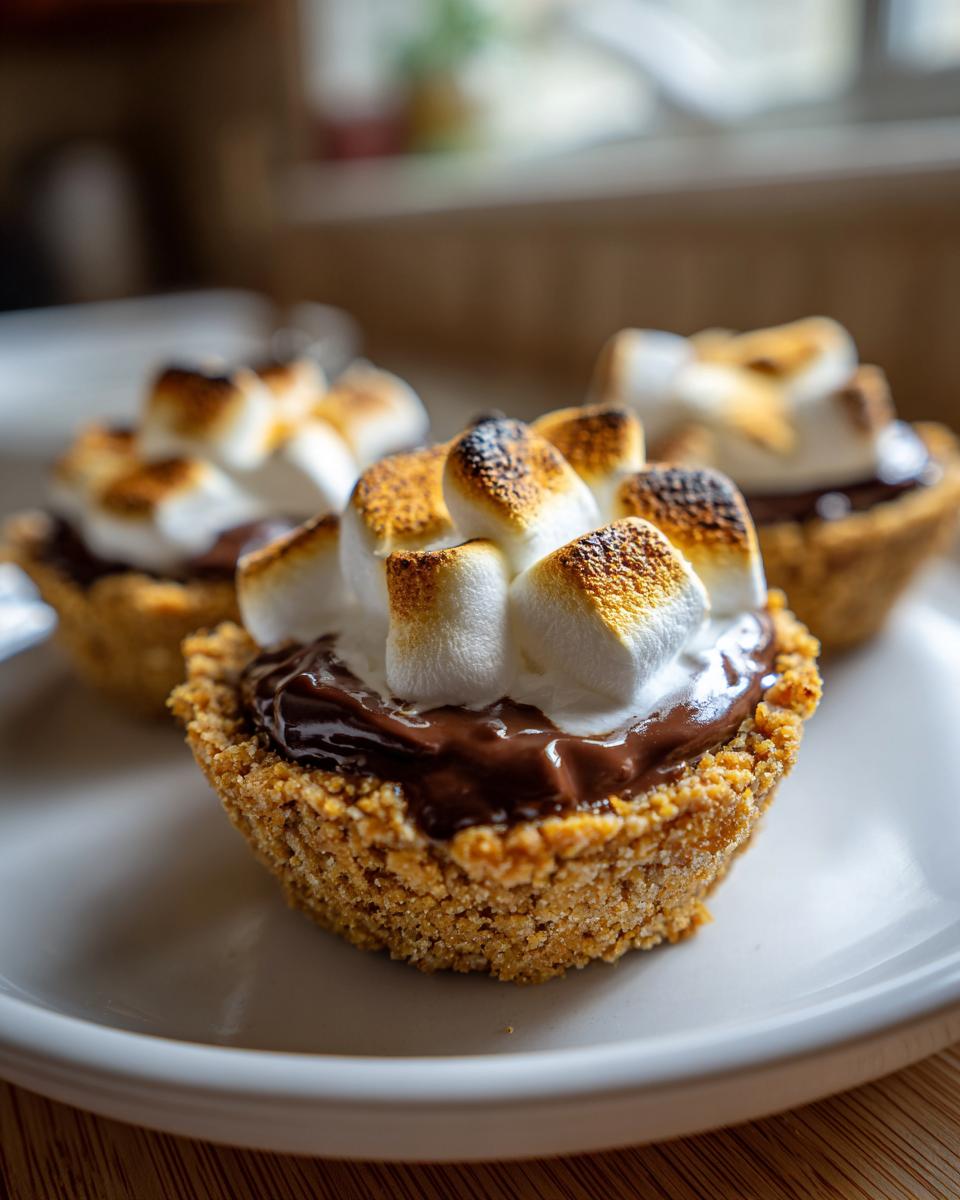
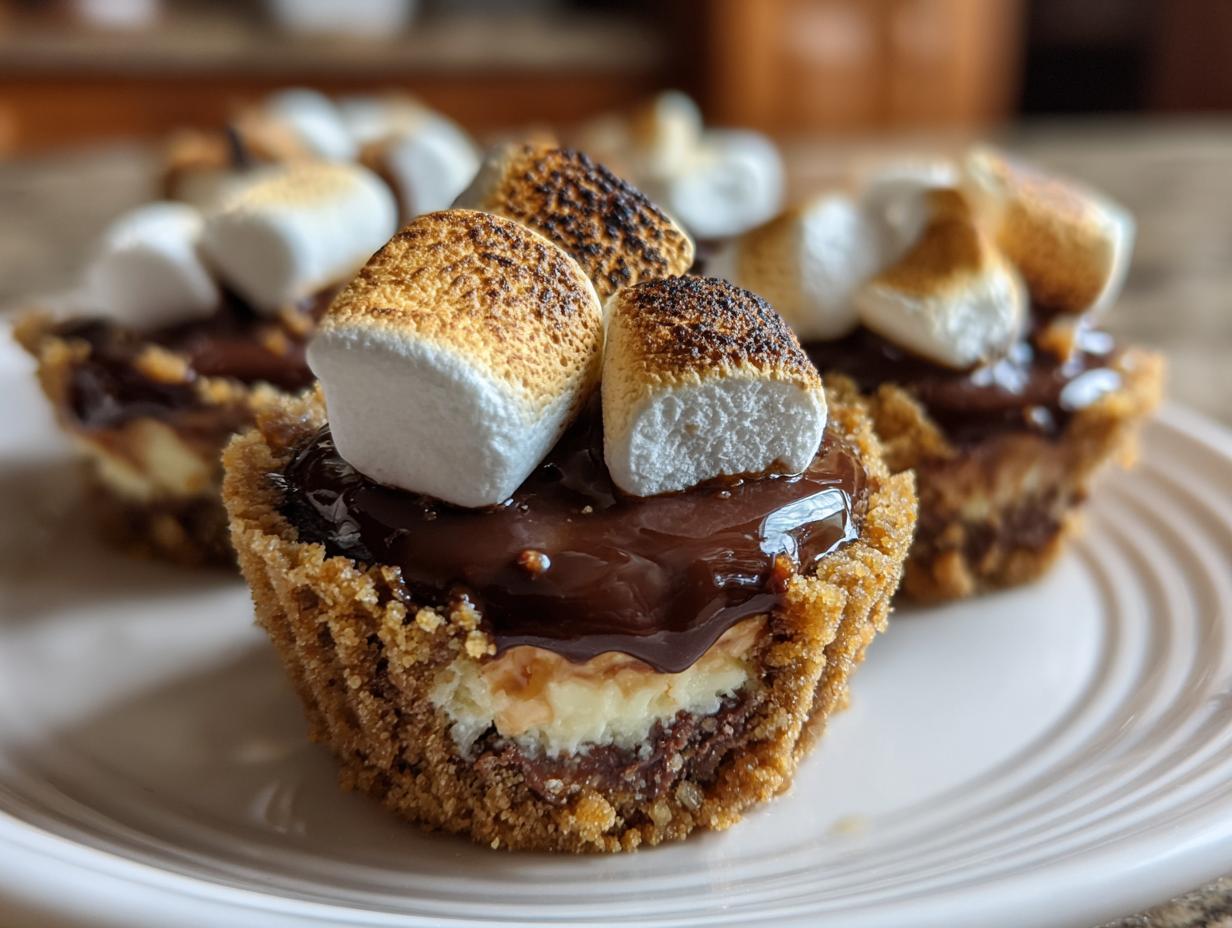
- Chocolate time! Divide your chocolate chips evenly among the cups. I usually do about 1 tablespoon per cup, but hey, I won’t judge if you go heavier! Then top with mini marshmallows – about 5-6 per cup works perfectly.
- Broil carefully: Here’s where you need to pay attention! Switch your oven to broil and pop the tray in for just 1-2 minutes. Stand right there and WATCH them like a hawk – marshmallows go from golden to charcoal in seconds! When they’re beautifully toasted, take them out immediately.
- Cool slightly: Let them sit for about 5 minutes before serving – the chocolate needs a minute to set up. But don’t wait too long – these are best enjoyed warm when everything’s gloriously gooey!
See? Easier than trying to roast marshmallows over an open flame without setting them on fire! If you love no-bake treats as much as I do, you’ve got to try my no-bake Oreo cheesecake next – it’s another crowd-pleaser that comes together in minutes.
Pro Tips for Perfect Mini S’mores Dessert Cups
Here’s my secret weapon for extra-perfect s’mores cups: after pressing in the crust, pop the whole muffin tin in the fridge for 10 minutes before baking. This helps the butter firm up for an ultra-crispy base. And if you’ve got a kitchen torch? Skip the broiler and toast those marshmallows by hand – you’ll get picture-perfect golden tops every time without risking burnt edges!
Variations to Try with Mini S’mores Dessert Cups
Okay, confession time – I can never leave well enough alone when it comes to recipes! These mini s’mores cups are like a blank canvas for your sweet tooth. Here are my favorite ways to mix things up:
Peanut Butter Lover’s Dream: Swap half the chocolate chips for peanut butter chips – the salty-sweet combo is insane! Sometimes I’ll even drizzle melted peanut butter over the marshmallows before broiling. It’s like a Reese’s cup had a baby with a s’more.
Dark Chocolate Sophisticate: Use dark chocolate chips instead of milk chocolate and finish with a sprinkle of flaky sea salt. This “grown-up” version is my go-to for dinner parties. The bitterness of the dark chocolate cuts through the sweetness perfectly.
Banana Split Twist: Add a thin slice of banana under the chocolate layer before topping with marshmallows. After broiling, drizzle with caramel sauce – trust me, it’s life-changing! If you love chocolate-banana combos, you’ll flip for my chocolate banana bread too.
The best part? These variations take zero extra effort – just swap ingredients and enjoy your personal s’mores masterpiece!
Storing and Serving Mini S’mores Dessert Cups
Okay, let’s be real – these mini s’mores cups rarely last long enough to need storing in my house! But just in case you have superhero-level willpower (or made a double batch), here’s how to keep them tasting fresh. Pop them in an airtight container at room temperature – they’ll stay perfect for about 2 days max. The marshmallows might lose some of their toastiness, but no worries! Just give them a quick 30-second broil refresh before serving.
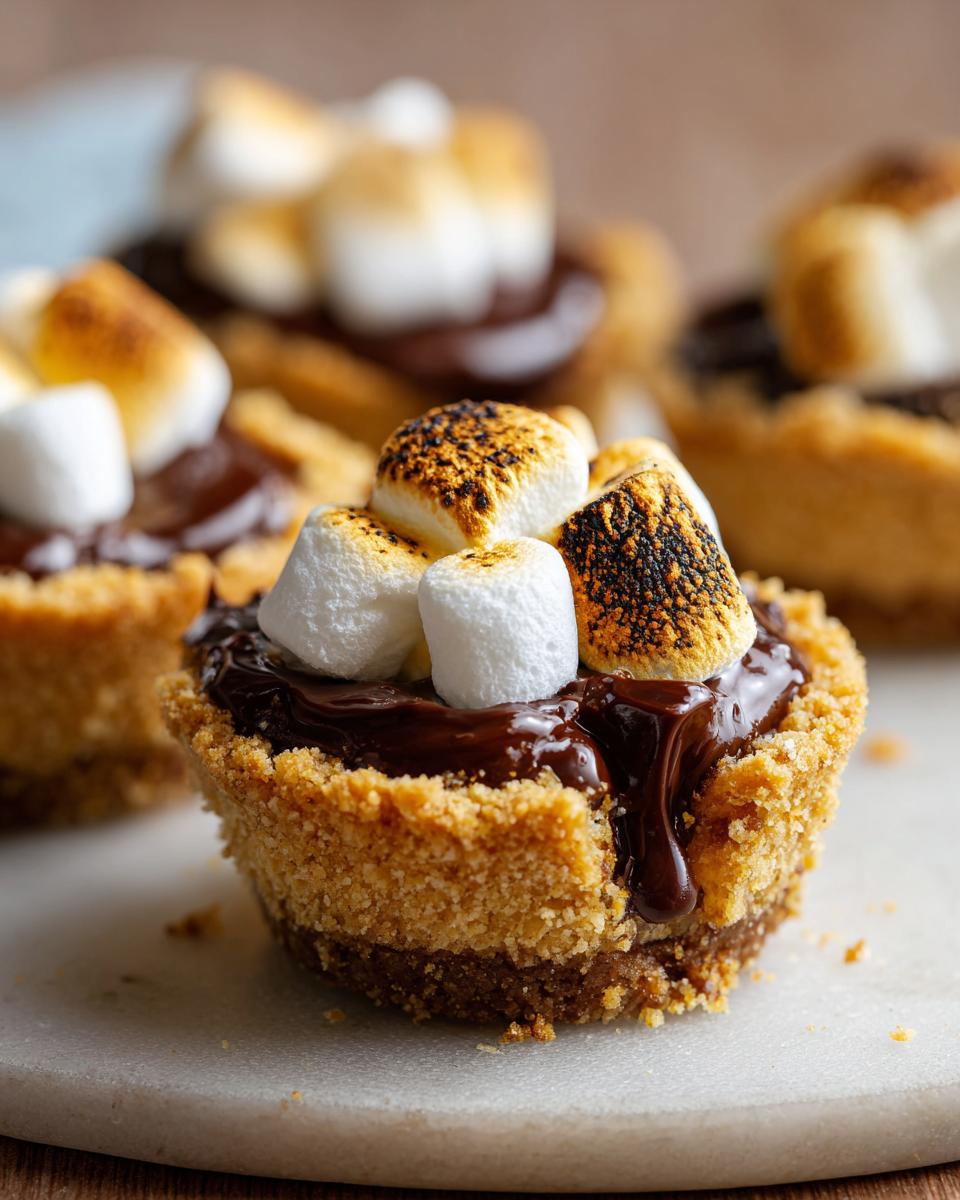
Now, the most important part – serving! These babies are absolute magic when served slightly warm, when the chocolate is still soft and the marshmallows are gloriously sticky. I always keep extra graham crackers on the side for dipping – because let’s face it, you can never have too much crunch with your s’mores. If you’re feeling fancy, a scoop of vanilla ice cream turns these into next-level dessert cups that’ll have everyone begging for seconds!
Nutritional Information for Mini S’mores Dessert Cups
Okay, let’s talk numbers – because let’s be honest, we’re all going to eat these anyway! Each mini s’mores cup clocks in at about 180 calories, with 10g fat (6g saturated), 22g carbs, and 15g sugar. But here’s the deal – these numbers can vary depending on your specific ingredients. That fancy dark chocolate you used? Might change things. Those organic graham crackers? Different ballgame. So take this as a general guide rather than gospel truth. Now go enjoy your delicious creation – you’ve earned it!
Frequently Asked Questions
Can I make mini s’mores dessert cups ahead of time?
Absolutely! Here’s my trick – assemble everything up to the marshmallow topping, then cover and refrigerate for up to 24 hours. When you’re ready to serve, just pop them under the broiler for that perfect golden finish. The crust might soften slightly in the fridge, but that quick broil brings everything back to life!
Can I freeze these mini s’mores cups?
Honestly? I wouldn’t recommend it. Marshmallows get weirdly chewy after freezing, and the texture just isn’t the same. These are so quick to make fresh that it’s worth the extra few minutes! If you must freeze, skip the marshmallows – just freeze the baked crusts with chocolate, then add fresh marshmallows when ready to broil.
How do I make gluten-free mini s’mores cups?
Easy peasy! Just swap regular graham crackers for gluten-free ones – they crush up exactly the same way. I’ve had great results with Pamela’s or Schär brands. All other ingredients are naturally gluten-free, so you’re good to go!
Can I use large marshmallows instead of minis?
You can, but here’s why I prefer minis – they melt more evenly and create that perfect gooey layer without overwhelming the cup. If you only have large marshmallows, cut them into quarters before topping. And watch them extra carefully under the broiler – they’ll toast faster!
What’s the best way to toast the marshmallows without a broiler?
No broiler? No problem! A kitchen torch works beautifully (just wave it gently over the tops). In a pinch, you can microwave for 10-15 seconds – though you won’t get that gorgeous golden color. My most creative solution? Toast marshmallows on skewers over a gas stove burner, then plop them onto the chocolate-filled cups!
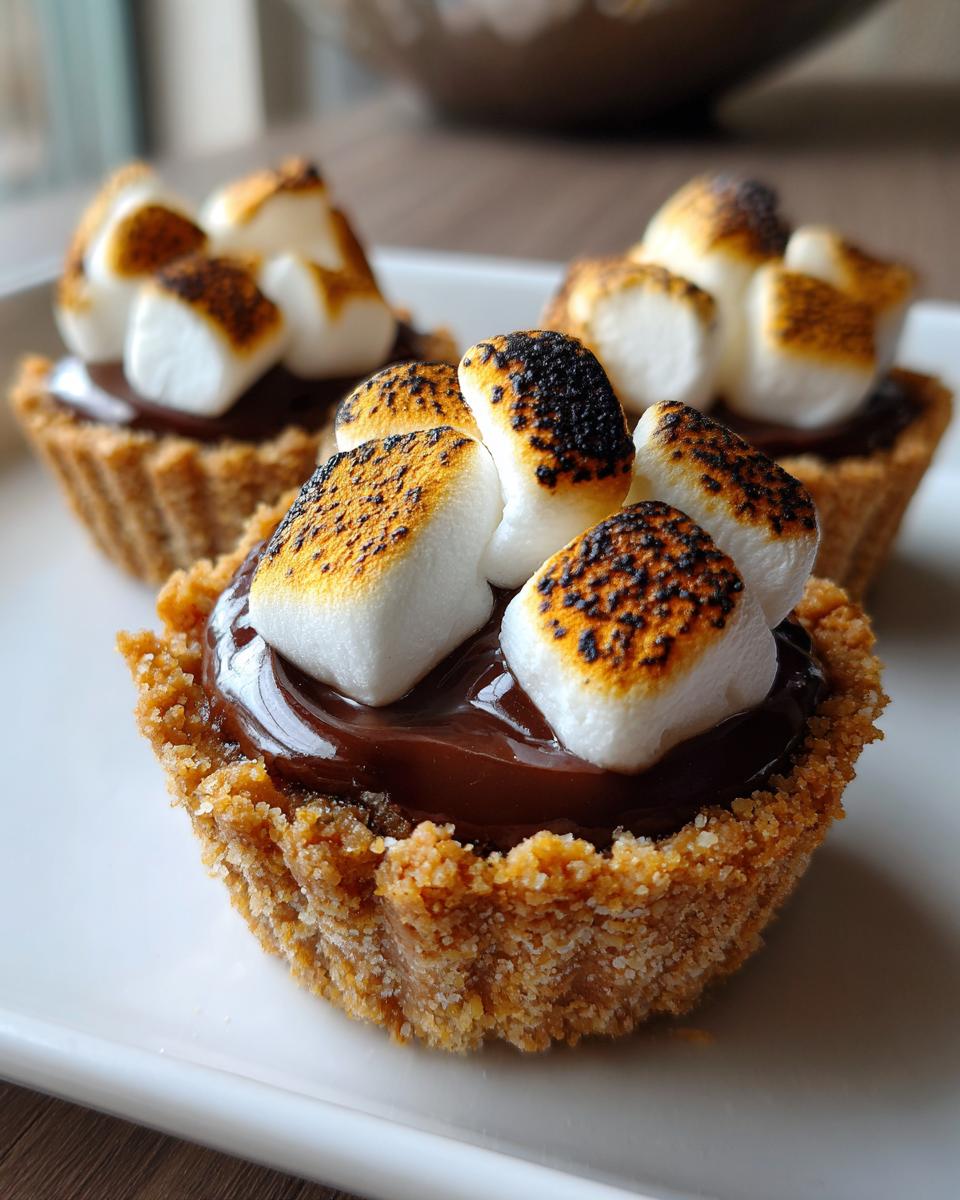
Mini S’mores Dessert Cups
Ingredients
Equipment
Method
- Preheat the oven to 350°F (175°C). Line a muffin tin with paper liners.
- Mix the graham cracker crumbs, melted butter, and sugar in a bowl. Press the mixture into the bottom of each muffin cup.
- Bake the crusts for 5 minutes. Remove from the oven and let cool slightly.
- Divide the chocolate chips evenly among the cups. Top with mini marshmallows.
- Broil for 1-2 minutes until the marshmallows are golden brown. Watch closely to avoid burning.
- Let cool for a few minutes before serving.
Nutrition
Notes
Tried this recipe?
Let us know how it was!For more amazing recipes, be sure to check out our other sections to explore a variety of ideas that will enrich your cooking experience. Each section offers its own unique flavors to ensure a delightful culinary journey:
Easy and Quick Recipes: A collection of dishes that guarantee delicious meals with minimal effort and time.
Healthy Recipes: Discover healthy and delicious options that fit your lifestyle.
Desserts: A diverse selection of sweets that will add a special touch of sweetness to your table.
Lunch Recipes: Tasty lunch ideas that you can easily prepare to delight your family.
Dinner Recipes: Delicious and easy-to-make recipes that will make your dinner a memorable occasion.