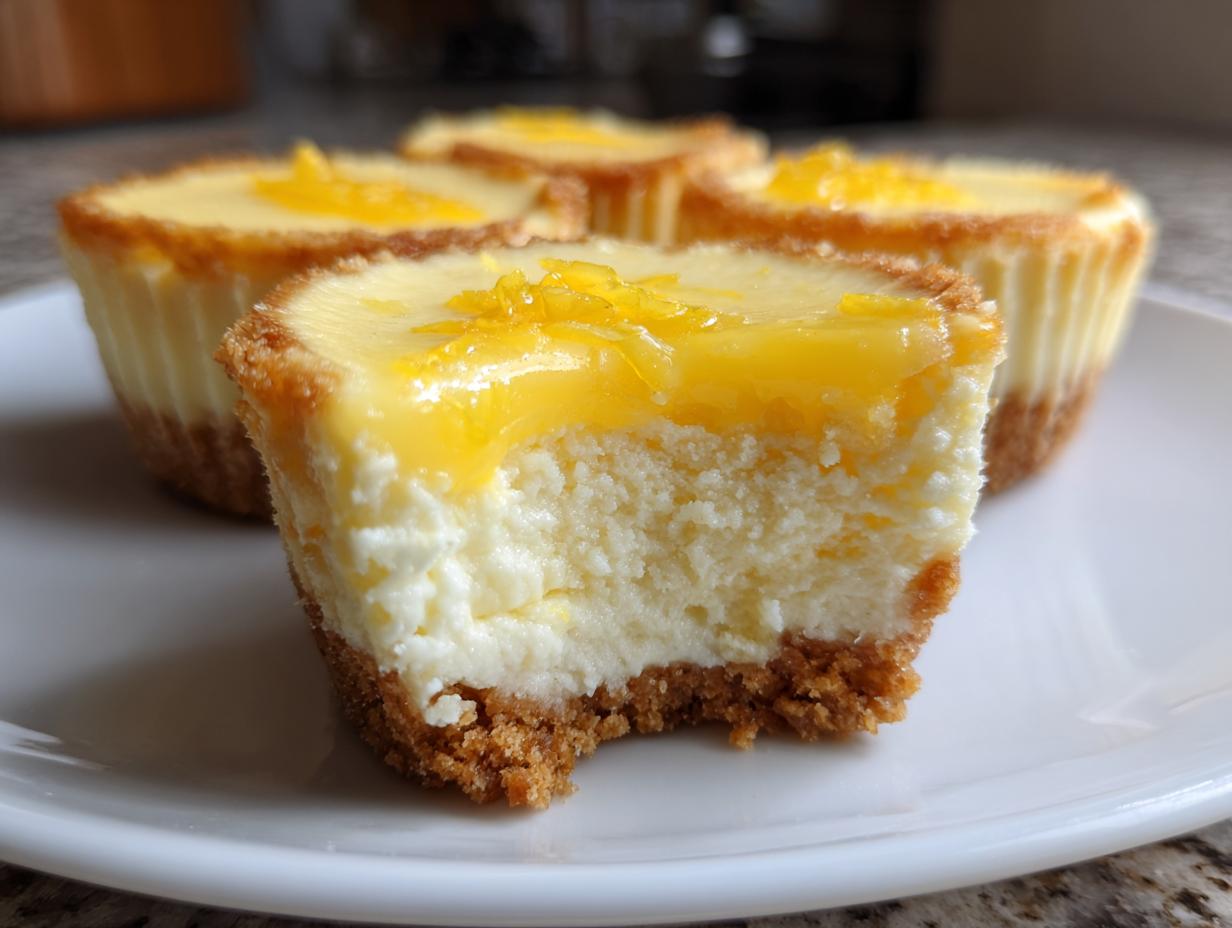
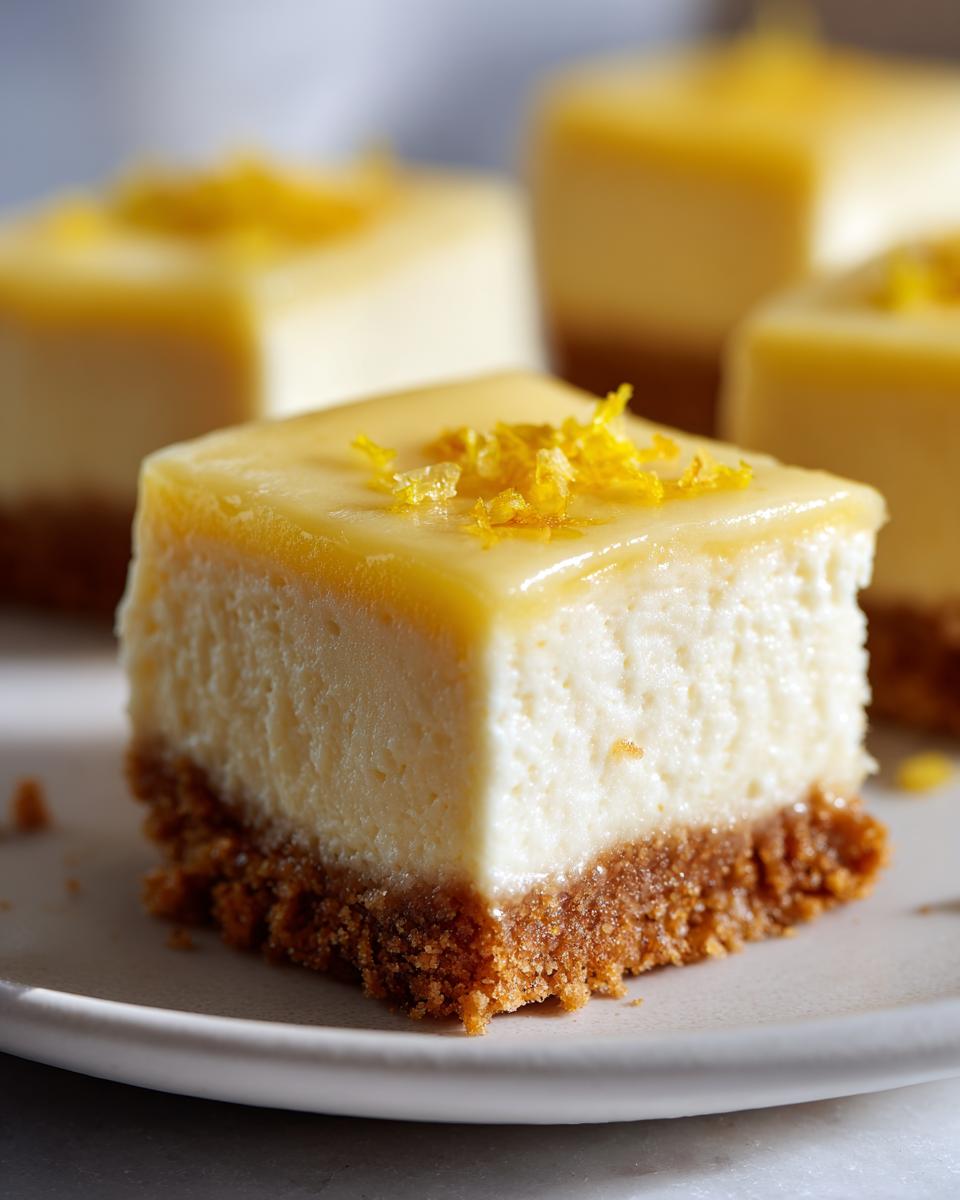
You know those desserts that disappear almost as fast as you make them? That’s exactly what happens with these mini lemon cheesecake bites! They combine the perfect balance of creamy richness and bright, tangy lemon in adorable little packages that’ll have everyone reaching for seconds. I first made these for my niece’s baby shower years ago—they were such a hit that they’ve become our go-to dessert for everything from book club meetings to “just because” Tuesday afternoons. The best part? No slicing required—just pop one (or three) straight from the fridge whenever that sweet craving hits. Trust me, that citrusy cream cheese filling on top of buttery graham cracker crust becomes dangerously addictive!
Why You’ll Love These Mini Lemon Cheesecake Bites
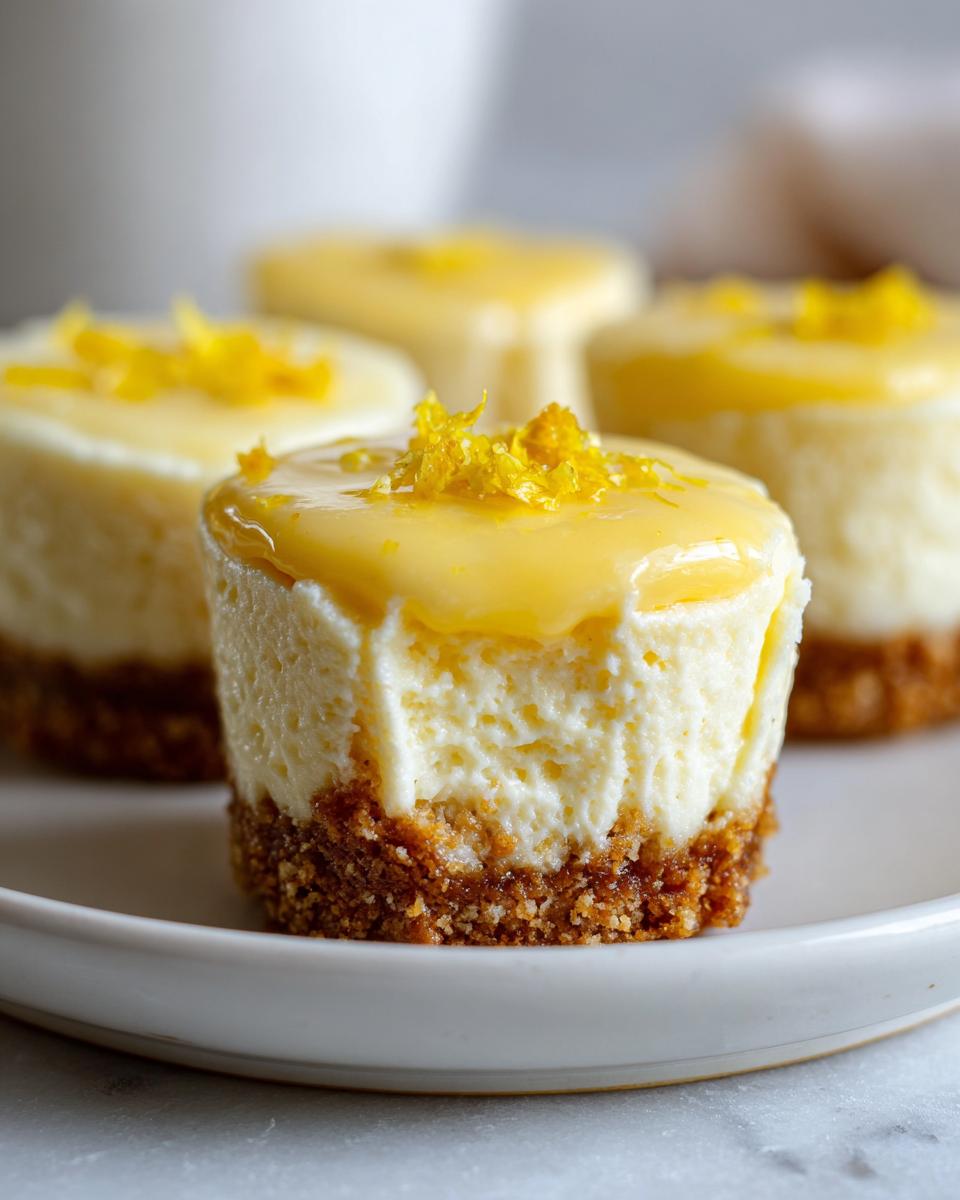
Oh my goodness, where do I even start? These little bites of sunshine have stolen my heart (and probably my waistline) for so many reasons:
- They’re ridiculously easy – No fancy equipment or complicated steps here. Just mix, pour, bake, and chill. Even my nephew could make these (and he once confused salt for sugar!).
- Perfect for sharing – No messy slicing! Just pop them out of the muffin tin and watch them disappear at parties. I always make extra because people inevitably sneak seconds.
- That bright lemon flavor – The combo of fresh lemon juice and zest gives that perfect tangy-sweet punch that makes your taste buds dance. It’s like summer in every bite!
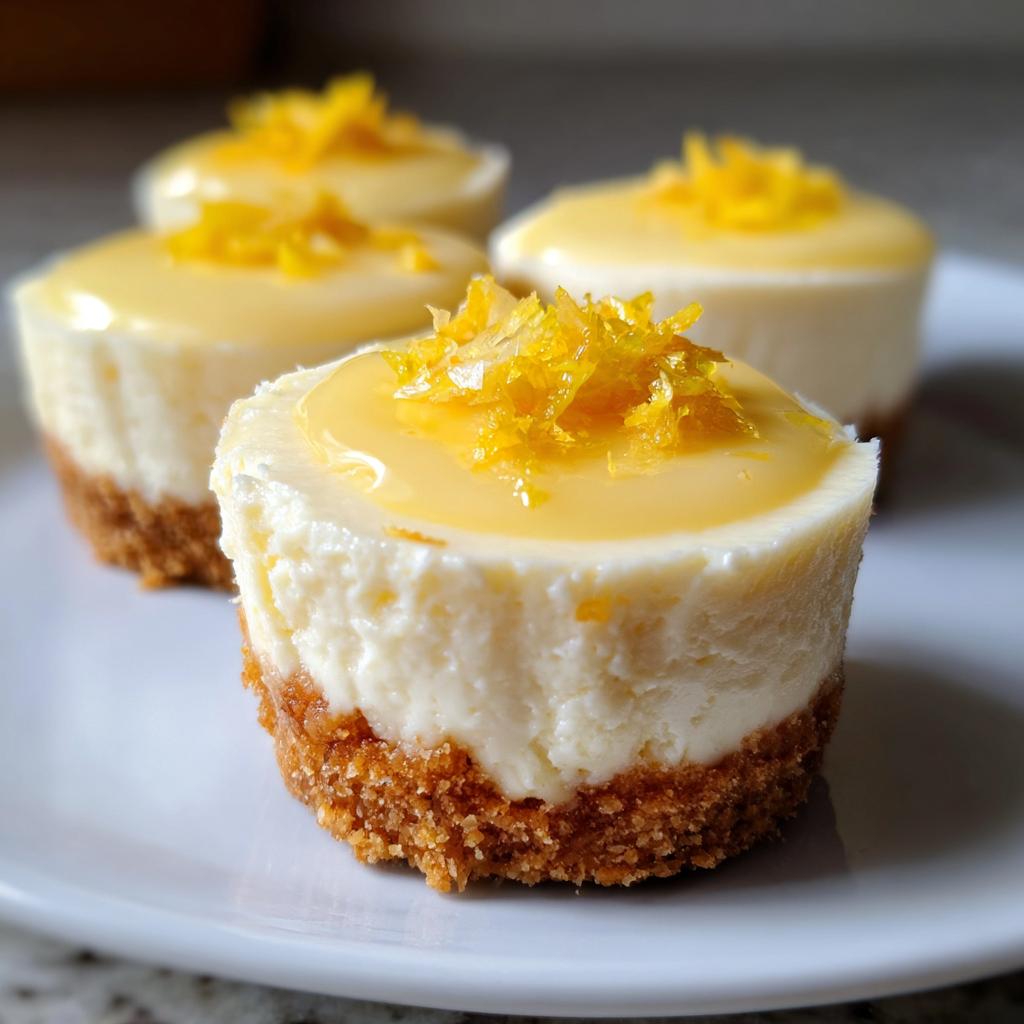
- No-fuss presentation – They look adorable just as they are, but toss on a blueberry or raspberry and suddenly you’ve got gourmet dessert that took zero effort.
Seriously, once you try these, you’ll understand why they’re my most requested recipe!
Ingredients for Mini Lemon Cheesecake Bites
Okay, let’s talk ingredients – because using the right stuff makes all the difference between “meh” and “WOW!” I’ve learned this the hard way (remember that time I tried using margarine instead of butter? Never again!). Here’s exactly what you’ll need:
For the Crust
- 1 cup graham cracker crumbs – Don’t buy the pre-crumbed stuff! Just pulse whole crackers in a food processor (or smash them in a bag with a rolling pin like I do when I need stress relief).
- 3 tbsp butter, melted – And yes, it has to be real butter. That fake stuff won’t give you that rich, toasty flavor we’re after.
- 1 tbsp sugar – Just a little sweetness to balance the tangy filling.
For the Filling
- 8 oz cream cheese, softened – Leave it out for at least 30 minutes! Trying to mix cold cream cheese is like trying to spread concrete – not fun.
- 1/4 cup sugar – Not too sweet, letting that lemon flavor shine.
- 1 tbsp lemon zest – Use organic lemons if you can, and zest them right before mixing for maximum flavor.
- 2 tbsp lemon juice, freshly squeezed – Bottled juice? Absolutely not! That fresh zing makes all the difference.
- 1 tsp vanilla extract – The secret background note that makes everything taste better.
- 1 egg – Room temperature, please! Cold eggs can make the filling lumpy.
See? Nothing fancy – just good quality ingredients handled with care. Now let’s turn these into magic!
How to Make Mini Lemon Cheesecake Bites
Alright, let’s get to the fun part – making these little bites of lemony heaven! Don’t let the word “cheesecake” intimidate you – these are way easier than the big fancy kind. I’ve made these so many times I could probably do it in my sleep (though I don’t recommend that – oven safety first!). Just follow these steps and you’ll be golden.
Step 1: Prepare the Crust
First things first – preheat that oven to 325°F (160°C). While it’s warming up, grab your muffin tin and line it with paper liners. Pro tip: use the foil-lined ones if you have them – they peel away cleaner.
Now, take your graham cracker crumbs, melted butter, and sugar and mix them together in a bowl. You want it to look like wet sand – if it’s too dry, add just a smidge more butter. Press about 1 tablespoon of this mixture firmly into each muffin cup. I mean FIRMLY – use the back of a spoon or your fingers to really pack it down. Bake these little crusts for 5 minutes, then let them cool while you make the filling. This quick bake helps set the crust so it doesn’t crumble later.
Step 2: Mix the Filling
Here’s where the magic happens! In a big bowl, beat your softened cream cheese until it’s completely smooth – no lumps allowed! This might take a couple minutes with an electric mixer. Scrape down the sides often – those sneaky cream cheese lumps love to hide there.
Add in the sugar, lemon zest, lemon juice, and vanilla. Beat again until everything’s combined and creamy. Now for the egg – add it last and mix JUST until incorporated. Overbeating after adding the egg can make your cheesecakes puff up too much and then crack when they cool. We want smooth tops, not craters!
Step 3: Bake and Chill
Pour the filling over your cooled crusts, filling each cup about 3/4 full. Slide them into the oven and bake for 10-12 minutes. You’ll know they’re done when the edges look set but the centers still have a slight jiggle – like Jell-O when you gently shake it. They’ll firm up as they cool.
Let them cool completely at room temperature (about 30 minutes) before transferring to the fridge. This slow cooling helps prevent cracks. Then comes the hardest part – waiting at least 2 hours before eating! I know, torture. But trust me, that chilling time lets the flavors develop and the texture become perfectly creamy. If you’re feeling fancy, top them with whipped cream or berries before serving. Or just eat them straight from the fridge like I do when no one’s looking!
Want another easy cheesecake option? Try my no-bake Oreo cheesecake when you’re in a chocolate mood!
Tips for Perfect Mini Lemon Cheesecake Bites
After making these dozens of times (and learning from all my mistakes!), here are my can’t-live-without tips for mini cheesecake success:
- Room temp is non-negotiable – That cream cheese needs to be soft as butter before mixing. Cold cream cheese = lumpy filling. I leave mine out overnight if I’m baking in the morning!
- Zest before juicing – Trying to zest a squeezed lemon is like trying to hug a porcupine – painful and pointless. Use a microplane for super-fine zest that melts into the filling.
- Double up those liners – The foil ones work great alone, but if you’re using paper, consider spraying them lightly or using two per cup. Nothing worse than losing half your cheesecake to a stuck liner!
- Patience is key – I know it’s hard, but that 2-hour chill time isn’t optional. The filling needs time to set properly. If you rush it, you’ll have delicious but messy lemon pudding cups instead.
Follow these simple tricks, and you’ll get perfect little cheesecake bites every single time!
Variations for Mini Lemon Cheesecake Bites
One of my favorite things about this recipe is how easily you can switch it up! Here are some delicious twists I’ve tried (and loved) over the years:
- Berry Bliss: Top each bite with a fresh blueberry or raspberry right after baking – the juices seep in slightly as they chill. For extra wow factor, make a quick berry compote to drizzle over!
- Biscuit Base: Swap graham crackers for digestive biscuits or even gingersnaps – the spicier crust pairs amazingly with the lemon. Just pulse them the same way you would graham crackers.
- White Chocolate Drizzle: Melt some white chocolate with a teaspoon of coconut oil and zigzag it over the chilled bites. It’s gorgeous and adds a creamy contrast. If you love lemon-coconut combos, try my lemon coconut bars next!
The possibilities are endless – sometimes I’ll even sprinkle crushed pistachios on top for crunch. What variations will you try first?
How to Store Mini Lemon Cheesecake Bites
Okay, let’s talk storage – because I know you’ll want to keep these little beauties fresh (if they last that long!). Here’s the scoop:
In the fridge, they’ll stay perfect for 3-4 days. Just pop them in an airtight container – no need to stack them unless you separate layers with parchment paper. The freezer? Absolutely! Freeze them on a baking sheet first (so they don’t stick together), then transfer to a freezer bag for up to a month. When you’re ready for a treat, thaw them overnight in the fridge or for about 30 minutes on the counter. Pro tip: add any fresh toppings after thawing so they don’t get soggy!
Mini Lemon Cheesecake Bites FAQs
Over the years, I’ve gotten so many questions about these little lemony delights! Here are the answers to the ones I hear most often:
Can I use bottled lemon juice instead of fresh?
Oh honey, no! Fresh lemon juice makes all the difference – that bright, zippy flavor just can’t be matched by the bottled stuff. Plus, you need the zest anyway, so you might as well juice those lemons! Trust me, the extra minute of squeezing is totally worth it.
How do I prevent cracks in my cheesecake bites?
The secret is in the baking and cooling. Don’t overbake them – they should still have a slight jiggle in the center when you pull them out. And let them cool slowly at room temperature before refrigerating. Rushing this process is the #1 reason for cracks!
Can I make these gluten-free?
Absolutely! Just swap the graham crackers for your favorite gluten-free cookie crumbs. I’ve used gluten-free gingersnaps before, and they were delicious. Same measurements, same method – easy peasy.
Why did my cheesecake bites sink in the middle?
This usually happens if you overmixed after adding the egg or opened the oven door too early. Be gentle with that final mix, and resist the urge to peek – the sudden temperature change can make them collapse.
Can I freeze these?
You bet! They freeze beautifully for up to a month. Just thaw overnight in the fridge when you’re ready to enjoy. I always keep a stash in my freezer for last-minute guests (or midnight cravings!).
Nutritional Information
Now, I’m no nutritionist (as evidenced by my dessert-first approach to meals!), but I do believe in being mindful about what we eat. These mini lemon cheesecake bites are definitely a treat, but they’re made with real ingredients – no weird artificial stuff here! The nutritional values will naturally vary depending on the exact brands and amounts you use – that organic butter might have slightly different numbers than conventional, for example.
Remember, these are estimates – your actual results might differ based on how generously you fill those muffin cups (I won’t tell if you sneak an extra tablespoon of filling!). The important thing is that they’re made with love and enjoyed in moderation… or not so moderately when you’re having one of those days. After all, sometimes happiness is the most important nutrient of all!
Mini Lemon Cheesecake Bites
Ingredients
Equipment
Method
- Preheat your oven to 325°F (160°C). Line a muffin tin with paper liners.
- Mix graham cracker crumbs, melted butter, and sugar in a bowl. Press 1 tablespoon of the mixture into each muffin cup to form the crust.
- Bake the crusts for 5 minutes. Remove from the oven and let cool.
- Beat cream cheese, sugar, lemon zest, lemon juice, and vanilla extract until smooth. Add the egg and mix until just combined.
- Pour the filling over the crusts, filling each cup about 3/4 full.
- Bake for 10-12 minutes, or until the centers are set. Let cool to room temperature, then refrigerate for at least 2 hours before serving.
Nutrition
Notes
Tried this recipe?
Let us know how it was!For more amazing recipes, be sure to check out our other sections to explore a variety of ideas that will enrich your cooking experience. Each section offers its own unique flavors to ensure a delightful culinary journey:
Easy and Quick Recipes: A collection of dishes that guarantee delicious meals with minimal effort and time.
Healthy Recipes: Discover healthy and delicious options that fit your lifestyle.
Desserts: A diverse selection of sweets that will add a special touch of sweetness to your table.
Lunch Recipes: Tasty lunch ideas that you can easily prepare to delight your family.
Dinner Recipes: Delicious and easy-to-make recipes that will make your dinner a memorable occasion.