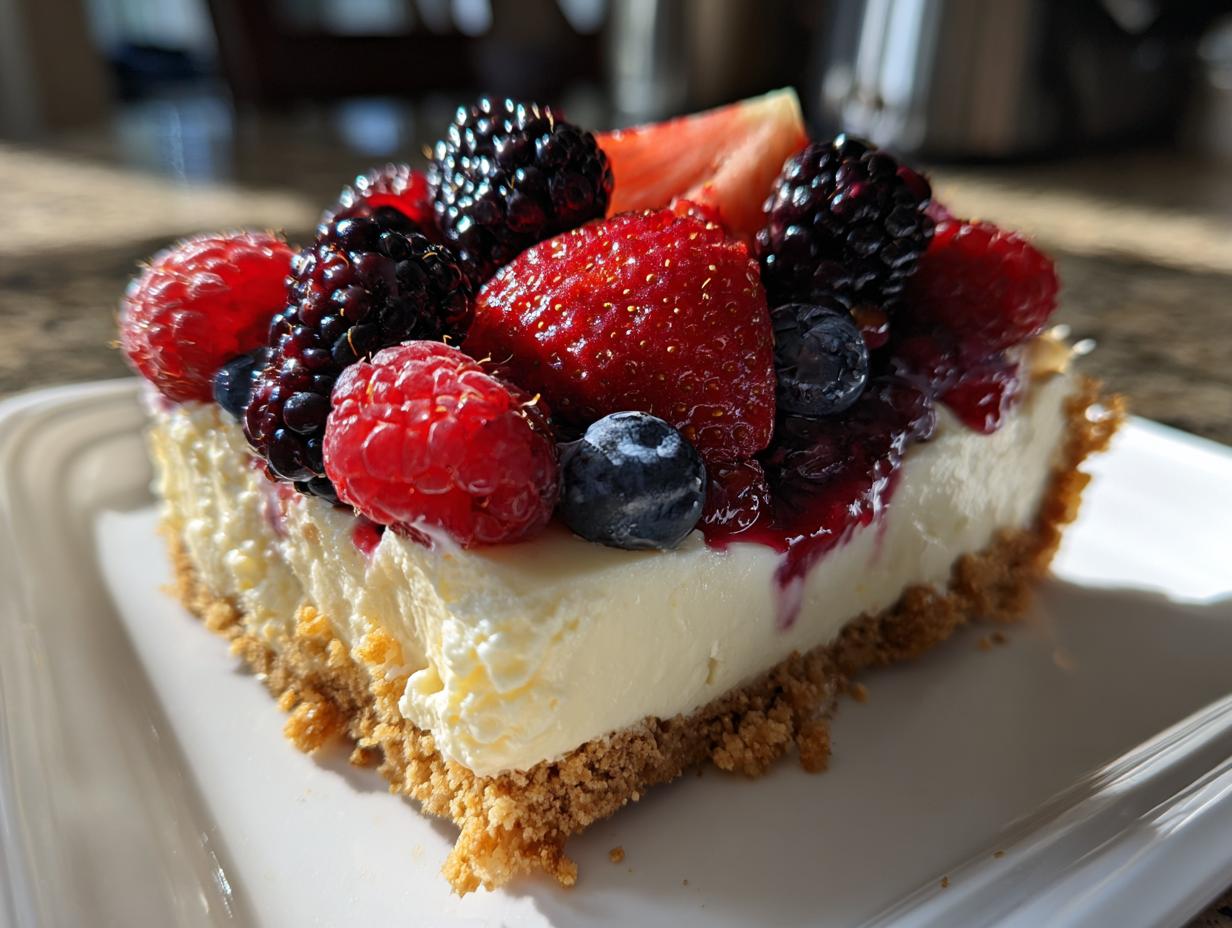
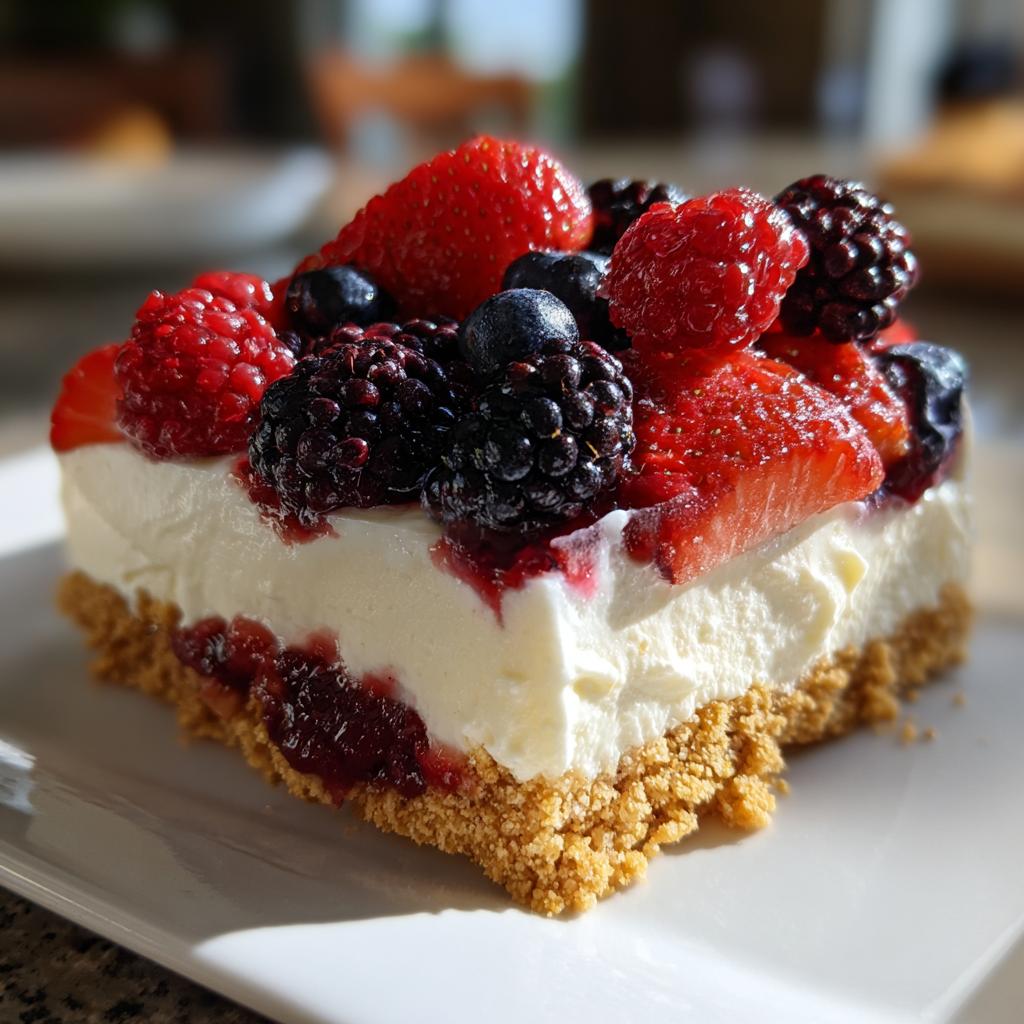
Oh my stars, you have to try this layered berry pudding dessert! It’s become my go-to for summer potlucks and those “I need something sweet” weeknights when baking just isn’t happening. The magic of this dessert? It comes together in minutes but looks like you spent hours in the kitchen. I first made it for my niece’s baby shower, and now my family requests it for every gathering – it’s that good! Those juicy berries nestled on creamy pudding over a buttery graham cracker crust? Pure heaven. And get this – no oven required! Just layer, chill, and watch it disappear. It’s the perfect balance of fresh and indulgent, and honestly, I’ve lost count of how many times I’ve whipped it up since discovering this gem of a dessert. Trust me, once you try this refreshing treat, you’ll understand why it’s always the first dish emptied at parties.
Why You’ll Love This Layered Berry Pudding Dessert
Let me count the ways this dessert will become your new best friend in the kitchen! First off, it’s no-bake – perfect for those hot summer days when turning on the oven feels like torture. The prep is so quick, you’ll have it ready before your coffee finishes brewing. And the berries? Use whatever looks good at the market – strawberries, raspberries, blueberries, or go wild with blackberries!
Here’s why I’m obsessed:
- Ready in just 20 minutes (plus chilling time)
- Endlessly customizable – swap berries based on what’s in season
- Always a crowd-pleaser at potlucks and parties
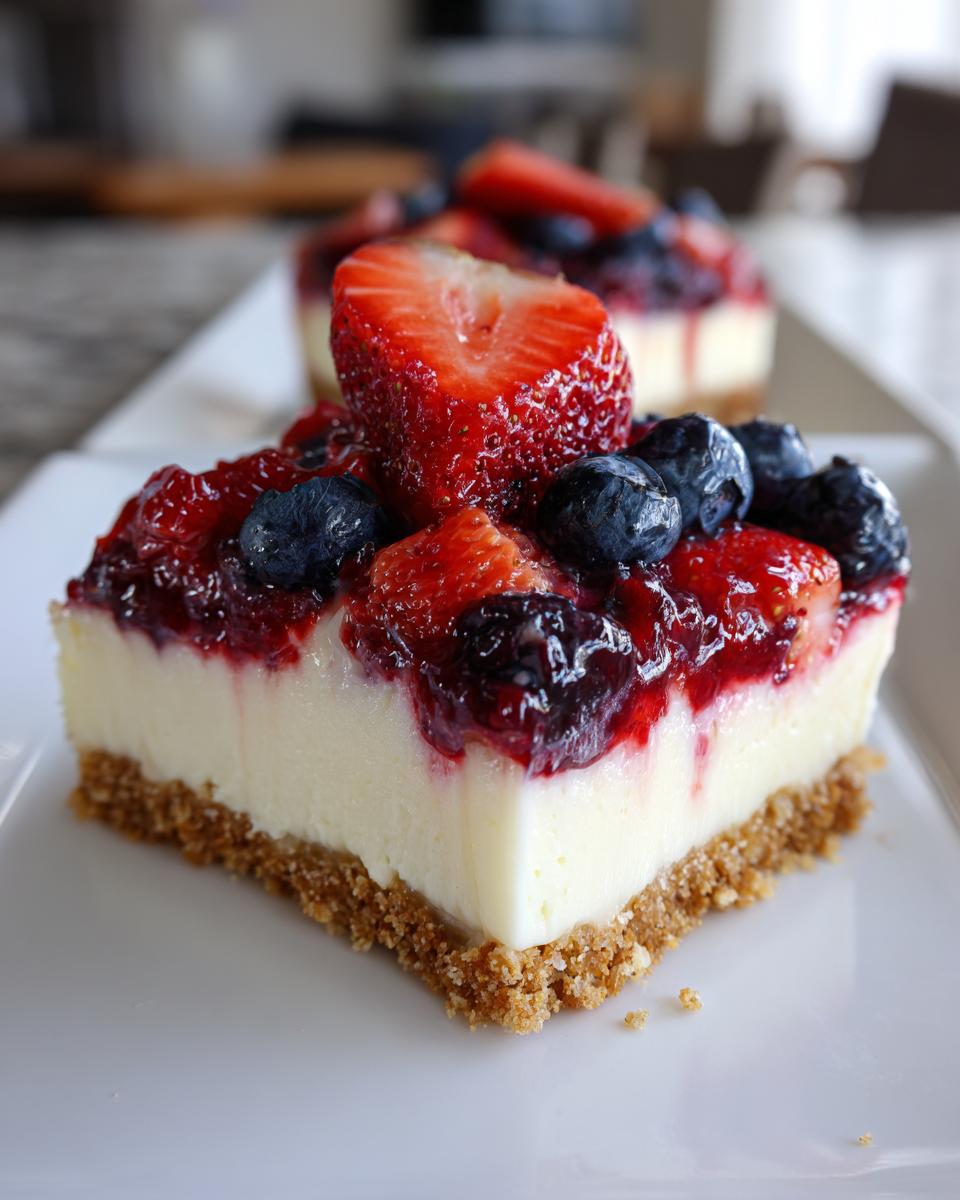
- Perfect balance of creamy and crunchy textures
- Looks fancy but couldn’t be simpler to make
Seriously, this dessert checks all the boxes – easy, delicious, and always gets rave reviews. My neighbor actually asked me for the recipe after tasting it, and now it’s her signature dish too!
Ingredients for Layered Berry Pudding Dessert
Okay, let’s gather our goodies! The beauty of this dessert is how simple the ingredients are – you probably have most in your pantry already. I like to divide everything into three groups because, well, layers are kind of our thing here. And don’t worry, I’ll share all my little tricks for each component!
For the Crust
- 2 cups graham cracker crumbs (about 15 full crackers – I just toss them in a bag and roll with a rolling pin)
- 1/2 cup butter, melted (real butter please – it makes all the difference!)
- 1/4 cup sugar (I use regular granulated, but brown sugar adds a nice caramel note if you’re feeling fancy)
For the Pudding Layer
- 2 cups cold milk (whole milk gives the creamiest texture, but 2% works in a pinch)
- 1 package (3.4 oz) vanilla instant pudding mix (trust me, instant is the way to go here)
- 1 cup whipped topping, thawed (that’s Cool Whip to most of us – just make sure it’s not frozen when you use it)
For the Berry Layer
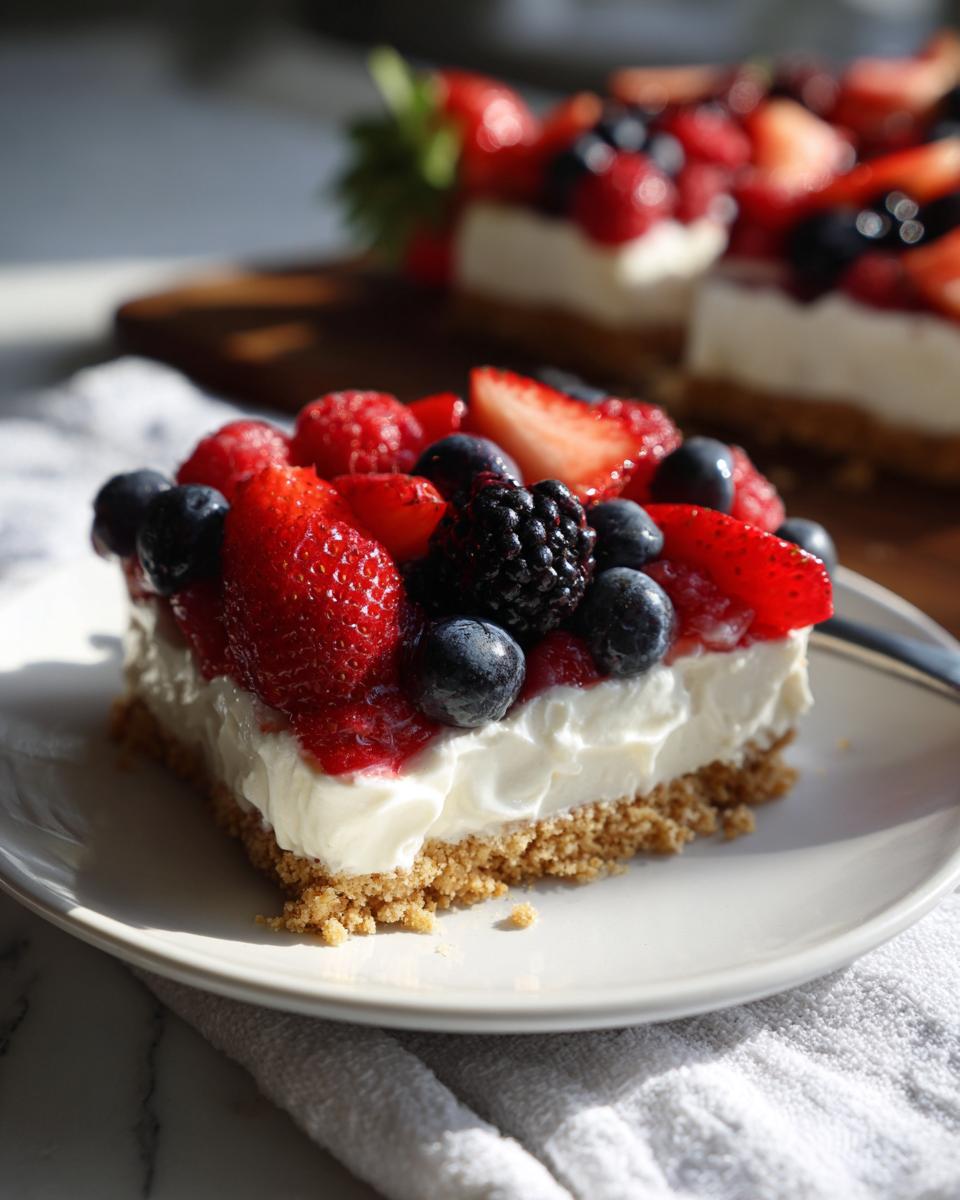
- 2 cups mixed fresh berries (my favorite combo is strawberries, blueberries, and raspberries – but use whatever looks best at the market)
See? Told you it was simple! Now let’s turn these basic ingredients into something magical.
How to Make Layered Berry Pudding Dessert
Alright, let’s get layering! This layered berry pudding dessert comes together so easily, you’ll wonder why you ever bothered with complicated pastries. I’ve made this dozens of times, and here’s my foolproof method. The key is working quickly but gently – we want distinct, beautiful layers that hold their own. Oh, and don’t stress about perfection – those little imperfections just make it look homemade (which is secretly what everyone loves anyway!).
Step 1: Prepare the Graham Cracker Crust
First up – that buttery, crumbly foundation we all love. In a medium bowl, mix your graham cracker crumbs, melted butter, and sugar until it looks like wet sand. Here’s my trick: I use the bottom of a measuring cup to firmly press the mixture into my 9×13-inch dish, making sure it’s even from edge to edge. Want extra crunch? Pop it in a 350°F oven for 8 minutes to set (totally optional but delicious). Let it cool while you make the pudding layer – this prevents melting issues later!
Step 2: Whip Up the Pudding Layer
Time for the creamy magic! Pour your cold milk into a large bowl (cold is crucial – warm milk makes runny pudding). Whisk in the pudding mix for a full 2 minutes – set a timer! This isn’t the time for shortcuts. When it’s nice and thick, gently fold in the whipped topping until fully combined. Pro tip: add the topping in portions to avoid lumps. You’re aiming for a light, fluffy cloud of goodness that’ll hold those berries like a dream. Speaking of berries, while your pudding sets up for about 5 minutes, grab your fresh ones.
Step 3: Assemble and Chill
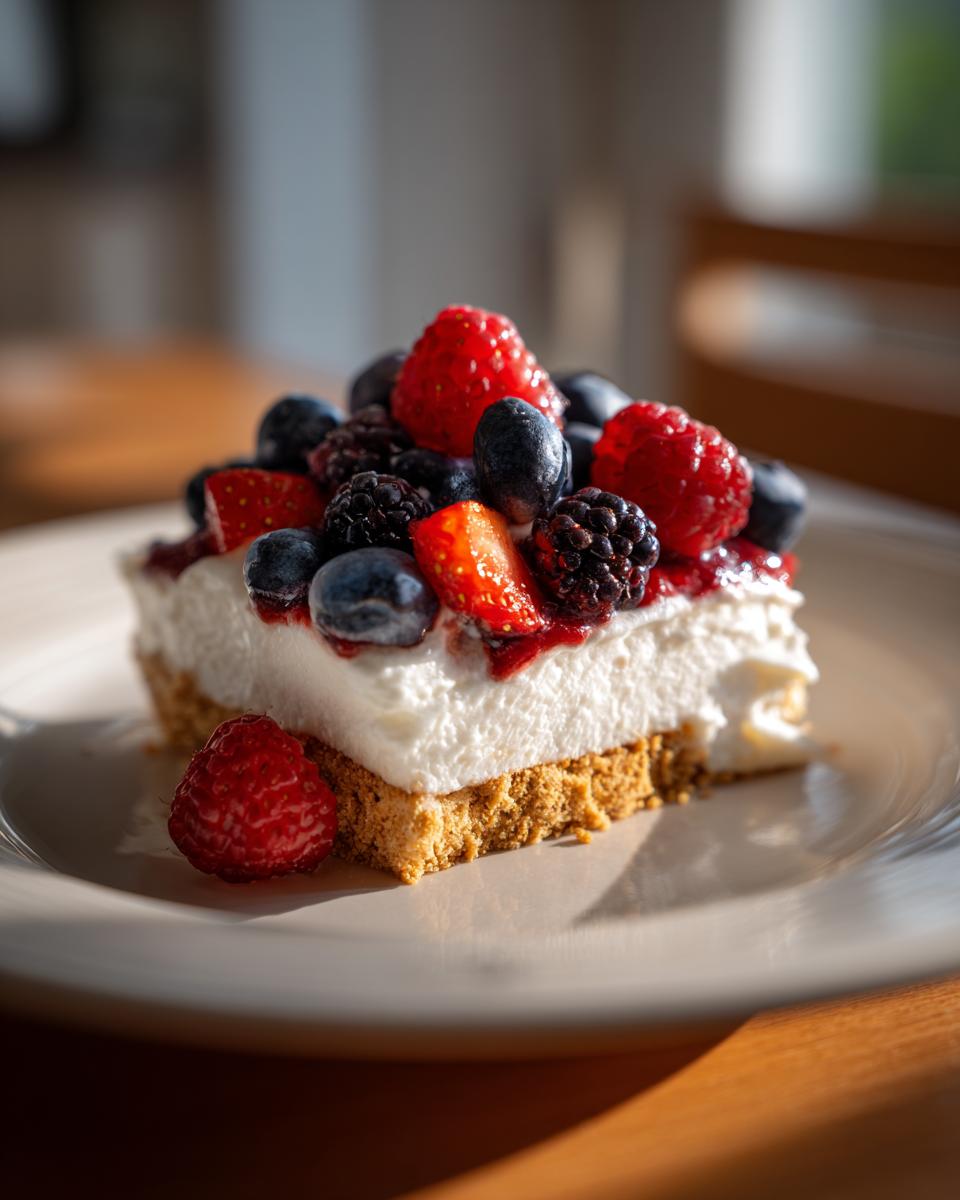
Now for the fun part! Spread your pudding mixture evenly over the crust – an offset spatula works great here. Then artfully arrange those gorgeous berries on top. I like to pretend I’m an artist creating a masterpiece (even if it’s just random berry placement). The final step? Pop it in the fridge for at least an hour – this lets everything set properly and makes clean slicing possible. Trust me, resisting the urge to eat it immediately pays off! Once chilled, cut into squares and watch it disappear faster than you can say “seconds please!”
Tips for the Perfect Layered Berry Pudding Dessert
Here’s the scoop on making this layered berry pudding dessert absolutely flawless every single time – because I’ve definitely learned from my mistakes! First, always use fresh berries if possible – frozen can work in a pinch, but they’ll bleed more juice and make things soggy. My secret? I pop my baking dish in the freezer for 10 minutes before assembling – it helps set the crust faster and prevents any pudding sliding.
Want to mix it up? Try cheesecake-flavored pudding instead of vanilla for extra richness. And here’s my favorite trick: lightly toss your berries in a tablespoon of cornstarch before layering – it absorbs any excess moisture so your layers stay picture-perfect. Oh, and if you’re making this ahead, wait to add the berries until just before serving – they’ll stay bright and fresh looking that way!
Variations to Try with Your Layered Berry Pudding Dessert
Oh, the possibilities with this dessert! Once you’ve mastered the basic version, it’s time to play. My favorite twist? Swap the graham crackers for chocolate wafer crumbs – that rich, dark crust pairs amazingly with tart berries. Feeling tropical? Use coconut whipped topping and toss in some mango chunks with your berries. And for banana lovers (you know who you are), layer thin slices between the pudding and berries – it’s like banana cream pie meets berry bliss! This chocolate-banana combo is particularly dreamy if you’re feeling indulgent.
Here are more fun ideas I’ve tried:
- Lemon zest in the pudding for a bright, citrusy kick
- Crushed nuts sprinkled between layers for extra crunch
- Swirl of raspberry jam under the berry layer
- Mini chocolate chips mixed into the crust
The best part? Every variation feels like a brand new dessert. What will you create first?
Serving and Storing Layered Berry Pudding Dessert
Here’s how I make this dessert shine when serving – and keep it tasting fresh! First, always serve it chilled straight from the fridge – that cool, creamy texture is half the magic. I love adding a sprig of fresh mint on top for a pop of color (and because it makes me feel fancy). For storage, just cover the dish tightly with plastic wrap – it’ll keep beautifully in the fridge for up to 2 days. Though let’s be honest, mine never lasts that long! Pro tip: if you need to transport it, place the dish on a baking sheet in your car – prevents sliding and keeps those layers picture-perfect.
Nutritional Information for Layered Berry Pudding Dessert
Okay, let’s talk numbers – but don’t let them scare you! Each generous serving of this heavenly dessert comes in at about 280 calories. You’re looking at 14g of fat (thanks to that delicious butter in the crust), 35g carbs, and a sweet 22g of sugar. The berries add a nice 2g fiber boost too!
Now here’s my disclaimer – these numbers can vary based on your exact ingredients. Used full-fat whipped topping? Might be a tad richer. Went lighter on the sugar? Good for you! The beauty of homemade means you control what goes in. Just remember – life’s too short not to enjoy dessert!
Frequently Asked Questions
Can I use frozen berries instead of fresh?
Absolutely! Frozen berries work in a pinch, but make sure to thaw and drain them first – nobody wants a soggy dessert. I usually pat them dry with paper towels too. Pro tip: toss thawed berries with a teaspoon of cornstarch to absorb extra juice.
How long does this dessert keep in the fridge?
It stays delicious for about 2 days when covered tightly with plastic wrap. The crust might soften a bit by day two, but honestly? Mine never lasts that long – it’s usually gone by the end of the first night!
Can I make this layered dessert ahead of time?
You bet! I often prep the crust and pudding layers the night before, then add the berries right before serving. This keeps everything fresh and prevents the berries from making the pudding watery.
What’s the best way to cut clean slices?
Here’s my trick: dip a sharp knife in warm water and wipe it clean between each cut. The heat helps glide through the pudding layer without sticking. And don’t stress about perfect squares – rustic cuts taste just as amazing!
Can I use homemade whipped cream instead of whipped topping?
Of course! I love using fresh whipped cream sometimes – just know it won’t hold its shape quite as long. Stabilize it with a tablespoon of powdered sugar or a splash of vanilla extract for best results.

Layered Berry Pudding Dessert
Ingredients
Equipment
Method
- In a bowl, mix graham cracker crumbs, melted butter, and sugar until combined.
- Press the mixture into the bottom of a 9×13-inch baking dish to form the crust.
- In another bowl, whisk milk and pudding mix for 2 minutes until thickened.
- Fold in whipped topping until smooth.
- Spread the pudding mixture over the crust.
- Arrange fresh berries evenly on top.
- Refrigerate for at least 1 hour before serving.
Nutrition
Notes
Tried this recipe?
Let us know how it was!For more amazing recipes, be sure to check out our other sections to explore a variety of ideas that will enrich your cooking experience. Each section offers its own unique flavors to ensure a delightful culinary journey:
Easy and Quick Recipes: A collection of dishes that guarantee delicious meals with minimal effort and time.
Healthy Recipes: Discover healthy and delicious options that fit your lifestyle.
Desserts: A diverse selection of sweets that will add a special touch of sweetness to your table.
Lunch Recipes: Tasty lunch ideas that you can easily prepare to delight your family.
Dinner Recipes: Delicious and easy-to-make recipes that will make your dinner a memorable occasion.