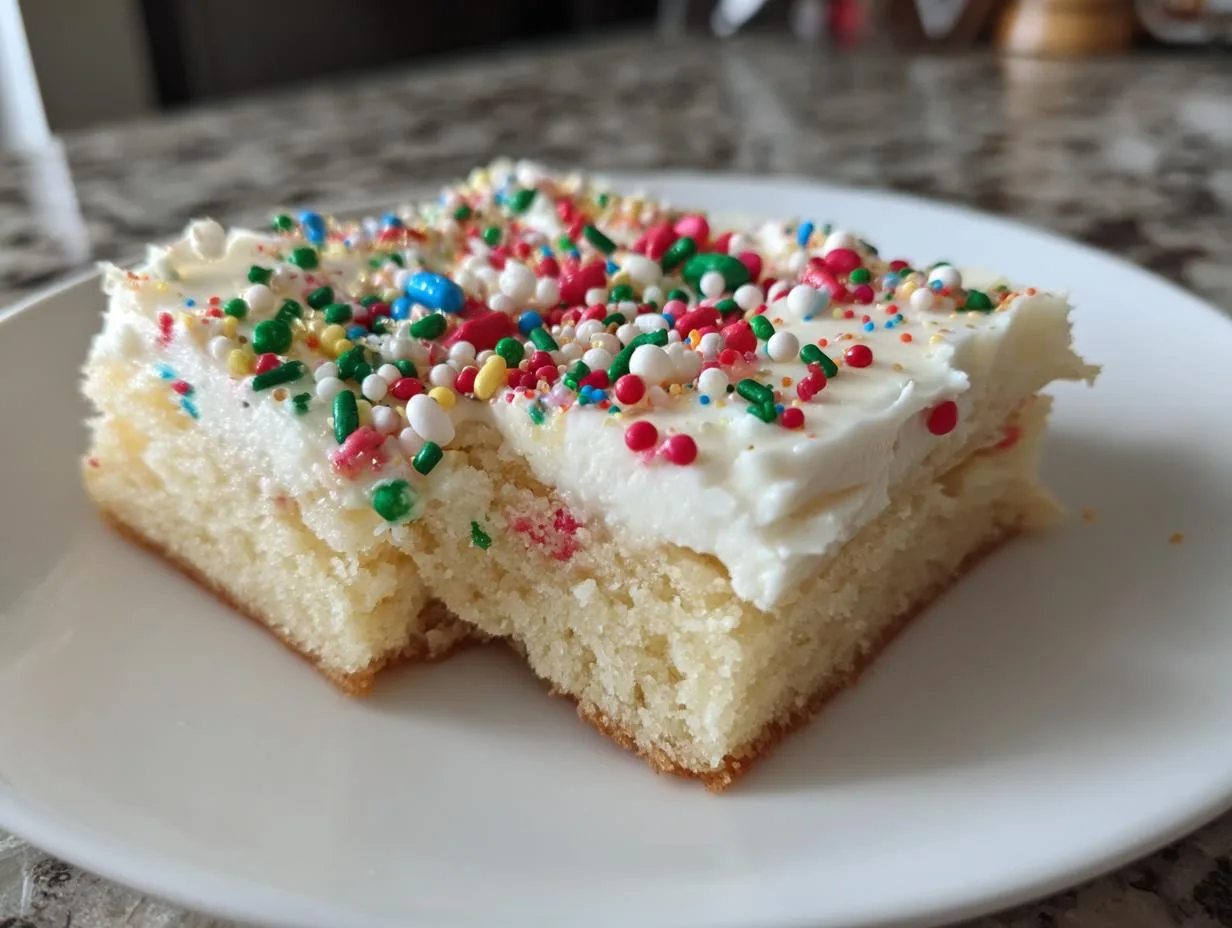
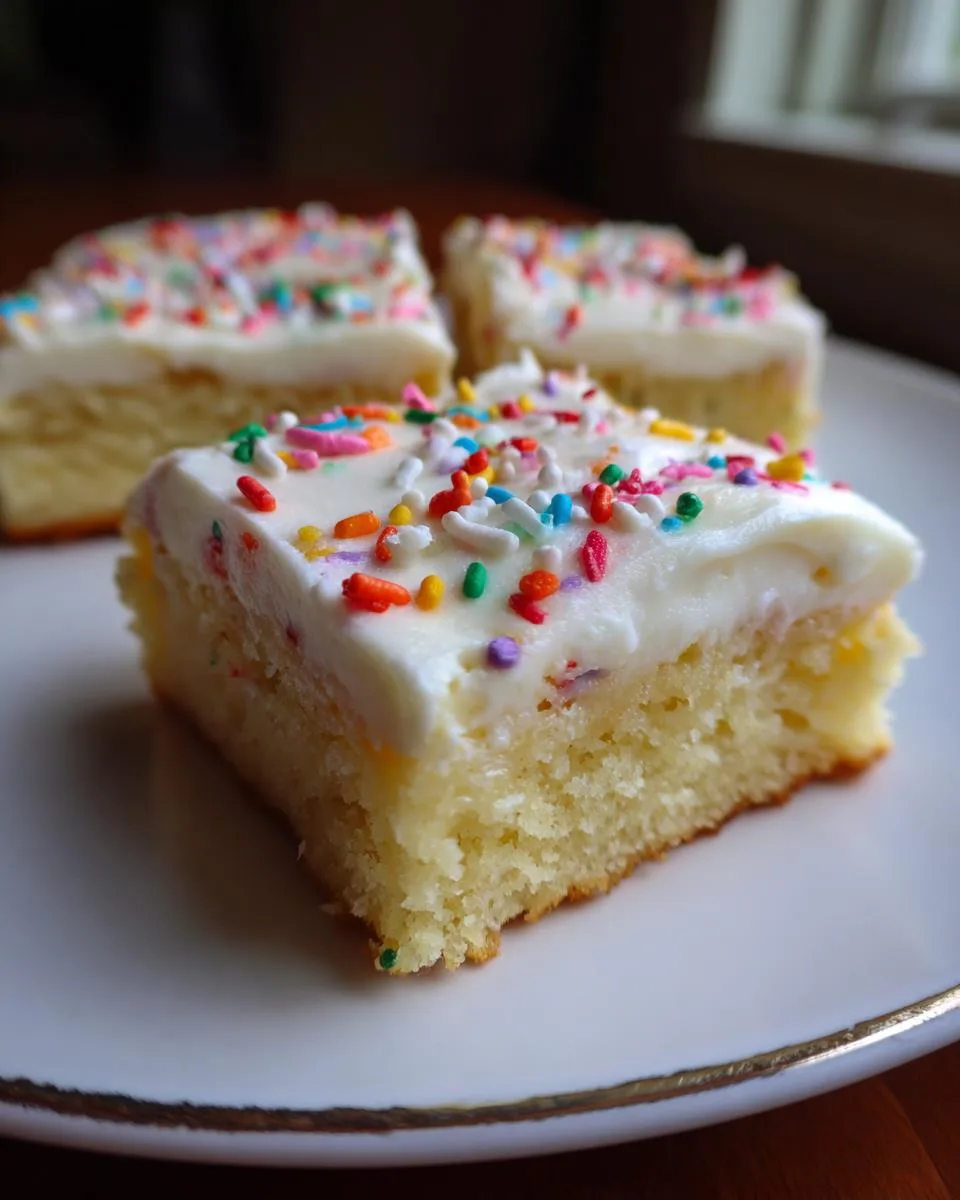
There’s something magical about holiday baking that makes my kitchen feel like the heart of our home. When I first discovered these holiday sugar cookie bars, they became my secret weapon for festive gatherings – no rolling pins required! I’ll never forget the year my niece declared them “better than Santa’s cookies” at our family Christmas party. These soft, buttery bars with their cheerful sprinkles bring everyone together with minimal effort. Whether you’re hosting a crowd or just want that nostalgic sugar cookie flavor without the fuss, this recipe from my dessert collection delivers pure holiday joy in every bite.
Why You’ll Love These Holiday Sugar Cookie Bars
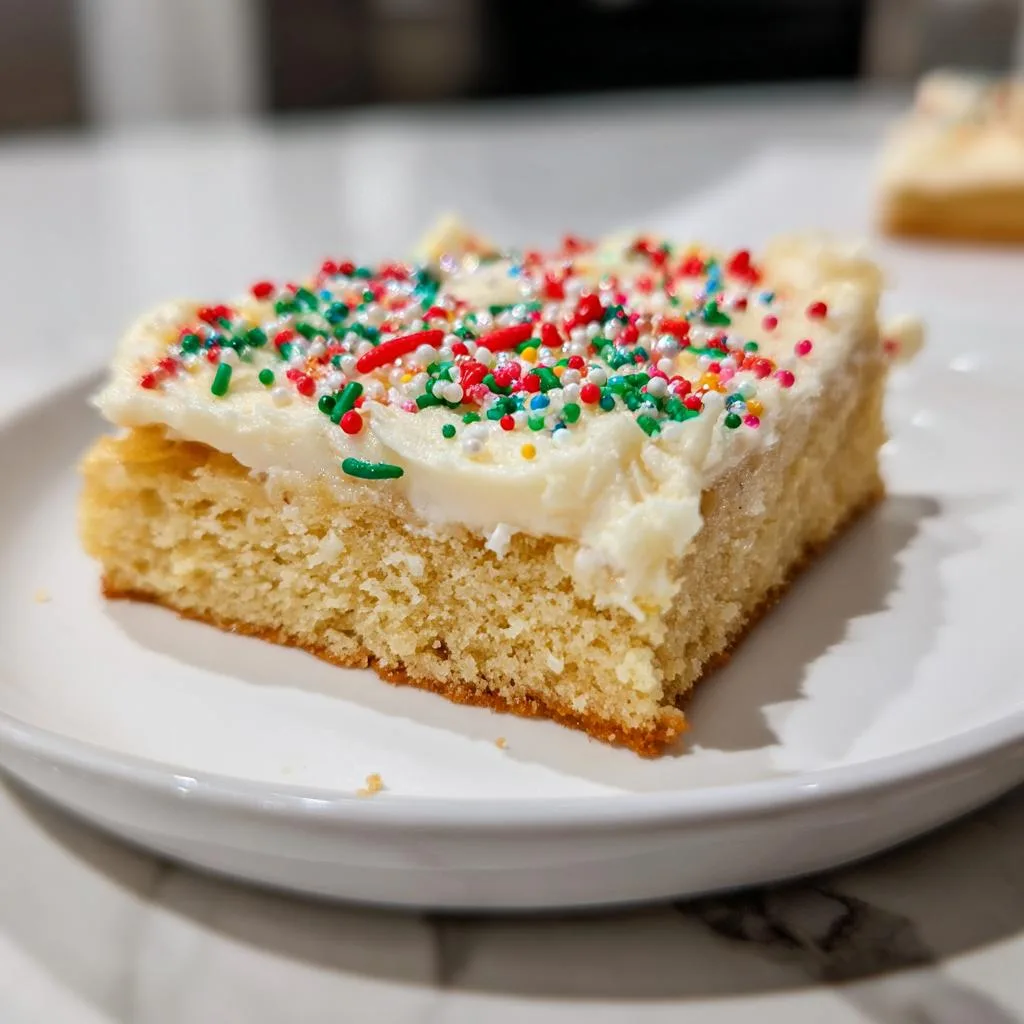
Oh my goodness, where do I even start with these magical little bars? First off, they’re ridiculously easy to make – no chilling dough or cookie cutters required. Just mix, spread, and bake! The texture is what dreams are made of: soft and buttery with just the right amount of chew. They’re perfect for holiday parties because you can cut them into big squares or tiny bites depending on your crowd. And the sprinkles! You can match them to any holiday – red and green for Christmas, pastels for Easter, you name it. Trust me, these will become your new holiday tradition.
Ingredients for Holiday Sugar Cookie Bars
Okay, let’s talk ingredients – because using the right stuff makes all the difference with these holiday sugar cookie bars! I’ve separated everything into two parts: the cookie base (which is seriously foolproof) and that dreamy frosting that makes them extra special. Pro tip: measure everything before you start mixing – it makes the whole process so much smoother when you’re not scrambling for ingredients mid-recipe!
For the Cookie Bars
You’ll need: 1 cup unsalted butter (softened to room temperature – this is crucial!), 1 ½ cups granulated sugar, 2 large eggs (I mean the regular eggs from the grocery store, not jumbo or small), 1 teaspoon pure vanilla extract (none of that imitation stuff!), 3 cups all-purpose flour (spooned and leveled, don’t scoop!), 1 teaspoon baking powder, and ½ teaspoon fine sea salt. That’s it! Simple pantry staples that create magic together.
For the Frosting
Here’s what makes these bars irresistible: ½ cup softened unsalted butter (yes, more butter – it’s the holidays!), 3 cups powdered sugar (sifted if it’s lumpy), 2 tablespoons milk (whole milk works best but any kind will do in a pinch), 1 teaspoon vanilla extract, and of course, festive sprinkles for decorating. The sprinkles are where you can really go wild – I always let the kids pick the colors!
How to Make Holiday Sugar Cookie Bars
Alright, let’s get baking! These holiday sugar cookie bars come together so easily, you’ll wonder why you ever bothered with fussy cut-out cookies. I’ve made this recipe dozens of times (just ask my neighbors who keep “dropping by” when they smell these baking), and I’ll walk you through every step to ensure perfect results every time. Don’t forget to check out my dessert collection for more sweet inspiration!
Preparing the Cookie Dough
First things first – that butter better be properly softened! I leave mine out for about an hour before baking. Throw the butter and sugar into your mixing bowl and beat them until they’re light and fluffy – about 2-3 minutes with an electric mixer. This step is key for that perfect texture! Then add the eggs one at a time, mixing well after each, followed by the vanilla. In a separate bowl, whisk together your dry ingredients (flour, baking powder, and salt), then gradually add them to the butter mixture. Mix just until combined – overmixing makes tough cookies, and nobody wants that!
Baking the Holiday Sugar Cookie Bars
Now for the easy part – spreading that gorgeous dough into your prepared 9×13 pan. I use a lightly greased offset spatula for this, but clean hands work too (just don’t press too hard!). Pop it into your preheated 350°F oven and bake for 20-25 minutes. You’ll know they’re done when the edges are just starting to turn golden and the center springs back lightly when touched. Here’s my secret: pull them out when they’re slightly underdone for ultra-soft bars. Let them cool completely in the pan – I know it’s hard to wait, but warm frosting is a melty mess!
Making the Frosting
While your bars cool, whip up that dreamy frosting. Beat the softened butter until it’s smooth and creamy – about 1 minute. Gradually add the powdered sugar, milk, and vanilla, mixing on low at first to avoid a sugar cloud in your kitchen! Once it’s combined, beat it for another minute until fluffy. Spread it over your cooled bars, add sprinkles immediately (they won’t stick once the frosting sets), and cut into squares. Pro tip: use a plastic knife for clean cuts through the frosting!
Tips for Perfect Holiday Sugar Cookie Bars
After making these holiday sugar cookie bars more times than I can count (my family insists on them every December!), I’ve picked up some foolproof tricks. First – and I can’t stress this enough – your butter needs to be properly softened. Not melted, not cold, but that perfect “press your finger in and it leaves an indent” stage. This makes all the difference in getting that dreamy texture! Second, when mixing the dough, stop as soon as the flour disappears. Overmixing makes tough bars, and we want melt-in-your-mouth softness.
Here’s the hardest part – you must let them cool completely before frosting. I know it’s tempting, but warm bars turn your beautiful frosting into a gooey mess. I usually bake mine in the morning and frost in the afternoon. And don’t wait to add sprinkles! Toss them on right after frosting so they stick perfectly. My kids love helping with this part – we use different colors for every holiday. Last tip: for clean cuts, use a plastic knife and wipe it between slices. Works like magic!
Storage and Serving Suggestions for Holiday Sugar Cookie Bars
Okay, let’s talk about keeping these beauties fresh and making them shine at your holiday gatherings! I always store my sugar cookie bars in an airtight container at room temperature – they’ll stay soft and delicious for up to 3 days this way. If you need them to last longer (though in my house they never do!), you can freeze them unfrosted for up to a month. Just thaw and frost when you’re ready to serve.
These bars are perfect for holiday parties – I love cutting them into festive shapes with cookie cutters for a fun display. They also make adorable gifts when stacked in clear boxes tied with ribbon. My favorite trick? Package them in holiday tins with wax paper between layers – they look so professional and make everyone feel special!
Nutritional Information for Holiday Sugar Cookie Bars
Now, I’m no nutritionist, but I know you might be curious about what’s in these delightful bars! Keep in mind that nutritional values are just estimates – they can vary depending on the exact ingredients and brands you use. These are holiday treats, after all, meant to be enjoyed in moderation while you’re making memories with loved ones. The important numbers? Countless smiles per serving!
Frequently Asked Questions About Holiday Sugar Cookie Bars
Oh, I get asked about these holiday sugar cookie bars all the time! Let me share the most common questions and my tried-and-true answers. These are straight from my kitchen experience and all those holiday baking marathons with friends and family.
Can I freeze these sugar cookie bars?
Absolutely! I freeze them all the time – it’s how I get ahead during the busy holiday season. Just wait until they’re completely cooled, then wrap tightly in plastic wrap and foil. They’ll keep beautifully for up to a month. Thaw at room temperature before frosting. The unfrosted bars freeze best, but you can freeze frosted ones too – just know the sprinkles might bleed a tiny bit.
Can I use margarine instead of butter?
Honestly? I wouldn’t recommend it. I tried margarine once when I ran out of butter, and the texture just wasn’t the same – they lost that melt-in-your-mouth quality. Real butter gives these bars their signature richness and perfect crumb. If you must substitute, use a high-quality baking margarine, but the flavor won’t be quite as magical.
How do I make gluten-free holiday sugar cookie bars?
Easy fix! Just swap the all-purpose flour for your favorite 1:1 gluten-free flour blend. I’ve had great results with Bob’s Red Mill and King Arthur blends. The texture might be slightly different, but they’ll still be delicious. Pro tip: let the dough rest for 30 minutes before baking – this helps the GF flour absorb moisture better.
Why did my bars turn out cakey instead of chewy?
Oh no! This usually happens if you overmix the dough or measure the flour incorrectly. Always spoon and level your flour – packing it down adds too much. And mix just until the flour disappears – any more develops gluten and makes them cakey. Also, don’t overbake! Pull them out when the edges are just golden but the center still looks slightly underdone.
Can I make these ahead of time?
You bet! These are perfect for making ahead. I often bake the bars 1-2 days before I need them, keep them wrapped at room temperature, then frost the day of serving. The unfrosted bars actually taste better the next day as the flavors meld. Just wait to add sprinkles until right before serving so they stay crunchy!
Holiday Sugar Cookie Bars
Ingredients
Equipment
Method
- Preheat the oven to 350°F (175°C). Grease a 9×13-inch baking pan.
- In a large bowl, beat the butter and sugar until light and fluffy. Add the eggs and vanilla, mixing well.
- Whisk together the flour, baking powder, and salt. Gradually add to the butter mixture, mixing until combined.
- Spread the dough evenly in the prepared pan. Bake for 20-25 minutes, or until lightly golden. Let cool completely.
- For the frosting, beat the butter until smooth. Gradually add the powdered sugar, milk, and vanilla, mixing until creamy.
- Spread the frosting over the cooled bars and decorate with sprinkles. Cut into squares and serve.
Nutrition
Notes
Tried this recipe?
Let us know how it was!For more amazing recipes, be sure to check out our other sections to explore a variety of ideas that will enrich your cooking experience. Each section offers its own unique flavors to ensure a delightful culinary journey:
Easy and Quick Recipes: A collection of dishes that guarantee delicious meals with minimal effort and time.
Healthy Recipes: Discover healthy and delicious options that fit your lifestyle.
Desserts: A diverse selection of sweets that will add a special touch of sweetness to your table.
Lunch Recipes: Tasty lunch ideas that you can easily prepare to delight your family.
Dinner Recipes: Delicious and easy-to-make recipes that will make your dinner a memorable occasion.