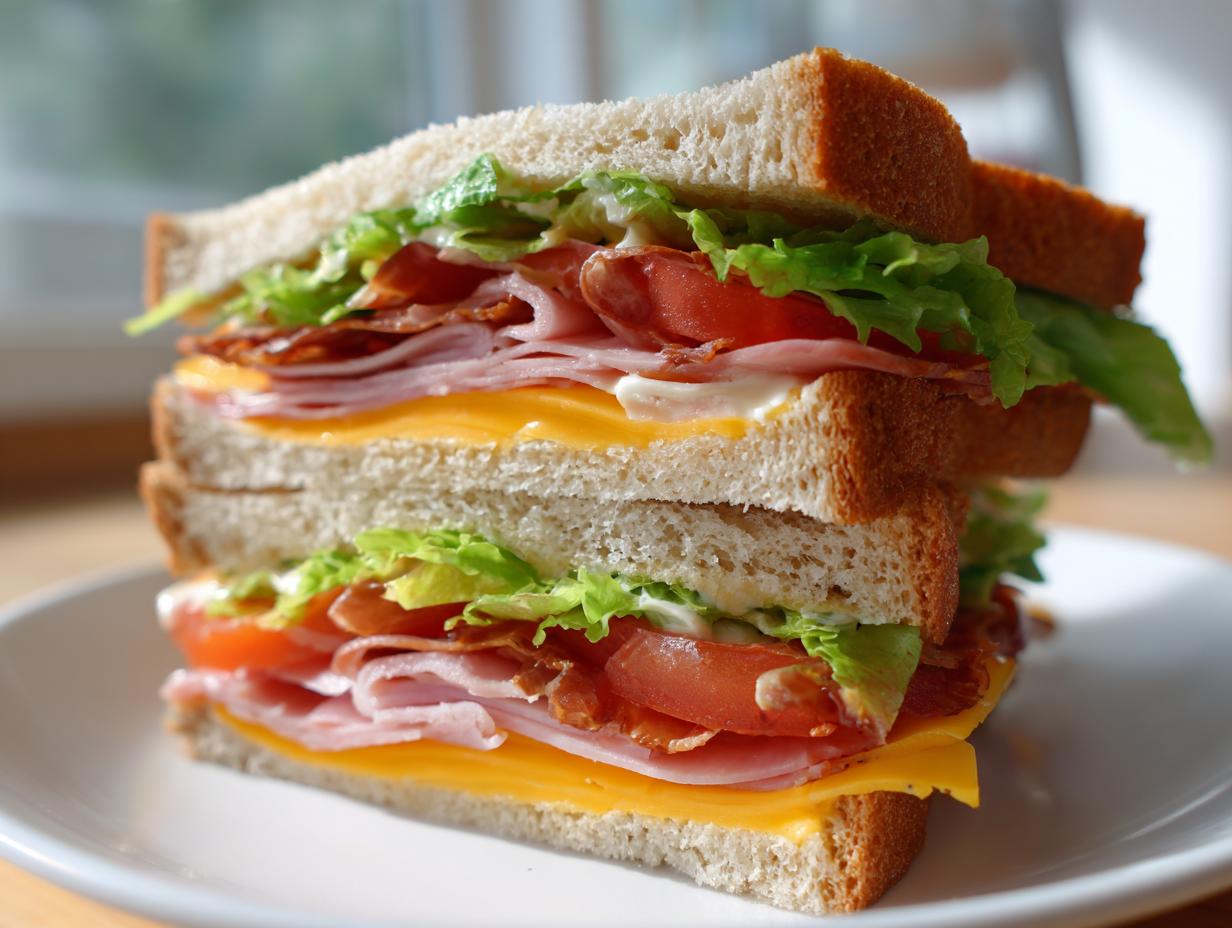
There’s nothing quite like spreading out a checkered blanket under the open sky, isn’t there? Picnics are my absolute favorite way to enjoy good food and great company outdoors. That’s why I’m obsessed with these easy picnic sandwiches – they’re the perfect grab-and-go meal when you’re itching to get outside. I still remember the first time I packed these for a spontaneous lakeside lunch with friends. Ten minutes of prep, and we had the most delicious, fuss-free meal ready to enjoy. If you’re looking for easy picnic food ideas that won’t keep you stuck in the kitchen all morning, this sandwich recipe is about to become your new best friend.
Why You’ll Love These Easy Picnic Sandwiches
Oh, where do I even start? These sandwiches have saved me from so many last-minute picnic panics! Here’s why they’re my go-to easy lunch solution:
- 10-minute magic: Seriously, from fridge to picnic basket in less time than it takes to find parking at the park!
- No-fuss packing: They hold up beautifully wrapped in parchment – no soggy bread disasters halfway through your hike.
- Endless combos: Swap the meats and cheeses based on what’s in your fridge. My kids love turkey with pepper jack, while I’m partial to ham and sharp cheddar.
- Crowd-pleaser: Even my picky nephew devours these (though I have to leave the tomatoes off his, obviously).
Honestly, these sandwiches are the MVP of my easy picnic food ideas – simple enough for weeknights but special enough for Sunday outings. Once you try them, you’ll understand why I always keep the ingredients stocked!
Ingredients for Easy Picnic Sandwiches
Okay, let’s gather our sandwich-building supplies! Here’s everything you’ll need for four perfectly portable picnic sandwiches (but trust me, you might want to double this – they disappear fast!):
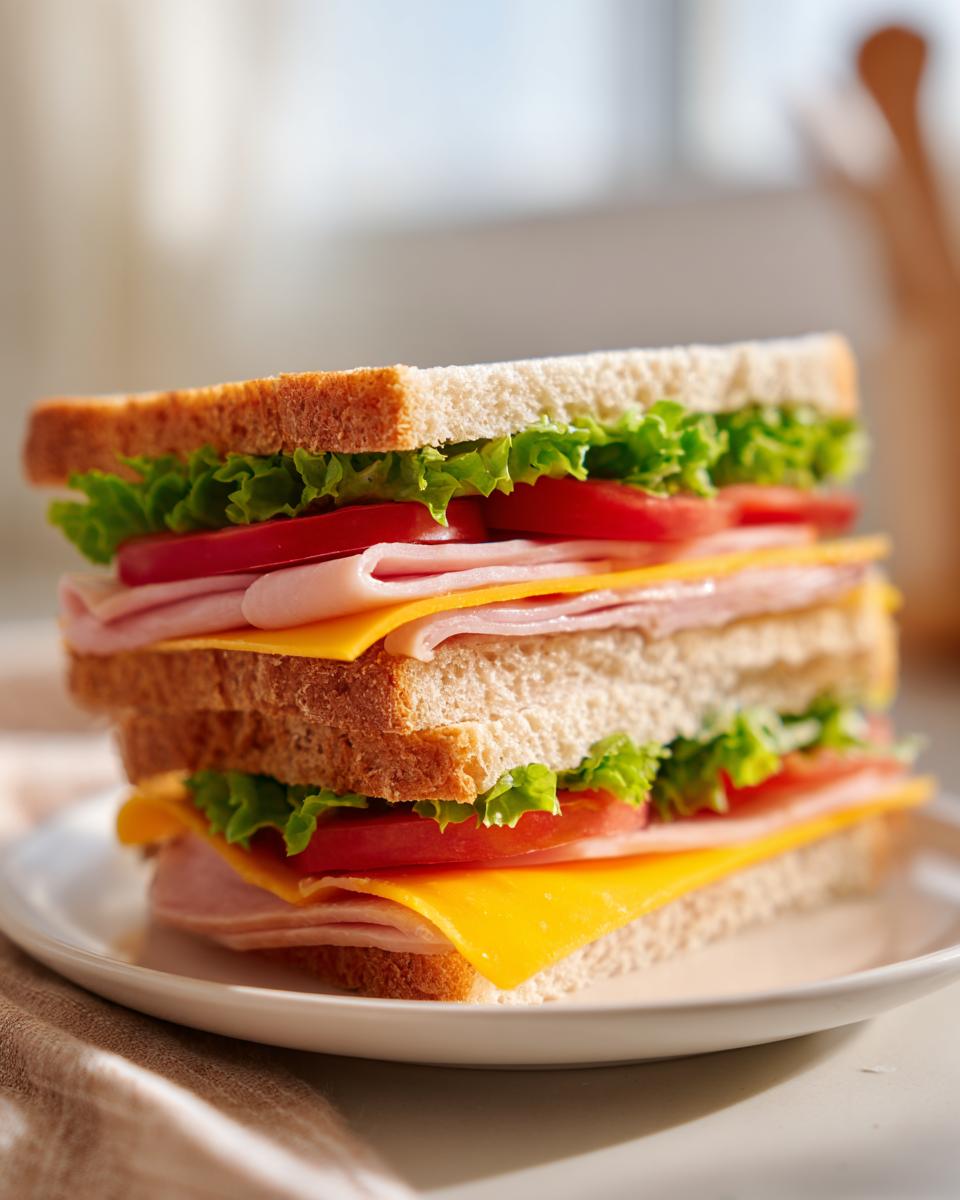
- Bread: 8 slices (I love whole wheat for extra texture, but use whatever makes you happy)
- Mayo: 4 tablespoons (the glue that holds everything together!)
- Mustard: 4 tablespoons (yellow for classic, Dijon if you’re feeling fancy)
- Cheese: 8 slices (sharp cheddar is my go-to, but Swiss works beautifully too)
- Deli meat: 8 slices (ham, turkey, roast beef – pick your protein)
- Lettuce: 4 crisp leaves (butter lettuce stays crunchy longest)
- Tomato: 4 thick slices (pat them dry with a paper towel first – soggy sandwich prevention 101!)
Ingredient Notes and Substitutions
Here’s the beautiful thing – these sandwiches are practically begging for customization! No mayo? Try mashed avocado or hummus instead. Gluten-free? Your favorite GF bread works perfectly here. For my vegan friends, swap in plant-based cheese and deli slices – I’ve had great results with smoked tofu too. And if tomatoes aren’t your thing, thinly sliced cucumbers add wonderful crunch. See? The possibilities are endless for your perfect picnic creation!
How to Make Easy Picnic Sandwiches
Alright, let’s get stacking! These sandwiches come together so quickly you’ll be packing your picnic basket before you know it. Here’s how I build mine:
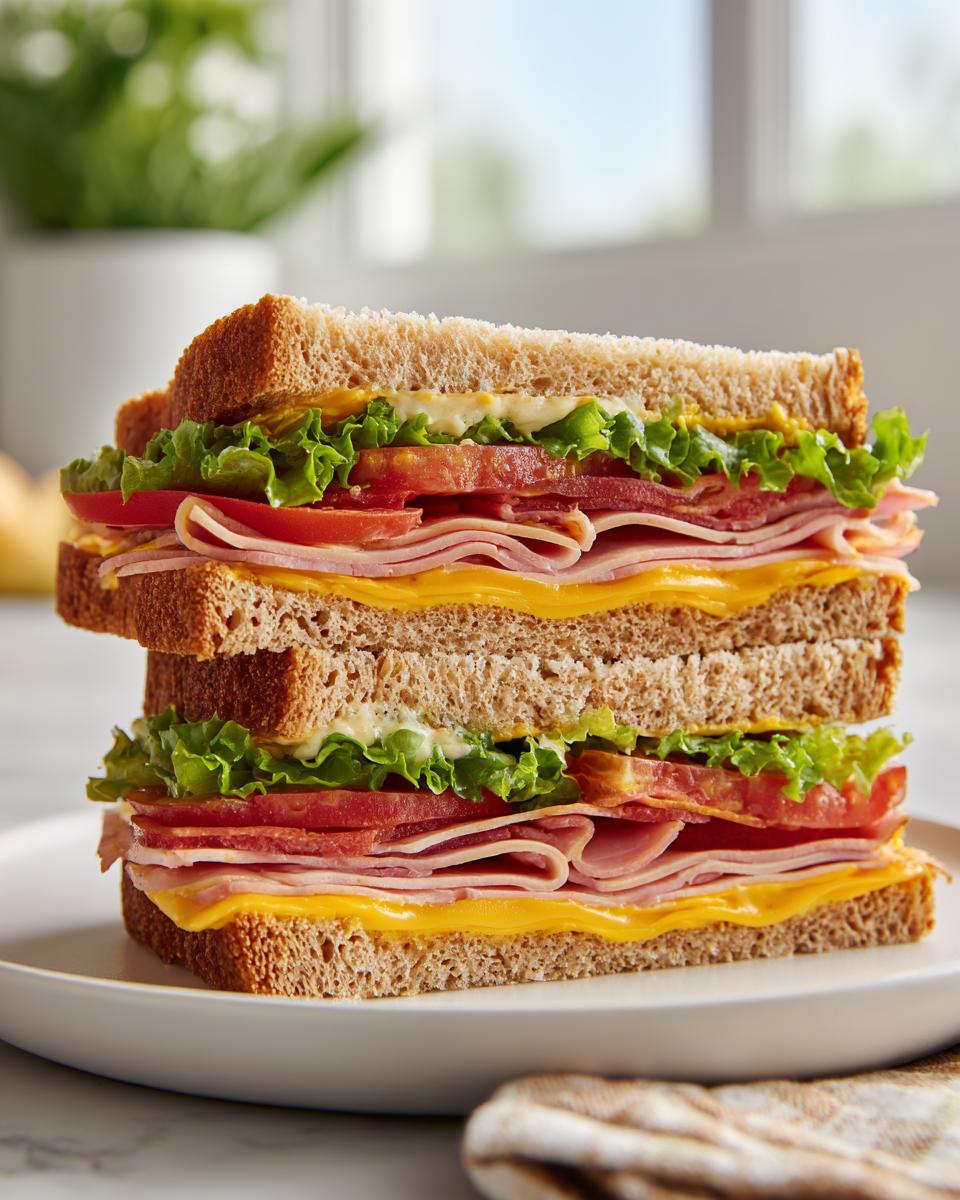
- Lay out all your bread slices and spread that mayo and mustard – don’t be shy! I like to do one side with mayo, the other with mustard for balanced flavor in every bite.
- Now the fun part – layering! Start with cheese (it acts as a moisture barrier against the bread), then your deli meat, followed by crisp lettuce and those juicy tomato slices. Pro tip: put the tomatoes in the middle so they don’t make the bread soggy.
- Top each masterpiece with another slice of bread, condiment-side down of course, and press gently – just enough to hold everything together without squishing.
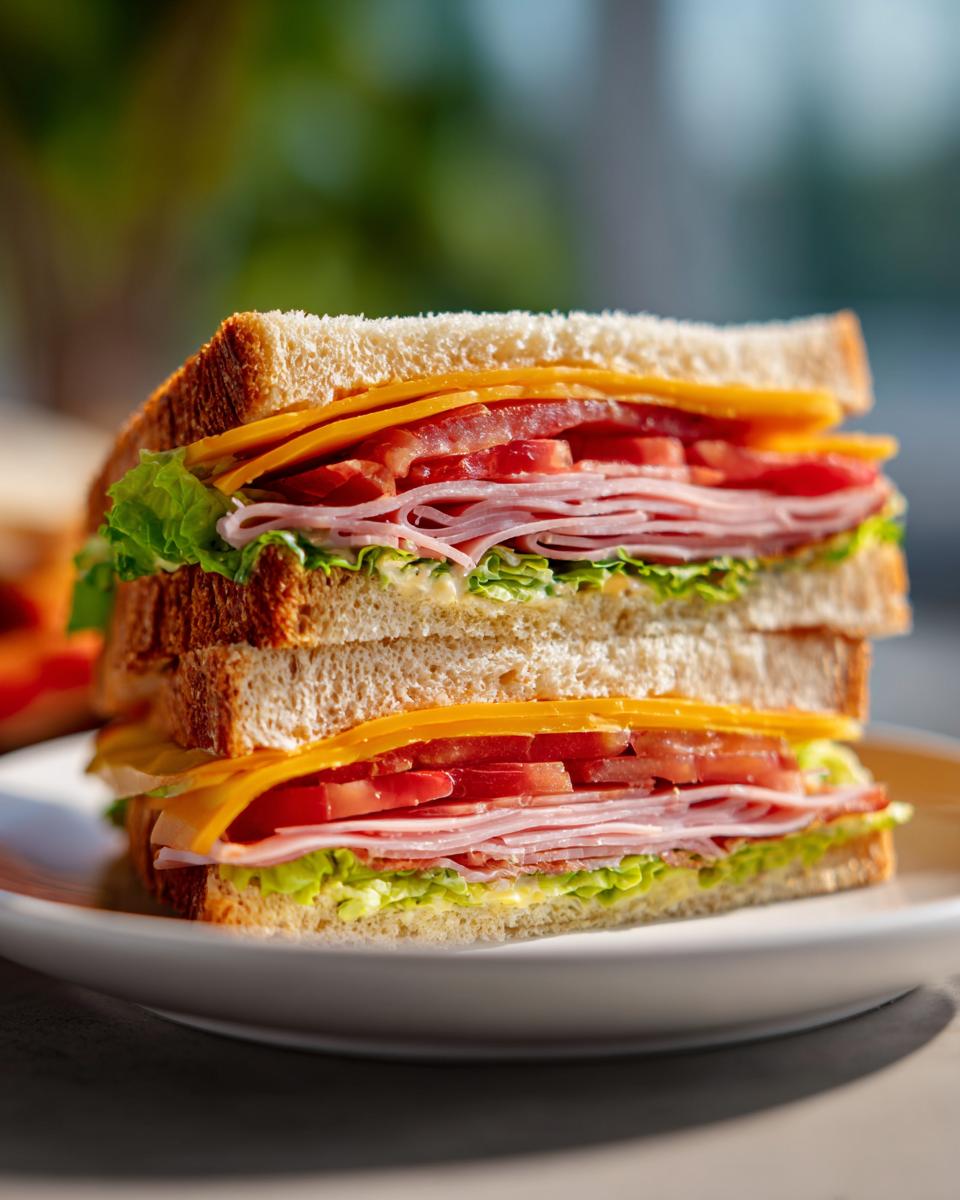
- Finally, slice diagonally (because triangles taste better, obviously) and wrap each half individually in parchment paper. The parchment keeps them fresh and makes for zero-mess eating!
Tips for Perfect Picnic Sandwiches
After years of picnic fails (oh, the soggy bread tragedies!), I’ve learned a few tricks:
- Dry your veggies: Pat tomatoes and lettuce dry with paper towels – this tiny step makes a huge difference!
- Pack smart: Layer sandwiches in your cooler with ice packs on top – cold air sinks, so this keeps everything chilled evenly.
- Separate the wet stuff: If adding pickles or other wet ingredients, pack them separately and add just before eating.
- Make ahead magic: Assemble the night before, wrap tightly in parchment, then foil – they’ll stay perfect in the fridge until picnic time!
See? With these simple tricks, you’ll be the picnic hero every time. Now go enjoy that sunshine!
Serving Suggestions for Easy Picnic Food
What’s a picnic without the perfect sides and drinks to go with your sandwiches? I’ve got some foolproof pairings that’ll make your outdoor feast feel extra special. First up – chips! Classic potato chips are always a hit, but I’m partial to kettle-cooked salt and vinegar for that tangy crunch. Fresh fruit like grapes or watermelon wedges add refreshing sweetness without any prep fuss. And don’t forget the drinks – I always pack a thermos of homemade lemonade and some sparkling water with lemon slices.
For heartier picnic food ideas, try these easy additions:
- Pasta salad (make it the night before so flavors meld)
- Crudités with hummus (carrot sticks and snap peas travel well)
- Cheese and crackers (because you can never have too much cheese!)
- Cookie bars (bake a batch and cut into squares for easy sharing)
My secret? Pack everything in mason jars – they’re leakproof and make serving a breeze. Just toss them in your basket with some napkins and you’re picnic-ready!
Storage and Make-Ahead Tips
Oh, the joy of picnic sandwiches that actually stay fresh! Here’s my tried-and-true method for keeping these beauties tasting just-made. First, wrap them tightly in parchment paper (my grandma’s trick!), then pop them in an airtight container in the fridge. They’ll stay perfect for up to 2 days – though mine never last that long!
Want to get a head start? Assemble these the night before – just skip the tomato until picnic day to prevent sogginess. Stack them wrapped in parchment, then foil, and they’ll be ready to grab-and-go when adventure calls.
Freezer tip? Absolutely! These freeze surprisingly well for up to a month. Wrap each sandwich in parchment, then aluminum foil before freezing. Thaw in the fridge overnight, and they’re picnic-ready by morning. Just add fresh tomato slices when you’re packing up – easy peasy!

Nutritional Information
Let’s talk numbers – because knowing what’s in your food helps you enjoy it even more! Each of these easy picnic sandwiches packs about 350 calories, with 20g of protein to keep you full through your outdoor adventures. You’re looking at 30g carbs (hello, energy!), 15g fat (the good kind from cheese and mayo), and 3g fiber from that whole wheat bread.
Quick disclaimer though – these values can change based on your ingredient choices. Used avocado instead of mayo? That’ll tweak the fat content. Opted for gluten-free bread? The carb count might shift a bit. But hey, that’s the beauty of homemade – you’re in control!
Frequently Asked Questions
Can I make these picnic sandwiches ahead of time?
Absolutely! These sandwiches actually taste better when made a few hours ahead – the flavors have time to mingle. Just skip the tomato until you’re ready to pack, and wrap them tightly in parchment paper. They’ll stay fresh in the fridge overnight, though I recommend adding the tomato slices right before heading out to prevent sogginess.
What’s the best way to keep picnic sandwiches fresh?
My foolproof method? Parchment paper first (it lets the bread breathe), then foil to lock in freshness. Pack them in your cooler with ice packs on top – cold air sinks, so this keeps everything evenly chilled. If it’s super hot out, I’ll even tuck a small frozen water bottle between the sandwiches – bonus hydration later!
Can I freeze these sandwiches for later?
You bet! Just assemble without the tomato or lettuce, wrap in parchment then foil, and freeze for up to a month. When you’re ready, thaw overnight in the fridge and add fresh veggies in the morning. Perfect for those “I need picnic food NOW” emergencies!
What are some creative filling variations?
Oh, let me count the ways! Try pesto instead of mayo, or add roasted red peppers for sweetness. My favorite combo lately? Turkey with cranberry sauce and brie – tastes like Thanksgiving in sandwich form! For vegetarians, hummus with cucumber and feta is divine. The key is keeping wet ingredients separate until serving time.
How long do these sandwiches last unrefrigerated?
Safety first – I wouldn’t push past 2 hours in warm weather. If it’s cooler (below 70°F), you’ve got about 4 hours. Pro tip: Pack sandwiches in an insulated bag with ice packs, and they’ll stay safely chilled for your whole picnic adventure!
Easy Picnic Sandwich
Ingredients
Equipment
Method
- Spread mayonnaise and mustard on one side of each bread slice.
- Layer cheese, deli meat, lettuce, and tomato on half of the bread slices.
- Top with the remaining bread slices, condiment side down.
- Cut sandwiches in half and wrap for easy transport.
Nutrition
Notes
Tried this recipe?
Let us know how it was!For more amazing recipes, be sure to check out our other sections to explore a variety of ideas that will enrich your cooking experience. Each section offers its own unique flavors to ensure a delightful culinary journey:
Easy and Quick Recipes: A collection of dishes that guarantee delicious meals with minimal effort and time.
Healthy Recipes: Discover healthy and delicious options that fit your lifestyle.
Desserts: A diverse selection of sweets that will add a special touch of sweetness to your table.
Lunch Recipes: Tasty lunch ideas that you can easily prepare to delight your family.
Dinner Recipes: Delicious and easy-to-make recipes that will make your dinner a memorable occasion.