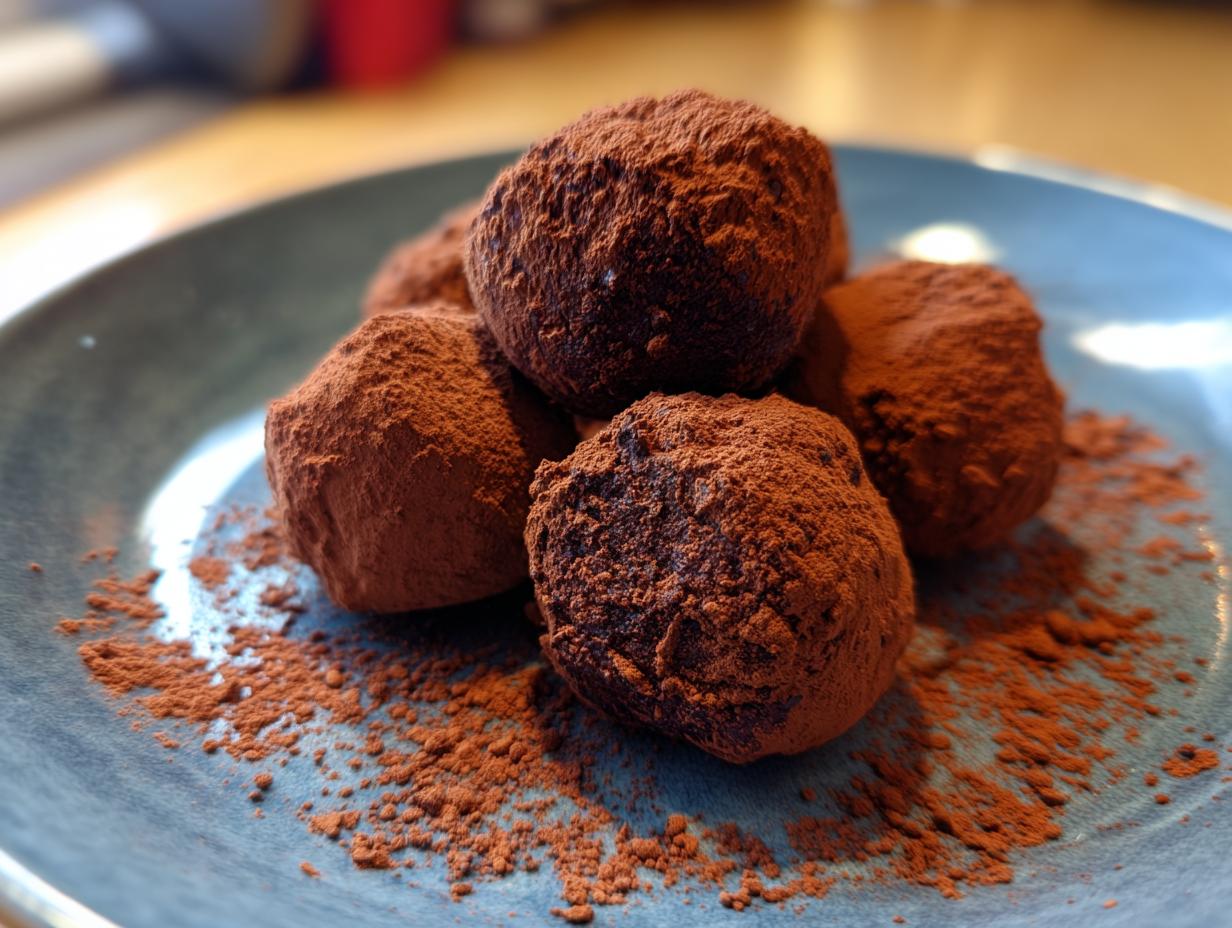
There’s something magical about rolling up your sleeves and making dark chocolate truffles from scratch. The first time I tried it – for my best friend’s birthday years ago – I was shocked at how simple yet luxurious they felt. These little French-inspired bites of joy require just a handful of ingredients, but the rich, velvety texture makes them taste like you spent hours in the kitchen. I still remember her face when she bit into one – pure chocolate bliss!
What I love most about homemade truffles is how they transform basic dark chocolate into something extraordinary. The cream melts into the chocolate like a dream, creating that signature smooth center. And the best part? You can customize them endlessly – roll them in cocoa powder for that classic look, or get creative with toppings. They’re perfect for special occasions or just treating yourself on a Tuesday night.
Over the years, I’ve made these for Valentine’s Day gifts, holiday parties, and even as edible thank-you presents. Each batch brings back memories of that first successful attempt – and the many delicious mistakes along the way!
Why You’ll Love These Dark Chocolate Truffles
Trust me, once you try homemade dark chocolate truffles, you’ll never go back to store-bought. Here’s why this recipe is my absolute favorite:
- Rich, intense chocolate flavor – The combination of quality dark chocolate and cream creates a taste that’s pure luxury in every bite
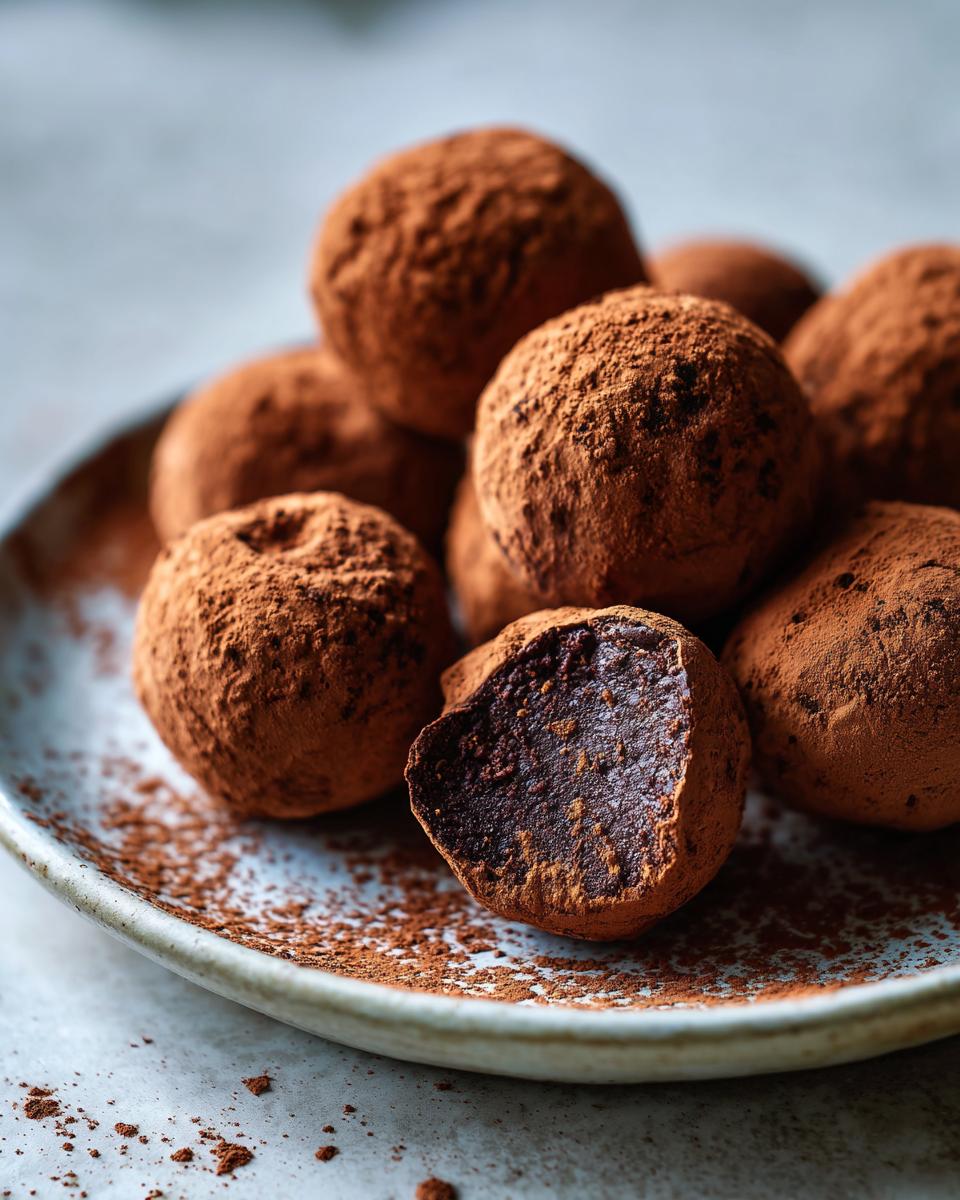
- Silky smooth texture – When done right, these melt in your mouth like little chocolate clouds
- Surprisingly easy – Don’t let the fancy look fool you! With just 5 active minutes of work, anyone can make these
- Endless customization – Roll them in cocoa powder, crushed nuts, or even coconut flakes for different textures
- Perfect for gifting – Package them in pretty boxes and you’ve got an impressive homemade present that looks professional
The best part? You probably have most ingredients in your pantry already. It’s like having a fancy chocolatier’s secret in your back pocket!
Ingredients for Dark Chocolate Truffles
Let me tell you about the simple ingredients that create magic in these truffles. Quality matters here – especially with the chocolate! I learned that lesson the hard way when I tried using baking chocolate chips once (never again). Here’s what you’ll need:
For the Truffles
- 1 cup heavy cream – This is what gives our truffles that melt-in-your-mouth texture. Don’t skimp!
- 12 oz dark chocolate, chopped – Use good quality chocolate with at least 60% cocoa. I prefer bars over chips – they melt smoother.
- 2 tbsp unsalted butter, softened – This little bit makes all the difference in richness.
- 1 tsp vanilla extract – My secret weapon for depth of flavor. Pure extract only, please!
For Coating
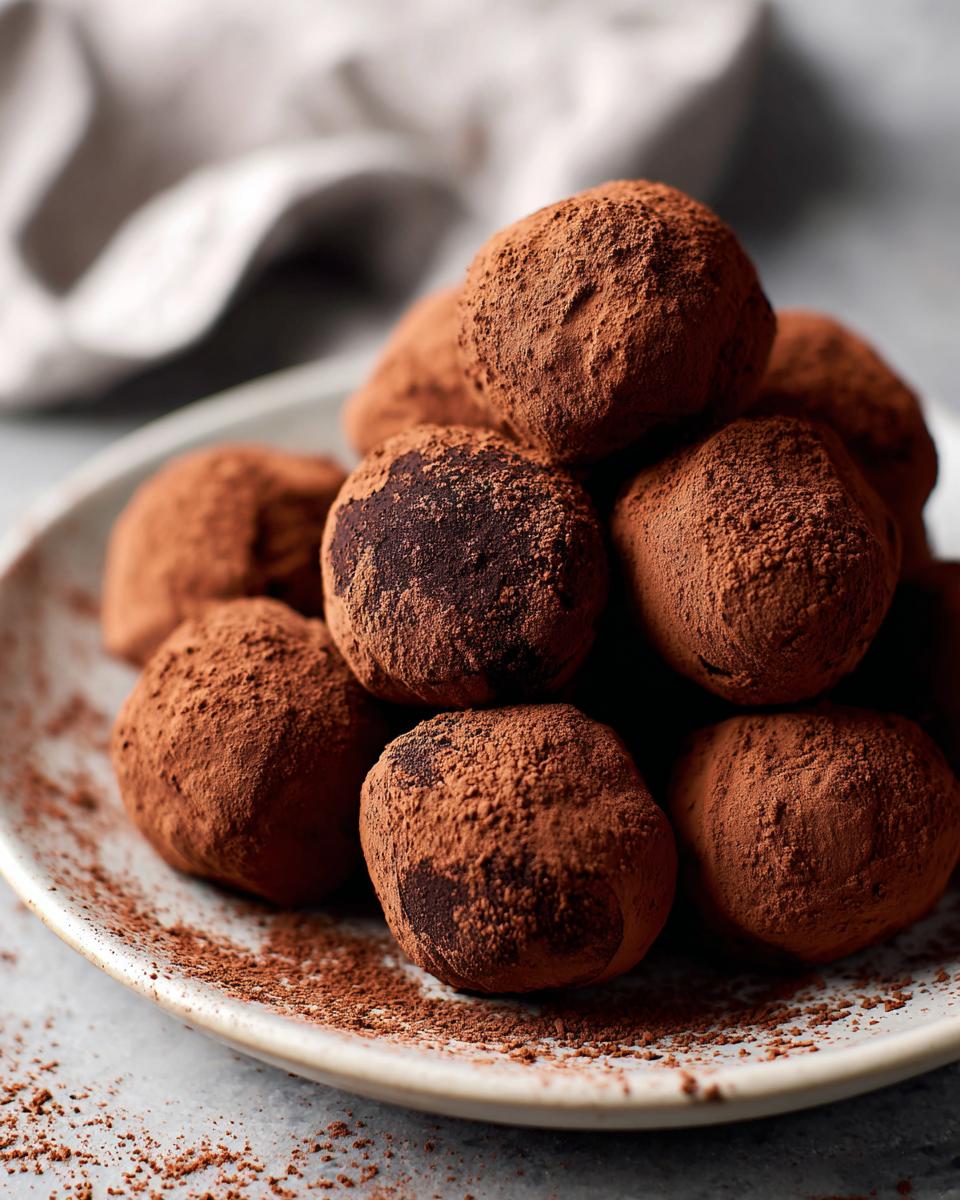
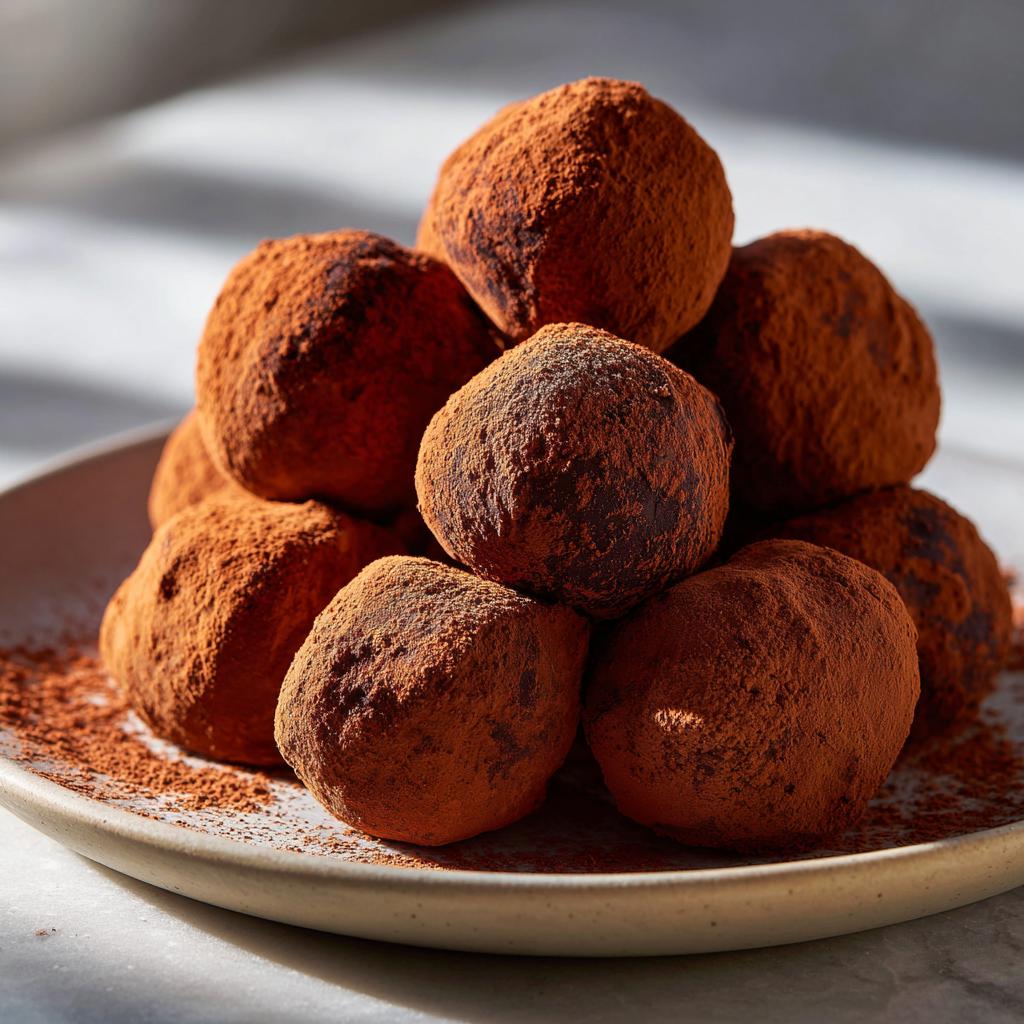
- 1/2 cup cocoa powder – The classic coating that makes them look like little truffles from a fancy chocolatier.
See? Just five simple ingredients for something that tastes like a million bucks. The chocolate is the star here, so splurge on the good stuff if you can. I promise you’ll taste the difference!
Equipment Needed for Dark Chocolate Truffles
You won’t believe how little equipment you need to make these luxurious dark chocolate truffles! Here’s what I always grab from my kitchen:
- Saucepan – A small one works perfectly for heating the cream. Just make sure it’s heavy-bottomed so the cream doesn’t scorch.
- Mixing bowl – Glass or stainless steel, whatever you’ve got. This is where the chocolate magic happens!
- Baking sheet – Line it with parchment paper for easy truffle resting. No parchment? Wax paper works in a pinch.
That’s it! No fancy tools required – though a small ice cream scoop does make portioning easier if you have one. See? Even your basic kitchen setup can handle this gourmet treat!
How to Make Dark Chocolate Truffles
Making perfect dark chocolate truffles is easier than you think – I’ve got all my hard-earned tricks to share! The key is taking your time with each step and not rushing the process. Trust me, I learned that lesson after my first batch turned into a sticky disaster. Follow these steps, and you’ll have gorgeous, professional-looking truffles that taste like they came from a fancy chocolate shop.
Step 1: Heat the Cream
Grab your small saucepan and pour in the heavy cream. Heat it over medium-low – you want it just barely simmering, not boiling. Look for tiny bubbles around the edges and a bit of steam. This usually takes about 3-4 minutes. Overheating can cause the cream to separate, so keep an eye on it!
Step 2: Melt the Chocolate
Now the fun part! Pour that hot cream over your chopped chocolate in a heatproof bowl. Don’t stir yet – let it sit for a full 2 minutes. This lets the chocolate soften properly. Then, gently stir from the center outward until it’s completely smooth and glossy. If you hit any chocolate lumps (I sometimes do), just whisk them gently – they’ll melt eventually. Add your butter and vanilla, and watch how the mixture becomes even more luxurious.
Step 3: Chill the Mixture
Cover your bowl with plastic wrap – press it right onto the surface to prevent condensation. Pop it in the fridge for exactly 1 hour. You want it firm enough to scoop but still slightly soft – check at 45 minutes if your fridge runs cold. Too hard, and it’ll be tough to roll. I’ve ruined many batches by getting impatient here!
Step 4: Shape and Coat the Truffles
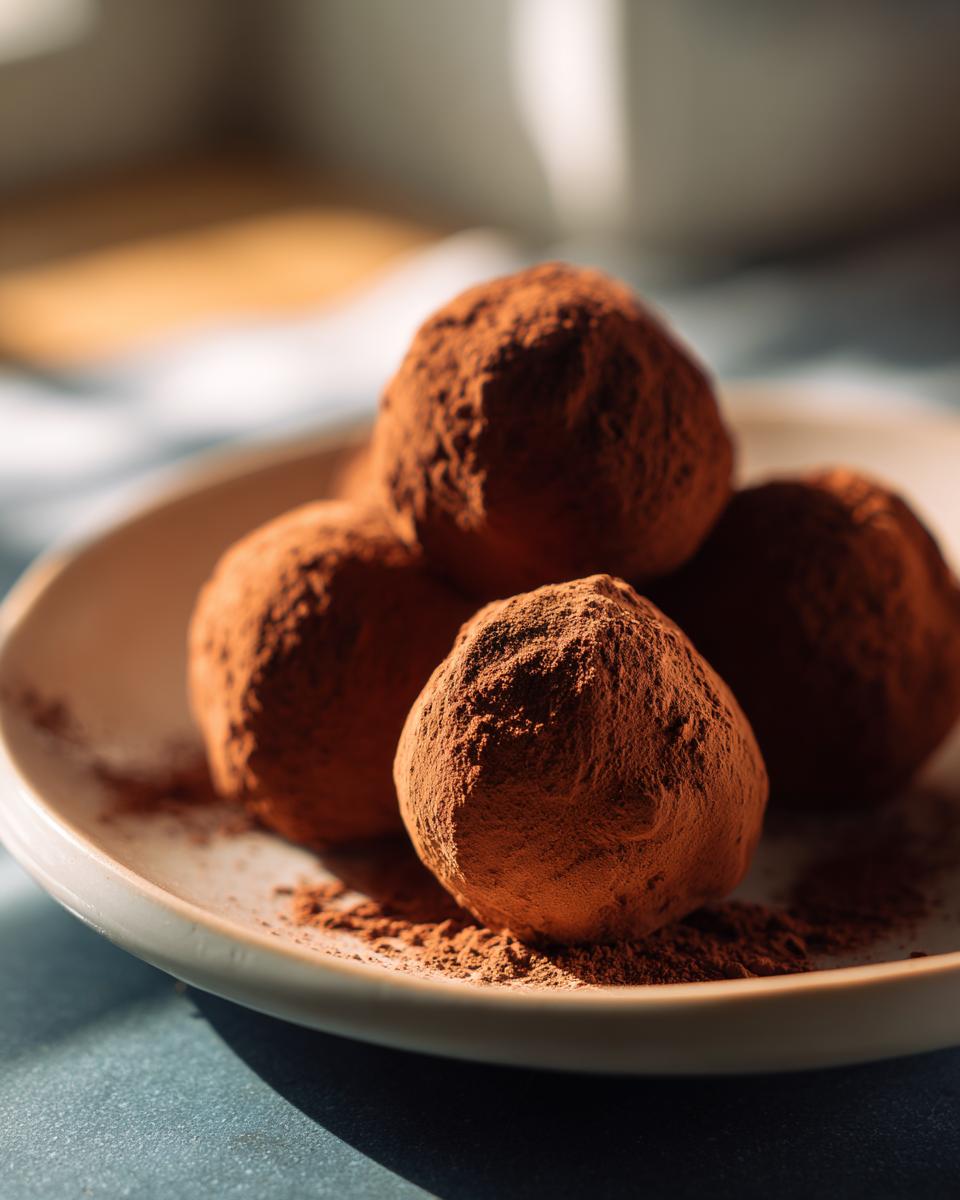
Time to get messy! Scoop tablespoon-sized portions (a melon baller works great) and quickly roll between your palms. Pro tip: dust your hands with cocoa powder first – it keeps the mixture from sticking like crazy. Work fast because the chocolate melts from your body heat. Then, roll each little ball in cocoa powder until fully coated. Place them on a baking sheet and chill for another 30 minutes to set. Voila – you’re now a chocolatier!
Tips for Perfect Dark Chocolate Truffles
After making more batches of dark chocolate truffles than I can count (some glorious, some… not so much), I’ve learned all the tricks for foolproof success. First – and I can’t stress this enough – splurge on good chocolate. That bargain bin chocolate? It’ll leave your truffles grainy and sad. I learned that the hard way during my college days!
Here are my can’t-live-without tips:
- Chill just right – Check your mixture at 45 minutes. You want it scoopable, not rock hard. Too soft? Give it 15 more minutes.
- Cocoa-dusted hands – Life-changing trick! Dust your palms before rolling to prevent sticky disasters.
- Work fast – The chocolate melts from your touch, so roll quickly and pop them back in the fridge.
- Room temp butter – Soft butter blends smoothly into the chocolate ganache for that perfect velvety texture.
My biggest “aha” moment? When I realized chilling the shaped truffles for just 30 minutes gives them the ideal firm-but-creamy consistency. Any longer, and they lose that magical melt-in-your-mouth quality!
Variations for Dark Chocolate Truffles
One of my favorite things about dark chocolate truffles is how easily you can dress them up! Over the years, I’ve played with so many fun variations – some were hits (hello, sea salt sprinkle!), others… well, let’s just say chili powder needs a lighter touch. Here are my go-to twists that always impress:
- Espresso boost – Stir 1 tsp instant espresso powder into the warm cream mixture for coffee lovers. It makes the chocolate taste even richer!
- Crunchy coating – Roll them in finely crushed almonds, hazelnuts, or even freeze-dried raspberries for texture contrast.
- Double chocolate – After the cocoa powder coating, drizzle with melted white chocolate for a gorgeous marbled effect.
- Spiced – Add a pinch of cinnamon or cayenne to the ganache for a warm kick. Start small – you can always add more!
- Healthier twist – For a lighter option, try rolling in cacao nibs or coconut flakes instead of cocoa powder.
The possibilities are endless! My advice? Make a plain batch first, then get creative with small portions. That way, if one variation doesn’t work out, you’ve still got plenty of perfect truffles to enjoy.
Storing and Serving Dark Chocolate Truffles
Here’s the thing about these dark chocolate truffles – they never last long in my house! But when they do (rare miracle), I store them in an airtight container in the fridge for up to 2 weeks. Pro tip: layer them between parchment paper so they don’t stick together. For serving, take them out about 20 minutes early – that slight chill off makes the texture absolutely perfect. Room temp lets all those rich chocolate flavors shine!
Nutritional Information for Dark Chocolate Truffles
Let’s be real – we’re not eating dark chocolate truffles for their health benefits! But since you asked, here’s the scoop on what’s in each little bite of heaven. One truffle (about 1-inch diameter) contains roughly:
- 120 calories – Worth every single one!
- 9g fat (5g saturated) – That’s where all the creamy richness comes from
- 8g carbs (2g fiber, 5g sugar) – Dark chocolate’s natural sweetness shines
- 1g protein – Just enough to make you feel slightly virtuous
Remember, these numbers can change based on your specific chocolate brand and any variations you make. But honestly? When something tastes this good, who’s counting?
Frequently Asked Questions
Can I use milk chocolate instead of dark chocolate?
You absolutely can, but it’ll change the character of your truffles completely! Milk chocolate makes them sweeter and less intense. I’ve done it when making treats for kids – just reduce the cream slightly since milk chocolate has more dairy. But honestly? I miss that rich, grown-up flavor of dark chocolate truffles when I swap. For reference, I’d use about 1/4 cup less cream with milk chocolate.
Help! My mixture is too soft to roll – what do I do?
Been there! If your ganache won’t hold shape, pop it back in the fridge for 15-minute intervals until scoopable. No time? Try rolling between two spoons dusted with cocoa powder. Worst case, pour the mixture into a shallow dish and call it chocolate mousse – nobody complains about chocolate mousse!
Can I freeze dark chocolate truffles?
Yes! They freeze beautifully for up to 3 months. Just layer them in an airtight container with parchment between layers. Thaw overnight in the fridge – no one wants a frozen truffle surprise! Pro tip: Freeze them uncoated, then roll in cocoa powder after thawing for fresher flavor.
Why did my truffles turn out grainy?
Oh honey, I feel your pain! Graininess usually means the chocolate got too hot or didn’t melt fully. Next time, chop your chocolate extra fine and let the hot cream sit on it longer before stirring. Also – and this is crucial – never let water get in your mixture! Even a drop can make chocolate seize up like concrete.
What’s the best chocolate percentage to use?
I swear by 60-70% cocoa for the perfect balance – rich but not bitter. Higher percentages can make your dark chocolate truffles too intense unless you’re a hardcore chocolate lover. Once tried 85%… let’s just say they were an acquired taste even for me!
Dark Chocolate Truffles
Ingredients
Equipment
Method
- Heat the cream in a saucepan over medium heat until it simmers.
- Pour the hot cream over the chopped chocolate and let it sit for 2 minutes.
- Stir the mixture until smooth, then add the butter and vanilla extract.
- Cover the bowl and refrigerate for 1 hour or until firm.
- Scoop small portions of the mixture and roll into balls.
- Coat each truffle in cocoa powder and place on a baking sheet.
- Refrigerate for another 30 minutes before serving.
Nutrition
Notes
Tried this recipe?
Let us know how it was!For more amazing recipes, be sure to check out our other sections to explore a variety of ideas that will enrich your cooking experience. Each section offers its own unique flavors to ensure a delightful culinary journey:
Easy and Quick Recipes: A collection of dishes that guarantee delicious meals with minimal effort and time.
Healthy Recipes: Discover healthy and delicious options that fit your lifestyle.
Desserts: A diverse selection of sweets that will add a special touch of sweetness to your table.
Lunch Recipes: Tasty lunch ideas that you can easily prepare to delight your family.
Dinner Recipes: Delicious and easy-to-make recipes that will make your dinner a memorable occasion.