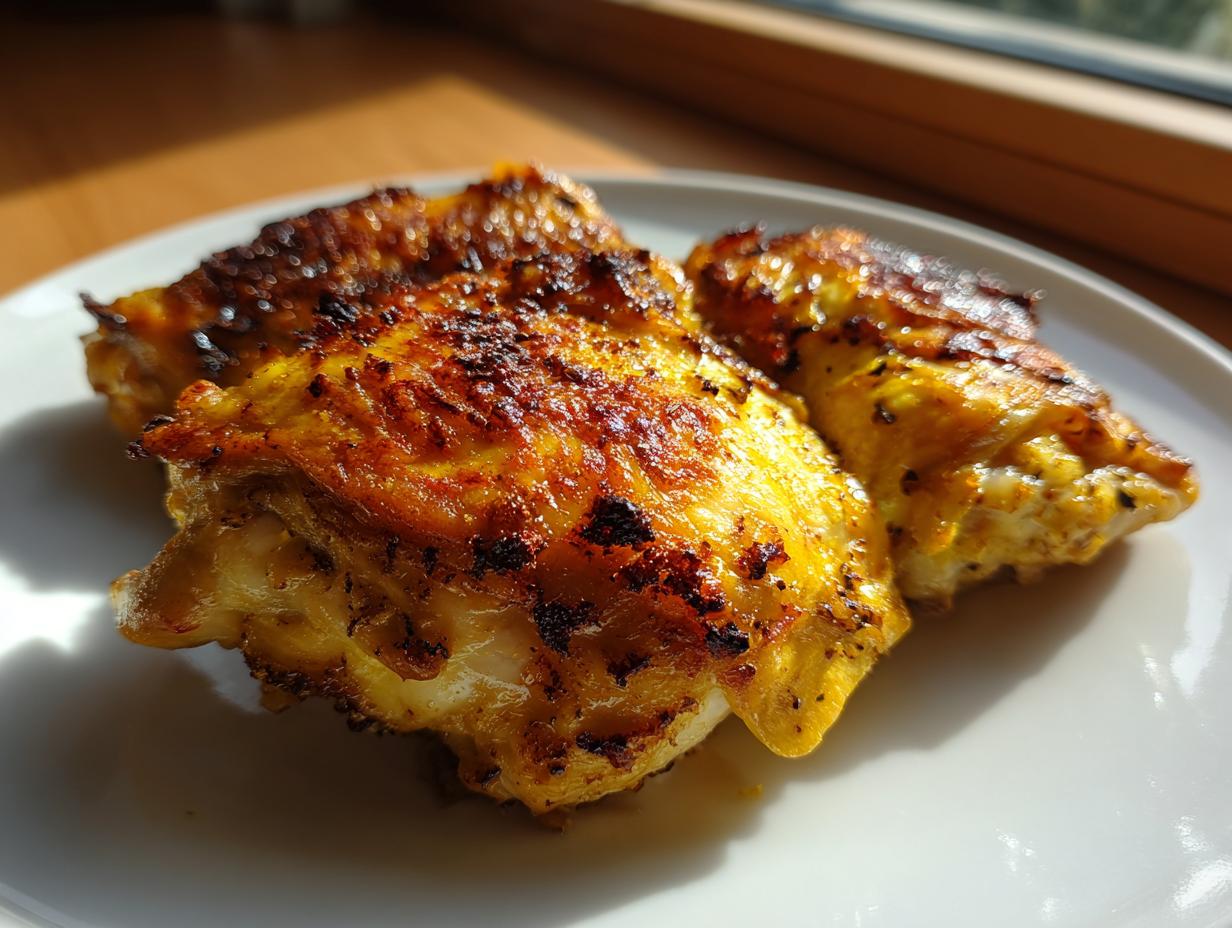
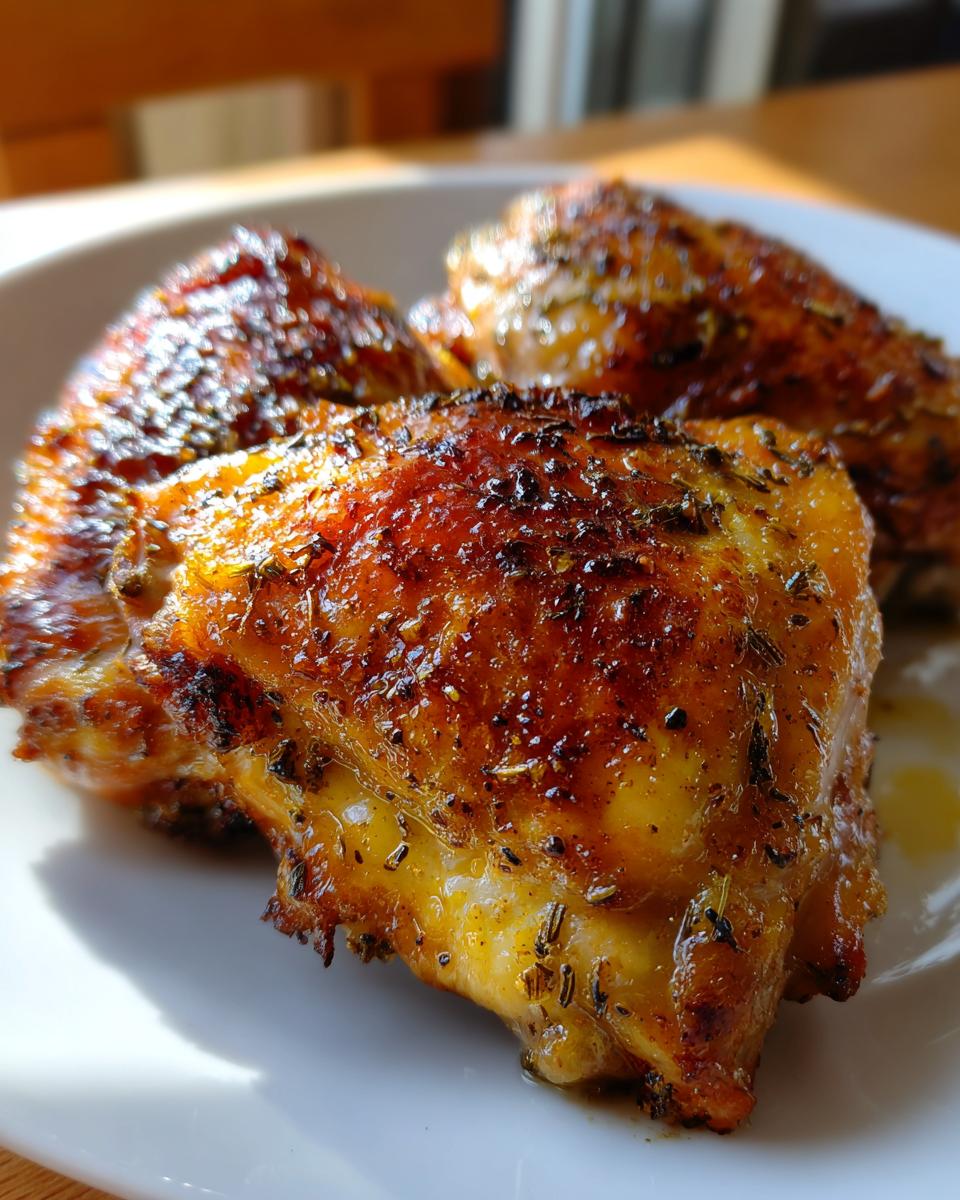
You know those nights when you’re exhausted but still want something delicious? That’s when my trusty baked chicken thighs come to the rescue! There’s something magical about how the skin gets impossibly crispy while the meat stays juicy and tender underneath. I discovered this recipe during my college days when I needed cheap, easy meals that actually tasted good. Now it’s my go-to for busy weeknights – my kids cheer when they smell it baking!
The beauty of baked chicken thighs is how forgiving they are. Unlike breasts that dry out if you blink wrong, thighs stay moist even if you forget about them for a few extra minutes. And that crispy skin? Absolute perfection. I’ve served these to dinner guests who swore they came from a fancy restaurant. Little do they know it’s just five ingredients and one pan!
This recipe got me through grad school finals, postpartum sleepless nights, and now it’s saving me from the chaos of weeknight dinners. The best part? You probably have everything you need in your pantry right now. Let’s make some magic happen!
Why You’ll Love These Baked Chicken Thighs
Let me tell you why this recipe never leaves my dinner rotation – it’s pure gold! Here’s what makes these baked chicken thighs so special:
- Five-minute prep: Just pat dry, rub with oil, sprinkle spices, and pop in the oven. I’ve literally done this half-asleep before. (Don’t tell my kids.)
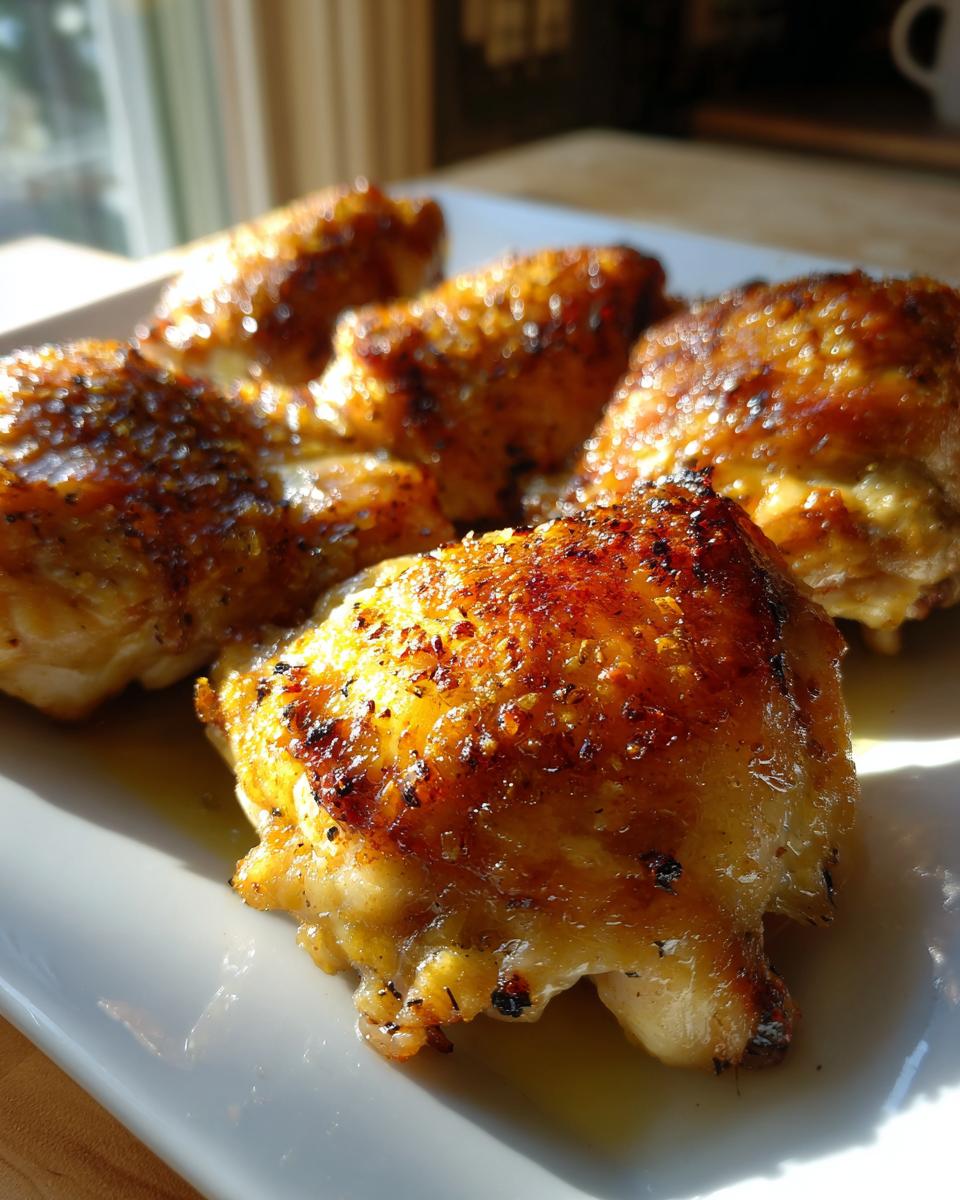
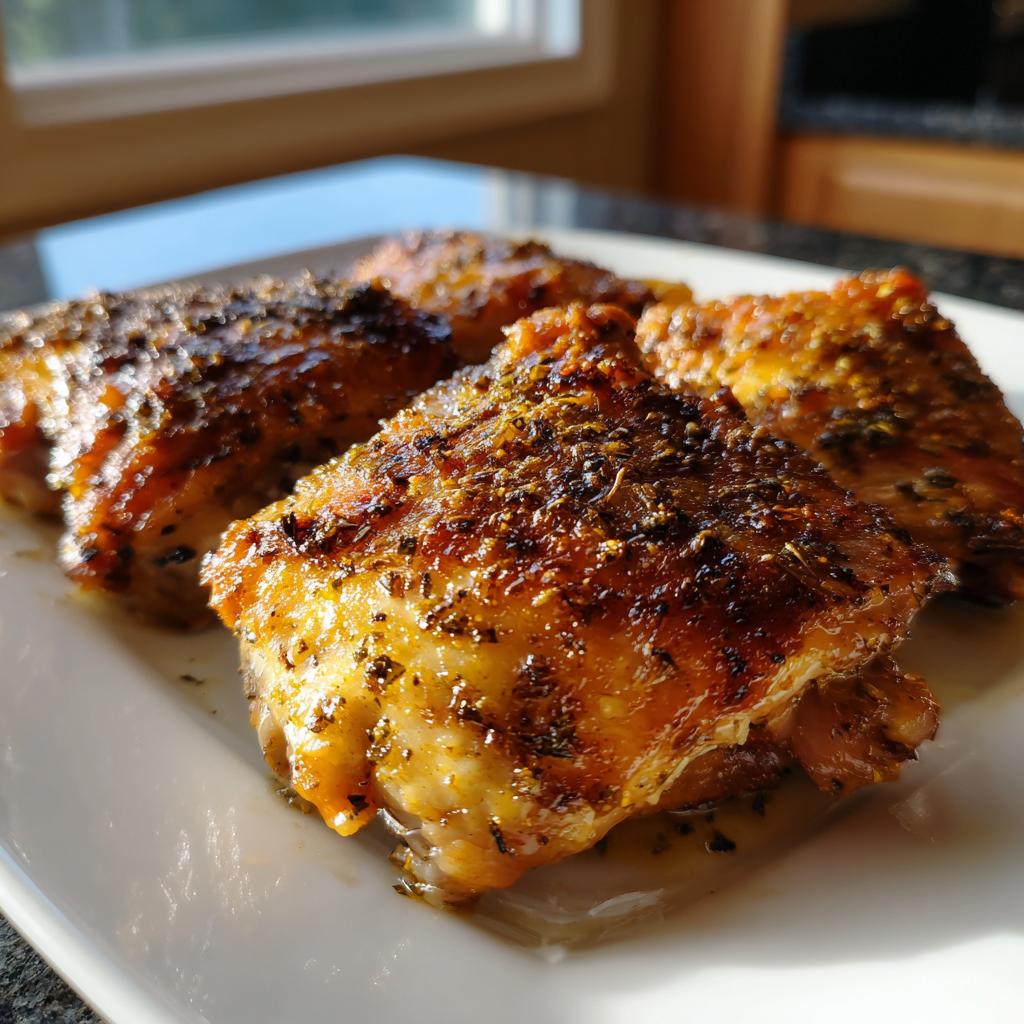
- That magnificent crisp-and-juicy combo: The skin turns positively GOLDEN and crackly while the meat stays lush underneath. My husband calls it “fried chicken vibes without the mess.”
- Pantry-friendly ingredients: Olive oil, basic spices – half the time I’m using whatever’s left at the bottom of my spice jars. No fancy grocery runs needed!
- Plays well with everything: Serve over rice for a quick meal, chop into pasta, or go crazy on salads. Last Tuesday’s leftovers became taco filling. Zero regrets.
Trust me – once you nail this technique, you’ll be making weekly chicken thigh dates like we do. It’s that kind of recipe!
Ingredients for Perfect Baked Chicken Thighs
Okay, let’s talk ingredients – and I promise this is the easiest shopping list ever! The magic of these baked chicken thighs comes from simple, honest ingredients doing their thing. Here’s what you’ll need:
- 4 bone-in, skin-on chicken thighs – This is non-negotiable for me. The bones keep the meat juicy, and that skin? That’s where the crispy magic happens. (Though if you’re in a pinch, skin-on boneless thighs can work too – just reduce baking time!)
- 1 tbsp olive oil – Just enough to help the spices stick and get that golden color going. I’ve used avocado oil in a pinch.
- 1 tsp salt – Kosher salt is my go-to here – it seasons evenly without being too salty.
- ½ tsp black pepper – Freshly cracked if you’ve got it! The little flecks make it pretty too.
- ½ tsp garlic powder – My secret weapon! It gives that savory depth without burning like fresh garlic can.
- ½ tsp paprika – Sweet or smoked – your call! I alternate depending on my mood.
See? Told you it was simple! Now let’s turn these basics into something spectacular…
How to Make Crispy Baked Chicken Thighs
Alright, let’s get down to business! Making perfect baked chicken thighs is easier than you think, but there are a few tricks I’ve learned over the years that make all the difference. Follow these steps, and you’ll have crispy-skinned, juicy chicken thighs that’ll make you feel like a kitchen rockstar.
Step 1: Prep the Chicken
First things first – grab those paper towels! Patting the chicken thighs dry is my secret weapon for ultra-crispy skin. Moisture is the enemy of crispiness, so take an extra minute to really blot those thighs. I like to lift the skin a bit and pat underneath too – trust me, it’s worth the effort! Dry skin means maximum crisp potential when it hits that hot oven.
Step 2: Season and Bake
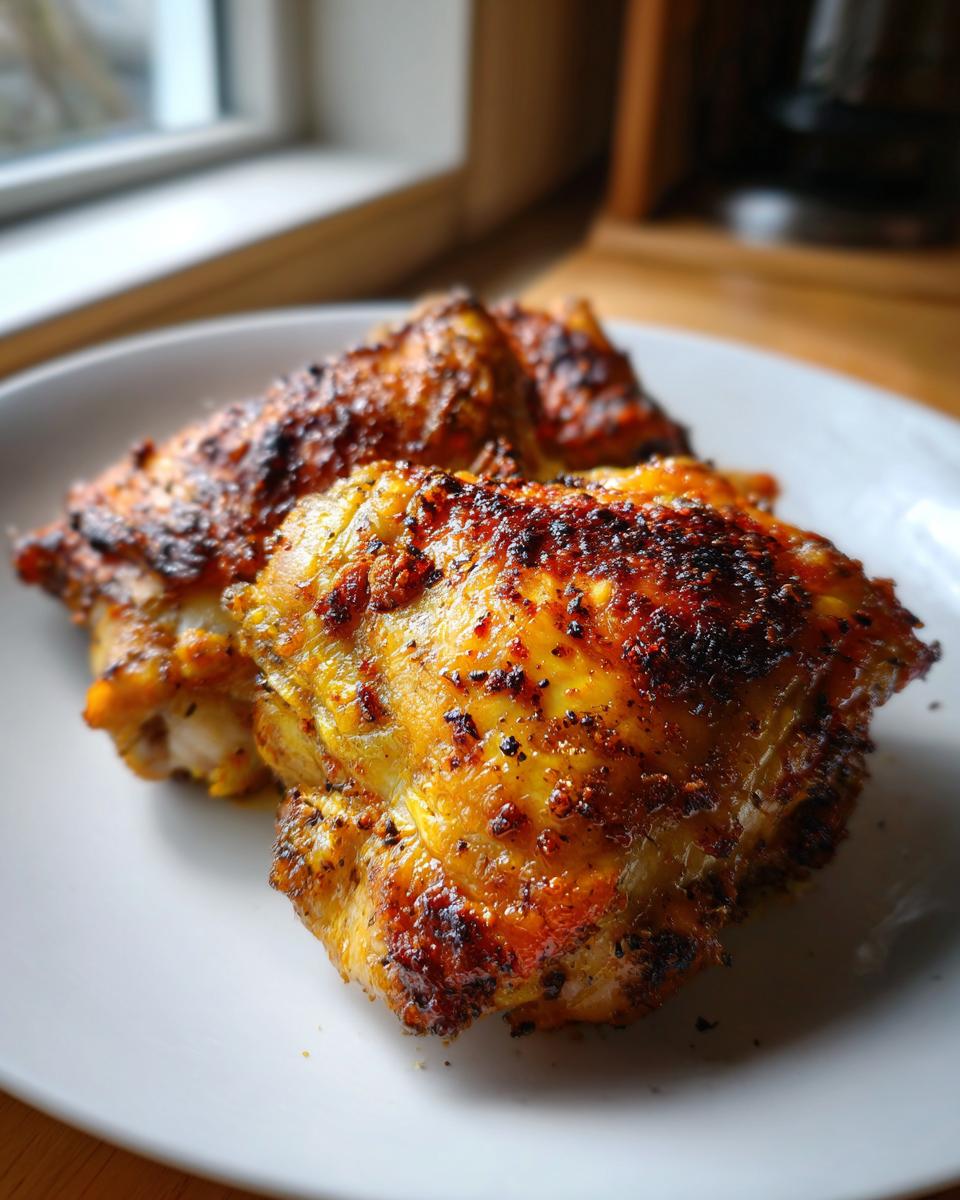
Now for the fun part – seasoning! Drizzle that olive oil over the chicken and rub it all over like you’re giving the thighs a little massage. Then sprinkle your spice mix evenly – don’t be shy! I like to flip them skin-side down first to season the underside, then flip back for the grand finale on the skin. Pop them in your preheated 425°F oven (yes, preheating matters!) for about 35 minutes. The smell will drive you crazy!
Pro tip: If you want EXTRA crispiness (who doesn’t?), turn on the broiler for the last 2-3 minutes. Just keep an eye on it – that high heat can go from golden to burnt real quick! When the skin looks like crispy chicken perfection and your meat thermometer reads 165°F, you’re golden. Let them rest for 5 minutes – I know it’s hard to wait, but this keeps all those delicious juices right where they belong!
Tips for the Best Baked Chicken Thighs
Alright, let me spill all my hard-earned chicken thigh secrets! After burning more batches than I’d like to admit (oops!), here’s what I’ve learned makes these baked chicken thighs absolutely foolproof:
Meat thermometer is your BFF: That little gadget took my chicken game from “maybe done?” to “perfect every time.” Stick it in the thickest part – 165°F means juicy perfection. No thermometer? The juices should run clear when pierced.
Give them space to breathe! Overcrowding the pan = steamed chicken, not crispy. I learned this the hard way when I tried doubling the recipe in one pan. Now I use two pans if needed – crispy skin is worth the extra dish!
Spice freedom! Don’t have paprika? Use chili powder. Out of garlic powder? Onion powder works wonders. My kids love when I add a pinch of brown sugar for caramelized edges. Make it yours!
Resting time matters: I know it’s tempting to dig right in, but those 5 minutes of resting let the juices redistribute. Otherwise they’ll all end up on your plate instead of in the meat!
There you have it – my crispy chicken commandments. Follow these, and you’ll be the chicken thigh hero of your kitchen!
Serving Suggestions for Baked Chicken Thighs
Now that you’ve got these glorious baked chicken thighs ready, let’s talk about what to serve with them! The beauty of this recipe is how well it plays with others. Here are my go-to pairings that turn this simple dish into a complete meal:
- Roasted veggies: Toss whatever’s in your fridge with olive oil and salt – broccoli, carrots, Brussels sprouts – and roast them on another rack while the chicken cooks. The caramelized edges are magic with that crispy skin!
- Creamy mashed potatoes: My kids demand this combo weekly. The fluffy potatoes soak up all those delicious chicken juices perfectly.
- Fresh salads: For lighter meals, I love pairing the thighs with my Greek orzo salad – the bright flavors cut through the richness beautifully.
- Simple rice: Plain white or brown rice makes the perfect canvas for those flavorful pan drippings. Sometimes I’ll stir in some garlic and parsley for extra oomph!
Honestly? These thighs are so good I’ve eaten them straight off the baking sheet with just a fork (no judgment!). But when I want to feel fancy, any of these sides turn it into restaurant-worthy meal with minimal effort.
Storage and Reheating Instructions
Okay, let’s talk leftovers – because honestly, these baked chicken thighs might be even better the next day! Here’s how to keep them tasting fresh:
Store cooled thighs in an airtight container in the fridge for 3-4 days. Want that crispy skin back? Reheat in a 375°F oven or air fryer for about 5 minutes – it works miracles! Microwave works in a pinch, but expect softer skin. Pro tip: Save those delicious pan juices in a little container – they make amazing gravy or rice flavoring later!
Nutritional Information for Baked Chicken Thighs
Let’s talk numbers – because as delicious as these baked chicken thighs are, it’s nice to know what’s in them! Here’s the breakdown per serving (that’s one glorious thigh):
- 290 calories – Just right for a satisfying meal
- 28g protein – Chicken thighs are protein powerhouses
- 19g fat (5g saturated) – That crispy skin has its perks!
- 1g carbs – Basically carb-free if you’re watching that
- 620mg sodium – Easy to reduce if you’re cutting back
A quick heads up – these numbers are estimates based on standard ingredients. Your actual counts might vary depending on chicken size or exact oil amounts. But hey, we’re here for flavor first – and these baked chicken thighs deliver that in spades!
Frequently Asked Questions
Can I use boneless chicken thighs for this recipe?
Absolutely! While I swear by bone-in, skin-on thighs for maximum juiciness and crispiness, boneless thighs work too. Just reduce the baking time to about 25 minutes – they cook faster without the bone. You won’t get quite the same crackly skin magic, but they’ll still be deliciously tender. Pro tip: If using boneless, try broiling for the last minute to get some extra color!
How do I know when my baked chicken thighs are done?
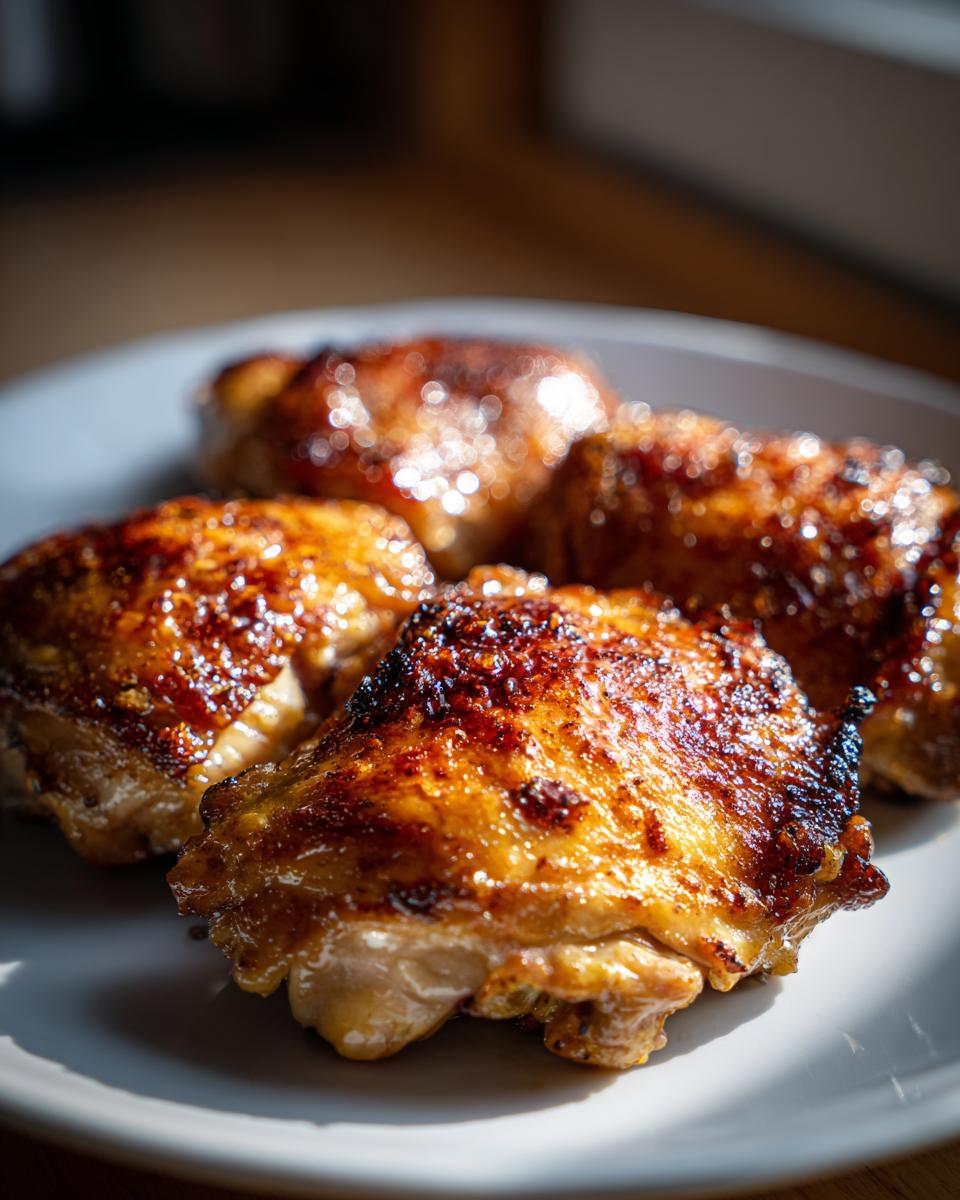
The golden rule? Trust your thermometer! Insert it into the thickest part (avoiding the bone) – 165°F means perfect doneness. No thermometer? Pierce the meat – juices should run clear, not pink. And that skin should look like crispy chicken perfection – golden brown and slightly shrunken from the meat. When in doubt, I always err on the side of slightly overdone with thighs – they’re forgiving that way!
Can I freeze leftover baked chicken thighs?
You bet! Let them cool completely, then freeze in airtight containers for up to 3 months. Thaw overnight in the fridge before reheating. Fair warning – the skin won’t be quite as crispy after freezing, but the flavor stays amazing. I often make extra just to freeze for quick meals later. They’re perfect chopped into soups, salads, or pasta when you’re in a pinch!
Why do my chicken thighs stick to the pan?
Oh honey, I’ve been there! Two tricks: First, make sure you’re using parchment paper – it’s a game changer. Second, don’t move the chicken for at least 20 minutes after putting it in the oven. That initial bake time lets the skin release naturally. If they’re still sticking, your pan might need a light oil spray under the parchment. Trust me – crispy skin that stays ON the chicken is worth the extra step!
Baked Chicken Thighs
Ingredients
Equipment
Method
- Preheat the oven to 425°F (220°C). Line a baking sheet with parchment paper.
- Pat the chicken thighs dry with paper towels. Place them on the baking sheet.
- Drizzle the chicken with olive oil and rub to coat evenly.
- Sprinkle the salt, pepper, garlic powder, and paprika over the chicken.
- Bake for 35 minutes or until the skin is crispy and the internal temperature reaches 165°F (74°C).
- Let the chicken rest for 5 minutes before serving.
Nutrition
Notes
Tried this recipe?
Let us know how it was!For more amazing recipes, be sure to check out our other sections to explore a variety of ideas that will enrich your cooking experience. Each section offers its own unique flavors to ensure a delightful culinary journey:
Easy and Quick Recipes: A collection of dishes that guarantee delicious meals with minimal effort and time.
Healthy Recipes: Discover healthy and delicious options that fit your lifestyle.
Desserts: A diverse selection of sweets that will add a special touch of sweetness to your table.
Lunch Recipes: Tasty lunch ideas that you can easily prepare to delight your family.
Dinner Recipes: Delicious and easy-to-make recipes that will make your dinner a memorable occasion.