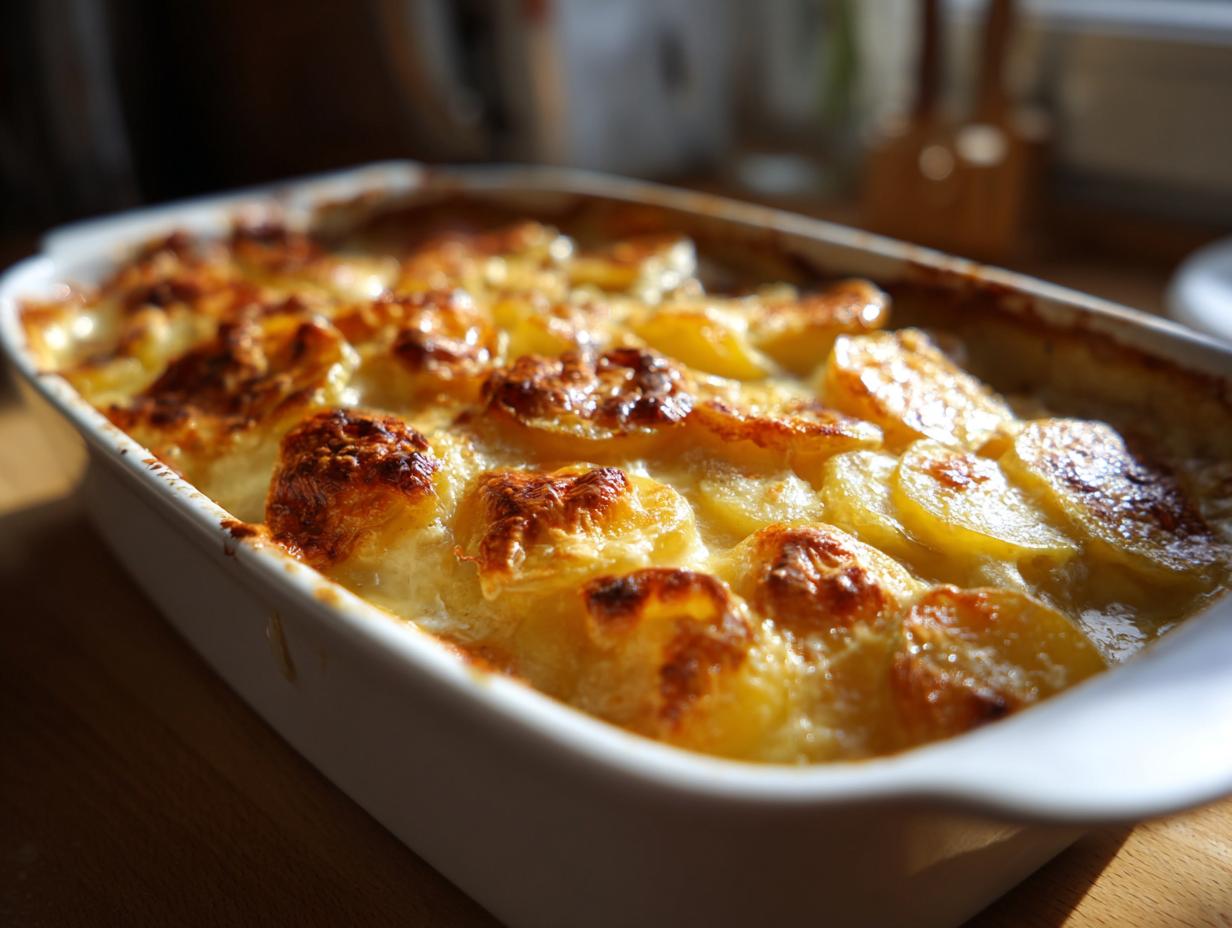
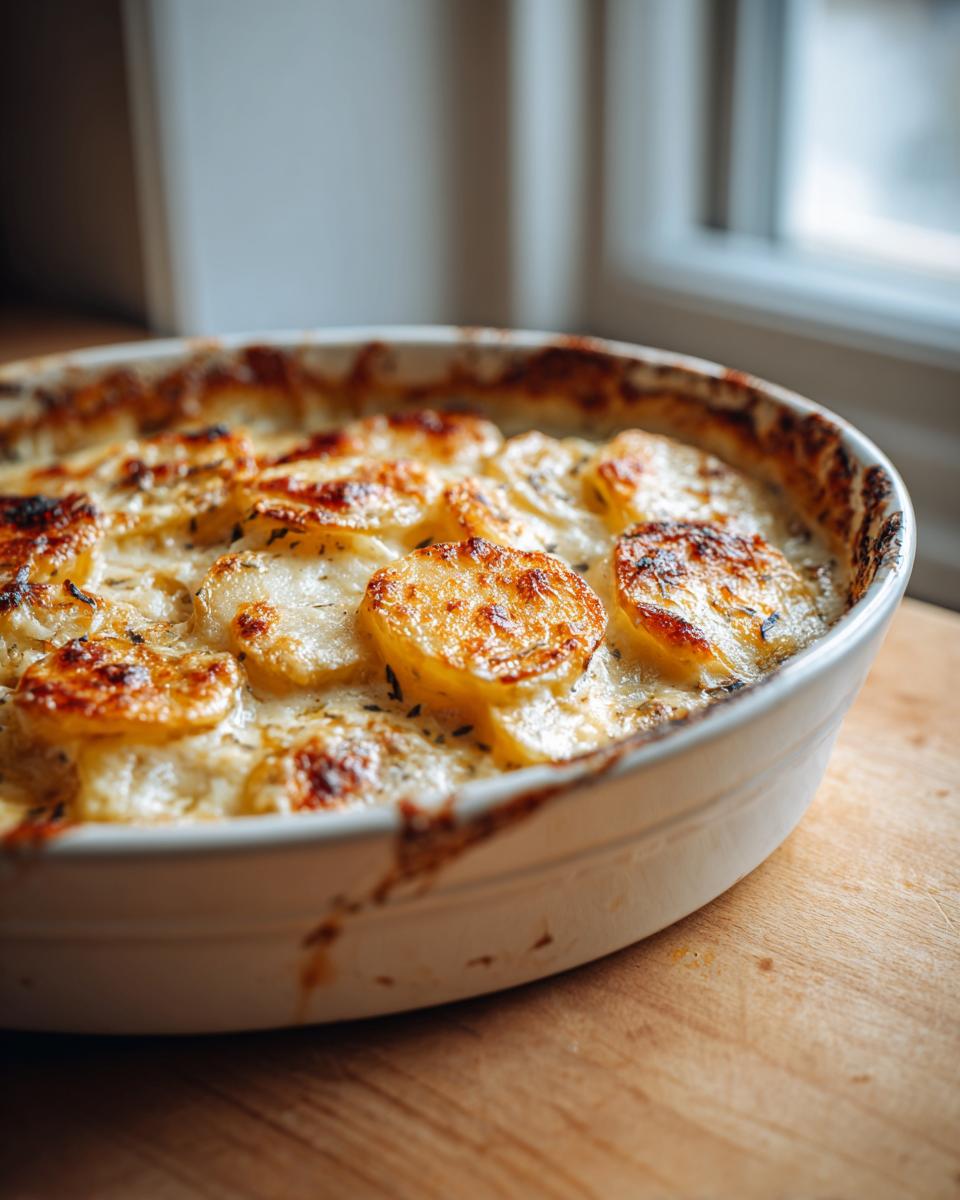
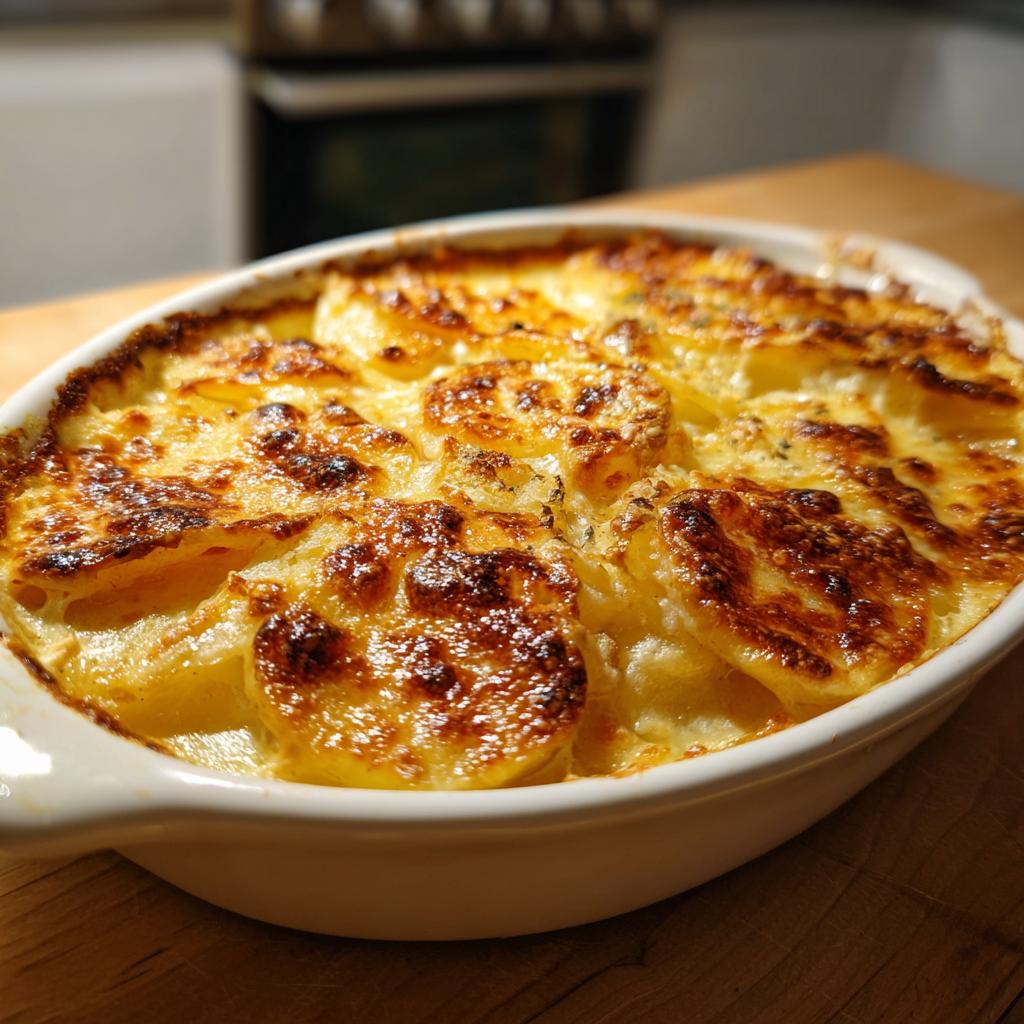
Is there anything more comforting than a bubbling dish of scalloped potatoes fresh from the oven? That golden-brown crust hiding layers of tender potatoes swimming in creamy, cheesy sauce – it’s pure nostalgia on a plate. I still remember my mom pulling her trusty casserole dish out of the oven every Thanksgiving, the rich aroma of melted cheddar and butter filling our kitchen. Scalloped potatoes were our family’s love language, appearing at every holiday table and Sunday supper. They’re the ultimate crowd-pleaser – simple enough for weeknights but fancy enough for special occasions. And the best part? They go with absolutely everything, from roasted chicken to holiday ham.
Why You’ll Love These Scalloped Potatoes
Let me tell you why this recipe has been my go-to for years – it’s foolproof and always gets rave reviews! First, that creamy cheese sauce? Absolute magic – it blankets every potato slice perfectly. And that golden crust that forms on top? Pure comfort food heaven. Here’s what makes these scalloped potatoes special:
- Easy enough for weeknights: Just layer, pour, and bake – no fuss!
- Crowd-pleasing flavor: Who can resist cheesy, creamy potatoes?
- Perfect texture: Tender potatoes with just the right bite
- Works with any meal – pair it with everything from weeknight dinners to holiday feasts
- Budget-friendly: Uses simple, pantry staple ingredients
I’ve served these at everything from casual family dinners to fancy parties, and they always disappear first. Trust me – one bite and you’ll understand why this dish is a classic!
Ingredients for Scalloped Potatoes
Now let’s talk ingredients – and trust me, the simplicity here is part of what makes this recipe so brilliant. I’ve made scalloped potatoes with every fancy variation under the sun, but when I want that classic, can’t-mess-it-up version, this is exactly what I reach for:
For the Potatoes
- 2 lbs russet potatoes – peeled and sliced about 1/8″ thick (yes, I use a mandoline when I’m feeling fancy!)
For the Sauce
- 3 tbsp butter – the real stuff please, no substitutes!
- 3 tbsp all-purpose flour – this makes the roux that thickens our dreamy sauce
- 1 1/2 cups whole milk – warmed (it blends into the roux better this way)
- 1 cup shredded cheddar cheese – freshly grated melts smoother than pre-shredded
- 1/2 tsp salt – I use kosher salt for better distribution
- 1/4 tsp black pepper – freshly cracked if you’ve got it
A quick note about the potatoes – russets are my go-to because they hold their shape beautifully, but Yukon Golds work great too if you prefer a creamier texture. And don’t skip warming the milk – it’s my little trick for preventing lumps in your sauce!
How to Make Scalloped Potatoes
Alright, let’s get cooking! I’ve made this recipe so many times I could probably do it in my sleep, but don’t worry – I’ll walk you through each step. The key is taking your time with the sauce and layering everything just right. Here’s exactly how I do it:
- Preheat and prep: First, get that oven going to 350°F (175°C) – no shortcuts here! Grease your 9×13 baking dish well (I spray it with oil or rub it with butter). Trust me, you don’t want to be scraping stuck potatoes later!
- Potato prep: While the oven heats, peel and slice your potatoes about 1/8″ thick. This isn’t the time for thick chunks – thin slices mean creamy results. If you have a mandoline slicer, now’s the time to pull it out for even slices.
- Make the magic sauce: Melt your butter in a saucepan over medium heat. When it’s bubbly, whisk in the flour – keep whisking for about a minute to cook out that raw flour taste. Slowly pour in the warmed milk while whisking constantly. This is where patience pays off – keep stirring until it thickens enough to coat the back of a spoon (about 5 minutes). Remove from heat and stir in cheese, salt, and pepper until smooth.
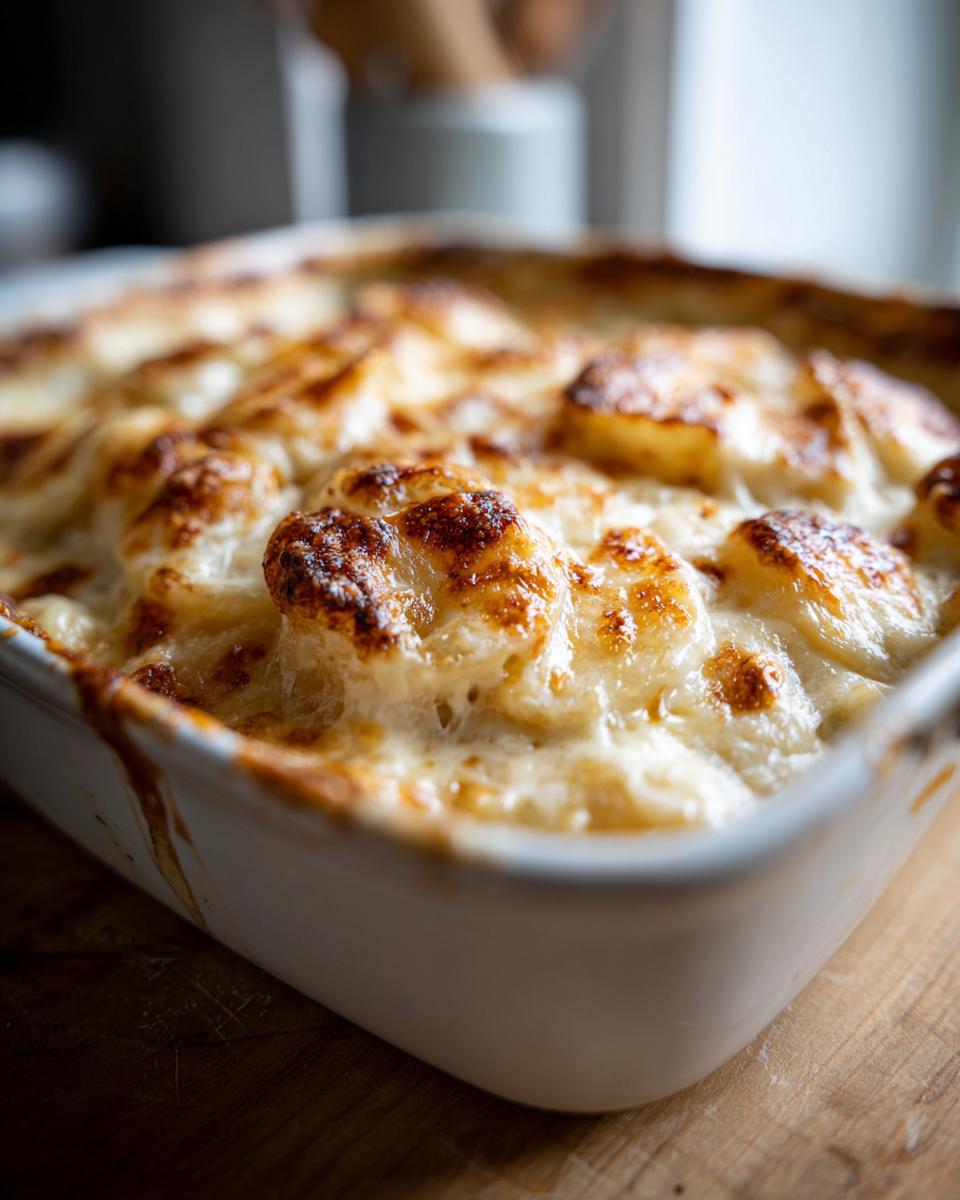
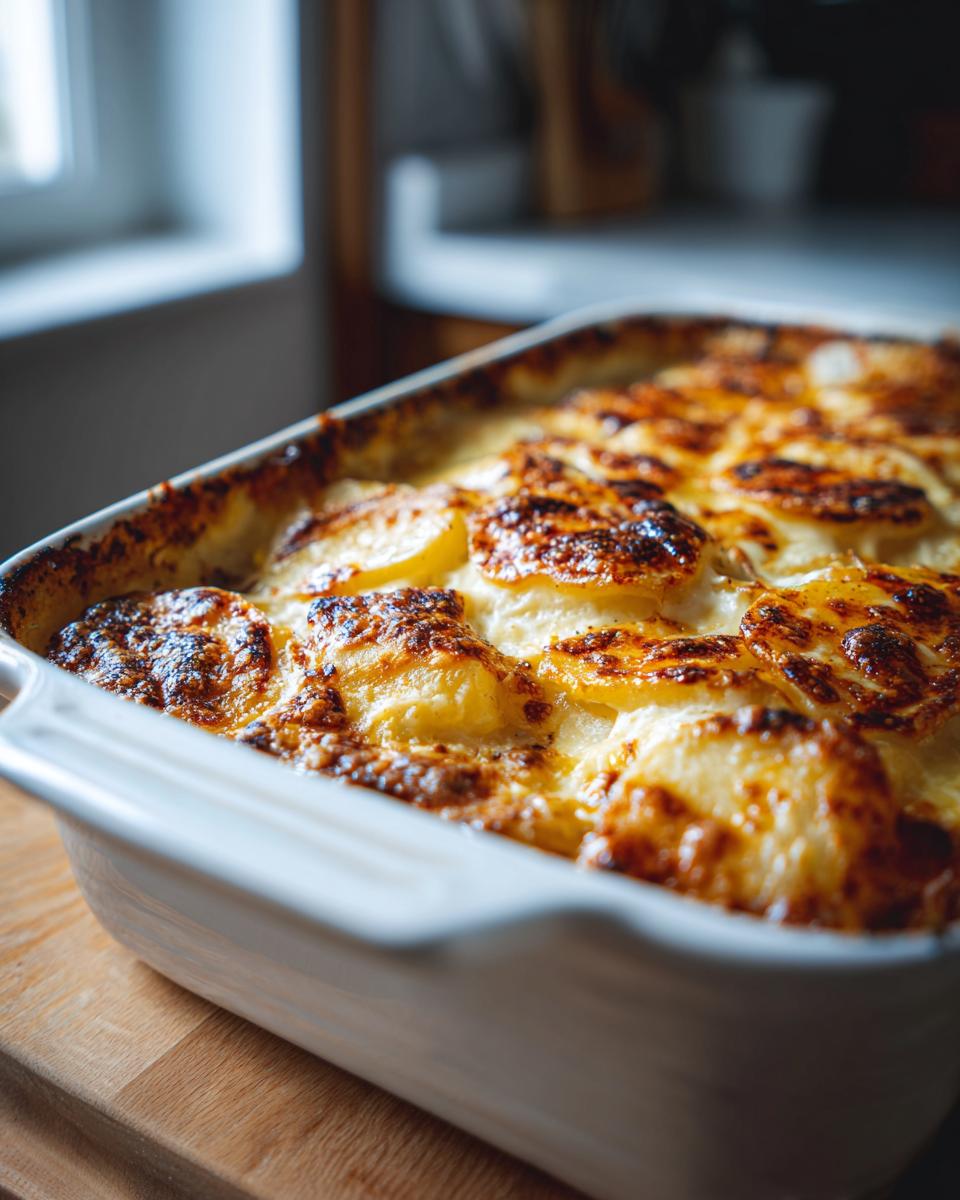
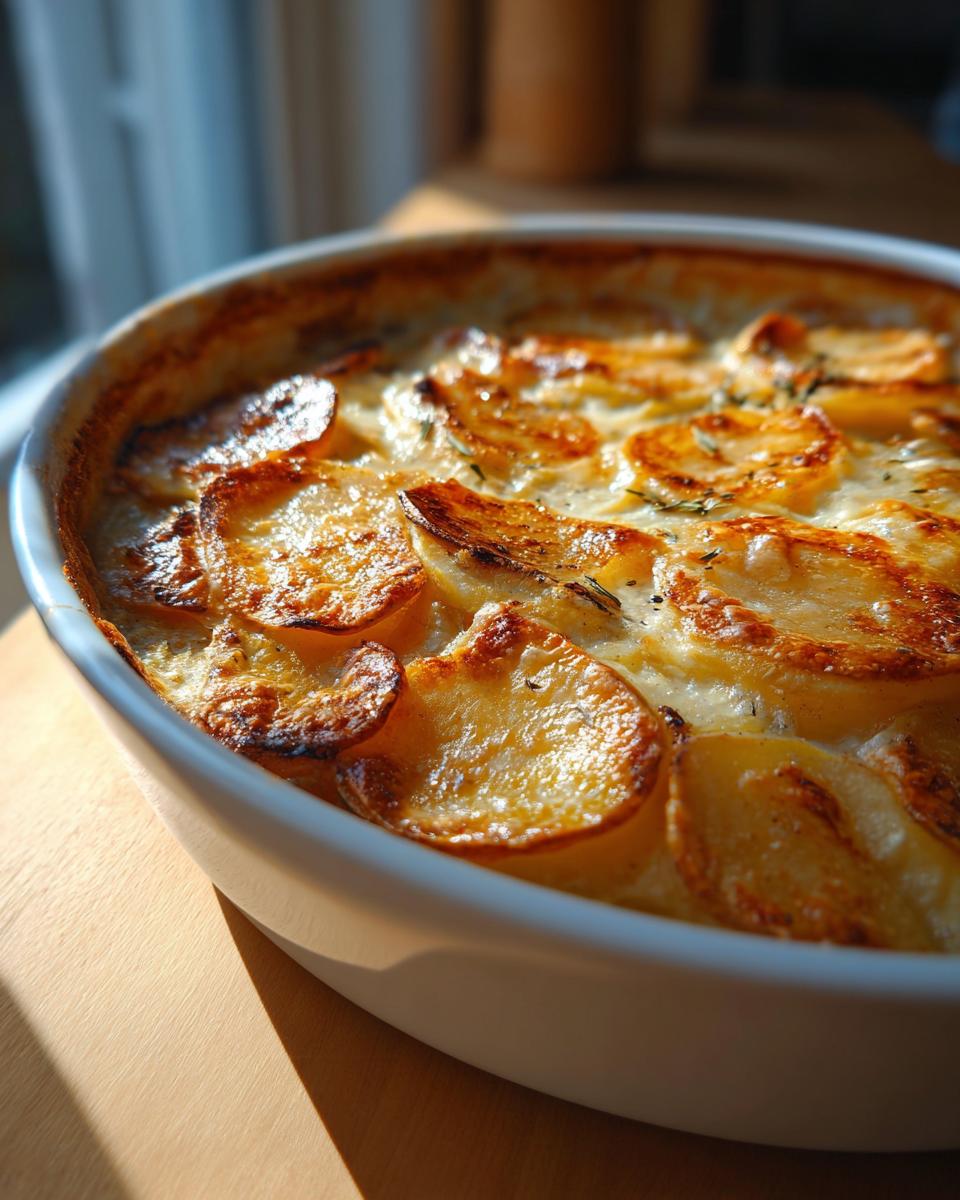
- Layer it up: Arrange half your potato slices in the prepared dish, slightly overlapping. Pour half the sauce over them. Repeat with remaining potatoes and sauce. Give the dish a little shake to help the sauce settle into all the nooks.
- Bake to perfection: Pop it in the oven for about 60 minutes. You’re looking for golden brown on top and potatoes that are tender when poked with a fork. If the top browns too fast, just lay a piece of foil over it.
Tips for Perfect Scalloped Potatoes
Here are my tried-and-true tricks to make sure your scalloped potatoes come out restaurant-quality every time:
- Slice evenly: Whether you use a knife or mandoline, consistent thickness means even cooking.
- Rest before serving: I know it’s tempting, but wait 5-10 minutes after baking – this helps the sauce set so you get perfect slices.
- Test for doneness: If your fork slides easily into the center potatoes, they’re done. If not, give it 5 more minutes.
- Season to taste: After baking, give it a quick taste and add more salt if needed. Sometimes potatoes can soak up seasoning.
See? Nothing complicated – just good technique and a little attention. Now get ready for the compliments to roll in!
Serving Suggestions for Scalloped Potatoes
Oh, where do I even start with serving these beauties? Scalloped potatoes are like the best friend of the dinner table – they get along with absolutely everyone! My personal favorite is pairing them with juicy oven-baked chicken – the crispy skin and creamy potatoes are a match made in heaven. But honestly, they shine with just about anything:
- Sunday roast: That golden-brown crust loves a good beef roast
- Holiday ham: The salty-sweet combo is pure perfection
- Grilled steak: Fancy enough for date night at home
- Simple greens: Bright salad cuts through the richness
I’ve brought these to potlucks (always in my trusty casserole dish with the lid!) and they disappear faster than you can say “seconds please.” Whether it’s Easter brunch or a Tuesday night dinner, scalloped potatoes make every meal feel special.
Storage and Reheating Instructions
Okay, let’s talk leftovers – because let’s be real, these scalloped potatoes are so good you’ll want to enjoy them again! Here’s how I store mine to keep that creamy texture perfect:
First, let them cool completely (about 30 minutes) before covering tightly with foil or transferring to an airtight container. They’ll keep beautifully in the fridge for 3-4 days – any longer and the potatoes start getting a bit mushy.
When you’re ready for round two, my favorite way to reheat is in the oven at 350°F for about 20 minutes (covered for the first 10, then uncovered to crisp up the top). If you’re in a hurry, the microwave works too – just zap in 30-second intervals, stirring between each, until heated through. Pro tip: sprinkle a little extra cheese on top before reheating for bonus deliciousness!
Scalloped Potatoes Variations
Oh friends, let me tell you – once you’ve mastered the classic version, the fun really begins! Scalloped potatoes are like a blank canvas just begging for creative twists. Here are my favorite ways to mix things up when I’m feeling adventurous:
- Garlic lovers unite: Stir 2 minced garlic cloves into the butter before adding flour – it adds this incredible depth of flavor that’ll make you swoon
- Cheese swap: Try Gruyère instead of cheddar for a fancier vibe, or pepper jack if you like a little kick
- Ham it up: Layer thin slices of deli ham between the potato layers – instant main dish!
- Herb garden: Fresh thyme or rosemary sprinkled between layers smells heavenly
- Crispy topping: Mix breadcrumbs with melted butter and parmesan for the last 10 minutes of baking
The best part? You can’t really mess it up – just keep that creamy sauce-to-potato ratio right and the variations are endless. My neighbor still raves about the time I added caramelized onions between the layers – pure magic!
Nutritional Information
Okay, let’s talk numbers – but don’t worry, I promise this won’t ruin the cheesy, creamy deliciousness! Here’s the nutritional breakdown per serving of these heavenly scalloped potatoes (based on 6 servings):
- Calories: About 250
- Fat: 12g (7g saturated)
- Carbs: 30g
- Protein: 8g
- Sodium: 300mg
- Fiber: 3g
Now, here’s my little disclaimer – these values can vary depending on the exact ingredients you use (like full-fat vs skim milk, or extra cheese if you’re feeling indulgent like I usually am!). But one thing’s for sure – every bite is worth it!
FAQs About Scalloped Potatoes
I get so many questions about scalloped potatoes – and rightfully so! After years of making this dish (and plenty of “oops” moments along the way), here are the answers to the most common questions I get:
Can I use russet potatoes for scalloped potatoes?
Absolutely! Russets are actually my go-to – they hold their shape beautifully and absorb all that cheesy goodness perfectly. Just make sure to slice them evenly (about 1/8″ thick) so they cook through without getting mushy. Yukon Golds work great too if you prefer a creamier texture.
How do I prevent my sauce from curdling?
Oh boy, curdled sauce is the worst! My tricks: warm your milk before adding it, and don’t let your sauce boil when you’re baking. Also, grating your own cheese helps – pre-shredded often contains anti-caking agents that can make sauces grainy.
Can I make scalloped potatoes ahead of time?
You bet! Assemble everything up to the baking step, cover tightly, and refrigerate for up to 24 hours. Just add 10-15 minutes to your baking time since it’ll be cold from the fridge.
Why are my scalloped potatoes watery?
This usually happens if the potatoes aren’t sliced thin enough or if the sauce isn’t thick enough before baking. Make sure your roux coats the back of a spoon, and resist the urge to peek while baking – that steam needs to stay in!
Ingredients
Equipment
Method
- Preheat the oven to 350°F (175°C). Grease a 9×13-inch baking dish.
- Layer the sliced potatoes in the prepared baking dish.
- In a saucepan, melt the butter over medium heat. Stir in the flour until smooth.
- Gradually whisk in the milk. Cook and stir until the sauce thickens.
- Remove from heat and stir in the cheese, salt, and pepper until the cheese melts.
- Pour the sauce over the potatoes in the baking dish.
- Bake for 60 minutes or until the potatoes are tender and the top is golden brown.
Nutrition
Notes
Tried this recipe?
Let us know how it was!For more amazing recipes, be sure to check out our other sections to explore a variety of ideas that will enrich your cooking experience. Each section offers its own unique flavors to ensure a delightful culinary journey:
Easy and Quick Recipes: A collection of dishes that guarantee delicious meals with minimal effort and time.
Healthy Recipes: Discover healthy and delicious options that fit your lifestyle.
Desserts: A diverse selection of sweets that will add a special touch of sweetness to your table.
Lunch Recipes: Tasty lunch ideas that you can easily prepare to delight your family.
Dinner Recipes: Delicious and easy-to-make recipes that will make your dinner a memorable occasion.