
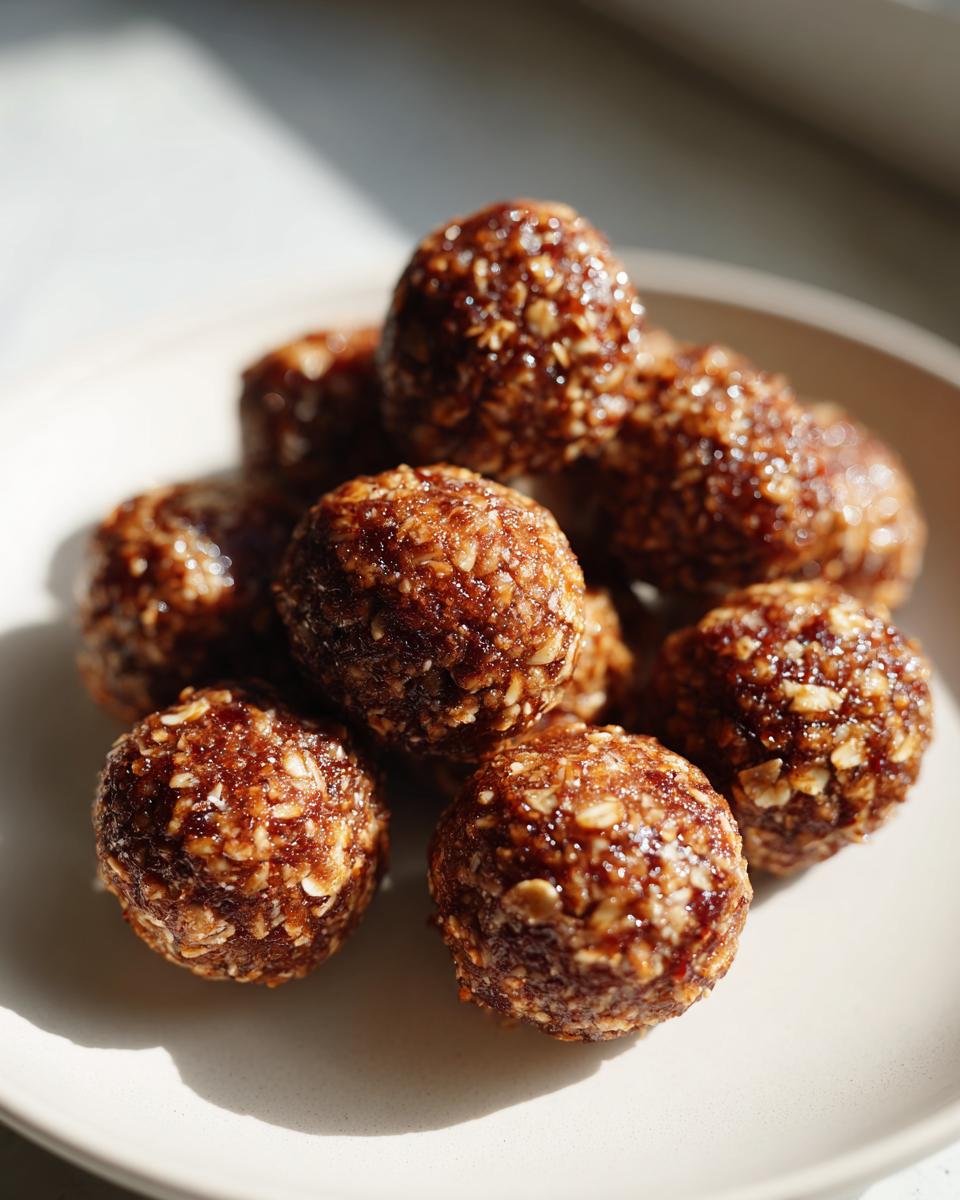
You know those days when you’re running out the door and need something sweet, healthy, and quick? That’s exactly why I fell in love with these chocolate hazelnut snack bites. I first whipped them up one chaotic morning when my kids refused to eat anything but “something chocolatey” in their lunchboxes. Fifteen minutes later, we had these little energy-packed wonders ready to go. They’ve been our secret weapon ever since – no baking, no fuss, just pure chocolate hazelnut goodness that keeps everyone happy.

Why You’ll Love These Chocolate Hazelnut Snack Bites
Trust me, these little bites are about to become your new best friend in the kitchen. Here’s why:
- No-bake magic: No oven required – just mix, roll, and chill. Perfect for those “I need dessert NOW” emergencies.
- 15-minute wonder: From pantry to plate faster than you can say “chocolate craving!” I’ve timed it during naptime – these save my sanity regularly.
- Actually good for you: With oats, nuts, and just enough sweetness, they’re the sneaky dessert I don’t feel guilty about eating for breakfast.
- Kid-approved: My picky eaters think they’re getting candy. I love watching them gobble up something nutritious without realizing it!
Seriously, these bites check all the boxes – easy, fast, and delicious enough that you’ll want to hide them from your family (I won’t judge).
Ingredients for Chocolate Hazelnut Snack Bites
Gather these simple ingredients – you probably have most in your pantry already! Here’s what you’ll need for about a dozen irresistible bites:
- 1 cup rolled oats – the hearty base that gives these bites their satisfying chew
- 1/2 cup chocolate hazelnut spread – I use the good stuff straight from the jar (no judging!)
- 1/4 cup honey – helps bind everything together with just the right sweetness
- 1/4 cup chopped hazelnuts – for that perfect crunch (I like mine roughly chopped)
- 1 tsp vanilla extract – my secret flavor booster
- 1 pinch salt – just a tiny bit to make all the flavors pop
Ingredient Substitutions
Out of something? No worries! Try these easy swaps:
- Swap honey for maple syrup if you prefer – it’ll give a slightly deeper flavor
- Almond butter works instead of chocolate spread, though you’ll miss that chocolatey kick
- Any nuts you have on hand can stand in for hazelnuts – walnuts or almonds work great
The beauty of these bites is how forgiving they are – play around and make them your own!
How to Make Chocolate Hazelnut Snack Bites
Okay, let’s get rolling – literally! These chocolate hazelnut snack bites couldn’t be easier. I’ve made this recipe probably a hundred times (seriously – my kids demand them weekly), and here’s my foolproof method:
- Mix it up: Dump all your ingredients into a big bowl and stir until everything’s completely combined. You’ll know it’s ready when the mixture holds together when you press it between your fingers. If it seems too dry, add a teaspoon more honey. Too sticky? A bit more oats will balance it out.
- Roll with it: Now the fun part! Scoop about a tablespoon of mixture and roll it between your palms into a nice round ball, about 1 inch in diameter. Pro tip from all my trial and error – if the mix sticks to your hands too much, wet them slightly (but not soaking wet – just damp).
- Chill out: Line up your beautiful little bites on a tray lined with parchment paper – don’t crowd them! They need their personal space in the fridge to firm up properly. Pop them in for at least 30 minutes, though I often leave them overnight when making them for no-bake treats the next day.

Pro Tips for Perfect Snack Bites
Two game-changing secrets I’ve learned: First, always test one ball before rolling the whole batch – if it won’t hold shape, adjust the mixture with more oats or honey. Second, keep a bowl of warm water nearby to dip your fingers in – this prevents sticking without adding extra mess. Trust me, these tiny tricks make all the difference between frustration and perfect little bites every time!
Storage Tips for Chocolate Hazelnut Snack Bites
Here’s the best part – these little bites keep beautifully! I always make a double batch because they disappear fast in my house. Store them in an airtight container in the fridge, where they’ll stay fresh and delicious for up to a week (if they last that long!). For longer storage, pop them in the freezer – they’ll keep their texture perfectly for about 3 months. Just grab one whenever a chocolate craving hits – no thawing needed, though I sometimes let mine sit for a minute to take the chill off. Perfect for sneaking straight from the freezer when no one’s looking!
Nutritional Information
Just so you know – these nutritional values are estimates only. Actual values may vary based on the specific brands of ingredients you use. But here’s the scoop per bite (because I know you’re curious!):
- 120 calories – perfect little energy boost
- 16g carbs – mostly from the good stuff like oats and honey
- 2g protein – thanks to those mighty hazelnuts
- 6g fat – the delicious kind from nuts and chocolate
Not bad for something that tastes like dessert, right? I call that a win!
Frequently Asked Questions
Can I use different nuts?
Absolutely! While hazelnuts are delicious, almonds, walnuts, or pecans work great too. Just make sure they’re chopped roughly the same size. My kids actually prefer almond butter bites – they’re nuttier but just as addictive!
How long do these need to refrigerate?
At least 30 minutes to firm up, but I often leave them overnight. The longer they chill, the better they hold together. Perfect for making ahead when you need healthy chocolate treats ready to grab!
Are these gluten-free?
They can be! Just use certified gluten-free oats. Everything else is naturally gluten-free, making these bites a great option for anyone avoiding gluten. My gluten-sensitive friends go crazy for them!
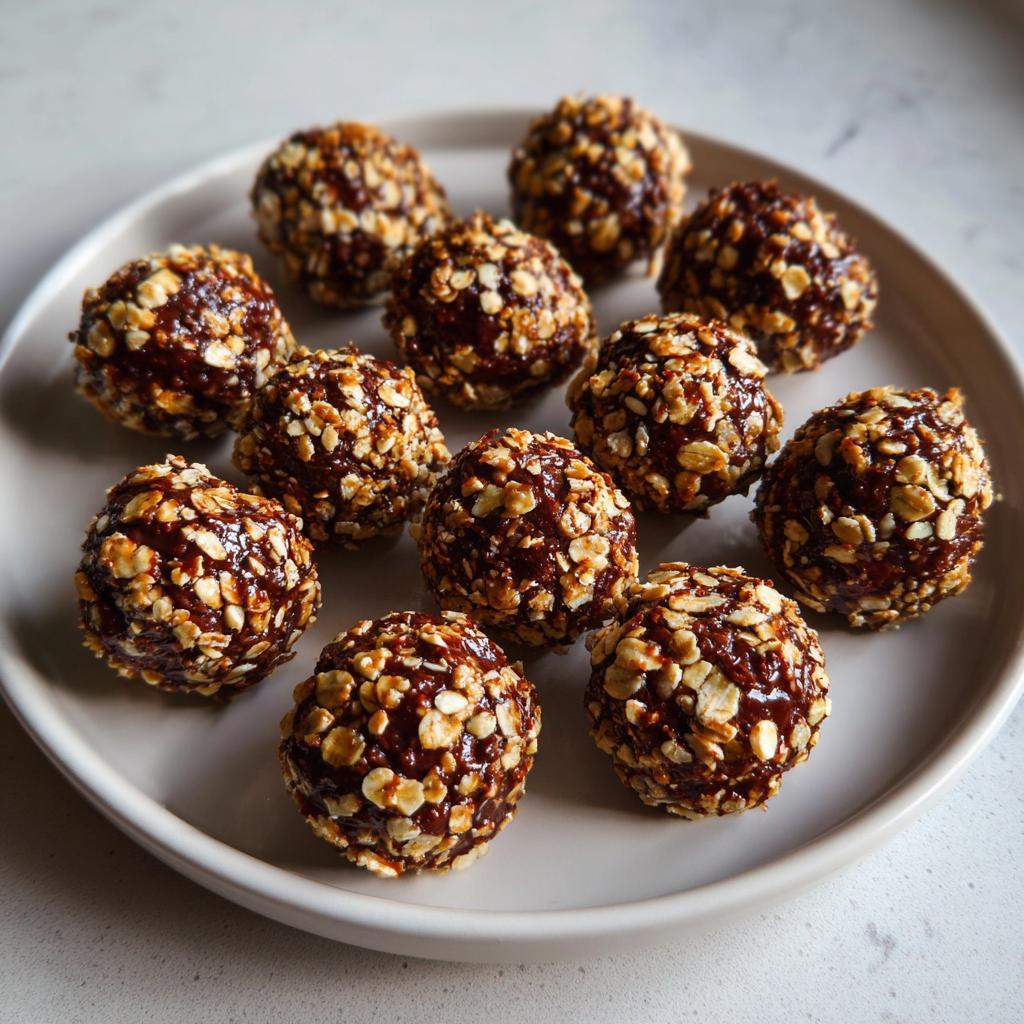
Chocolate Hazelnut Snack Bites
Ingredients
Method
- In a bowl, mix the oats, chocolate hazelnut spread, honey, chopped hazelnuts, vanilla extract, and salt until well combined.
- Roll the mixture into small balls, about 1 inch in diameter.
- Place the bites on a tray lined with parchment paper and refrigerate for at least 30 minutes to firm up.
Nutrition
Notes
Tried this recipe?
Let us know how it was!For more amazing recipes, be sure to check out our other sections to explore a variety of ideas that will enrich your cooking experience. Each section offers its own unique flavors to ensure a delightful culinary journey:
Easy and Quick Recipes: A collection of dishes that guarantee delicious meals with minimal effort and time.
Healthy Recipes: Discover healthy and delicious options that fit your lifestyle.
Desserts: A diverse selection of sweets that will add a special touch of sweetness to your table.
Lunch Recipes: Tasty lunch ideas that you can easily prepare to delight your family.
Dinner Recipes: Delicious and easy-to-make recipes that will make your dinner a memorable occasion.