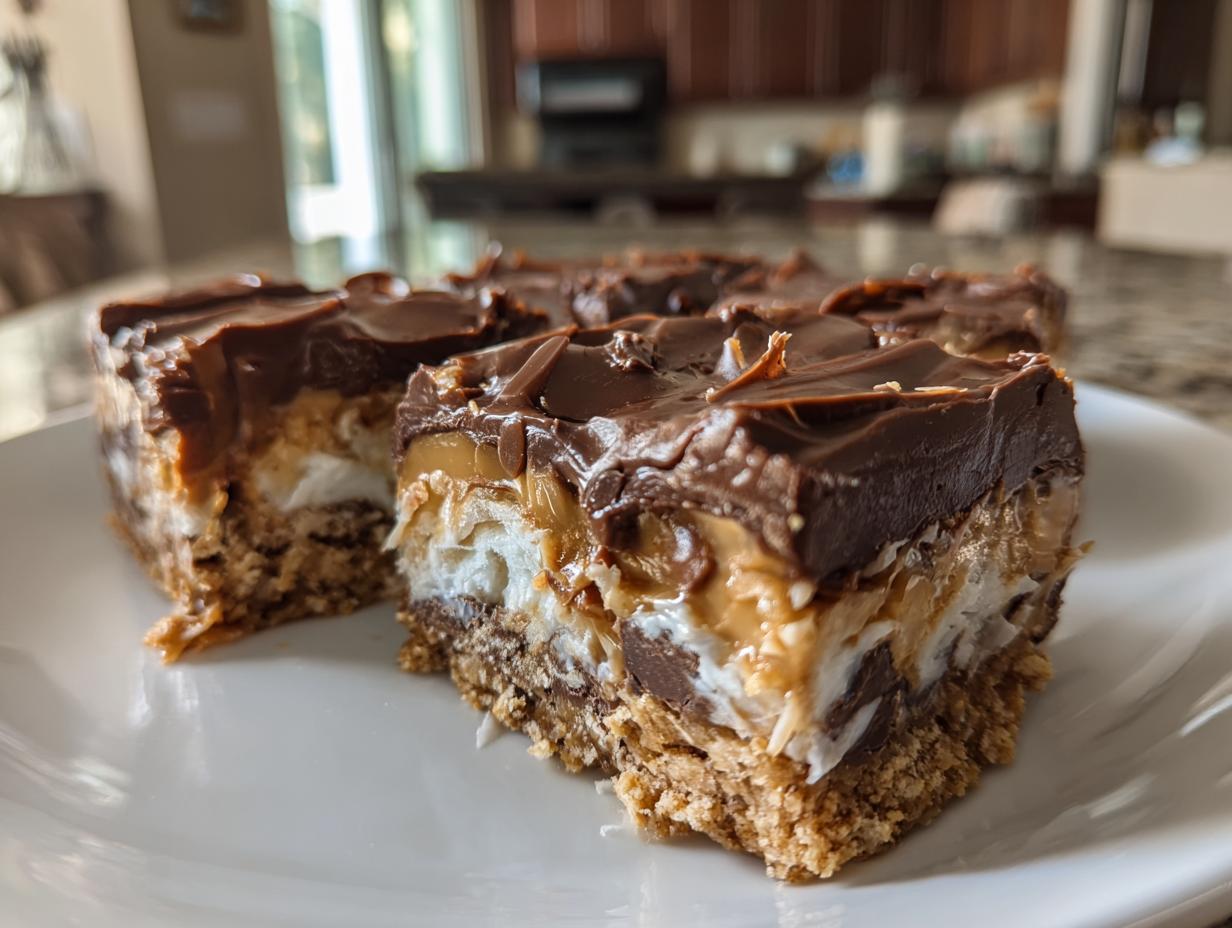
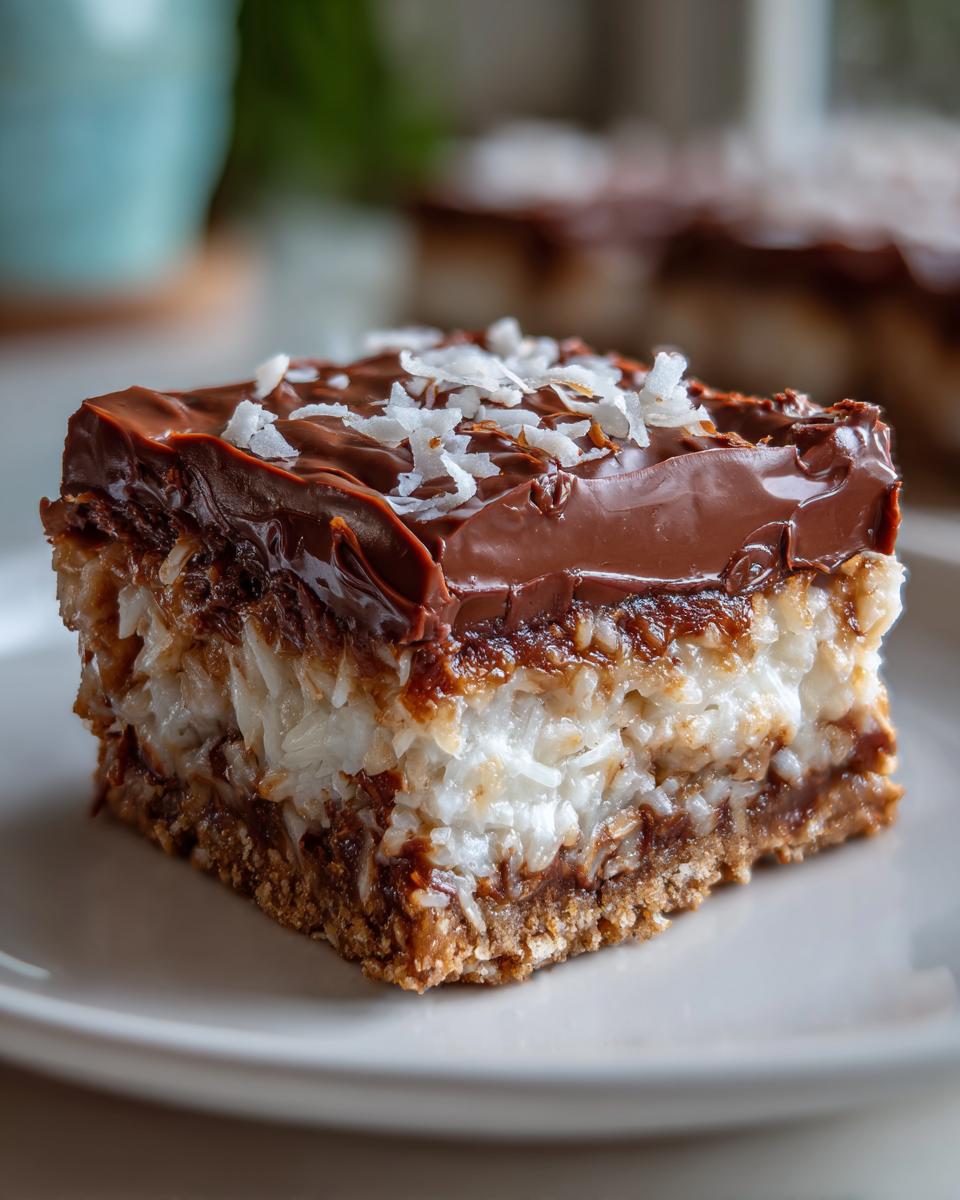
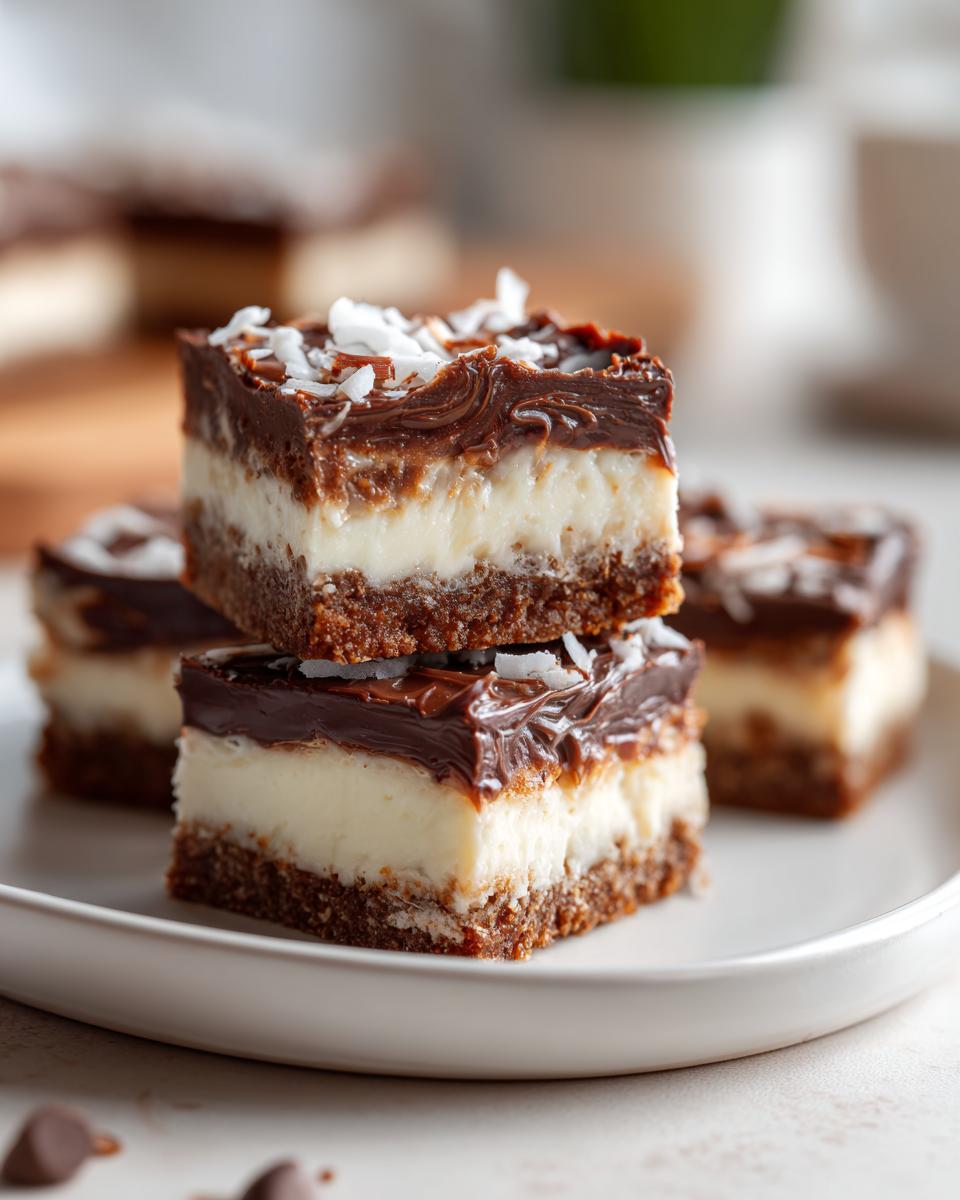
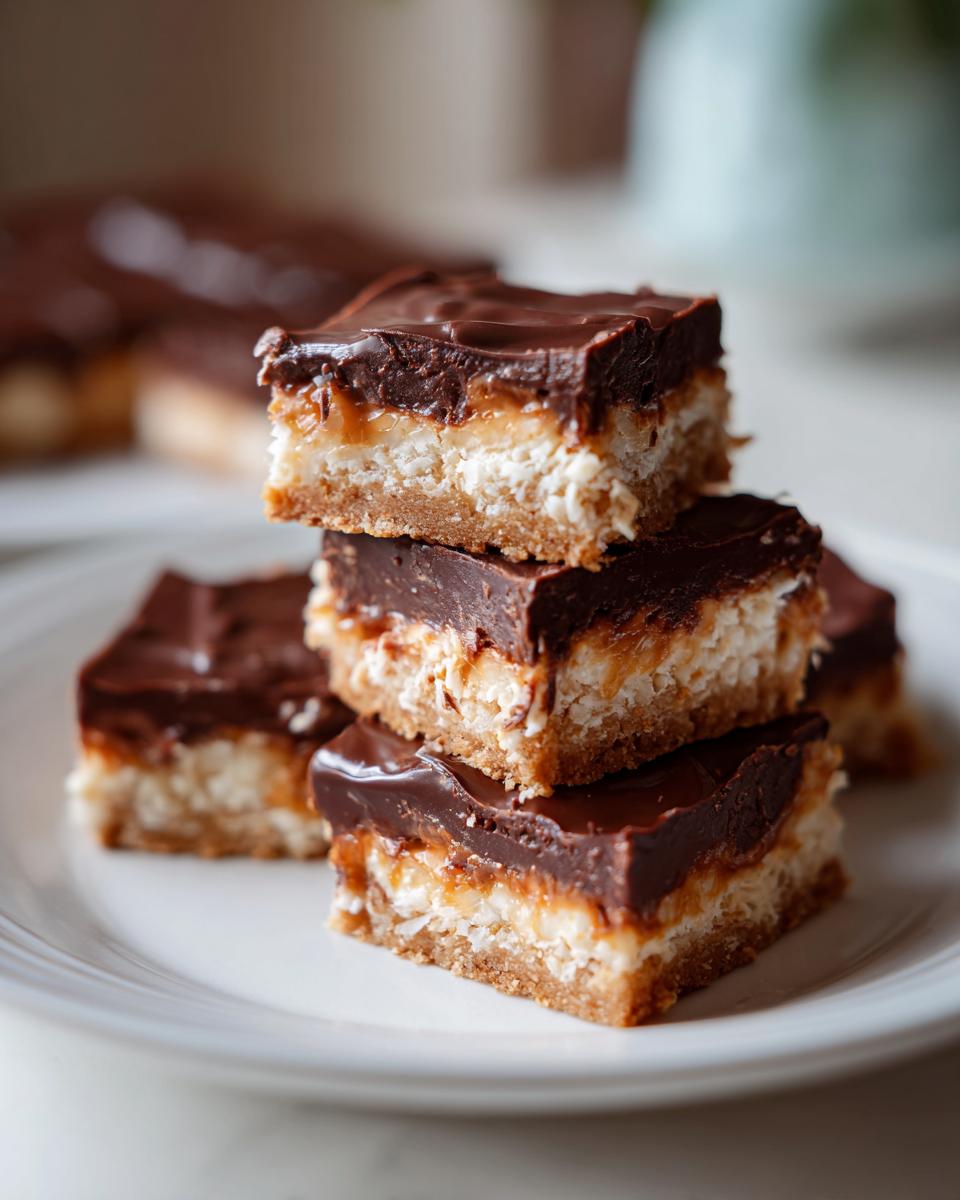
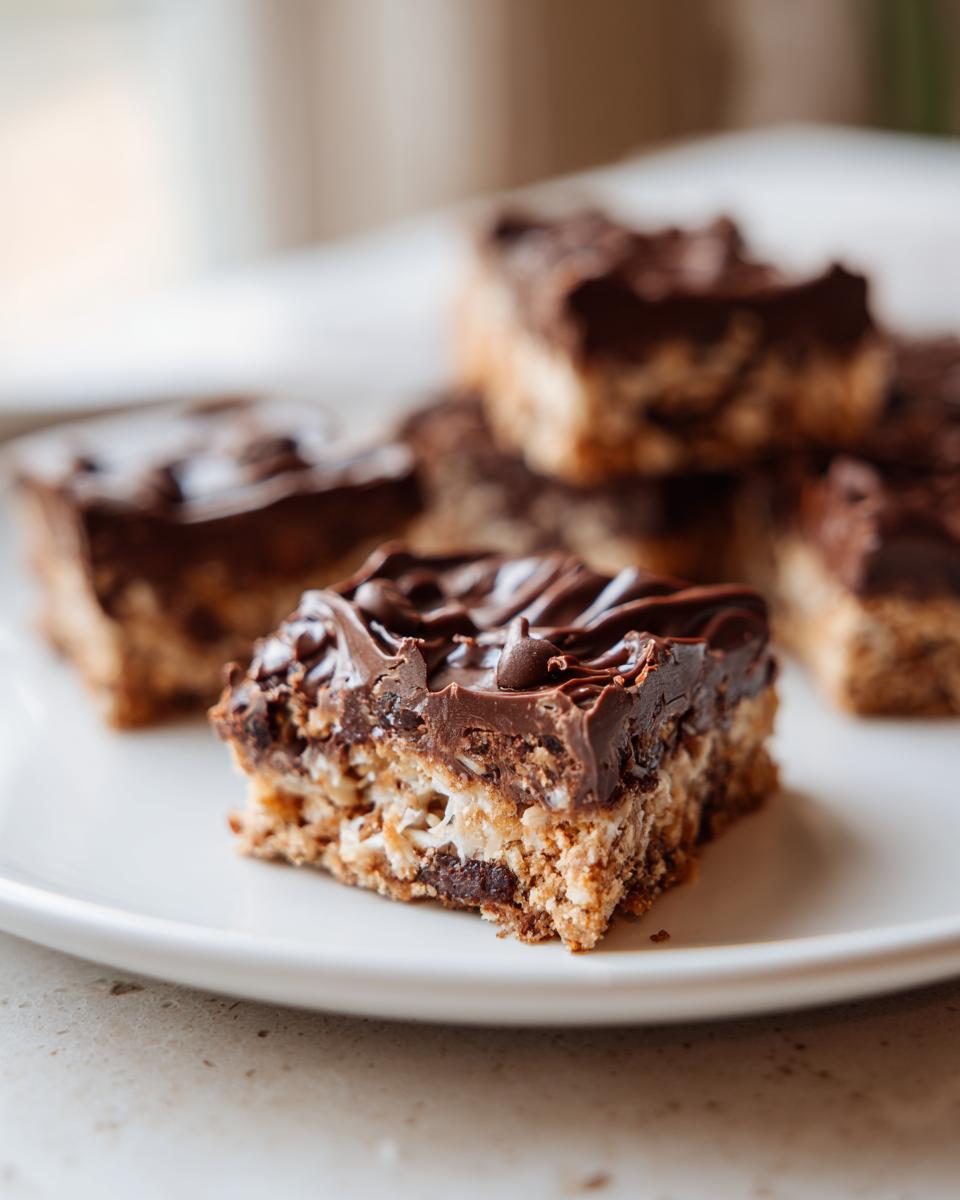
Oh my goodness, you have to try these chocolate coconut dessert bars! They’re my go-to when I need something sweet in a hurry—no oven required, just a few simple ingredients, and that dreamy combo of rich chocolate and chewy coconut. I first made them for a last-minute potluck, and let me tell you, they disappeared faster than I could say “seconds, please!” Now they’re my secret weapon for busy weeknights or unexpected guests. The best part? Even my kids can help layer the ingredients—it’s that easy. If you love quick desserts with big flavor, these bars will become your new obsession.
Why You’ll Love These Chocolate Coconut Dessert Bars
Let me count the ways these bars will steal your heart (and your sweet tooth)! First off, they’re no-bake—which means no sweating over a hot oven when you’re craving something sweet. Just mix, layer, and chill. The flavor? Oh honey, that rich chocolate and toasty coconut combo is downright addictive. Here’s why everyone keeps asking me to make these:
- Effortless prep: 15 minutes from start to fridge—perfect for last-minute cravings
- Pantry staples: Only 6 simple ingredients you probably already have
- Crowd-pleaser magic: Kids and adults alike go crazy for these bars
- No-fail recipe: Even first-time bakers can’t mess this up
- Make-ahead dream: They actually get better after chilling overnight
Trust me, once you try these, you’ll understand why I always keep the ingredients stocked!
Ingredients for Chocolate Coconut Dessert Bars
Okay, let’s talk ingredients – and I promise, nothing fancy here! These chocolate coconut bars come together with stuff you likely have in your pantry right now. I’ve separated everything into two simple groups because, let’s be honest, nobody wants to hunt through one giant list when they’re craving something sweet. Here’s what you’ll need:
For the Base
- 2 cups graham cracker crumbs – trust me, measure this! Too little and your base crumbles; too much and it’s dry as the Sahara
- 1/2 cup melted butter – I use salted because it balances the sweetness, but unsalted works too
- 1/4 cup granulated sugar – just enough to sweeten the crust without overpowering the chocolate and coconut
For the Filling
- 1 can (14 oz) sweetened condensed milk – this sticky-sweet magic holds everything together
- 2 cups shredded coconut – I prefer sweetened, but unsweetened works if you’re watching sugar
- 1 cup chocolate chips – semi-sweet is my go-to, but milk chocolate makes these extra indulgent
See? Told you it was simple! Now let’s get mixing – the hardest part is waiting for these babies to chill!
How to Make Chocolate Coconut Dessert Bars
Alright, let’s get to the fun part – making these irresistible bars! I promise it’s easier than remembering your phone number. The key is taking it step by step, and before you know it, you’ll have a pan of chocolate coconut heaven chilling in your fridge. Here’s exactly how I do it every time:
Step 1: Prepare the Base
First things first – grab that 8×8 inch pan and line it with parchment paper. Trust me, this little step saves so much hassle later! Now, toss your graham cracker crumbs, melted butter, and sugar into a bowl. Mix it until it looks like wet sand – you want every crumb coated in that buttery goodness. Pour it into your prepared pan and press it down firmly with your fingers or the back of a spoon. I mean really pack it in there – this gives you that perfect sturdy base that won’t crumble when you cut the bars later.
Step 2: Layer the Filling
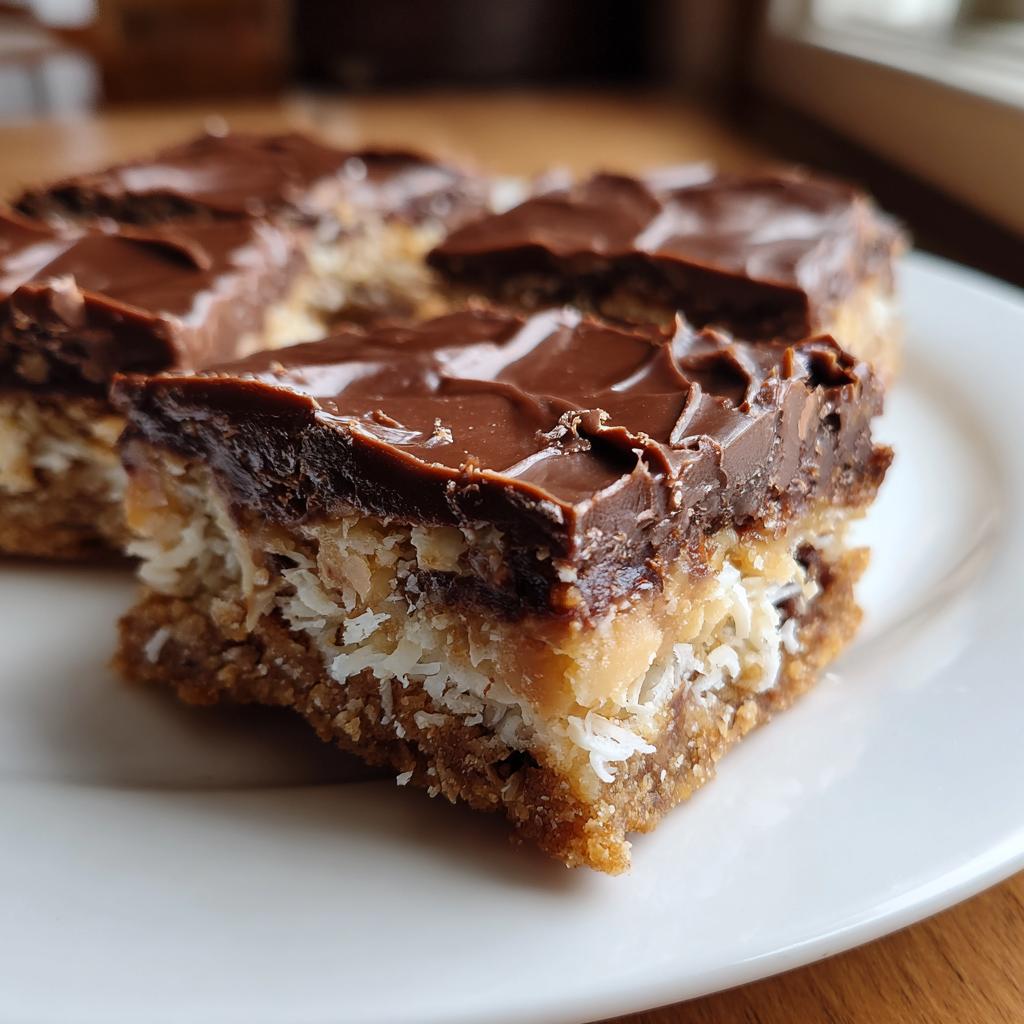
Now for the magic! Pour that entire can of sweetened condensed milk evenly over your crust. Don’t rush this part – take your time to spread it right to the edges. Next comes the coconut – sprinkle it generously over the milk layer. I like to gently press it down so it sticks. Finally, shower those chocolate chips across the top like you’re decorating the best cake ever. The heat from the condensed milk will slightly melt the chips, creating this gorgeous marbled effect as it chills.
Pop the whole pan in the fridge for at least 2 hours – I know, the waiting is torture! But this chill time is what transforms the layers into perfect, sliceable bars. Pro tip: if you can resist, let them sit overnight – the flavors meld together even better!
Tips for Perfect Chocolate Coconut Dessert Bars
Listen, I’ve made these bars more times than I can count, and I’ve learned a few tricks along the way that take them from good to “oh-my-gosh-give-me-the-recipe” amazing. First off, that parchment paper isn’t just a suggestion – it’s your best friend! Fold the edges overhang the pan slightly so you can lift the whole slab out cleanly. And don’t even think about cutting into these before they’ve chilled properly – two hours minimum, but overnight is golden.
Here’s my secret weapon: toast your coconut first! Just spread it on a baking sheet and pop it in a 350°F oven for 5-7 minutes until golden. That nutty aroma will have your neighbors knocking on the door. Another tip? Use room temperature condensed milk – it spreads like a dream. And if you’re feeling fancy, sprinkle a pinch of sea salt on top before chilling – it makes the chocolate sing!
Variations for Chocolate Coconut Dessert Bars
Oh, the fun part—making these bars your own! I love playing around with different versions depending on who’s coming over or what’s in my pantry. Swap out the graham crackers for gluten-free ones if needed—they work like a charm. Dark chocolate chips give these a sophisticated twist, while milk chocolate keeps them kid-friendly. And if you’re feeling extra? Toss in some chopped pecans or almonds for that perfect crunch. The possibilities are endless!
Storage and Serving Suggestions
Okay, let’s talk about keeping these chocolate coconut bars perfect – because let’s face it, they probably won’t last long! I always store mine in an airtight container in the fridge – they’ll stay fresh and delicious for up to 5 days (if you can resist them that long). The cold actually makes the chocolate layer extra satisfyingly firm. Now, serving ideas? Oh honey, these bars shine brightest with a steaming cup of iced coffee – the bitterness balances all that sweetness perfectly. Or go all out and serve them slightly warmed with a scoop of vanilla ice cream melting over the top. Pure heaven!
Nutritional Information
Now, let’s talk numbers – but remember, these are just estimates since ingredients can vary! Each decadent chocolate coconut bar comes out to about 280 calories (hey, it’s dessert – live a little!). You’re looking at 15g of fat (that rich butter and coconut combo), 35g carbs, and 25g of sugar per serving. But here’s the good news – you also get 2g of fiber and 3g of protein from those wholesome coconut flakes. Not bad for such an indulgent treat, right? Just slice them small if you’re watching portions – though good luck stopping at just one!
Frequently Asked Questions
Can I freeze these chocolate coconut dessert bars?
Absolutely! These bars freeze like a dream. Just wrap them tightly in plastic wrap or pop them in an airtight container with parchment between layers. They’ll keep for up to 3 months in the freezer. When you’re ready to enjoy, let them thaw in the fridge overnight – the texture stays perfect!
How do I make these bars gluten-free?
Easy peasy! Just swap the graham crackers for gluten-free ones – they make crumbs just as well. I’ve used gluten-free digestive biscuits too, and they work great. The rest of the ingredients are naturally gluten-free, so you’re good to go!
Can I use unsweetened coconut instead?
You sure can, but fair warning – they’ll be less sweet. I like using half sweetened and half unsweetened coconut for balance. If you go all unsweetened, you might want to sprinkle a little extra sugar in the filling layer.
Why is my condensed milk layer not setting properly?
Oh honey, I’ve been there! Usually it means they didn’t chill long enough – give them at least 2 full hours. If it’s still sticky, your fridge might be too warm. Try popping them in the freezer for 30 minutes before cutting. And always use full-fat condensed milk – the low-fat versions don’t set as well.
Can I add nuts to these bars?
Please do! Chopped pecans or almonds are my favorites. Just sprinkle them on with the coconut layer. Toasting them first adds amazing flavor. My aunt adds walnuts and calls them “tropical turtle bars” – so good!
Chocolate Coconut Dessert Bars
Ingredients
Equipment
Method
- Line an 8×8 inch baking pan with parchment paper.
- Mix graham cracker crumbs, melted butter, and sugar in a bowl.
- Press the mixture firmly into the pan to form the base.
- Pour sweetened condensed milk evenly over the base.
- Sprinkle shredded coconut and chocolate chips on top.
- Refrigerate for at least 2 hours before cutting into bars.
Nutrition
Notes
Tried this recipe?
Let us know how it was!For more amazing recipes, be sure to check out our other sections to explore a variety of ideas that will enrich your cooking experience. Each section offers its own unique flavors to ensure a delightful culinary journey:
Easy and Quick Recipes: A collection of dishes that guarantee delicious meals with minimal effort and time.
Healthy Recipes: Discover healthy and delicious options that fit your lifestyle.
Desserts: A diverse selection of sweets that will add a special touch of sweetness to your table.
Lunch Recipes: Tasty lunch ideas that you can easily prepare to delight your family.
Dinner Recipes: Delicious and easy-to-make recipes that will make your dinner a memorable occasion.