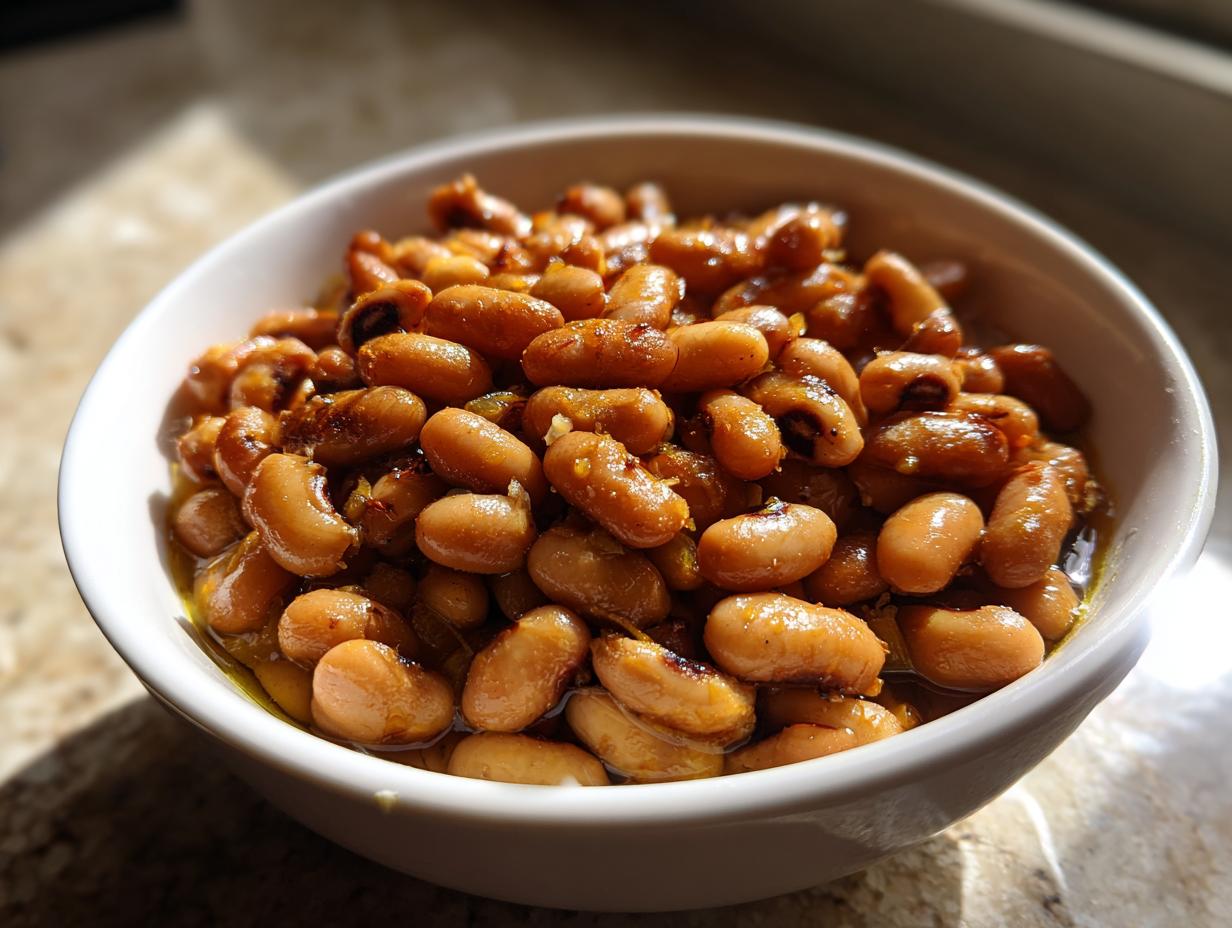
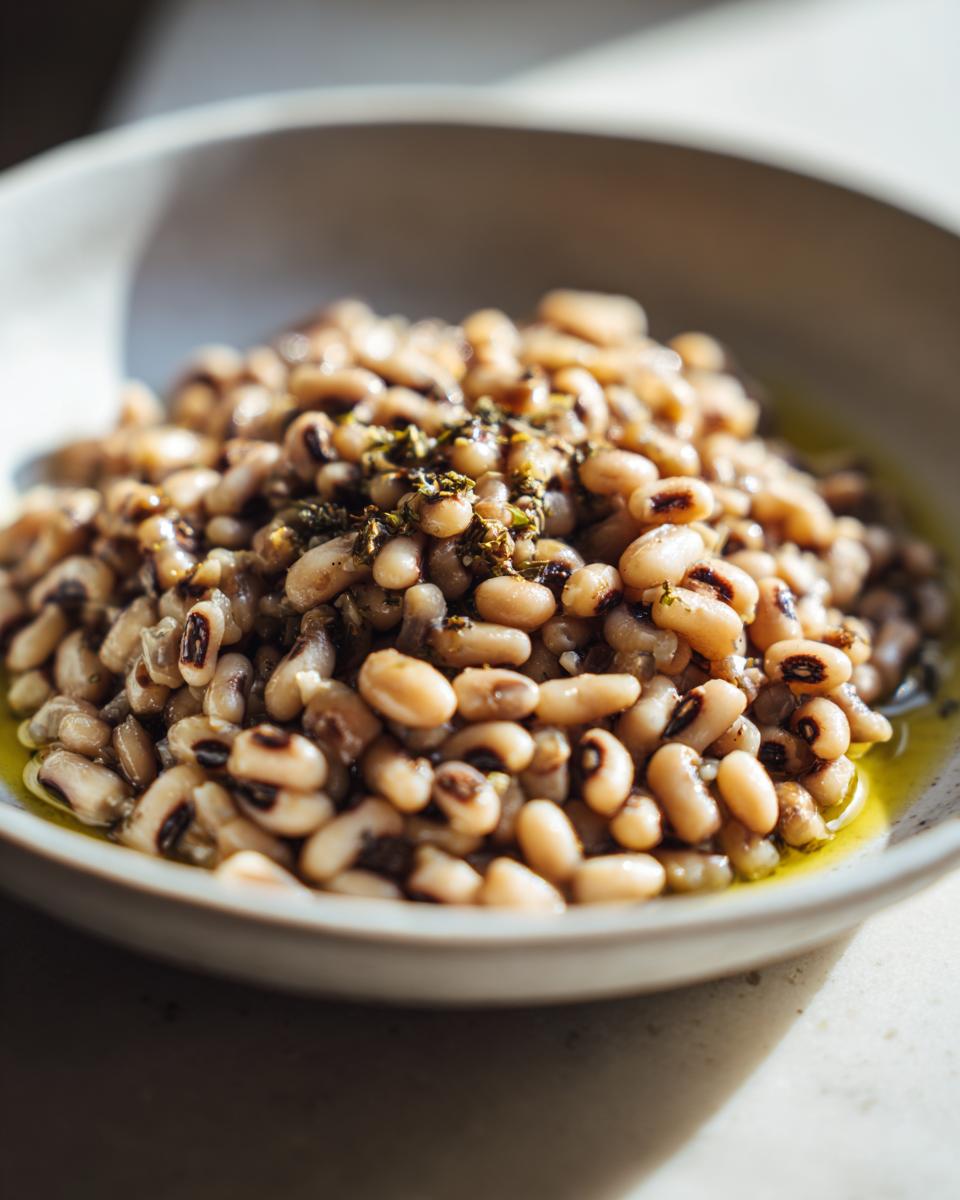
You know those humble little legumes that somehow always end up being the star of the show? That’s black eyed peas for you! I first fell in love with them at my aunt’s New Year’s Day gathering – she swore they brought good luck, but I just thought they tasted amazing. These little protein-packed powerhouses are my go-to when I need something nutritious that comes together with minimal fuss. Whether I’m serving them as a simple side or making them the main event with some crusty bread, black eyed peas never disappoint. The best part? They’re like a blank canvas – you can dress them up fancy or keep them rustic and comforting. My version keeps things simple but delicious, letting the natural creaminess of the peas shine through.
Why You’ll Love This Black Eyed Peas Recipe
Let me tell you why this recipe never leaves my regular rotation:
- Quick & easy: From soaking to serving, you’re looking at about 40 minutes of mostly hands-off time – perfect for busy weeknights!
- Nutrient powerhouse: Packed with protein and fiber, these little guys keep you full without weighing you down.
- Budget-friendly magic: A bag of dried peas costs pennies but feeds a crowd – my kind of kitchen math.
- Endlessly adaptable: Dress them up fancy or keep them simple – they’re delicious either way.
Trust me, once you try this version, you’ll understand why I make it at least twice a month!
Ingredients for Black Eyed Peas
One of my favorite things about this recipe? You probably have most of these ingredients already! Here’s what you’ll need to make the simplest, most delicious black eyed peas:
- 2 cups dried black-eyed peas (soaked overnight – trust me, this step makes all the difference!)
- 4 cups water (I sometimes use vegetable broth for extra flavor when I’m feeling fancy)
- 1 tsp salt (add more to taste at the end – I always do!)
- 1 tbsp olive oil (this little bit of fat makes them so creamy)
That’s it – just four simple ingredients for a dish that’s packed with flavor! Sometimes I’ll throw in a bay leaf or some garlic if I’m making these for dinner, but honestly, they’re perfect just like this.
How to Cook Black Eyed Peas
Alright, let’s get cooking! I’ve made this recipe so many times I could probably do it in my sleep, but I’ll walk you through each step so yours turn out perfectly creamy every time. Don’t worry – it’s practically foolproof!
Step 1: Prepare the Black Eyed Peas
First things first – drain those soaked peas! I give them a good rinse under cold water in my colander, shaking off any excess water. You’ll notice they’ve plumped up nicely overnight – that’s exactly what we want!
Step 2: Cook the Black Eyed Peas
Now grab your biggest pot (trust me, they bubble up!) and bring that water to a rolling boil. Carefully add your peas – listen for that satisfying plop! Reduce the heat immediately to a gentle simmer. Here’s my secret: set a timer for 30 minutes and resist the urge to stir too much. Just give them an occasional loving nudge with your wooden spoon to prevent sticking.
Step 3: Season and Serve
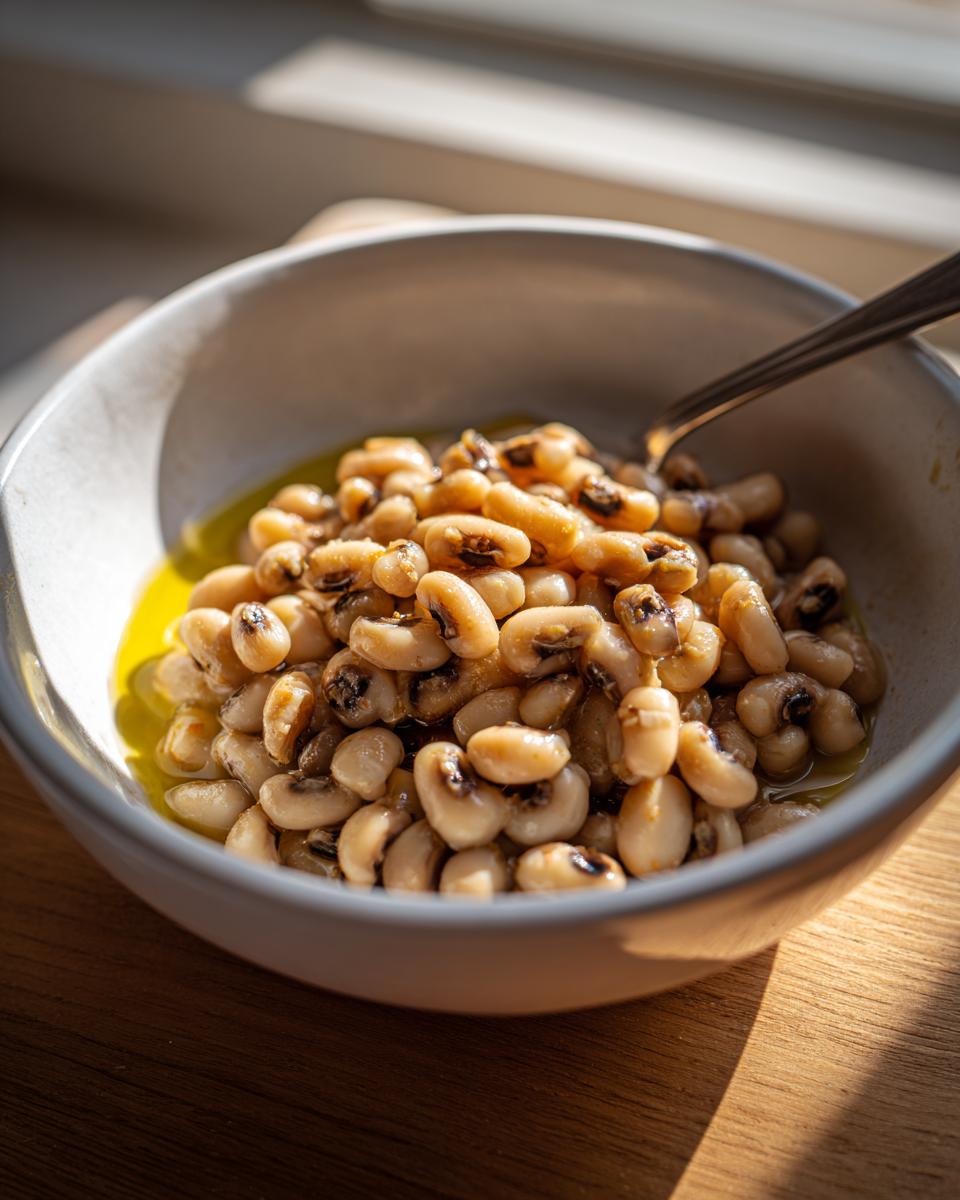
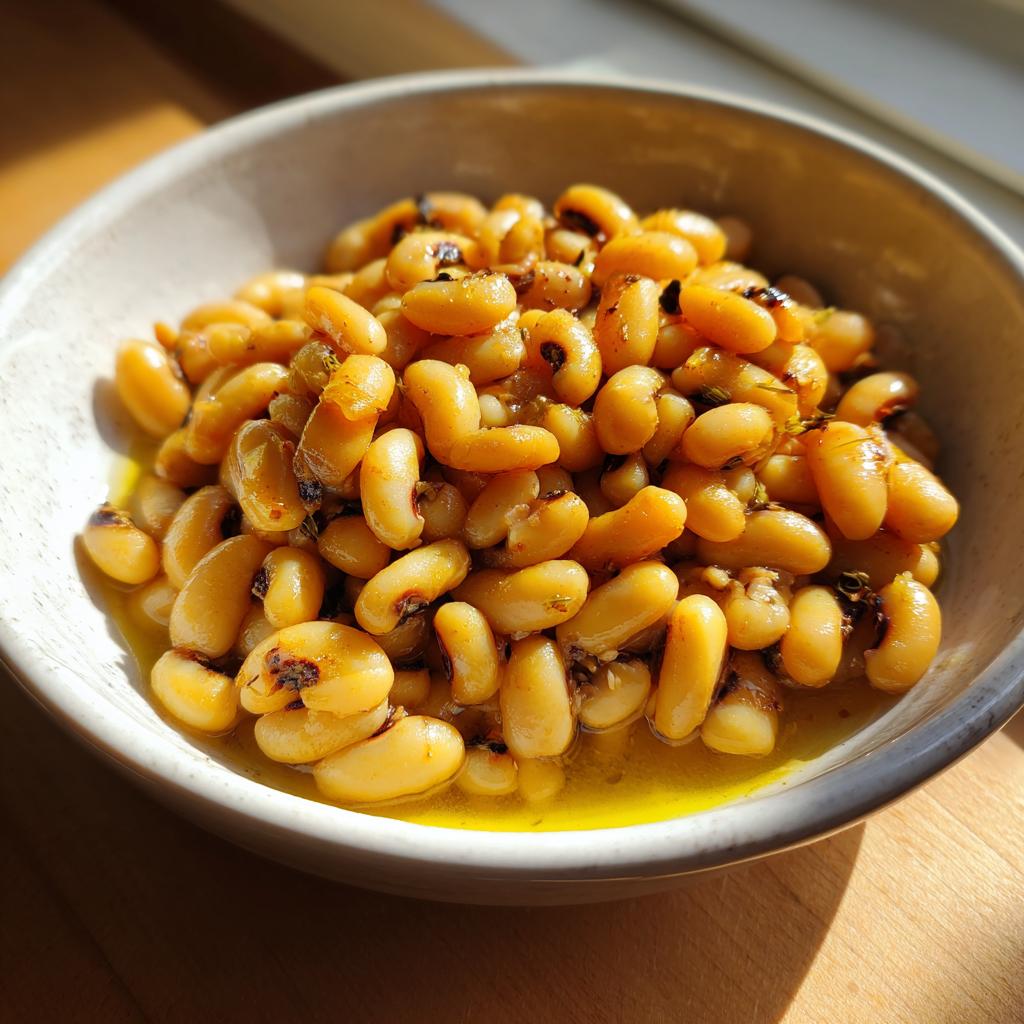
When your timer dings, drain any leftover water (I leave just a tiny bit for creaminess), then stir in that glorious olive oil and salt. Taste and add more salt if needed – I always do! Serve them piping hot in bowls with crusty bread for dipping, or spoon them over rice for a heartier meal. Oh, and don’t be surprised if people ask for seconds!
Tips for Perfect Black Eyed Peas
After making these more times than I can count, I’ve picked up some tricks that’ll take your black eyed peas from good to “oh my goodness, what’s your secret?” good:
- Don’t skip the soak! Overnight soaking makes them cook evenly and become beautifully creamy. If you’re in a pinch, do a quick soak: boil for 2 minutes, then let sit covered for an hour.
- Low and slow wins the race. Keep that simmer gentle – boiling too hard can make the peas burst and turn mushy.
- Season at the end. Adding salt too early can toughen the peas. I wait until they’re perfectly tender before seasoning.
- Trust the process. They might look a bit watery at first, but that liquid gets absorbed as they cool slightly. Patience, my friend!
Follow these simple tips, and you’ll have black eyed peas that’ll make you look like a kitchen rockstar every time!
Serving Suggestions for Black Eyed Peas
Oh, the possibilities! These creamy black eyed peas are like the best supporting actor – they make everything around them shine. My absolute favorite way? Piled high on a plate of steaming white rice with a drizzle of hot sauce – simple soul food perfection! When I’m feeling fancy, I’ll serve them alongside a crisp green salad with lemon vinaigrette. And let’s not forget the classic combo: warm cornbread for dipping into that creamy goodness. Honestly, they’re so versatile you could even toss them with pasta or stuff them into tacos. The sky’s the limit with these little flavor bombs!
Storage and Reheating Instructions
Here’s the good news – these black eyed peas taste even better the next day! I always make extra because they store like a dream. Just pop them in an airtight container (I’m partial to my glass ones) and they’ll keep happily in the fridge for 3-4 days. When you’re ready for round two, reheat them gently on the stove with a splash of water or broth to bring back that creamy texture. Microwave works too – just cover and stir every 30 seconds until they’re piping hot again. Pro tip: if they thicken up too much in the fridge, a little warm water stirred in brings them right back to perfection!
Nutritional Information for Black Eyed Peas
Let me tell you why I feel so good about serving these black eyed peas – they’re basically little nutrition powerhouses in disguise! One serving (about 1 cup) gives you:
- 160 calories – perfect for a satisfying but not-too-heavy dish
- 28g carbs – the good kind that gives you steady energy
- 10g protein – who knew these little guys packed such a punch?
- 6g fiber – keeps everything moving smoothly, if you know what I mean
They’re also loaded with iron, potassium, and folate – all the good stuff your body loves. Now, I’m no nutritionist, so keep in mind these numbers might vary a bit depending on exactly how you make them. But one thing’s for sure – when you eat these black eyed peas, you’re treating your body right!
Frequently Asked Questions
Can I use canned black eyed peas instead of dried?
Absolutely! While I prefer the texture of dried peas (they’re creamier, in my opinion), canned work in a pinch. Just drain and rinse them well, then heat through with a bit of water or broth. You’ll skip the soaking and reduce cooking time to about 10 minutes. But fair warning – once you try the dried version, you might never go back to canned!
How long do cooked black eyed peas last in the fridge?
In my experience, they keep beautifully for 3-4 days when stored in an airtight container. I actually think they taste better on day two! If you see any liquid separating, just give them a good stir. And that little bit of olive oil in the recipe? It helps keep them from drying out in the fridge.
Do I really need to soak the peas overnight?
I know it’s tempting to skip this step, but trust me – soaking makes all the difference! It reduces cooking time and helps them cook evenly. If you forget (we’ve all been there), do a quick soak: cover with boiling water, let sit for an hour, then drain. Not quite as good as overnight, but way better than cooking them dry!
Can I freeze cooked black eyed peas?
You bet! These freeze like a dream. I portion them into freezer bags (squeeze out excess air) or containers, and they keep for up to 3 months. Thaw overnight in the fridge, then reheat gently with a splash of water. They might be slightly softer after freezing, but still delicious. I always keep a batch in my freezer for last-minute meals!
What’s the best way to add more flavor?
Oh, let me count the ways! My basic recipe is delicious as-is, but when I want to jazz it up, I’ll sauté some onions and garlic in the olive oil before adding the peas. A bay leaf during cooking adds depth, and a splash of vinegar at the end brightens everything up. For smoky flavor, try a pinch of smoked paprika. The possibilities are endless – have fun experimenting!
Black Eyed Peas
Ingredients
Equipment
Method
- Rinse the soaked black-eyed peas and drain them.
- In a large pot, bring water to a boil. Add the black-eyed peas and reduce heat to a simmer.
- Cook for 30 minutes or until the peas are tender. Stir occasionally.
- Drain any excess water, then stir in salt and olive oil.
Nutrition
Notes
Tried this recipe?
Let us know how it was!For more amazing recipes, be sure to check out our other sections to explore a variety of ideas that will enrich your cooking experience. Each section offers its own unique flavors to ensure a delightful culinary journey:
Easy and Quick Recipes: A collection of dishes that guarantee delicious meals with minimal effort and time.
Healthy Recipes: Discover healthy and delicious options that fit your lifestyle.
Desserts: A diverse selection of sweets that will add a special touch of sweetness to your table.
Lunch Recipes: Tasty lunch ideas that you can easily prepare to delight your family.
Dinner Recipes: Delicious and easy-to-make recipes that will make your dinner a memorable occasion.