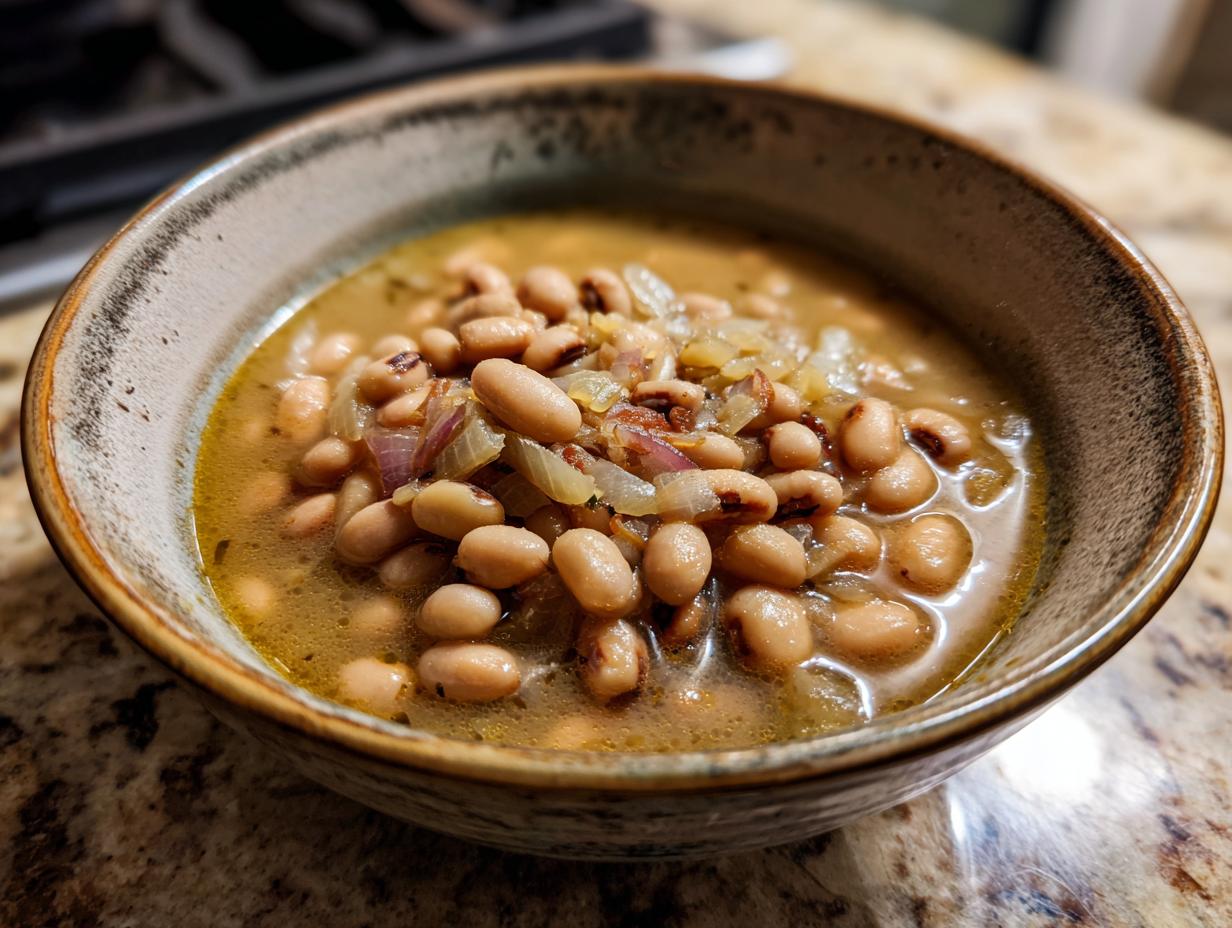
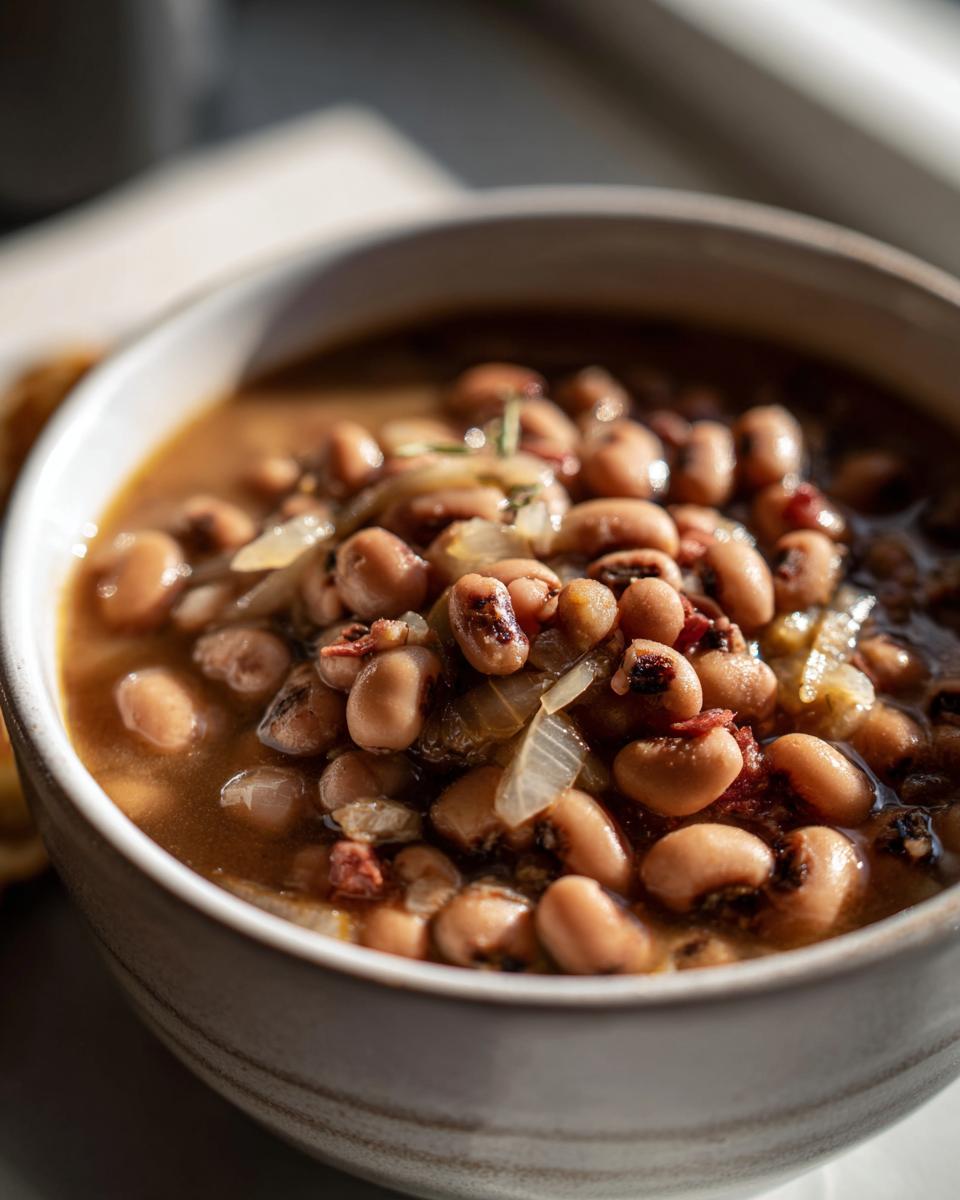
There’s something magical about a pot of black eyed peas simmering on the stove – that earthy aroma filling the kitchen, the promise of a hearty, comforting meal. This simple black eyed peas recipe has been my go-to for years, ever since my Aunt May taught me the secret to making them just right. She’d always say, “Good luck comes to those who cook their peas slow,” and boy was she right!
Rooted in Southern tradition, black eyed peas are more than just food – they’re a celebration of simple ingredients coming together to create something extraordinary. I can’t count how many New Year’s Days I’ve started with this very dish, hoping for prosperity (and honestly, just craving that delicious flavor). Whether you’re from the South or just love good home cooking, this black eyed peas recipe will quickly become a staple in your dinner rotation.
What I love most is how forgiving this recipe is. Even on my most chaotic cooking days (and trust me, there are plenty), these humble peas always turn out perfectly. The onions and garlic mellow into something sweet, the peas become creamy yet hold their shape, and that broth? Absolute perfection. It’s the kind of dish that tastes even better the next day – if you can manage to have leftovers!
Why You’ll Love This Black Eyed Peas Recipe
Let me tell you why this black eyed peas recipe has been my kitchen MVP for years – and why you’ll adore it too:
- One-pot wonder: Minimal cleanup means more time enjoying your meal (and less time scrubbing pans!)
- Budget-friendly magic: Dried peas stretch your grocery dollars while tasting like a million bucks
- Flavor bomb: That simple onion-garlic combo transforms into something magical during the long simmer
- Meal prep hero: Tastes even better the next day – I always make extra for lunches
- Comfort in a bowl: There’s something so satisfying about that creamy texture and rich broth
Honestly, I’ve served this to everyone from picky kids to fancy foodie friends, and it never fails to impress. The simplicity is its superpower!
Ingredients for Black Eyed Peas Recipe
Gathering these simple ingredients is the first step to making the most comforting pot of black eyed peas you’ll ever taste. Here’s what you’ll need – I promise it’s all stuff you probably already have in your pantry!
- 1 lb dried black eyed peas – rinsed and soaked overnight (trust me, this makes all the difference in texture)
- 4 cups water – just enough to cover those beautiful peas
- 1 onion – diced (I like yellow for sweetness, but any will do)
- 2 cloves garlic – minced (or more if you’re like me and believe you can never have too much garlic)
- 1 tsp salt – start here, then adjust to taste at the end
- ½ tsp black pepper – freshly ground if you’ve got it
- 1 tbsp olive oil – for sautéing those gorgeous aromatics
See? Nothing fancy, just honest ingredients that come together to create something truly special. I always say the magic is in the simplicity – each of these plays an important role in building that deep, comforting flavor we’re after.
How to Make Black Eyed Peas Recipe
Alright, let’s get cooking! This black eyed peas recipe couldn’t be simpler, but I’ve got some little tricks that’ll take yours from good to “can I get your recipe?” amazing. Don’t worry – I’ll walk you through each step like we’re standing side by side in my kitchen. Just grab your favorite wooden spoon and let’s make some magic!
Step 1: Sauté the Aromatics
First things first – that olive oil goes into your pot over medium heat. Give it about 30 seconds to get warm (you’ll know it’s ready when it shimmers slightly). Now toss in those diced onions and minced garlic. Oh, that smell! This is where the flavor foundation happens, so don’t rush it. Stir occasionally until the onions turn translucent and the garlic becomes fragrant – about 3-5 minutes. Pro tip: if the garlic starts browning too fast, just lower your heat a smidge.
Step 2: Cook the Black Eyed Peas
Time for the stars of the show! Drain your soaked peas and add them to the pot along with the water, salt, and pepper. Bring everything to a lively boil (you’ll see bubbles dancing across the surface), then immediately reduce to a gentle simmer. Cover with the lid slightly ajar and let those peas work their magic for about 60 minutes. Check occasionally – they’re done when tender but not mushy, like perfectly cooked pasta. If you’re feeling adventurous, this would be a great time to stir in some spices from my spiced lentil soup for extra depth!
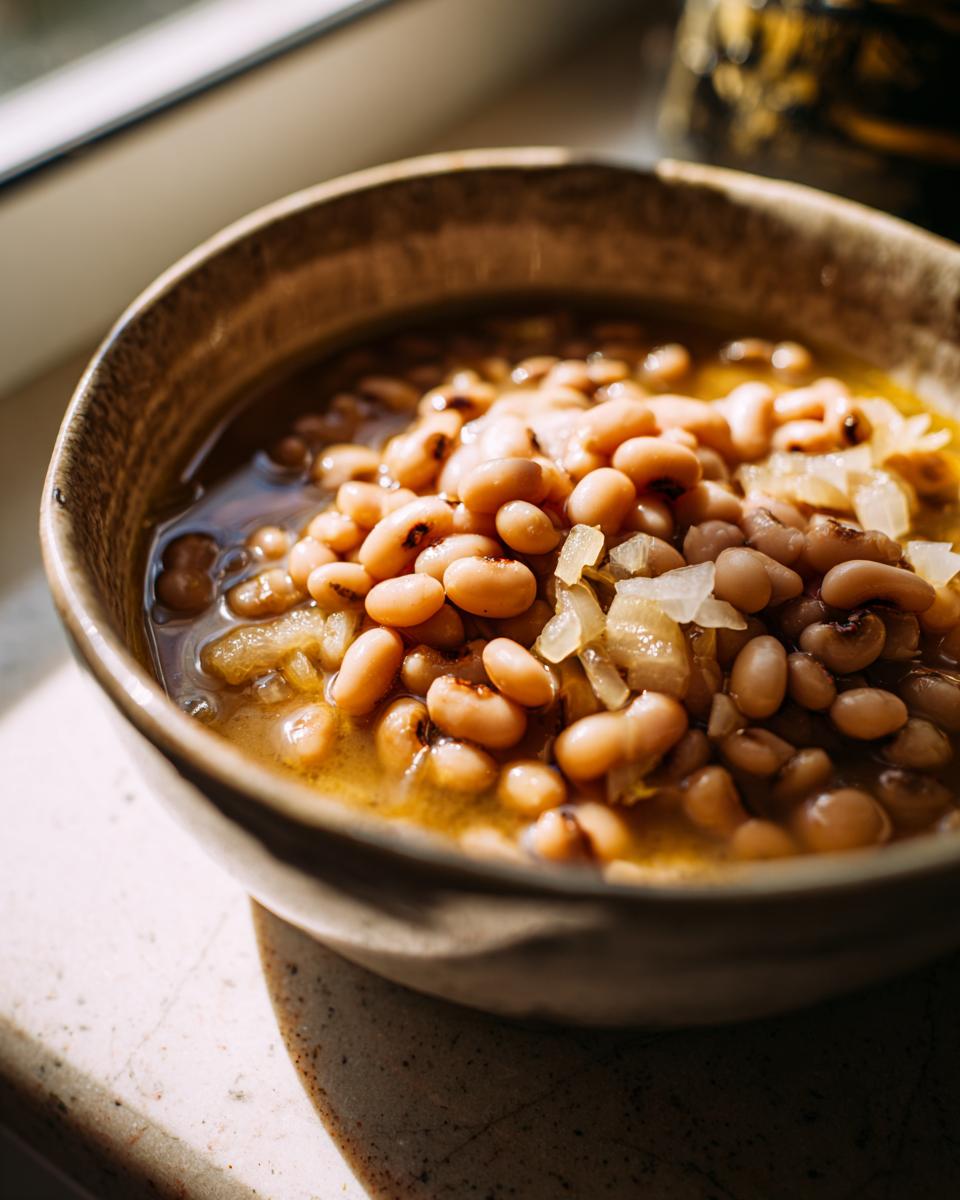
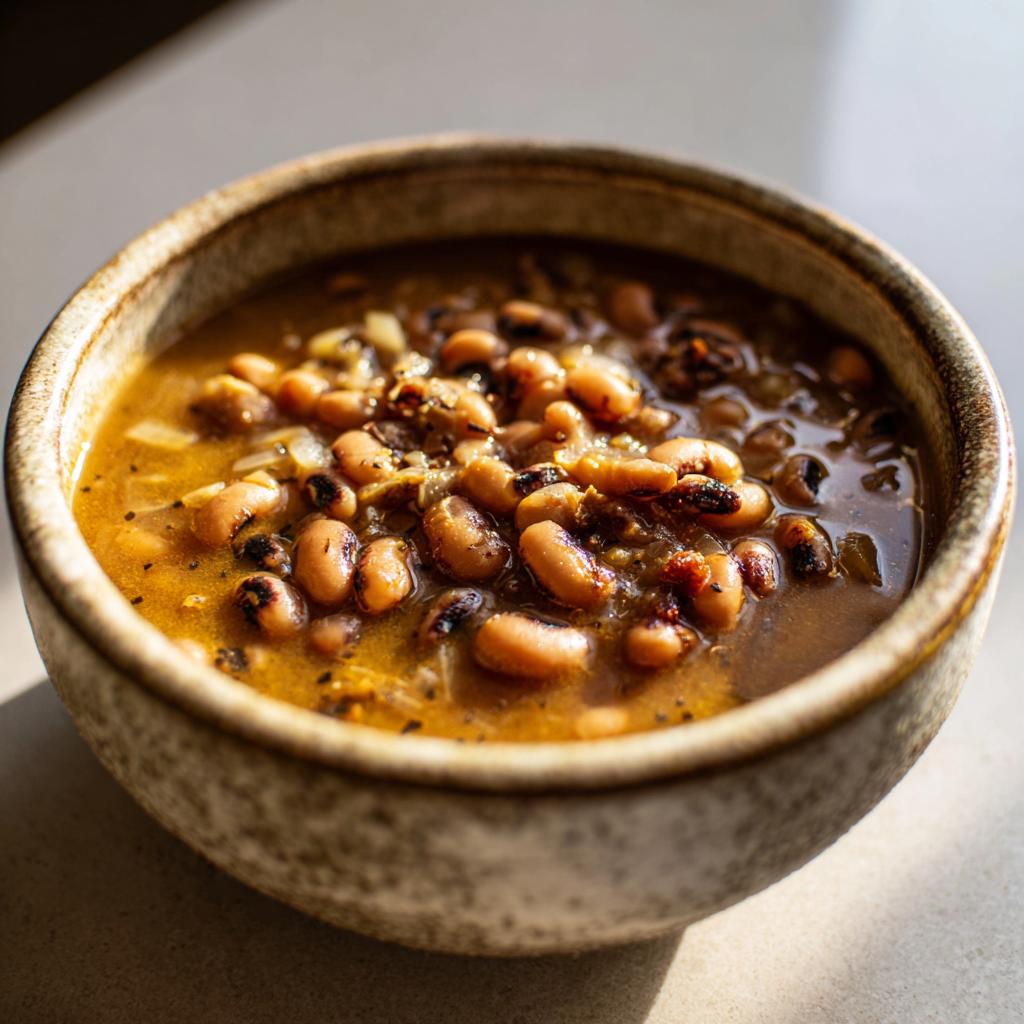
Here’s my favorite part – that first taste test after simmering. The broth will have thickened slightly, and the peas will be creamy yet hold their shape beautifully. If it needs more salt, now’s the time to adjust. Just remember – you can always add more, but you can’t take it out!
Tips for the Best Black Eyed Peas Recipe
After making this black eyed peas recipe more times than I can count, I’ve picked up some tricks that’ll take yours from good to “lick-the-bowl-clean” amazing. First, never skip soaking those peas overnight – it makes them cook evenly and gives that perfect creamy texture. And here’s my secret weapon: a splash of apple cider vinegar at the end. It brightens all the flavors without making it taste vinegary at all!
Seasoning is key – start with less salt than you think you need, then adjust after simmering. The flavors concentrate as it cooks. Leftovers? They’re actually better the next day! Just store them in the fridge with a little extra liquid so they don’t dry out when reheating. And if you want to get fancy, a bay leaf or smoked paprika while cooking adds incredible depth. Trust me, once you try these tips, you’ll never make black eyed peas any other way!
Serving Suggestions for Black Eyed Peas
Oh, the possibilities! My favorite way to serve black eyed peas is piled high over a mound of steaming white rice – the creamy peas and that rich broth soaking into every grain is pure comfort. A side of crispy cornbread is non-negotiable in my house (perfect for sopping up every last drop!). For a fresh contrast, try it with some sautéed greens or a bright Greek orzo salad. And if you’re feeling fancy, top it with pickled onions or hot sauce for an extra kick. Trust me, this humble dish can anchor anything from a casual weeknight dinner to your fanciest Southern-inspired feast!
Storage and Reheating Instructions
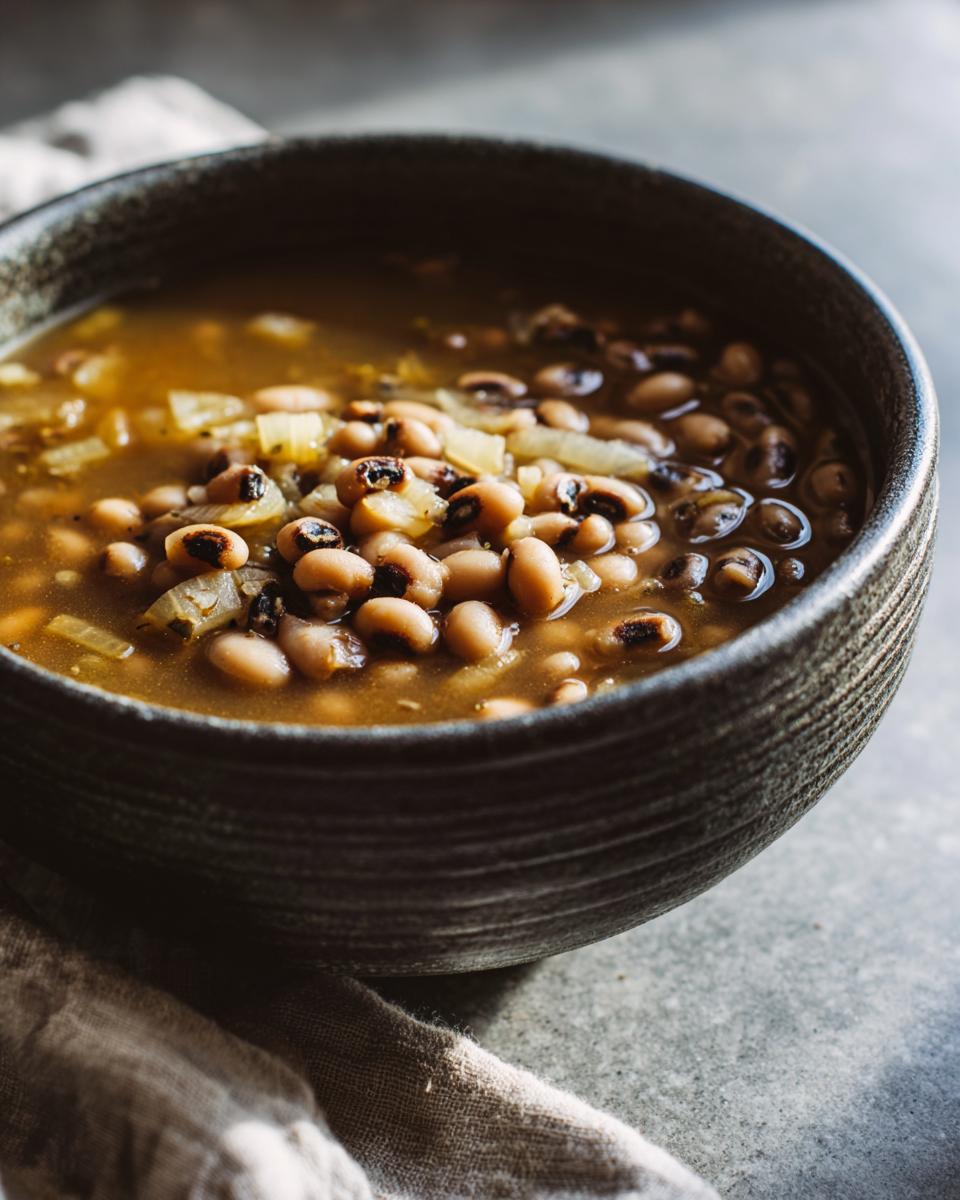
Here’s the beautiful thing about this black eyed peas recipe – it gets even better as leftovers! Let the peas cool completely, then store them in an airtight container in the fridge for up to 5 days. The broth thickens wonderfully, creating an almost stew-like consistency that’s downright heavenly. For longer storage, freeze portions in freezer bags (lay them flat to save space) for up to 3 months. When reheating, just add a splash of water or broth to loosen things up, then warm gently on the stove or in the microwave. Stir occasionally to bring back that creamy texture. Trust me, you’ll be fighting over who gets the last serving!
Nutritional Information
Just a quick note – these nutritional estimates are based on standard ingredients, but your exact values might vary depending on brands and exact measurements. That said, here’s what one serving of this delicious black eyed peas recipe packs:
- Calories: 200
- Protein: 13g (perfect for plant-based meals!)
- Fiber: 8g (hello, happy digestion)
- Iron: 15% of your daily needs
Not bad for such a simple, comforting dish, right? It’s hearty enough to fill you up but light enough that you won’t feel weighed down. Just another reason to love this recipe!
Frequently Asked Questions
Can I use canned black eyed peas instead of dried?
Absolutely! While I love the texture of soaked dried peas, canned work in a pinch. Just drain and rinse them well, then reduce the cooking time to about 20 minutes – basically just long enough to heat through and let the flavors meld. You’ll need about 3 cans (15 oz each) to equal 1 lb dried. The broth won’t be quite as rich, but it’ll still be delicious!
How do I know when the black eyed peas are done cooking?
Perfectly cooked peas should be tender but still hold their shape – think al dente pasta. I test by pressing one between my fingers; it should mash easily but not turn to mush. If they’re still firm after 60 minutes, just keep simmering and check every 10 minutes. Different peas and altitudes can affect cooking time!
What can I add to make this recipe more flavorful?
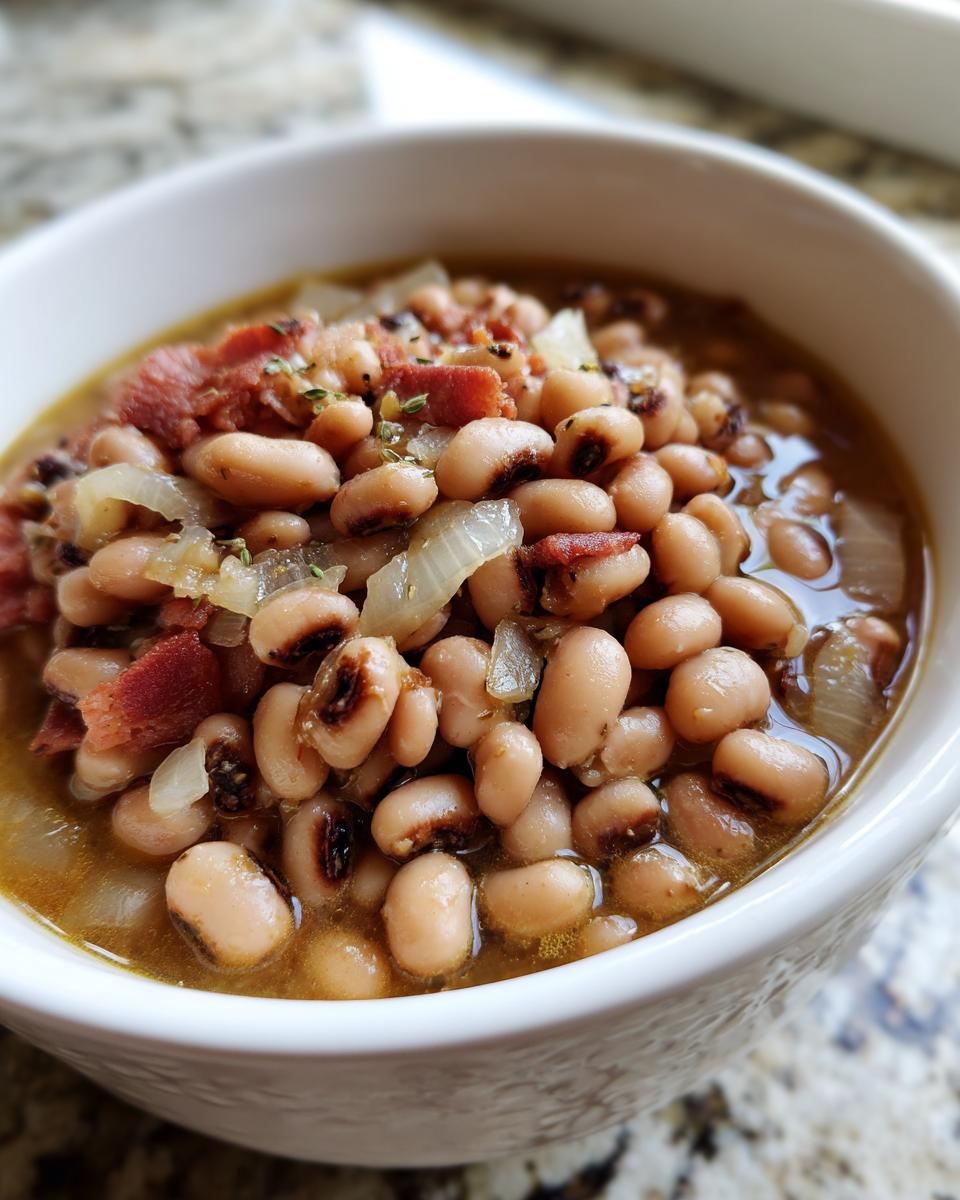
Oh, I love playing with this! A ham hock or smoked turkey wing simmered with the peas adds incredible depth. For vegetarian options, try a dash of liquid smoke or smoked paprika. My secret? A splash of vinegar at the end brightens everything up. And don’t be shy with the black pepper – it makes the flavors pop!
Can I make this in a slow cooker?
You bet! Sauté the onions and garlic first (trust me, it’s worth the extra step), then dump everything in your slow cooker. Cook on low for 6-8 hours or high for 3-4. The peas will be melt-in-your-mouth tender! Just add a bit more water since slow cookers don’t evaporate liquid as quickly.
Ingredients
Equipment
Method
- Heat olive oil in a large pot over medium heat.
- Add diced onion and minced garlic. Cook until softened.
- Add soaked black eyed peas, water, salt, and black pepper.
- Bring to a boil, then reduce heat and simmer for 60 minutes or until peas are tender.
Nutrition
Notes
Tried this recipe?
Let us know how it was!For more amazing recipes, be sure to check out our other sections to explore a variety of ideas that will enrich your cooking experience. Each section offers its own unique flavors to ensure a delightful culinary journey:
Easy and Quick Recipes: A collection of dishes that guarantee delicious meals with minimal effort and time.
Healthy Recipes: Discover healthy and delicious options that fit your lifestyle.
Desserts: A diverse selection of sweets that will add a special touch of sweetness to your table.
Lunch Recipes: Tasty lunch ideas that you can easily prepare to delight your family.
Dinner Recipes: Delicious and easy-to-make recipes that will make your dinner a memorable occasion.