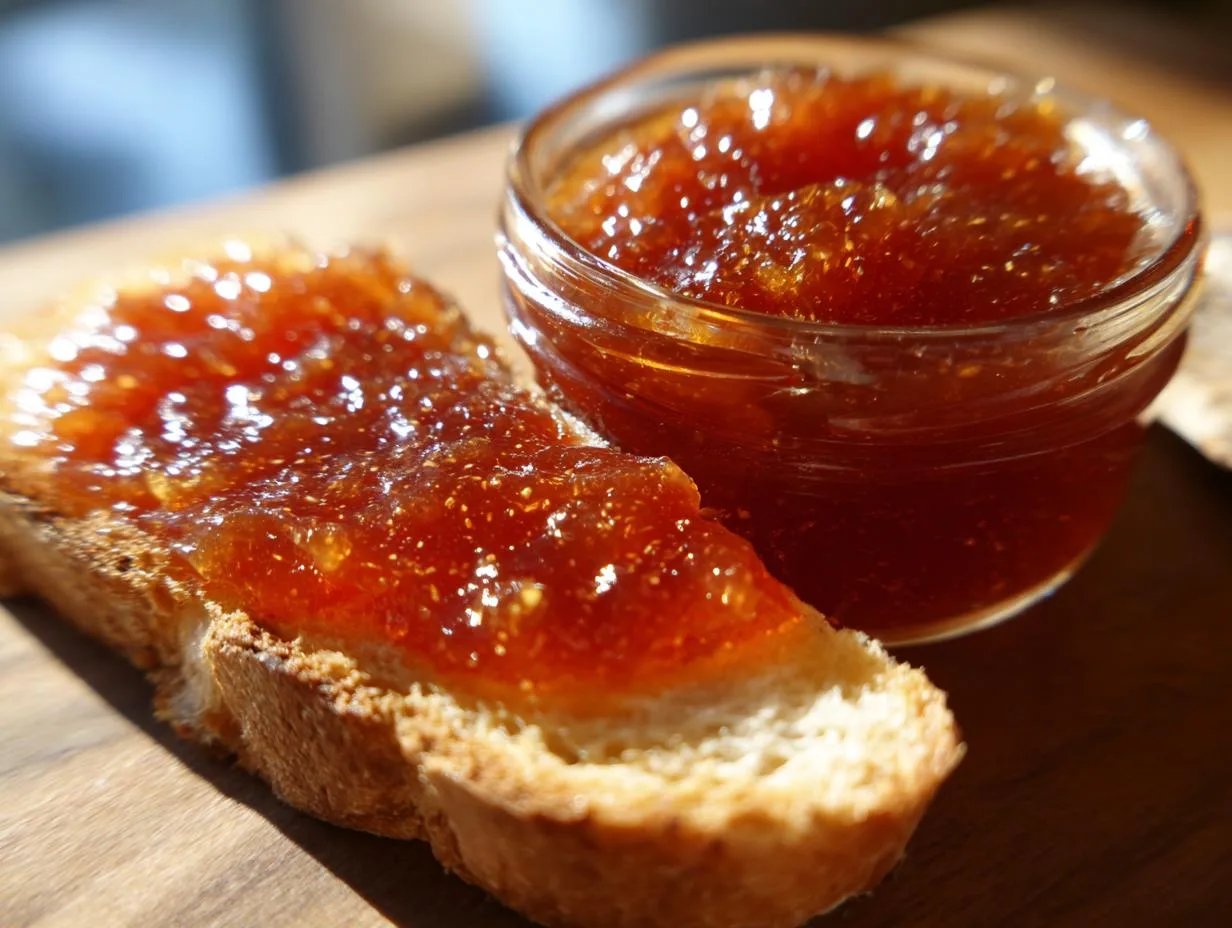
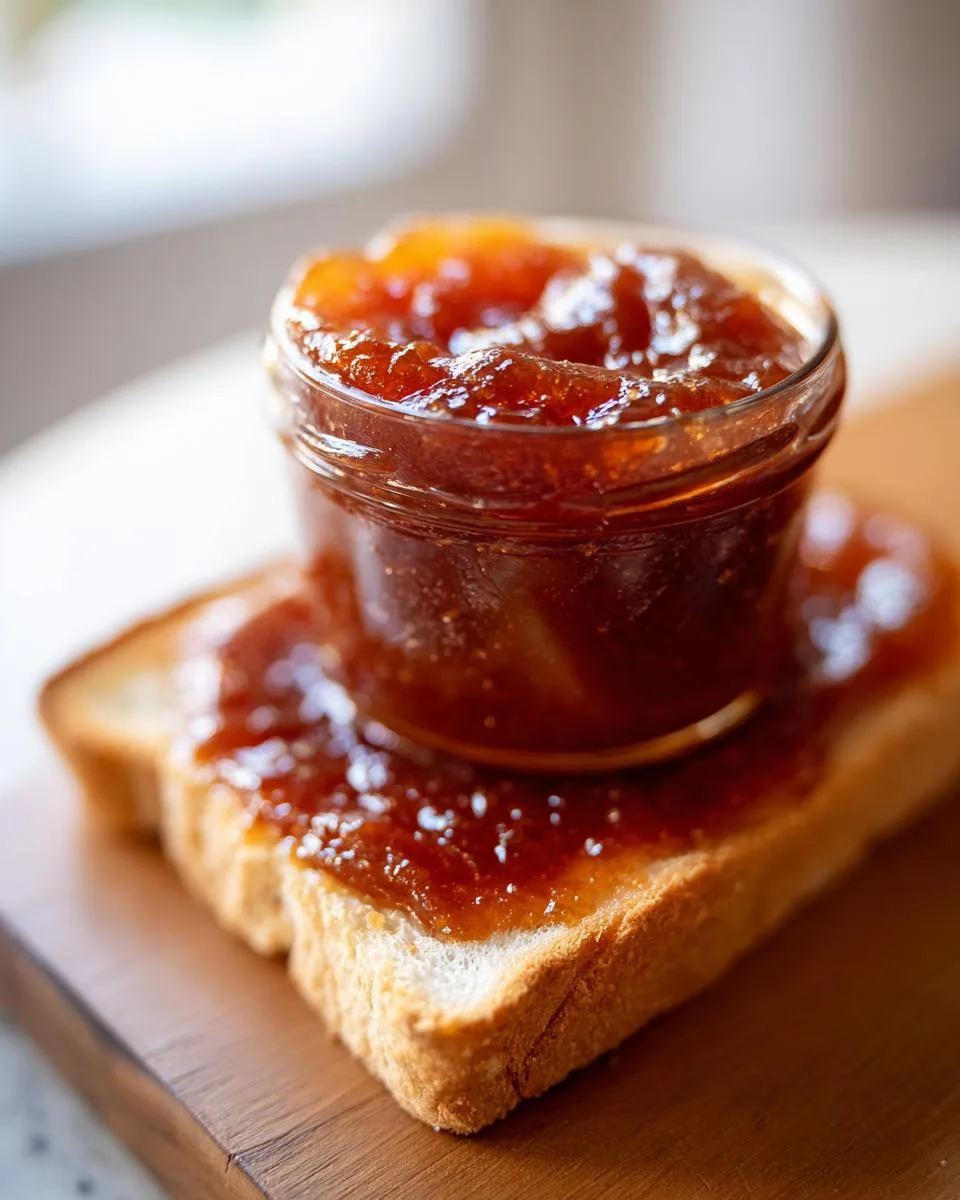
There’s nothing like walking into a kitchen filled with the warm, spiced aroma of homemade apple butter simmering away. It instantly takes me back to my grandma’s house in October, when we’d spend whole afternoons peeling apples and laughing as the sweet scent filled every corner. That’s why this apple butter recipe holds such a special place in my heart – it’s not just about the delicious result (though trust me, it’s amazing), but about the memories you make while creating it. Whether you spread it on toast for breakfast or swirl it into desserts, this versatile treat brings cozy comfort to any meal.
Why You’ll Love This Apple Butter Recipe
Oh my goodness, where do I even start? This apple butter recipe is one of those magical kitchen projects that gives you way more than it takes. Here’s why I’m completely obsessed with it (and why you will be too!):
- So easy a kid could make it – Seriously, just chop, dump, and let the slow cooker work its magic while you go about your day.
- Pantry-friendly ingredients – No fancy shopping trips needed. Just apples and basic spices you probably already have.
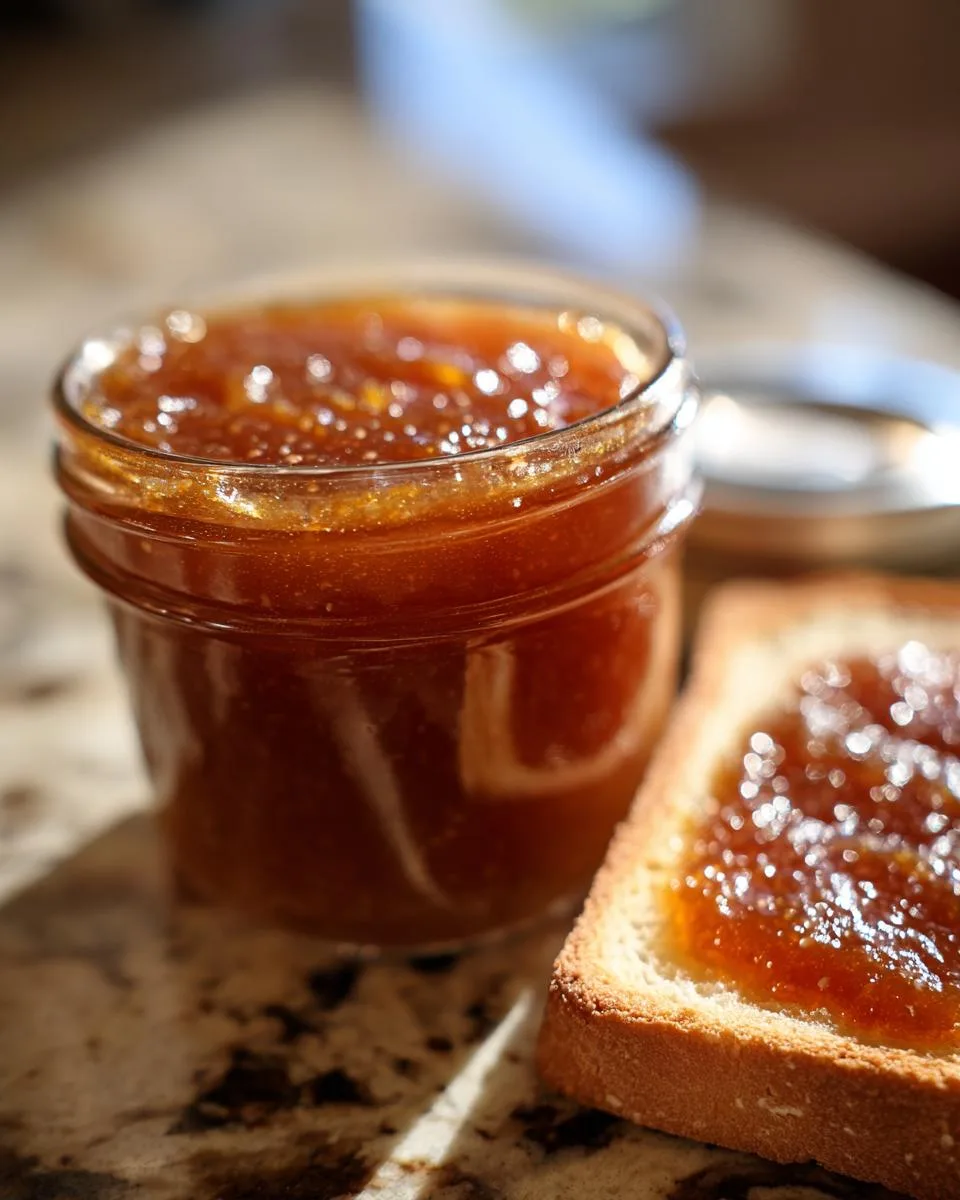
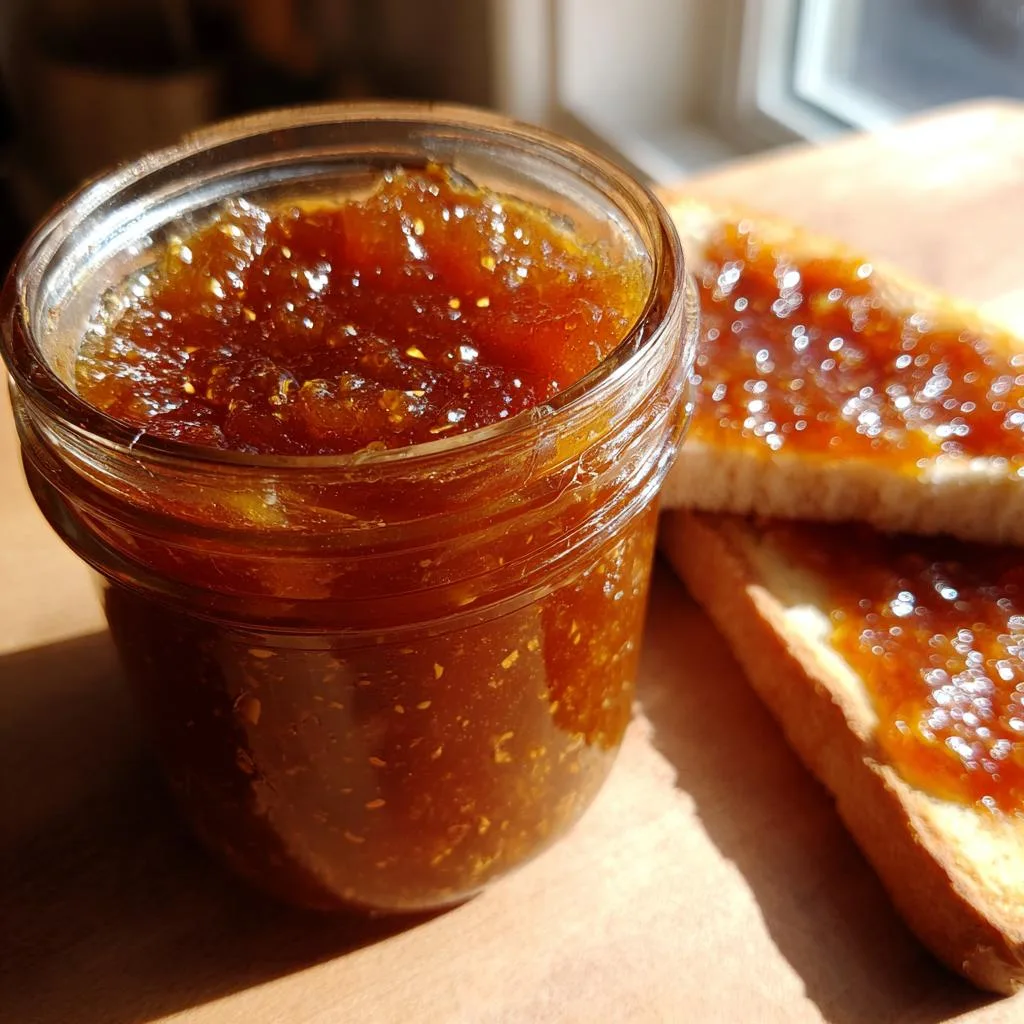
- Makes the best homemade gifts – Pour it into cute jars with ribbon and watch people’s faces light up!
- Goes with absolutely everything – Toast? Yes. Pancakes? Obviously. Yogurt? Perfect. Even stirred into oatmeal or as a glaze for pork – it’s crazy versatile!
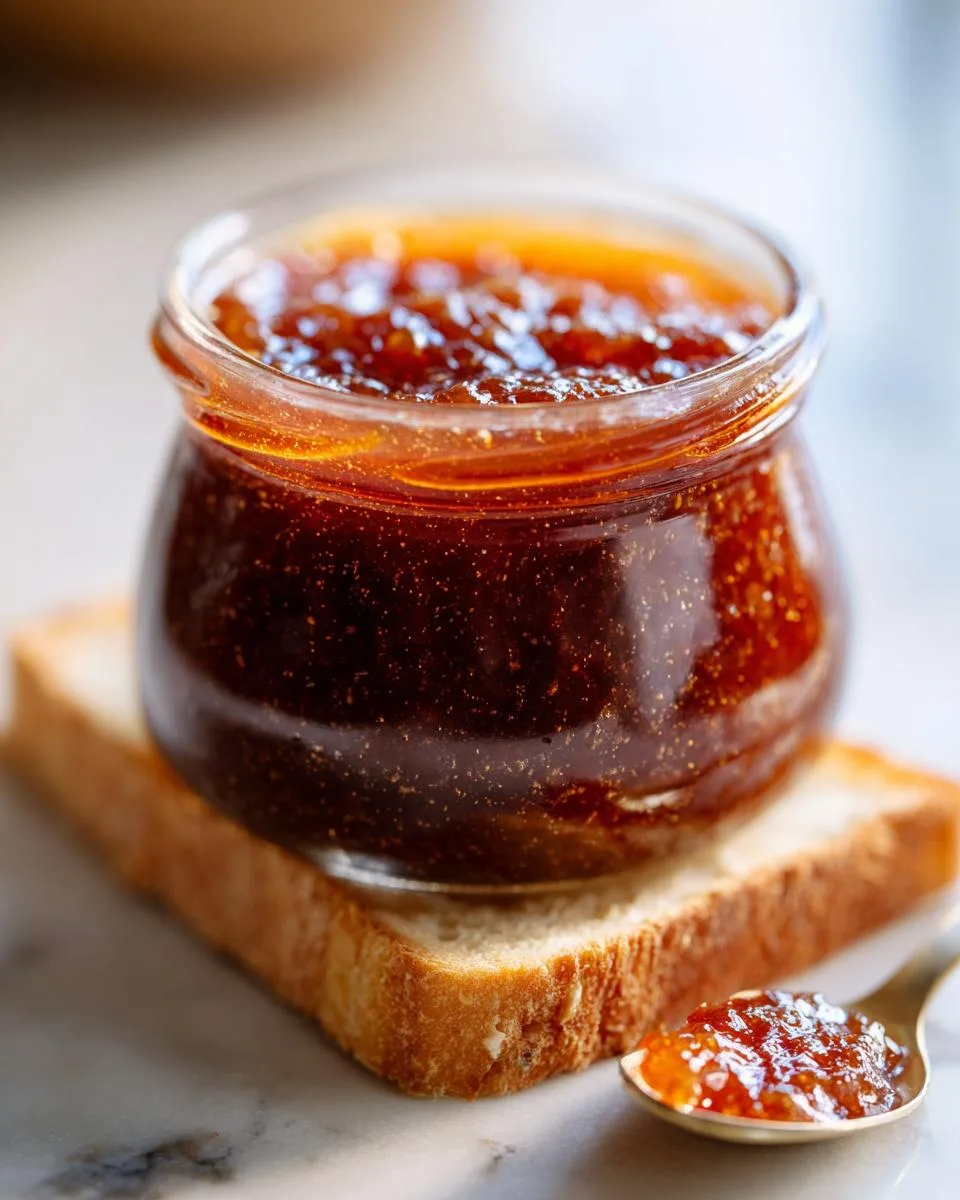
The best part? That incredible caramelized apple-cinnamon smell that fills your house for hours. It’s like autumn in a jar, my friends!
Ingredients for Your Apple Butter Recipe
Okay, let’s gather our goodies! One of the things I love most about this apple butter recipe is how simple the ingredient list is. You probably have most of these in your kitchen right now. Here’s what you’ll need to make that magical, spreadable goodness:
- 4 lbs apples – Peeled, cored, and chopped (I’m partial to Honeycrisp or Fuji for their sweetness, but use whatever you’ve got!)
- 1 cup granulated sugar – This gives our butter that perfect sweetness without being overpowering
- 1 tbsp ground cinnamon – The star spice that makes it taste like autumn in a jar
- 1/2 tsp ground cloves – Just enough to add depth without taking over
- 1/2 tsp ground nutmeg – My secret weapon for that warm, cozy flavor
- 1/4 tsp salt – Trust me, this tiny bit makes all the flavors pop
- 1 tbsp vanilla extract – Added at the end for that extra layer of deliciousness
See? Nothing fancy, just good, honest ingredients that work together beautifully. Now let’s get cooking!
Equipment Needed for This Apple Butter Recipe
Now let’s talk tools! The beauty of this apple butter recipe is that you don’t need fancy equipment – just a couple basics that make the process super simple. Here’s what I always use:
- Slow cooker – My absolute must-have for hands-off cooking (but if you don’t have one, a heavy pot on the stove works too – just stir more often!)
- Immersion blender – Makes smoothing out that apple mixture a breeze (though a regular blender or food processor works in a pinch)
- Basic kitchen tools – A good peeler, sharp knife, and wooden spoon are all you need beyond that
See? Nothing complicated – just simple tools to make something extraordinary. Now let’s get to the fun part – cooking!
Step-by-Step Instructions for Your Apple Butter Recipe
Alright, let’s dive into the good stuff! Making this apple butter recipe is seriously one of the easiest (and most satisfying) kitchen projects you’ll ever do. I’ve made this so many times I could probably do it in my sleep, but I’ll walk you through each step so yours turns out perfect too!
- Prep those apples! Peel, core, and chop all your apples into roughly 1-inch chunks. Don’t stress about perfection here – they’re going to cook down into mush anyway. Just toss them straight into your slow cooker as you go.
- Spice it up! Add the sugar, cinnamon, cloves, nutmeg, and salt right on top of the apples. Give everything a good stir to coat those apple pieces evenly. I like to use my hands for this part – it’s messy but fun!
- Let the magic happen. Cover and cook on low for 8 hours (or high for 4 hours if you’re impatient like me). You’ll want to stir it every couple hours if you’re around – the apples will start breaking down and smelling AMAZING. If you’re out all day? No worries – it’ll be fine!
- Blend it smooth. After cooking, grab your immersion blender and puree until silky smooth. No immersion blender? Carefully transfer to a regular blender in batches. Careful – it’s hot!
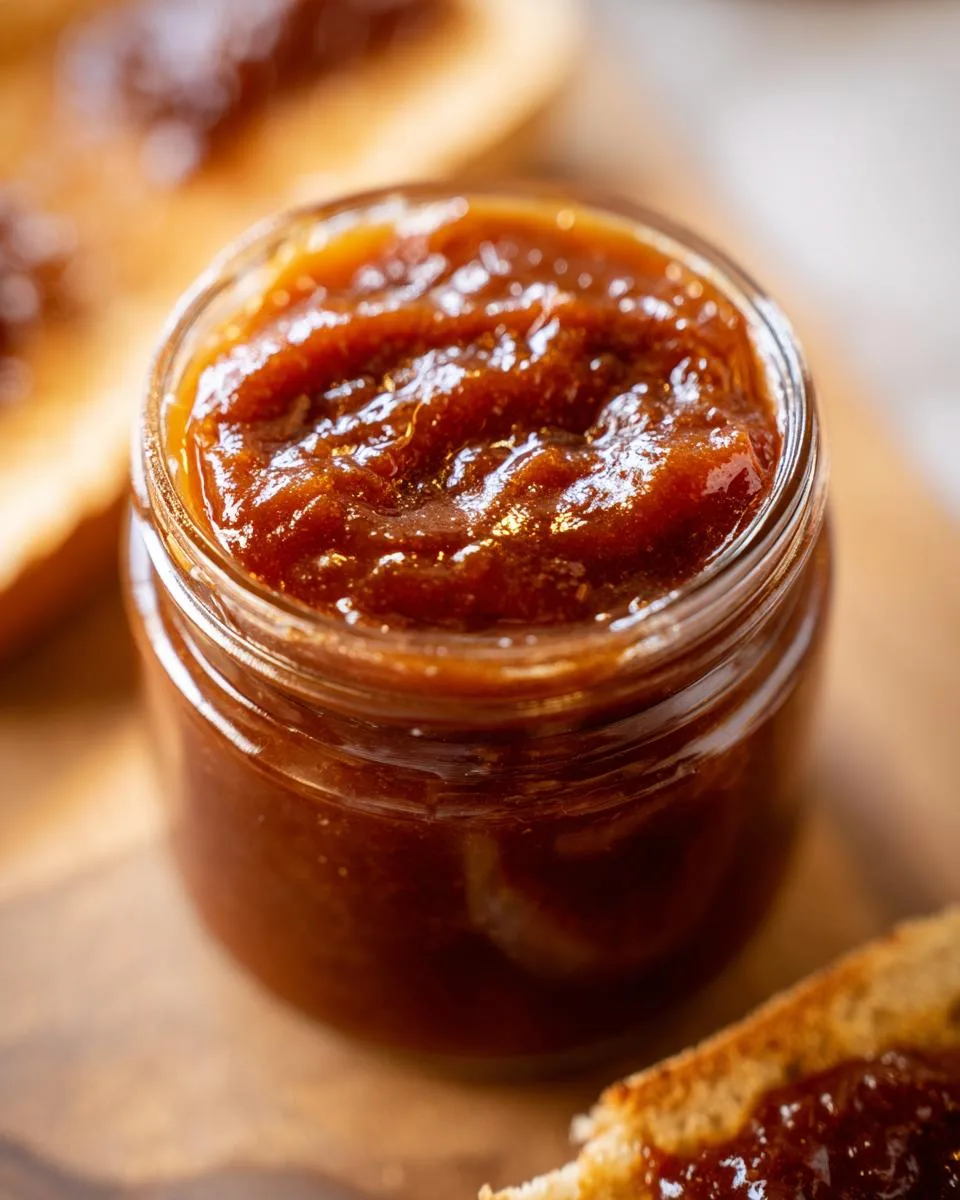
- Thicken it up. Now cook uncovered for another 1-2 hours, stirring occasionally. You’ll know it’s ready when it’s thick enough that a spoon dragged through leaves a clear path that slowly fills back in.
- The finishing touch. Stir in that vanilla extract – it adds such a lovely depth of flavor. Let it cool completely before jarring (trust me, I’ve burned my fingers too many times being impatient!).
And that’s it! Now you’ve got the most incredible homemade apple butter ready to slather on breakfast treats or use in all sorts of delicious ways. The hardest part? Waiting for it to cool before diving in with a spoon!
Tips for Perfect Apple Butter Every Time
After making this apple butter recipe more times than I can count, I’ve picked up some foolproof tricks to get it perfect every single time. Here are my can’t-live-without tips:
- Stir when you think of it – No need to babysit, but giving it a quick stir every few hours helps prevent sticking and cooks everything evenly.
- Taste as you go – Love extra spice? Add more cinnamon! Prefer it less sweet? Cut back the sugar by 1/4 cup. This recipe is super forgiving.
- Test thickness on a plate – Spoon a bit onto a cold plate – if liquid pools around it, keep cooking. No pool? You’re golden!
- Don’t skip the vanilla – That final stir-in makes all the difference, adding depth that’ll have people asking “What’s your secret?”
Remember – apple butter is supposed to be fun, not fussy. If it’s too thin, cook longer. Too thick? Stir in a splash of apple juice. You’ve got this!
How to Store and Freeze Your Apple Butter
Now that you’ve made this glorious apple butter, let’s talk about keeping it fresh and delicious! I always make a big batch because it stores like a dream. In the fridge, it’ll stay perfect for about 2 weeks in airtight jars – just make sure to use clean spoons every time you dip in. For longer storage, freeze it in small containers (I use half-pint jars) for up to 6 months. When you’re ready to use frozen apple butter, just thaw it overnight in the fridge or give it a gentle warm-up in the microwave (stir every 15 seconds). Pro tip: leave a little headspace in containers before freezing – it expands just a bit!
Nutritional Information for Your Apple Butter Recipe
Okay, let’s talk numbers! Here’s the scoop on what’s in each delicious tablespoon of this apple butter recipe (because let’s be real – who stops at just one spoonful?). Each serving (about 1 tbsp) has roughly:
- 80 calories – Just enough to feel indulgent without guilt
- 21g carbs – Mostly from those naturally sweet apples
- 2g fiber – A nice little bonus from the apple skins
- 0g fat – Yep, it’s naturally fat-free!
- 25mg sodium – Just a pinch to balance flavors
Now, remember – these numbers can vary slightly depending on your exact apples and how much you tweak the sugar. But hey, when something tastes this good and is made with real ingredients, I say enjoy every spoonful!
Frequently Asked Questions About Apple Butter
Can I use different types of apples for this apple butter recipe?
Absolutely! I’ve tried everything from tart Granny Smith to sweet Honeycrisp – they all work beautifully. My personal favorite is mixing 2-3 varieties for more complex flavor. Just know that sweeter apples might need less sugar, while tart ones might need a bit more. Taste as you go!
How long does homemade apple butter last?
In the fridge, it stays perfect for about 2 weeks (if it lasts that long!). For longer storage, freeze it in airtight containers for up to 6 months. I always make extra to stash away – it’s like having a jar of autumn ready whenever the craving hits!
Can I make this apple butter recipe without a slow cooker?
You bet! Just use a heavy-bottomed pot on the stove over low heat. You’ll need to stir more often (about every 30 minutes) to prevent sticking, but the result is just as delicious. Cooking time is usually 3-4 hours this way.
Why is my apple butter too runny?
No worries – this happens to me sometimes too! Just keep cooking it uncovered until it thickens to your liking. Remember, it thickens more as it cools. If you’re in a hurry, you can stir in a teaspoon of cornstarch mixed with cold water to speed things up.
What’s the difference between applesauce and apple butter?
Great question! Apple butter is like applesauce’s sophisticated cousin – cooked longer until deeply caramelized and spreadable. It’s thicker, darker, and more intensely flavored thanks to the slow cooking process. Once you try homemade apple butter, you’ll never go back to plain applesauce!
Share Your Apple Butter Recipe Experience
I’d love to hear how your apple butter adventure turned out! Did you add extra cinnamon like I always do? Maybe you discovered a brilliant new way to use it? Drop me a comment below or send me a note – I read every single one (usually while nibbling toast slathered with this very recipe). And if you loved it as much as I do, please share it with your fellow apple butter enthusiasts – nothing makes me happier than seeing this cozy recipe spread joy in other kitchens!
Apple Butter Recipe
Ingredients
Equipment
Method
- Place the chopped apples in a slow cooker.
- Add sugar, cinnamon, cloves, nutmeg, and salt. Stir to combine.
- Cook on low for 8 hours or on high for 4 hours, stirring occasionally.
- Use an immersion blender to puree the mixture until smooth.
- Continue cooking uncovered for 1-2 hours until thickened.
- Stir in vanilla extract. Let cool before transferring to jars.
Nutrition
Notes
Tried this recipe?
Let us know how it was!For more amazing recipes, be sure to check out our other sections to explore a variety of ideas that will enrich your cooking experience. Each section offers its own unique flavors to ensure a delightful culinary journey:
Easy and Quick Recipes: A collection of dishes that guarantee delicious meals with minimal effort and time.
Healthy Recipes: Discover healthy and delicious options that fit your lifestyle.
Desserts: A diverse selection of sweets that will add a special touch of sweetness to your table.
Lunch Recipes: Tasty lunch ideas that you can easily prepare to delight your family.
Dinner Recipes: Delicious and easy-to-make recipes that will make your dinner a memorable occasion.