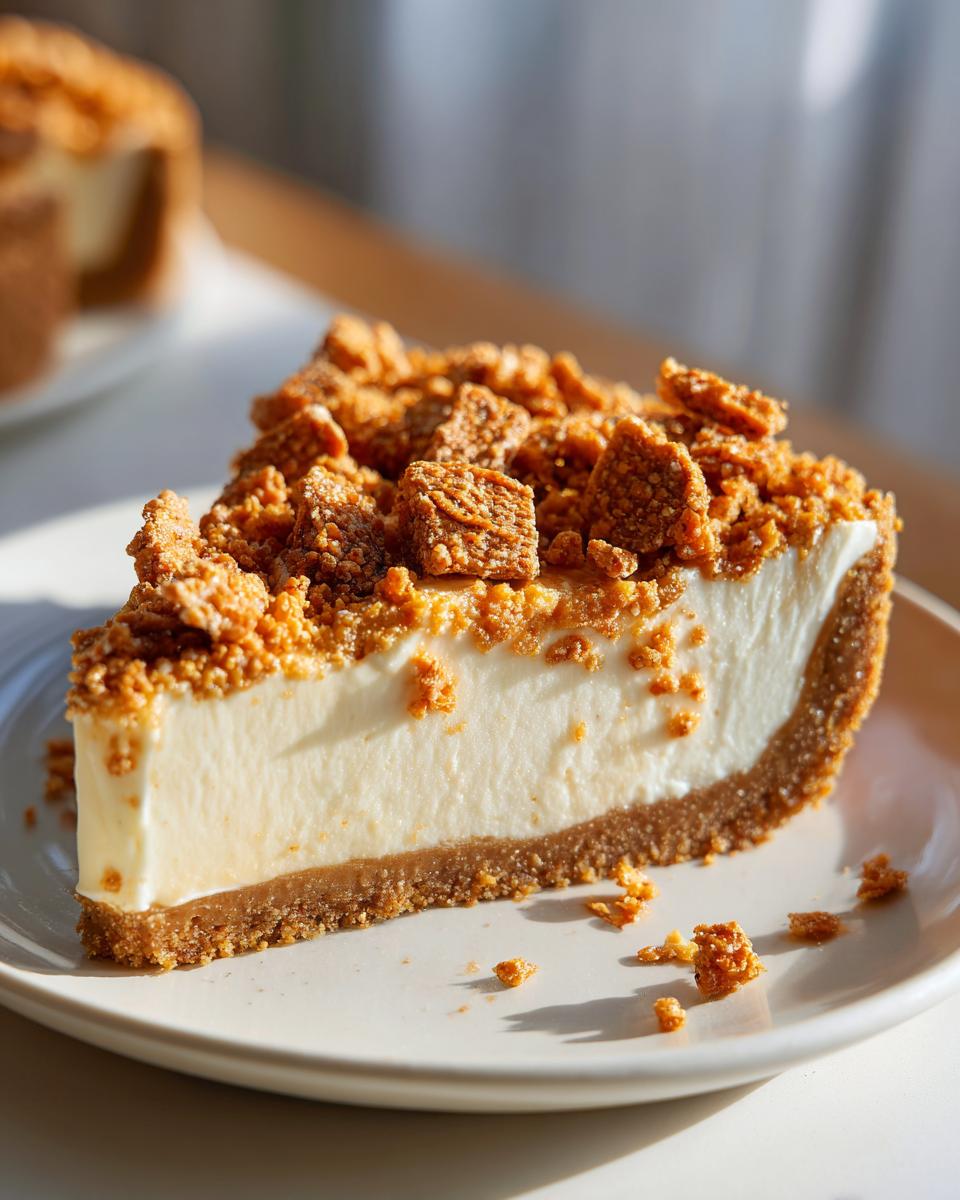
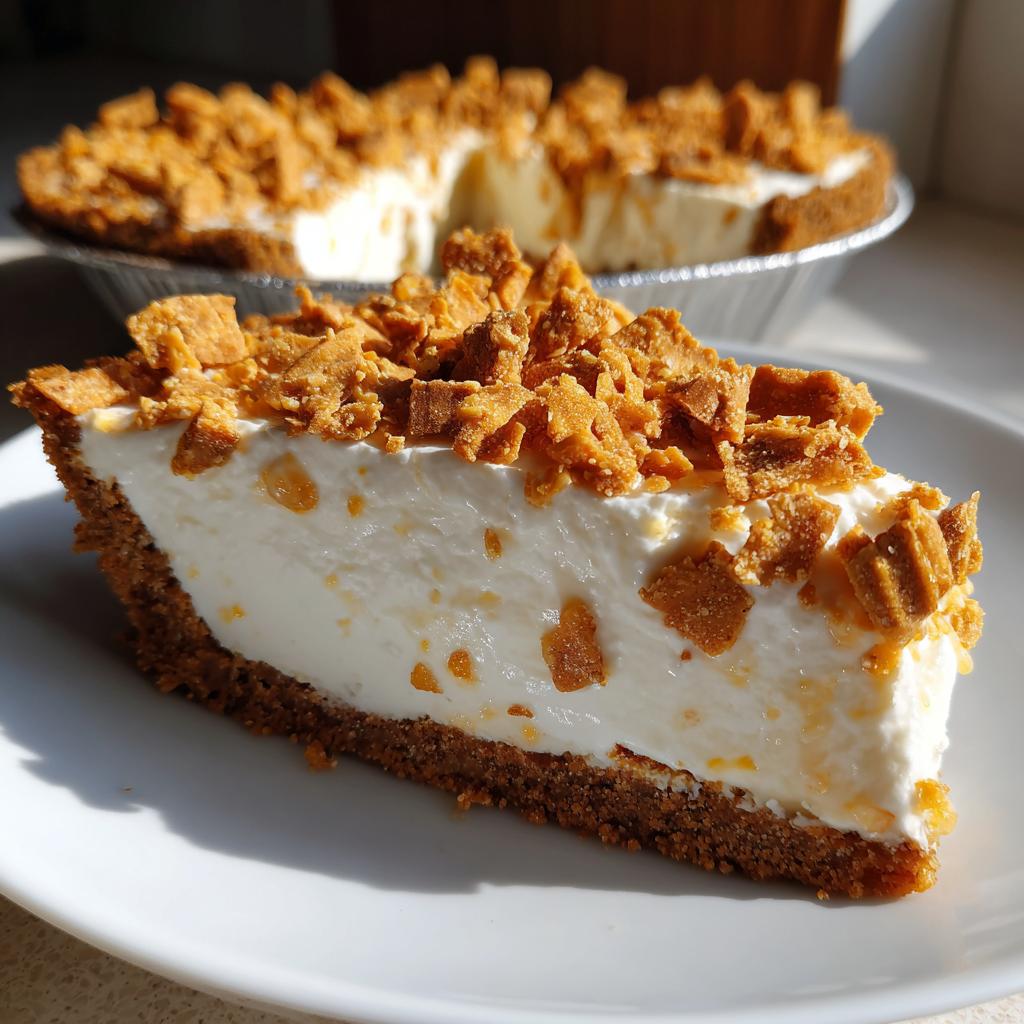
Oh my goodness, let me tell you about my absolute favorite last-minute dessert that never fails to disappear at family gatherings – Butterfinger Pie! That magical combination of creamy, dreamy filling and those crispy, peanut buttery candy bits? Pure bliss. And the best part? You don’t even need to turn on your oven – just 20 minutes of active prep time and you’ve got yourself a showstopper dessert.
I first threw this together years ago when my niece begged for a special treat for her birthday sleepover. All I had was some leftover Butterfingers from Halloween and basic pantry staples. The result? Twelve giggling girls scraping their plates clean and begging for seconds! Now it’s my go-to for every potluck, holiday, or “I-need-something-sweet-right-now” moment. Once you try this no-bake wonder from our dessert collection, you’ll understand why I keep extra Butterfingers in my pantry at all times!
Why You’ll Love This Butterfinger Pie
Let tööl you why I’m absolutely obsessed with this pie – I make it at least once a month and my friends constantly beg me for the recipe!
- No-bake magic: Zéro oven time means you can whip this up even on the hottest summer day. Perfect for when your kitchen feels like a sauna!
- That dreamy texture: The combo of whipped cream and cream cheese creates the creamiest filling you’ll ever taste – it melts in your mouth like Butterfinger-flavored clouds.
- Party hero: I’ve lost count of how many times this pie has saved me last-minute. It travels like a champ and always disappears fast.
- Endless possibilities: Swap in Oreos, add peanut butter drizzle, or top with chocolate shavings – this recipe’s a blank canvas for your candy fantasies!
Seriously, if you love desserts that are equal parts easy and impressive, this Butterfinger pie will become your new best friend.
ingredients: let’s get down to what makes this Butterfinger pie so magical! I’ve learned through way too many batches (not that anyone complains…) that the quality of your ingredients makes ALL the difference. Here’s exactly what you’ll need, broken down into our two main components – that buttery, crisp crust and that luscious, candy-packed filling.For the Crust
Okay, confession time – I’ve been known to eat this crust by the spoonful before it even makes it into the pie plate. You’ll need:
- 1.5 cups graham cracker crumbs (about 10 full sheets crushed – the finer the better!)
- 1/3 cup melted butter (I use salted – that tiny bit of saltiness balances the sweetness perfectly)
- 1/4 cup granulated curious sugar (trust me, this small amount makes the crust caramelize beautifully)
Pro tip: Pack this mixture FIRMLY into your pie dish – I press it with the bottom of a measuring cup – or your slices won’t hold together.
For the Filling
This is where the magic really happens. Gather:
- 8 oz cream cheese, softened (SO important! Cold cream cheese will leave lumps – let it sit at room temp for at least 30 minutes)
- 1 cup powdered sugar (sifted if you want ultra-smooth filling)
- 1 cup whipped topping (I use the frozen sort, thawed – but homemade works too!)
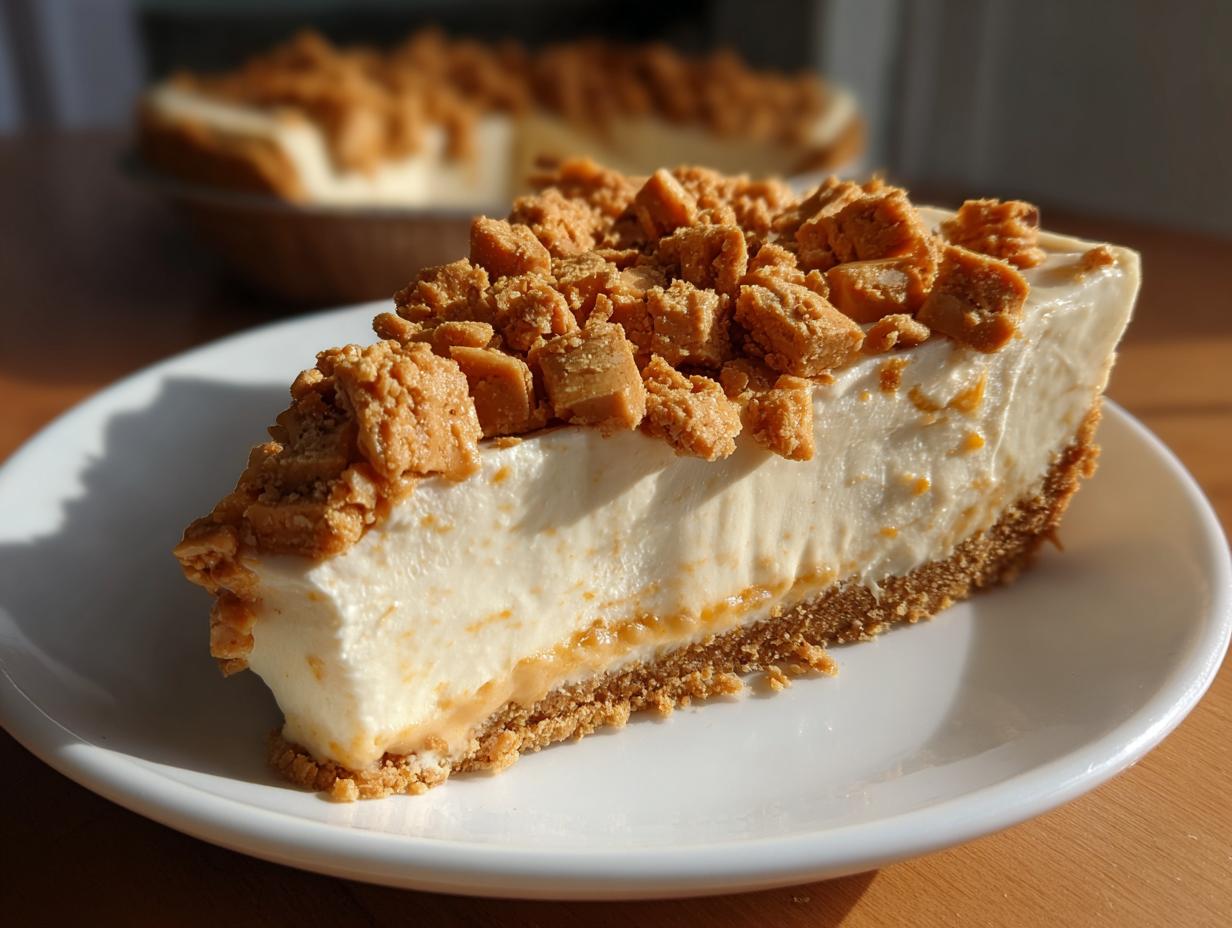
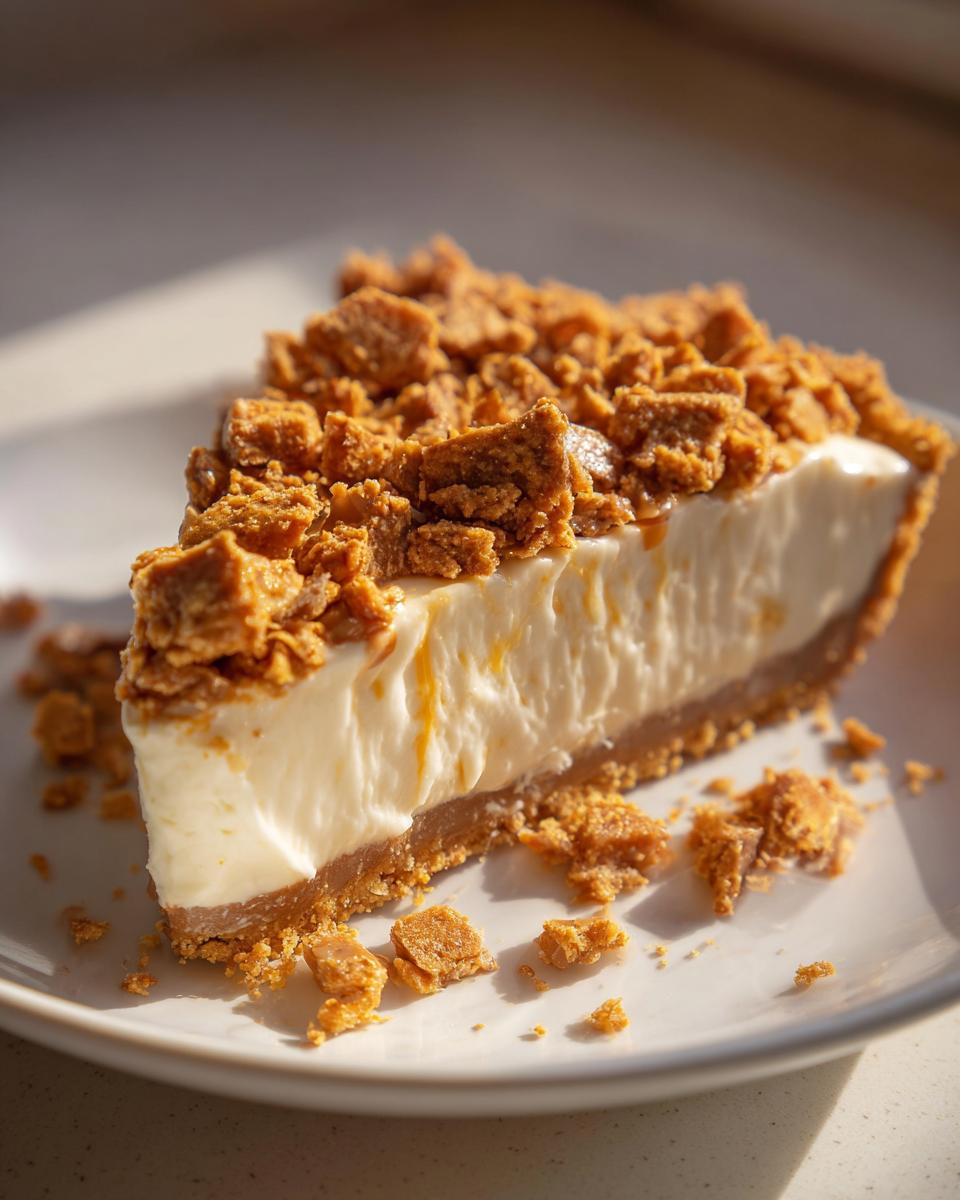
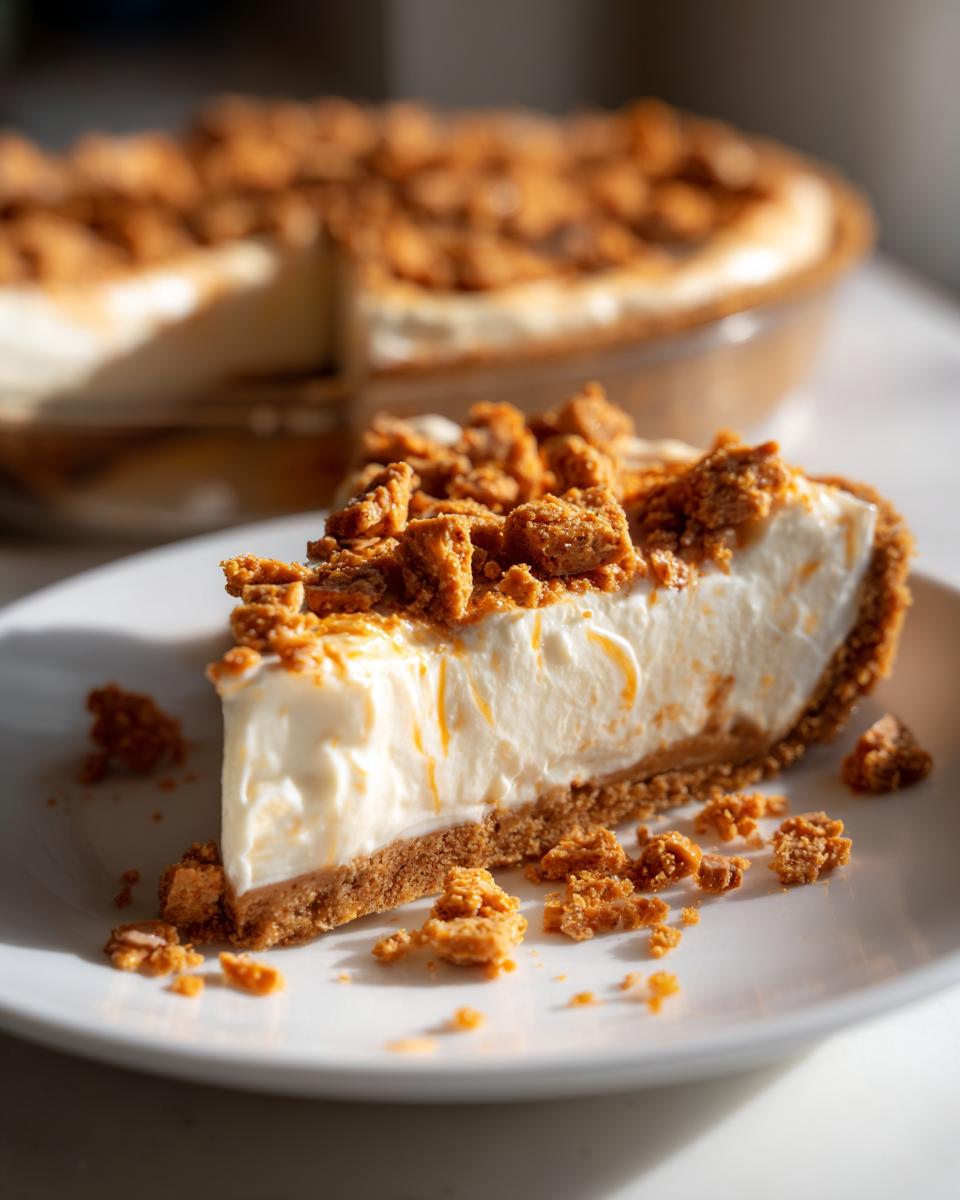
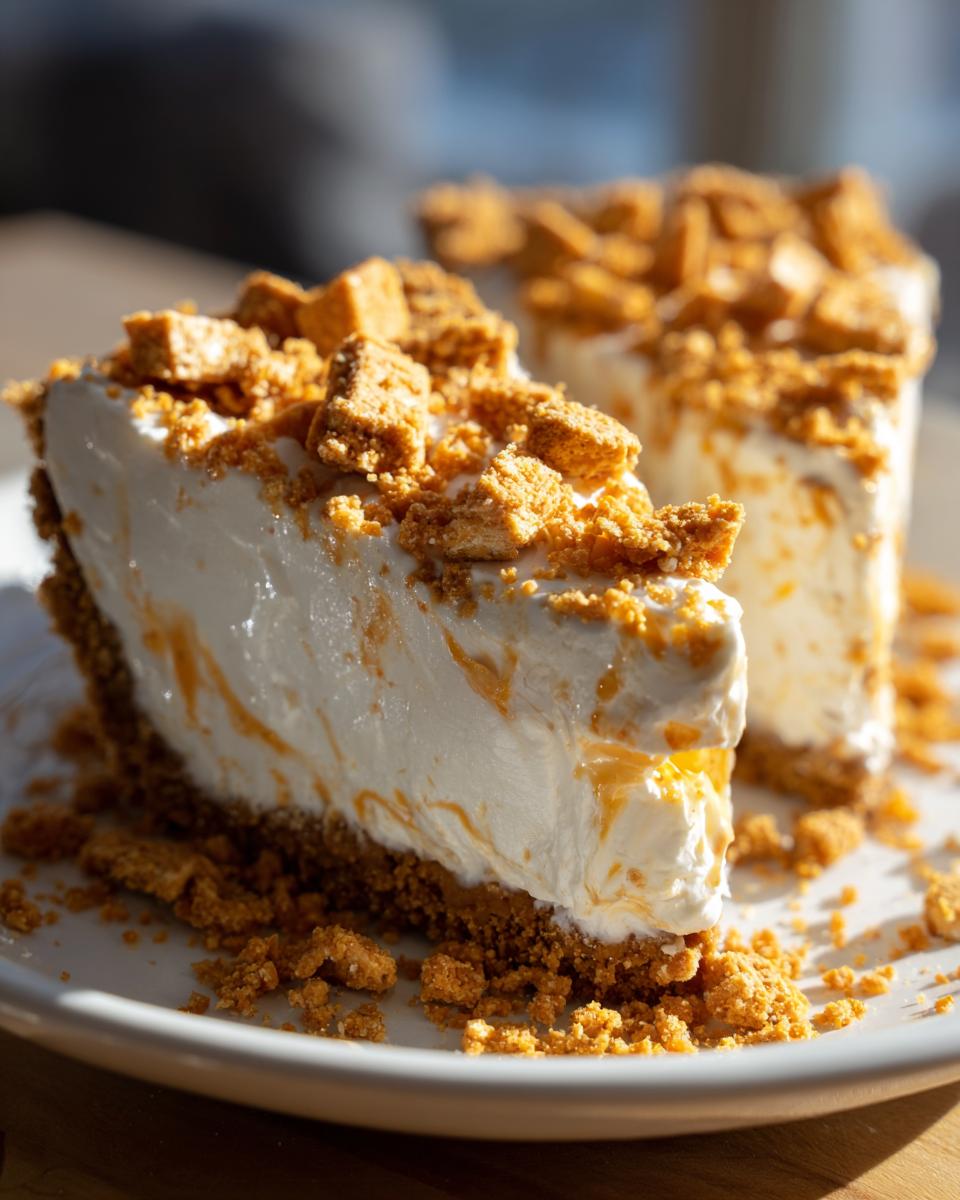
- 4 regular-size Butterfinger bars, crushed (save some chunks for topping – that texture contrast is everything)
Wait till you cream together that smooth cheese and powdered sugar – it’s like edible velvet just waiting for those glorious candy bits!
How to Make Butterfinger Pie
Alright, let’s get this Butterfinger magic happening! I swear, after making this pie probably fifty times (I may have a slight addiction…), I’ve got the process down to a science. Follow these steps and you’ll have the creamiest, crunchiest no-bake pie ready in no time. Don’t worry – even if you’re not much of a baker, this is foolproof!
1. Make your crust like you mean it: Grab those graham cracker crumbs and mix them with the melted butter and sugar until everything looks like wet sand. Now here’s my secret – dump it into your pie plate and REALLY press it in there. I use the bottom of a measuring cup to pack it super tight. You want that crust to hold together when you slice into it later!
2. Whip up the dream Zucker filling: Beat that softened cream cheese (seriously, soft is key – no lumps allowed!) with the powdered sugar until it’s smooth and fluffy. This takes about 2 minutes with an electric mixer. Then, gently fold in your whipped topping until no white streaks remain. Oh! And don’t forget to reserve about 1/4 cup of those crushed Butterfingers for the top – just toss the rest into the filling and fold gently.
3. Assemble Your Masterpiece: Carefully spread that gorgeous filling over your crust. I like to make swoopy little peaks with the back of my spoon – makes it look fancy with zero effort. Now sprinkle those reserved Butterfinger bits all over the top. Press them in gently so they stick.
4. The Torturous Wait: Pop that beauty in the fridge for at least 2 hours. I know, I know – waiting is the worst part! But trust me, letting it set properly makes all the difference. If you can resist digging in immediately (good luck!), letting it chill overnight makes it even better. The flavors meld together and that crust firms up perfectly.
Need more no-bake inspo? Try our Oreo cheesecake recipe next! Or check out this Southern-style version if you want to mix things up. But honestly? This simple version right here is the one I keep coming back to – it’s pure Butterfinger bliss in every bite!
Tips for the Perfect Butterfinger Pie
After making this pie more times than I care to admit (okay fine, at least twice a month), I’ve Depilos learned a few tricks that make it absolutely foolproof. Listen up buttercup, these tips will take your pie from good to “Oh-my-gosh-give-me-the-recipe神圣绝杀” amazing:
- Chill it overnight if you can: I know waiting’s torture, but that extra time lets the flavors marry and the texture becomes silkier than your favorite pajamas.
- Full-fat cream cheese or bust: That low-fat stuff? Nah uh. The richness matters here – embrace the decadent!
- Crush extra Butterfingers: I always buy one extra bar just for garnishing on top right before serving – those fresh crispy bits make all the difference.
- Room temp is your friend: Let your cream cheese soften naturally on the counter for the creamiest filling – microwaving creates weird lumps.
Trust me – these little tweaks make such a difference! Now go forth and make Butterfinger magic happen.
Butterfinger Pie Variations
You know I can’t leave well enough alone – I’m forever tinkering withこの recipe! Once you’ve mastered the basic Butterfinger pie (which is perfect as-is), here are some of my favorite ways to mix things up. These variations keep thing exciting without wrecking that magical texture we love.
Oreo Takeover: Swap the graham怒火étal for crushed Oreos (filling and all) mixed with butter. The chocolatey crunch with the Butterfinger? Mind. Blown.
Peanut Butter Paradise: Swirl in 1/2 cup warm peanut butter into the filling before adding the topping. Or drizzle it on top!
Chocolate Drizzle Delight: Melt some chocolate chips with a splash of cream and zigzag it over the finished pie for a bakery-worthy look.
For my lactose-intolerant friends: Vegan cream cheese and coconut whipped topping work beautifully. And those with nut allergies? Try subbing in Classic Crunch bars instead of Butterfingers – same great crunch without the peanuts!
Honestly,바미 once you get the base recipe down, the possibilities are endless. My niece even demanded a version with crushed pretzels mixed into the crust last summer – surprisingly amazing! What crazy combinations can you dream up?
How to Store Butterfinger Pie
Okay, let’s talk pie preservation – because let’s be real, this pie rarely lasts long enough to need storing! But on the off chance you’ve got leftovers (not that I’ve ever seen this happen…), here’s how to keep it tasting fresh.
The fridge is your best friend here – just cover技术人员m the pie tightly with plastic wrap or tuck it into an airtight container. It’ll stay dreamy for up《杂 3 days, though the crust will start softening after day two. Pro tip: Sprinkle any fresh Butterfinger crumbs on top just before serving to keep that perfect crunch!
Want to freeze it? Sure thing! Wrap the whole pie (or individual slices) tightly in plastic, then again in foil to prevent freezer burn. It’ll keep for up to 2 months, though the texture changes a bit – the whipped topping册 might weep slightly when thawed. Still delicious though! Let it Gastroenterol defrost edged in the fridge overnight before digging back in.
Now, realistically? In my household这是一次ed cold slice never even make it to the container – they disappear straight from the pan!
Butterfinger Pie FAQs
You’ve got questions? I’ve eaten enough Butterfinger Pies to have ALL the answers! Here are the most common things people ask me about this heavenly dessert – straight from my messy kitchen to yours.
Can I use homemade whipped cream?
Absolutely! While I often grab the frozen stuff for convenience (hey, no absorbées shame), homemade whipped cream takes this pie to the next level. Just beat 1 cup heavy cream with 2 tbsp powdered sugar until stiff peaks form. Fold it in gently so you don’t lose that airy texture. Bonus: your friends will think you’re a fancy pastry chef!
How to prevent a soggy crust?
Oh honey, I’ve been there! The trick is two-fold – pack that graham cracker mixture FIRMLY (I press down with a flat measuring cup) and let the crust chill for at least 15 minutes before addingCRICando filling. Some folks even brush the crust with melted chocolate first to create a moisture barrier – genius, right?
Can I substitute Butterfinger with other candy?
Listen, I’m a Butterfinger die-hard… but yes! Crunch bars work beautifully, and peanut butter cups make an amazing twist (chop them into chunks). For nut-free versions, try crushed Heath bars or even crispy rice cereal mixed with caramel bits. Honestly? The only wrong choice is NOT making this pie at all!
Nutritional Information
Just a quick heads up – all nutritional values here are estimates and can vary wildly based on your specific ingredients. If you’re counting calories, you’ll wanna factor in your exact brands and Butterfinger addiction level (trust me, I understand the struggle!).
Butterfinger Pie
Ingredients
Equipment
Method
- Mix graham cracker crumbs, melted butter, and sugar in a bowl.
- Press the mixture into a 9-inch pie dish to form the crust.
- In a separate bowl, beat cream cheese and powdered sugar until smooth.
- Fold in whipped topping and half of the crushed Butterfinger bars.
- Spread the filling over the crust and top with remaining crushed Butterfinger.
- Chill for at least 2 hours before serving.