Oh my gosh, you guys – I just had to share this No-Bake Lemon Dessert with you! It’s been my absolute go-to all summer when I need something refreshing but don’t want to sweat over a hot oven. I’ll never forget the first time I made it for my family’s Fourth of July barbecue – my aunt kept going back for thirds (and I may have caught my cousin eating leftovers straight from the pan at midnight!). Seriously, this creamy, tangy treat is everything you want when the temperatures soar. The best part? You probably have most ingredients in your pantry already. Check out my other favorite dessert recipes too, but I promise this one will become your new summer obsession!
Why You’ll Love This No-Bake Lemon Dessert
Okay, let me count the ways this dessert is basically summer magic in a dish! First off – no oven required. When it’s 90 degrees outside, who wants to heat up their kitchen? Not me! Plus, it comes together in about 20 minutes flat. Just mix, chill, and boom – you’ve got this dreamy, creamy lemon cloud of deliciousness.
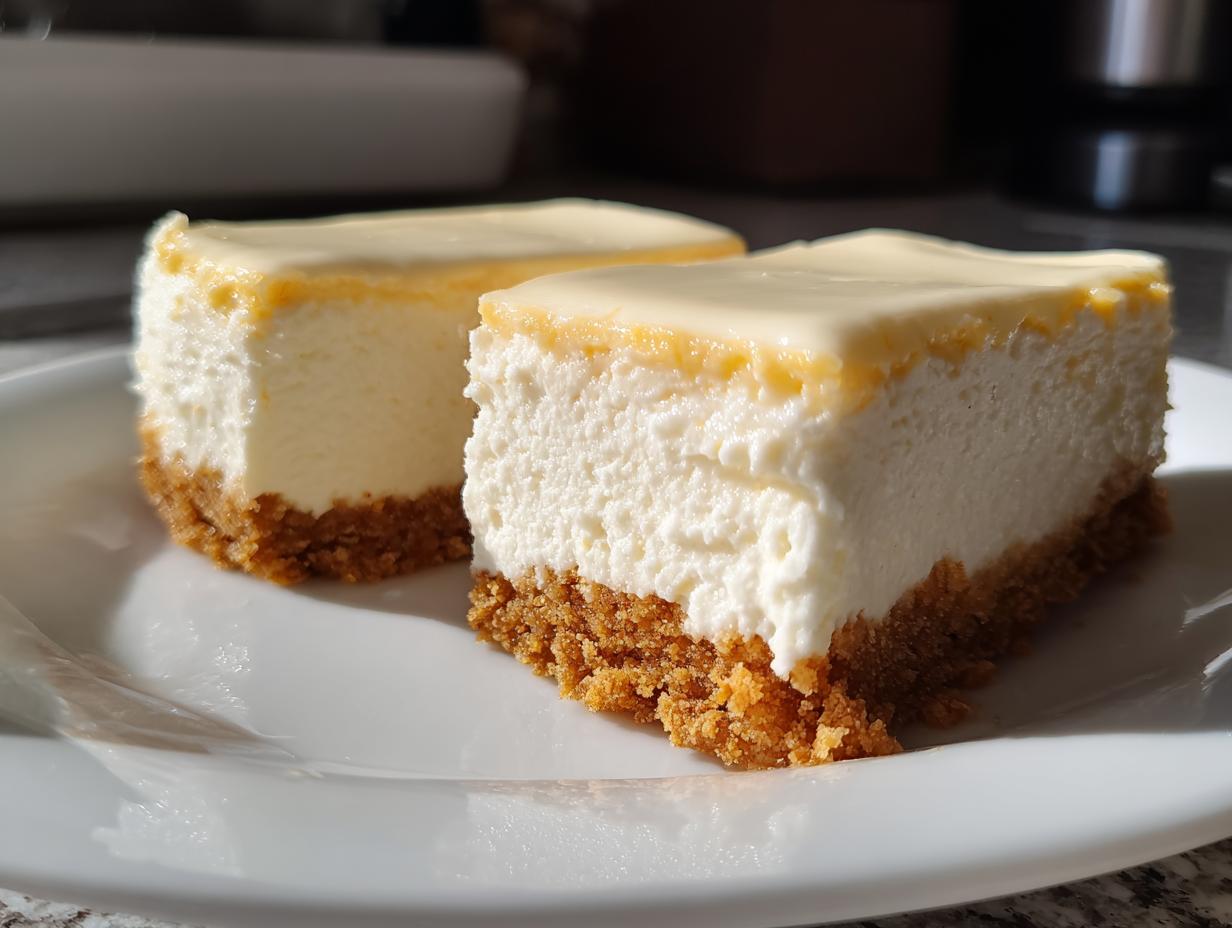
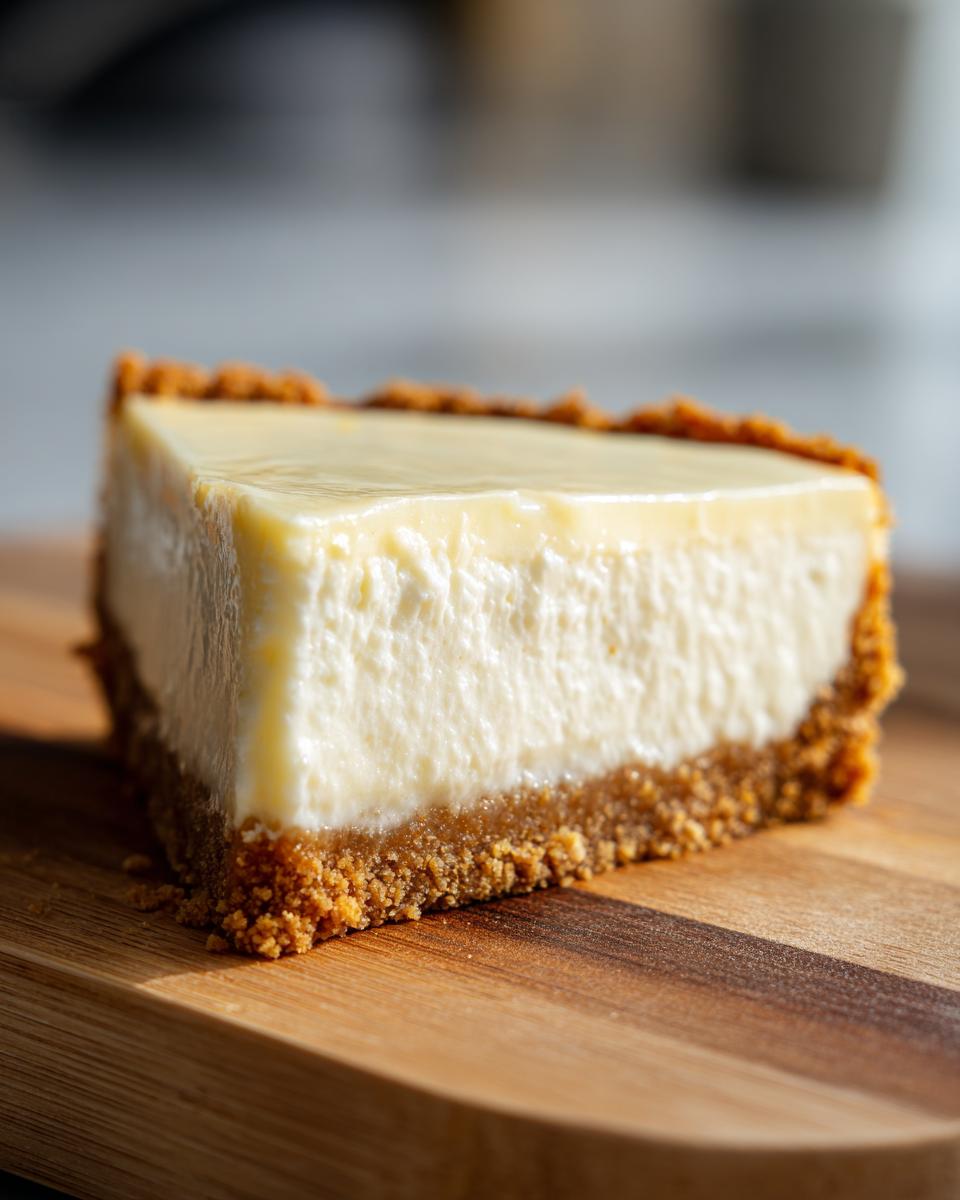
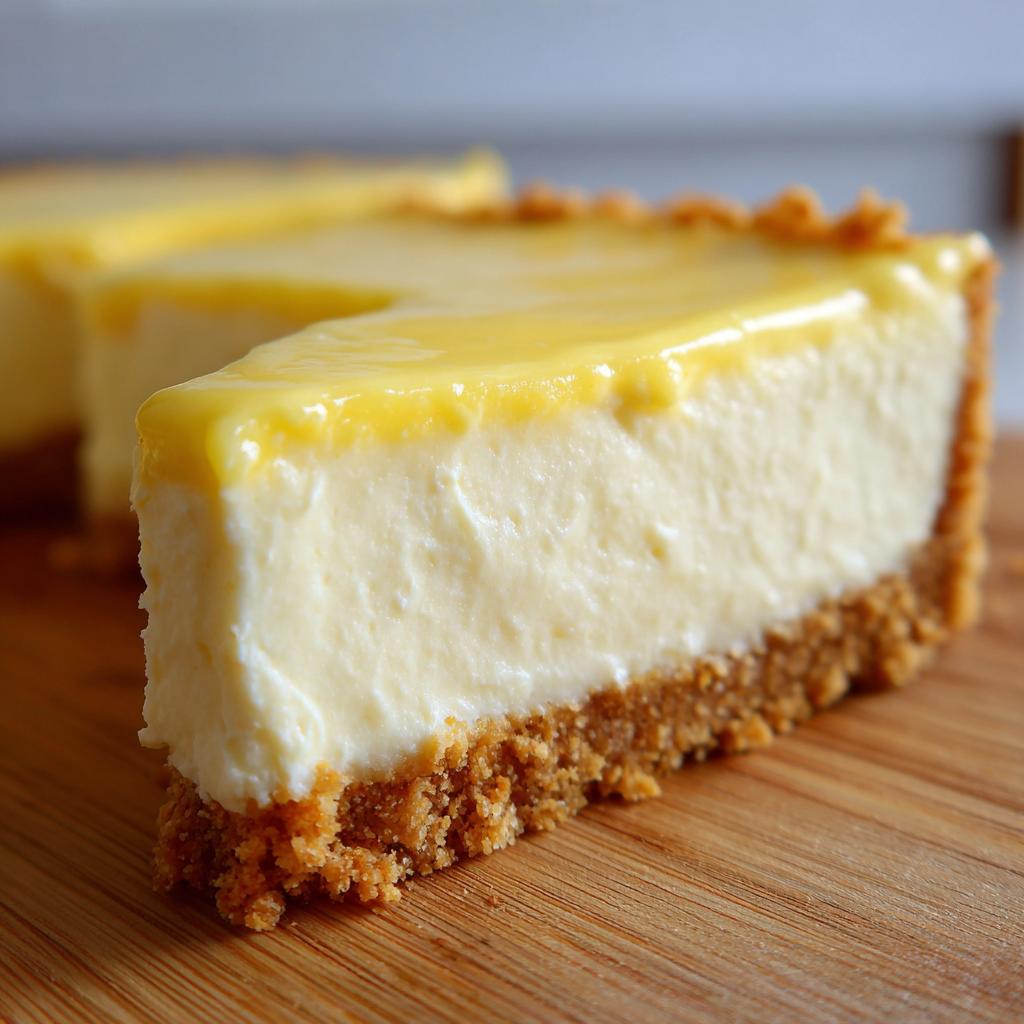
The texture is absolute perfection – like biting into sunshine. The tangy lemon curd cuts through the richness so beautifully, and that graham cracker crust? It’s the perfect little crunch to balance everything out. I swear, one bite and you’ll be transported to a breezy summer afternoon.
It’s also crazy versatile. Need a quick dessert for book club? Perfect. Last-minute BBQ invite? Done. Craving something sweet after dinner? This has your back. And the best part? It tastes even better the next day (if it lasts that long!).
Ingredients for No-Bake Lemon Dessert
Alright, let’s gather up what we need for this little slice of summer heaven! I love how simple the ingredients are – nothing fussy, just good stuff that comes together magically. Here’s your shopping list (though I bet you’ve got half of this in your kitchen already).
For the Crust
First up, the buttery base that holds everything together – and trust me, you’ll want to lick the bowl after making it!
- 2 cups graham cracker crumbs – Pro tip: buy whole crackers and crush them yourself for the freshest taste. The pre-crushed stuff just isn’t the same!
- 1/2 cup butter, melted – I always use salted butter because that sweet-salty combo is everything.
- 1/4 cup sugar – Just regular granulated is perfect here. Don’t overthink it!
For the Filling
Now for the good stuff – this creamy lemon filling that’ll make your taste buds sing!
- 8 oz cream cheese, softened – Leave it out for at least 30 minutes! Hard cream cheese will give you lumps, and nobody wants that.
- 1 cup powdered sugar – Sift it if yours is clumpy – saves you mixing time.
- 1 tsp vanilla extract – The good stuff, please! That imitation vanilla just won’t cut it.
- 1 cup heavy cream, whipped – Chill your bowl and beaters first – it whips up faster!
- 1 cup lemon curd – My homemade lemon curd recipe is amazing, but store-bought works in a pinch.
See? Told you it was simple! Now let me show you how to turn these basics into something unforgettable…
Equipment Needed for No-Bake Lemon Dessert
Okay, let’s talk tools – and don’t worry, I’m not making you dig out any fancy equipment for this one! You’ll just need a few basics that most kitchens already have:
- Mixing bowl – Any good-sized bowl will do. I often use my trusty big glass one because I can see everything blending together
- Electric mixer – A hand mixer works perfectly here (though stand mixers are great if you’re feeling fancy!)
- 9×13-inch baking dish – Grab the one you’d make brownies in. No need for anything special – just something to hold all that lemony goodness!
See? I told you this recipe keeps things simple. Now let’s get to the fun part – actually making this dreamy dessert!
How to Make No-Bake Lemon Dessert
Okay friends, let’s make some summer magic happen! This is seriously one of the easiest desserts ever, but I’ll walk you through every step so it turns out perfect. The first time I made this, I may have eaten half the filling straight from the bowl (oops!), but I promise it’s worth waiting until it’s fully assembled.
Prepare the Crust
First things first – let’s make that buttery, crunchy crust that’ll hold all our lemony goodness. Grab your mixing bowl and toss in the graham cracker crumbs, melted butter, and sugar. Just stir it all together until it looks like wet sand – that’s how you know it’s perfect! My grandma taught me to test it by squeezing a handful – if it holds together, you’re golden.
Now dump it into your 9×13 baking dish and press it down firmly with your hands or a measuring cup. Seriously, pack it in tight! This prevents the crust from crumbling when you cut slices later. I like to go up the sides just a bit for extra crunch in every bite. Pro tip: chilling the crust for 10 minutes before adding filling makes it extra sturdy!
Make the Filling
Alright, this is where the magic happens! In a clean bowl, beat the cream cheese until it’s smooth and creamy – no lumps allowed! Add the powdered sugar and vanilla, and keep beating until it’s light and fluffy. This usually takes me about 2-3 minutes with my hand mixer.
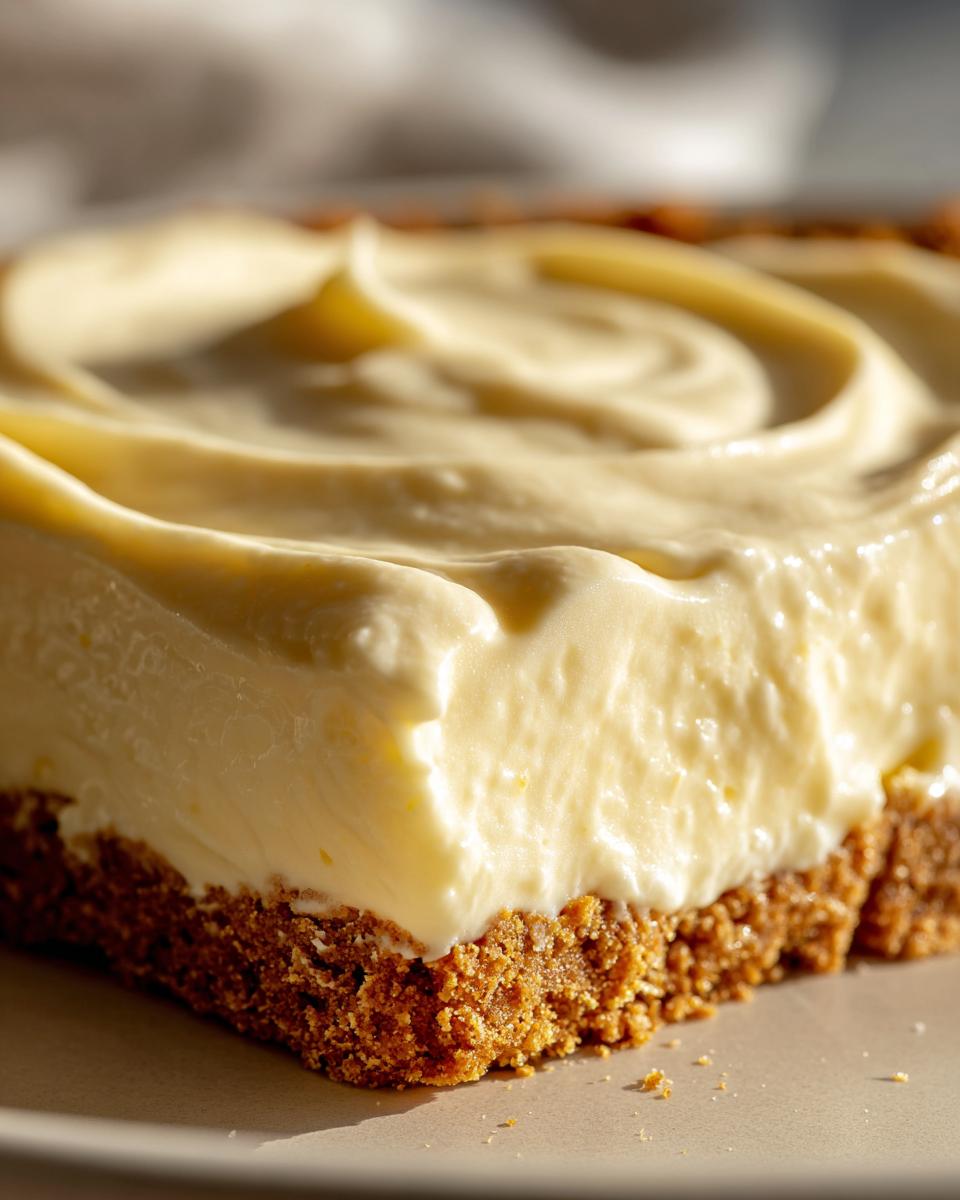
Now gently fold in the whipped cream – I use a big rubber spatula and kind of “swoop” it through to keep it airy. When that’s combined, swirl in the lemon curd. Don’t overmix here – you want beautiful yellow streaks! My secret is to add a little extra lemon zest at this point if I’m feeling fancy.
Assemble and Chill
Time to put it all together! Spread the creamy filling evenly over your crust. I like to make little swirls on top with my spatula – makes it look extra pretty when serving. Now the hard part – walk away!
Pop it in the fridge for at least 4 hours, though overnight is even better. This gives the flavors time to mingle and the filling time to set up perfectly. I learned this the hard way when I tried to cut into it after just 2 hours – total mess, but still delicious! If you’re prepping ahead, this dessert actually tastes best the next day.
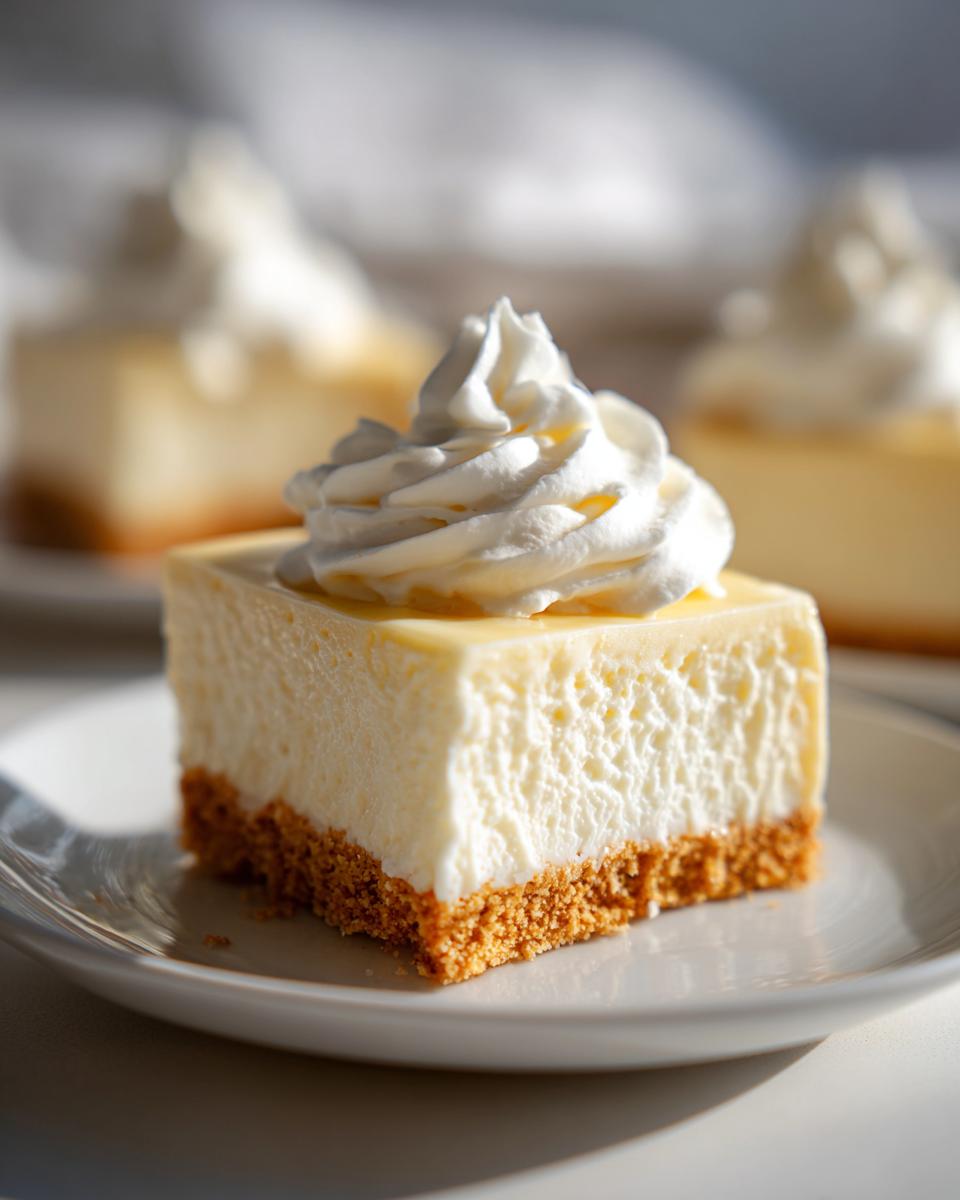
When you’re ready to serve, try topping with some fresh berries or extra whipped cream. Or hey, no judgment if you grab a spoon from my lemon dessert collection and eat it straight from the pan like I sometimes do!
Tips for the Perfect No-Bake Lemon Dessert
Okay, let me share all my hard-earned tricks for making this dessert absolutely foolproof! First, don’t skip softening your cream cheese – I leave it out for at least 30 minutes, but if I forget, I’ll zap it in the microwave at 10-second bursts (just don’t let it melt!). For the whipped cream, your bowl and beaters should be ice-cold – I sometimes pop mine in the freezer for 15 minutes before starting.
Now about that lemon curd – homemade really does make a difference, but if you’re using store-bought, taste it first! Some brands can be overly sweet. And here’s my secret weapon: add a pinch of salt to the filling. It sounds weird, but it makes all the flavors pop! One more thing – when pressing the crust, use the bottom of a measuring cup for an even layer that won’t crumble later.
Oh! Almost forgot – if you’re making this ahead, press plastic wrap directly onto the surface before refrigerating. It prevents that weird skin from forming. And remember, patience is a virtue – wait those full 4 hours before cutting, no matter how tempting it smells!
Variations for No-Bake Lemon Dessert
You know what I love most about this recipe? It’s like a blank canvas just begging for your personal touch! Feeling adventurous? Swap those graham crackers for crushed shortbread cookies – it gives this amazing buttery vibe that pairs perfectly with the lemon. Oh! And last summer I threw in a cup of fresh blueberries between the crust and filling – total game changer! The burst of berries with the zesty lemon? Divine.
If you’re craving something even tarter, try lime curd instead of lemon – it gives this awesome key lime pie feel. My neighbor swears by adding toasted coconut to the crust too. Honestly? The possibilities are endless. The important thing is to have fun with it – that’s how my great aunt’s “accidental” raspberry swirl version became legendary!
Serving Suggestions for No-Bake Lemon Dessert
Oh, this is my favorite part – dressing up this pretty lemon beauty for her big debut! First, I always give her a quick fluff with some extra whipped cream right before serving – it makes the whole thing look so fancy with zero effort. A sprinkle of lemon zest on top? Chef’s kiss! The bright yellow color just makes everyone’s mouth water instantly.
When I’m feeling fancy (or when the in-laws come over), I’ll arrange fresh raspberries or blueberries in a little pattern on top. Mint leaves add such a nice pop of color too – just tuck them in here and there. And you know what’s magical? A light dusting of powdered sugar right at the end – makes it look like it’s covered in sunshine! Serve it straight from the pan at casual gatherings, or use a pie server to plate individual slices for parties. Either way, get ready for compliments!
Storage and Reheating Instructions
Okay, here’s the deal with storing this lemony beauty – she’s happiest in the fridge! Just cover her tightly with plastic wrap or tuck her into an airtight container. Trust me, you’ll want to press that wrap right against the surface to keep it from drying out. This dessert keeps like a dream for up to 3 days (if it lasts that long in your house!).
Now, I know what you’re thinking – “Can I freeze this?” Nope! Ice crystals are the enemy of that perfect creamy texture. Just keep it chilled until serving – the cool temperature makes every bite extra refreshing. If you’re transporting it to a potluck, stick it in a cooler with some ice packs. And pro tip – any leftovers (ha!) taste even better the next day after all those flavors have had a sleepover in your fridge!
Nutritional Information
I wish I could give you exact numbers, but here’s the thing – every ingredient brand differs slightly, and how you slice it matters too! Just know this lemon beauty has all the good stuff – real cream, butter, and that zesty lemon sunshine. Enjoy it as a tasty treat without stressing about exact counts. Life’s too short not to have seconds sometimes!
Frequently Asked Questions
I get so many questions about this dessert that I thought I’d answer the most common ones right here! First up – yes, absolutely you can use store-bought lemon curd. I won’t tell my homemade version if you don’t! Just taste it first to make sure it’s not too sweet for your liking.
How long does it really need to chill?
The full 4 hours is crucial, friends! I know it’s tempting, but that chilling time lets everything set up perfectly. Once, I got impatient after 2 hours – let’s just say we had lemon soup instead of slices! Overnight is ideal if you can wait.
Can I make this ahead for a party?
Oh honey, this dessert was MADE for prepping ahead! In fact, it tastes even better after 24 hours in the fridge. Just keep it covered tight with plastic wrap pressed right on the surface. No stress, no last-minute oven drama – just lemony perfection ready when you are.
What’s the easiest way to cut clean slices?
Here’s my trick – dip your knife in hot water and wipe it clean between each cut. The heat glides right through that creamy filling like magic! Also helps if you score the top lightly first so you know where to make your slices.
Can I substitute anything for the heavy cream?
I’ve tried with whipped topping in a pinch, but honestly? Nothing beats real whipped cream for that dreamy texture. If dairy’s an issue, coconut cream works pretty well too – just make sure to chill the can overnight first!
Rate This Recipe
Did you make this dreamy No-Bake Lemon Dessert? I’d love to hear how it turned out! Drop me a rating or comment below – your feedback makes my day and helps other lemon lovers too!
No-Bake Lemon Dessert
Ingredients
Equipment
Method
- Mix graham cracker crumbs, melted butter, and sugar in a bowl.
- Press the mixture into the bottom of a 9×13-inch baking dish.
- Beat cream cheese, powdered sugar, and vanilla extract until smooth.
- Fold in whipped cream and lemon curd.
- Spread the filling over the crust.
- Refrigerate for at least 4 hours before serving.