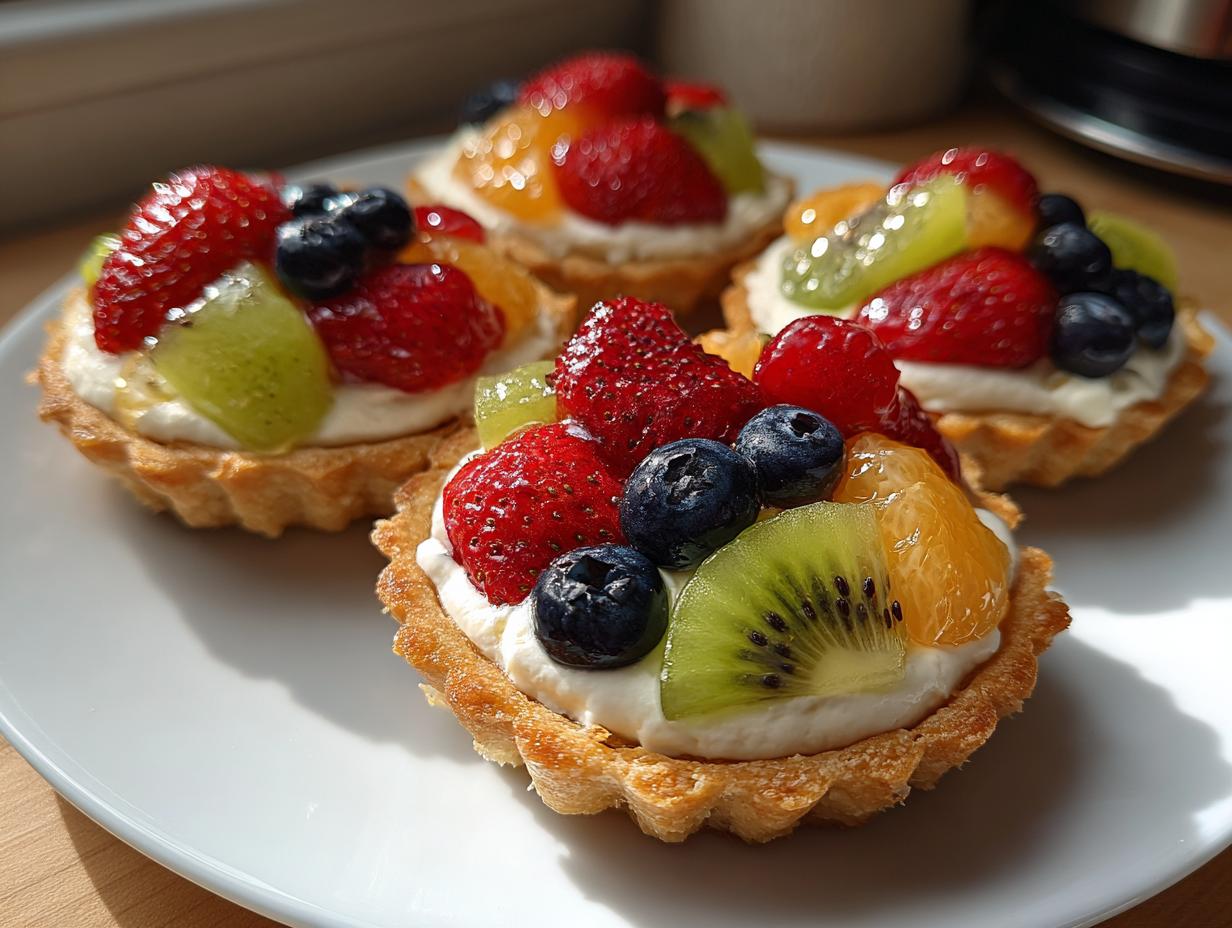
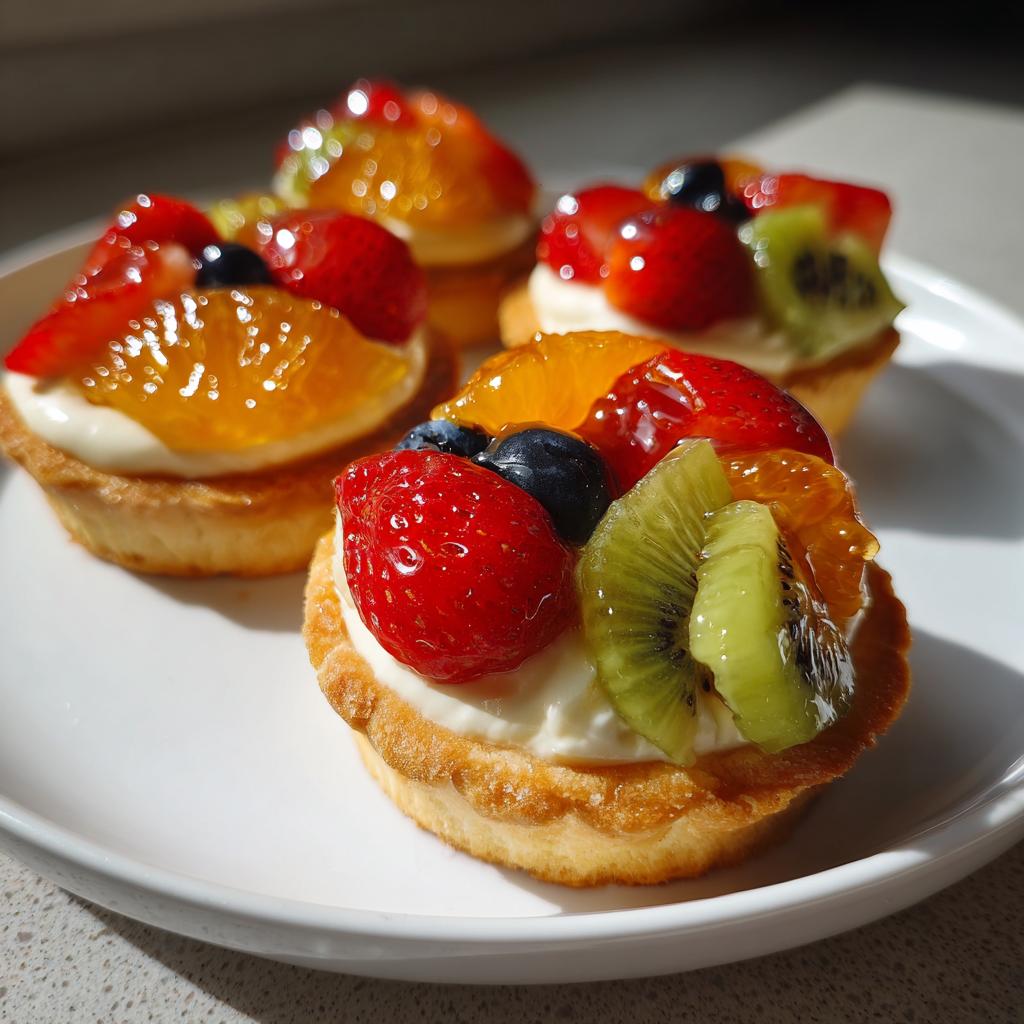
Oh my goodness, have you ever seen anything more adorable than mini fruit tartlets? I first made these little beauties for my niece’s baby shower last summer, and let me tell you – they disappeared faster than you can say “seconds please!” There’s just something magical about that crisp buttery crust paired with velvety cream filling and jewel-like fresh fruit on top. Whether you’re hosting a fancy tea party or just want to treat yourself, this mini fruit tartlets recipe is my go-to for a dessert that looks fancy but is secretly easy to make. Trust me, once you try them, you’ll be hooked just like my family was!
What I love most about these tartlets is how they feel special without being fussy. The first time I brought them to a potluck, my friend Sarah thought I’d bought them from a fancy bakery! That crisp shortbread-like crust? Pure heaven. The creamy filling? Like eating a cloud. And the fruit? Well, that’s where you can really play – I’ve used everything from juicy summer berries to tropical mango slices. They’re perfect for any occasion, and I promise they’ll make you look like a pastry chef even if you’re more of a “measure with your heart” kind of cook like me. Check out more of my favorite dessert recipes if you’re looking for other sweet treats to try!
Why You’ll Love This Mini Fruit Tartlets Recipe
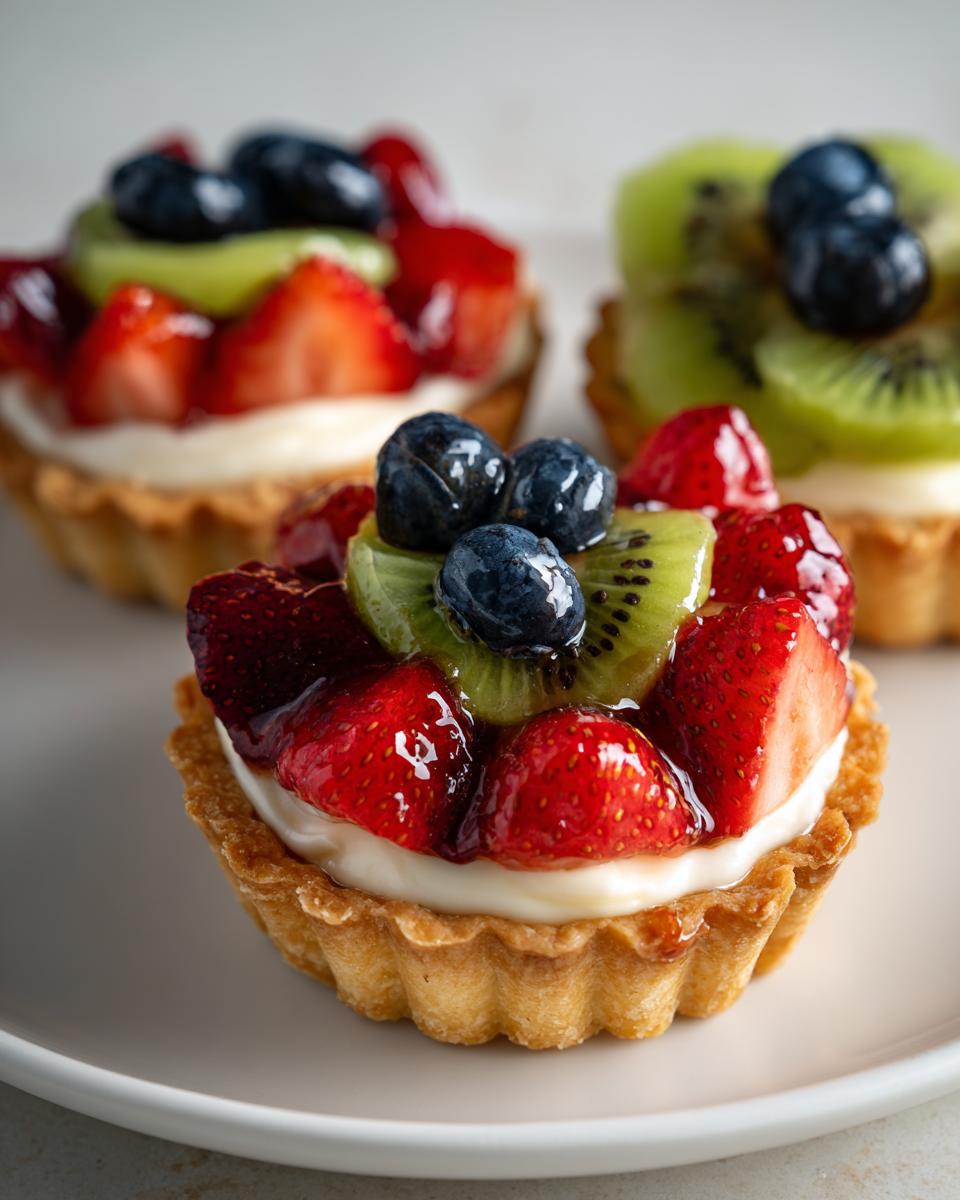
Let me count the ways these little gems will steal your heart! First off, they’re ridiculously easy to make – no fancy pastry skills required. Just roll, cut, and fill. The fruit topping means you can use whatever’s in season (I’m partial to summer berries, but kiwi slices look gorgeous too). They’re the perfect party trick – elegant enough for bridal showers but simple enough for Tuesday night dessert. And that glossy apricot glaze? It makes them look straight out of a Parisian patisserie window!
Ingredients for Mini Fruit Tartlets
Alright, let’s gather our goodies! I’ve learned through many batches that quality ingredients make all the difference with these tartlets. Here’s exactly what you’ll need – and trust me, don’t skip chilling that butter!
For the Crust
This is where the magic starts – that perfect crisp-but-tender base that makes these tartlets irresistible:
- 1½ cups all-purpose flour (spooned and leveled, please!)
- ½ cup unsalted butter – cold and cubed (I keep mine in the freezer for 15 minutes before using)
- ¼ cup granulated sugar (the fine crystals help create that lovely texture)
- 1 egg yolk (save the white for an omelet!)
- 2 tablespoons ice water (literally toss an ice cube in your measuring cup)
For the Filling
The creamy dreamy part that makes everyone go “mmmm”:
- 1 cup heavy cream (cold is best for whipping)
- 8 oz cream cheese – softened (leave it out for 30 minutes, no cheating with the microwave!)
- ½ cup powdered sugar (sifted if you’re feeling fancy)
- 1 teaspoon vanilla extract (the real stuff, not imitation)
For the Topping
Where you can get creative with colors and flavors:
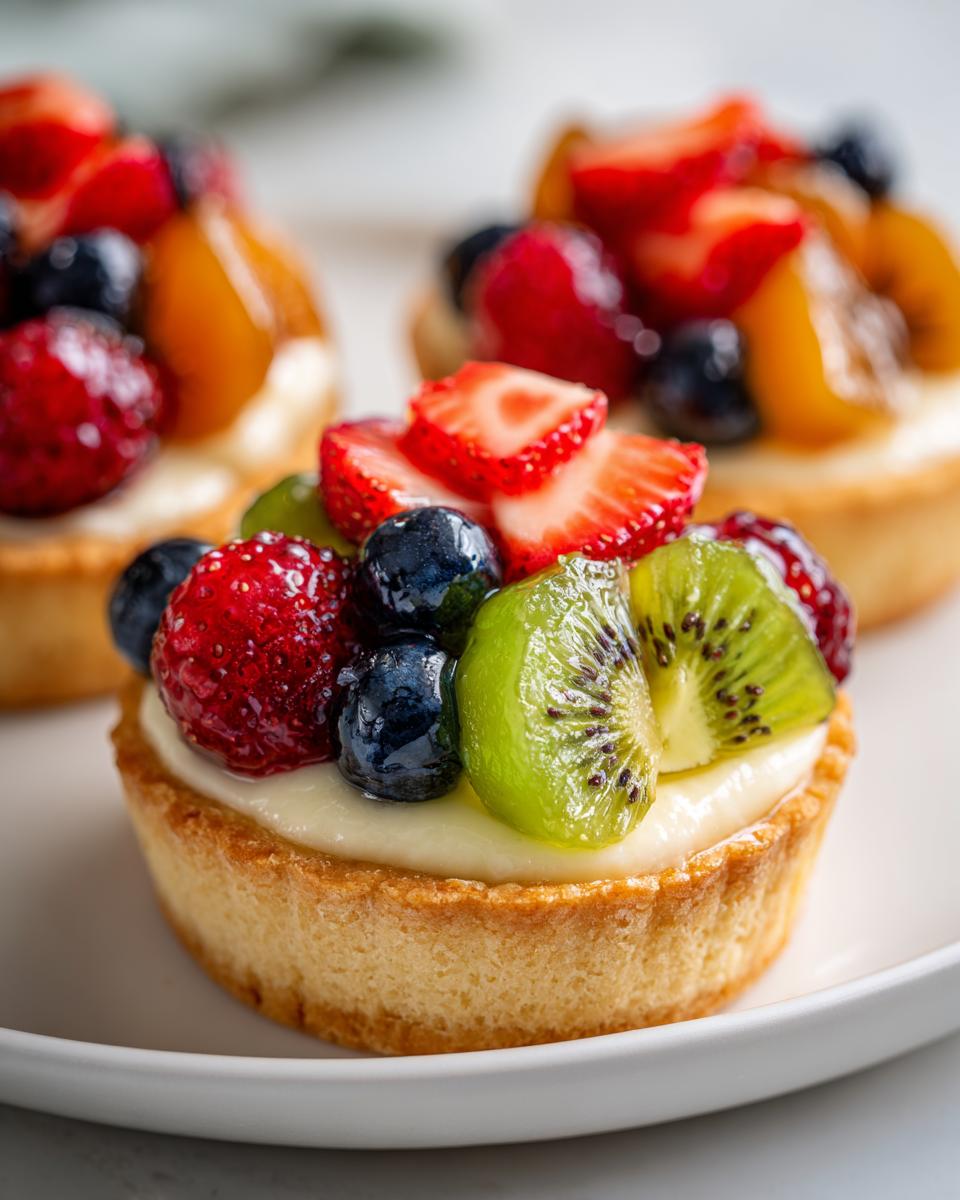
- 2 cups mixed fresh fruit (I love strawberries, blueberries, and kiwi – but use what’s in season)
- ¼ cup apricot jam (for that gorgeous glossy finish – microwave it for 10 seconds to make it brushable)
See? Nothing too crazy ingredient-wise, but each one plays a special role. Now let’s turn these into little edible masterpieces!
How to Make Mini Fruit Tartlets
Okay, let’s get these little beauties made! I promise it’s easier than you think. The first time I tried making tartlets, I overthought everything. Now I’ve got this process down to a happy rhythm.
1. Prep the crust like a pro
Preheat your oven to 375°F (190°C) and grease that muffin tin – I use butter because, well, more butter never hurt anyone! Now, here’s my trick: pulse the flour, sugar and cold butter in a food processor until it looks like coarse sand. Don’t overmix – you want pea-sized butter bits remaining. Add the egg yolk and ice water, pulsing just until the dough starts clumping.
2. Roll and bake to golden perfection
Turn the dough out onto a lightly floured surface (I use my clean countertop) and gently knead just until it comes together. Roll it out to about ¼ inch thick – no need to be perfect here! Use a round cutter (or a glass in a pinch) to cut circles slightly larger than your muffin cups. Gently press them in, prick bottoms with a fork, and bake 12-15 minutes until they’re that perfect golden brown. Let them cool completely – I know it’s hard to wait!
3. Whip up that dreamy filling
While the crusts cool, let’s make the filling that’ll make everyone say “wow!” Beat the heavy cream to stiff peaks – when you lift the beaters, the peaks should stand straight up. In another bowl, mix the softened cream cheese (no lumps!), powdered sugar and vanilla until smooth. Then gently fold in the whipped cream. Pro tip from my many fails: don’t stir vigorously or you’ll deflate all that air!
4. Assemble your edible jewels
Spoon or pipe the filling into cooled crusts, leaving a little room for fruit. Now the fun part – arrange your fresh fruit in pretty patterns. I sometimes do concentric circles for berries, or fan slices for kiwi and strawberries. Get creative here! For an extra touch, try my no-bake Oreo cheesecake filling variation with crushed cookies mixed in.
5. Glaze and chill
Warm the apricot jam just until brushable (10 seconds in microwave does it) and gently dab over the fruit. This gives that gorgeous glossy finish! Then – the hardest part – chill for at least 30 minutes before serving. Trust me, it’s worth the wait!
Tips for Perfect Mini Fruit Tartlets
My battle-tested secrets for tartlet success? Keep that butter ice-cold for flaky crusts – I actually freeze mine cubed. Chill the dough 15 minutes before rolling – less sticky that way. And when whipping cream, make sure your bowl and beaters are chilled too. Don’t skip glazing – it adds shine AND keeps fruit fresh longer. Most importantly? Have fun with it – imperfect fruit arrangements taste just as delicious!
Variations for Mini Fruit Tartlets
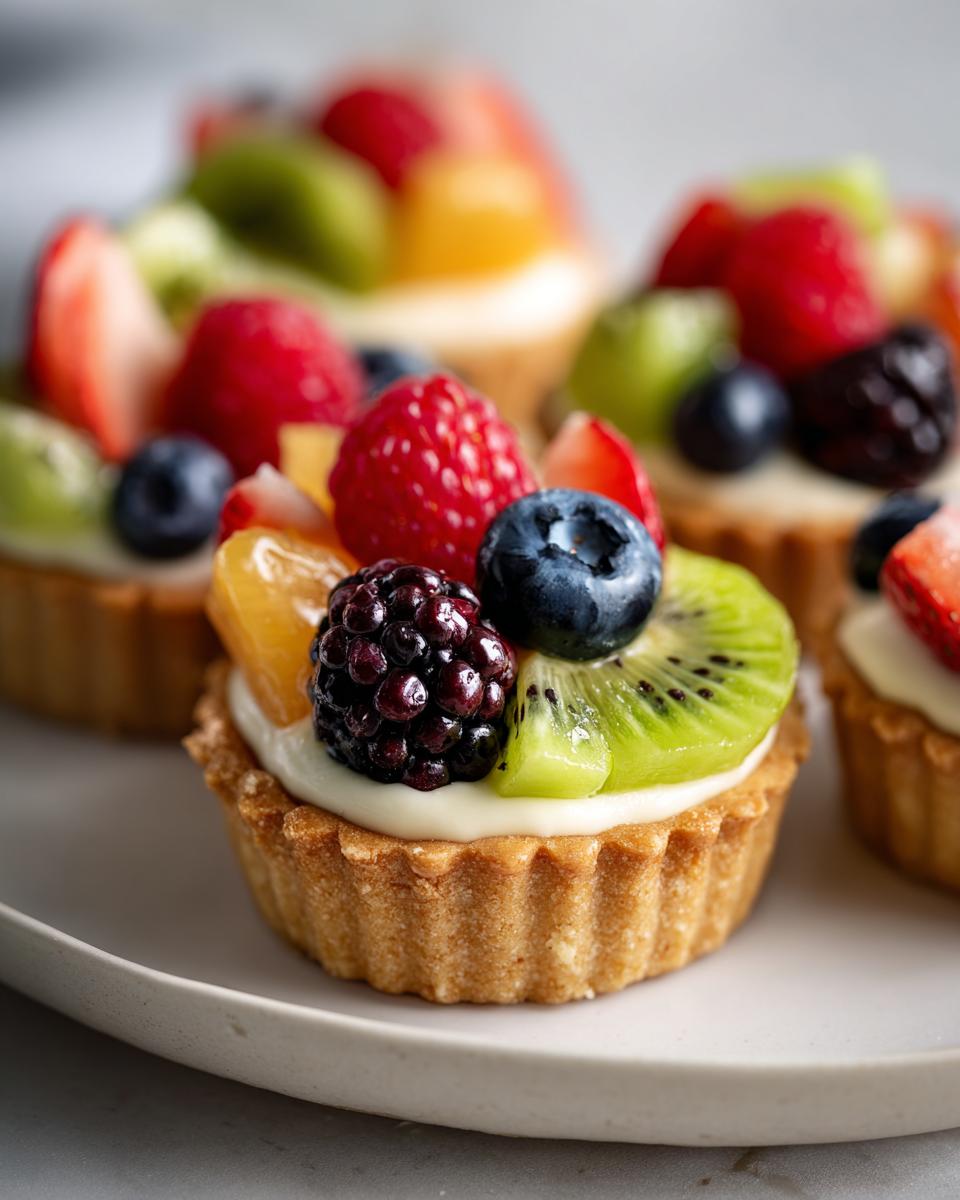
Oh, the fun we can have with these little tartlets! Once you master the basics, the variations are endless. My absolute favorite is swapping the vanilla filling for lemon zest – that bright citrusy tang pairs perfectly with berries. Feeling chocolatey? Fold in some melted chocolate to the filling (just don’t tell my nutritionist!). For tropical vibes, go wild with mango, pineapple, and kiwi – it’s like a vacation in every bite. Gluten-free? Almond flour makes a surprisingly delicious crispy crust. The best part? Every season brings new fruit inspiration!
Serving and Storing Mini Fruit Tartlets
Here’s the deal with these little cuties – they’re absolute perfection when served chilled straight from the fridge! I like to arrange them on a pretty platter with some mint leaves for that extra pop of color. They’ll keep beautifully in the refrigerator for up to 2 days, but let’s be real – they never last that long in my house! The crust stays crispest when eaten the same day, so I always tell my family “enjoy them while they’re fresh!” If you must store them, just loosely cover with plastic wrap to protect those gorgeous fruit toppings.
Nutritional Information for Mini Fruit Tartlets
Now, I’m no nutritionist, but I can tell you these little treats pack some goodness along with all that deliciousness! The fresh fruit gives you vitamins, and that creamy filling offers protein – though let’s be honest, we’re here for the taste, right? Keep in mind these numbers are just estimates – they’ll change based on your exact ingredients and fruit choices. My philosophy? Everything in moderation – including moderation itself when it comes to these irresistible tartlets!
FAQs About Mini Fruit Tartlets
Okay, let’s tackle those questions I always get from friends trying this recipe for the first time. Trust me, I’ve made every mistake so you don’t have to!
Can I make mini fruit tartlets ahead of time?
Absolutely! Here’s my trick: bake the crusts and store them at room temp for up to a day. Make the filling separately and keep it chilled. Assemble with fruit just before serving – that way nothing gets soggy! The apricot glaze helps protect the fruit if you need them ready a few hours early.
Can I use frozen fruit instead of fresh?
You can, but hear me out – frozen fruit releases more juice as it thaws, which can make things messy. If you’re in a pinch, thaw completely and pat dry with paper towels first. Better yet? Mix frozen berries into the filling and use fresh on top for that perfect finish.
How do I prevent soggy crusts?
Oh friend, I learned this the hard way! Three golden rules: 1) Completely cool crusts before filling. 2) Don’t overfill with cream. 3) That apricot glaze? It’s not just pretty – it creates a moisture barrier between filling and fruit. Also, serving same-day helps (not that they ever last that long!)
What’s the best way to store leftovers?
If by some miracle you have leftovers (it’s happened exactly once in my house), loosely cover with plastic wrap and refrigerate. They’re best within 24 hours – the crust starts softening after that. I don’t recommend freezing assembled tartlets, but you can freeze the baked shells for up to a month!
Mini Fruit Tartlets
Ingredients
Equipment
Method
- Preheat the oven to 375°F (190°C). Lightly grease a muffin tin.
- In a food processor, combine flour, butter, and sugar. Pulse until the mixture resembles coarse crumbs.
- Add the egg yolk and ice water. Pulse until the dough comes together.
- Roll out the dough on a floured surface to 1/4-inch thickness. Cut into circles and press into the muffin tin.
- Bake for 12-15 minutes until golden. Let cool completely.
- Beat the heavy cream until stiff peaks form. In another bowl, mix cream cheese, powdered sugar, and vanilla until smooth. Fold in the whipped cream.
- Spoon the filling into the cooled crusts. Top with fresh fruit.
- Warm the apricot jam and brush over the fruit for a glossy finish. Chill for 30 minutes before serving.
Nutrition
Notes
Tried this recipe?
Let us know how it was!For more amazing recipes, be sure to check out our other sections to explore a variety of ideas that will enrich your cooking experience. Each section offers its own unique flavors to ensure a delightful culinary journey:
Easy and Quick Recipes: A collection of dishes that guarantee delicious meals with minimal effort and time.
Healthy Recipes: Discover healthy and delicious options that fit your lifestyle.
Desserts: A diverse selection of sweets that will add a special touch of sweetness to your table.
Lunch Recipes: Tasty lunch ideas that you can easily prepare to delight your family.
Dinner Recipes: Delicious and easy-to-make recipes that will make your dinner a memorable occasion.