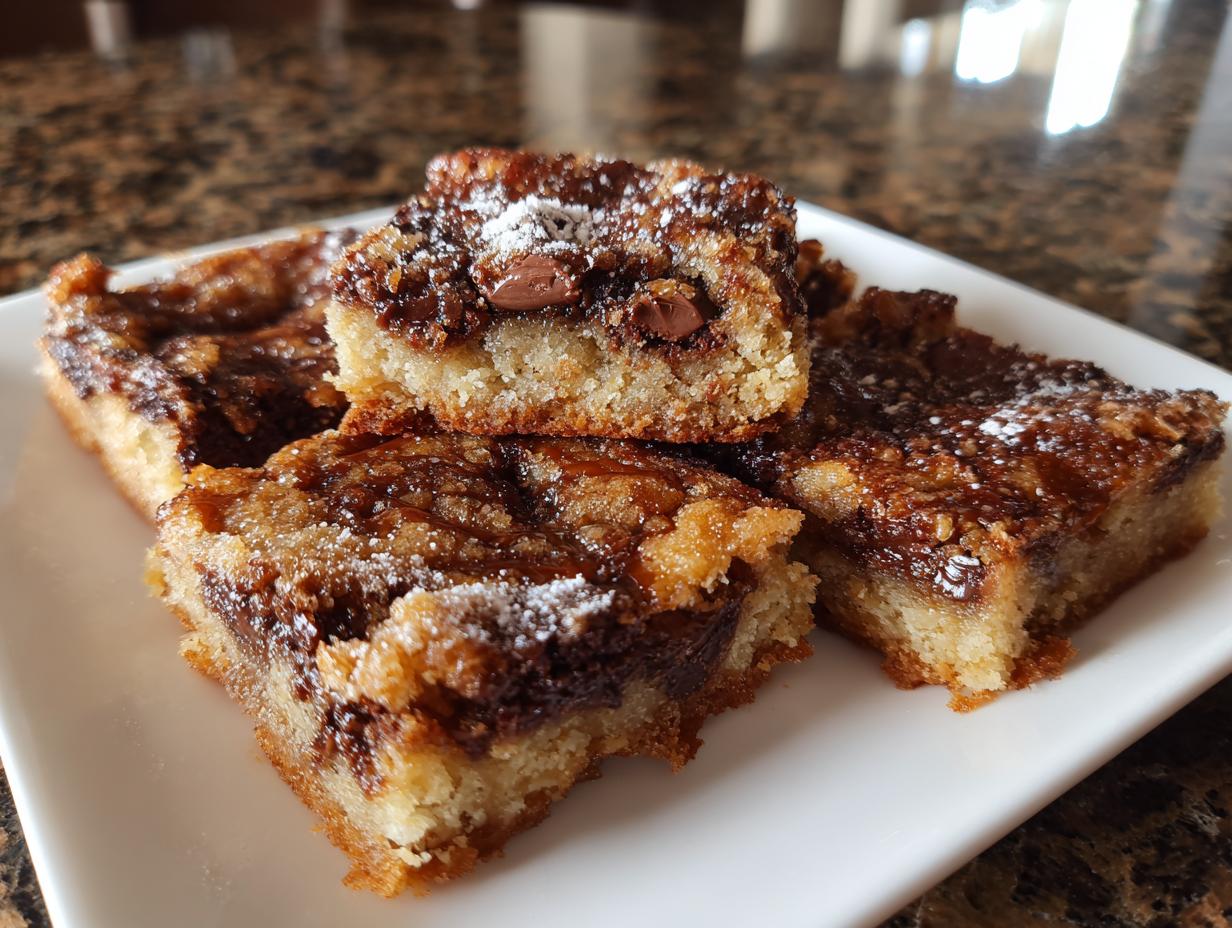
You know those days when you just need a little something sweet? That’s when my go-to homemade sweet snacks come to the rescue! Whether it’s a quick after-school treat for the kids or a last-minute dessert for unexpected guests, this recipe never lets me down. I remember the first time I made these with my niece—her eyes lit up when she saw the melted chocolate bubbling in the oven. The best part? You only need a handful of pantry staples and about 30 minutes. Trust me, once you try these, you’ll be hooked. They’re the perfect blend of buttery, crunchy, and oh-so-sweet—just like grandma used to make, but even easier!
Why You’ll Love These Homemade Sweet Snacks
Oh my gosh, where do I even start with why these little treats are the absolute best?
- Quick and easy: 15 minutes to mix up and only about 20 minutes in the oven – perfect for last-minute cravings!
- Basic ingredients: Just flour, sugar, butter and chocolate – things I always have in my kitchen.
- Customizable: Don’t have nuts? No problem! Use coconut, dried fruit or even crushed cookies instead.
- Crowd pleaser: My neighbors swear these are better than store-bought cookies (and I won’t tell them how simple they are!).
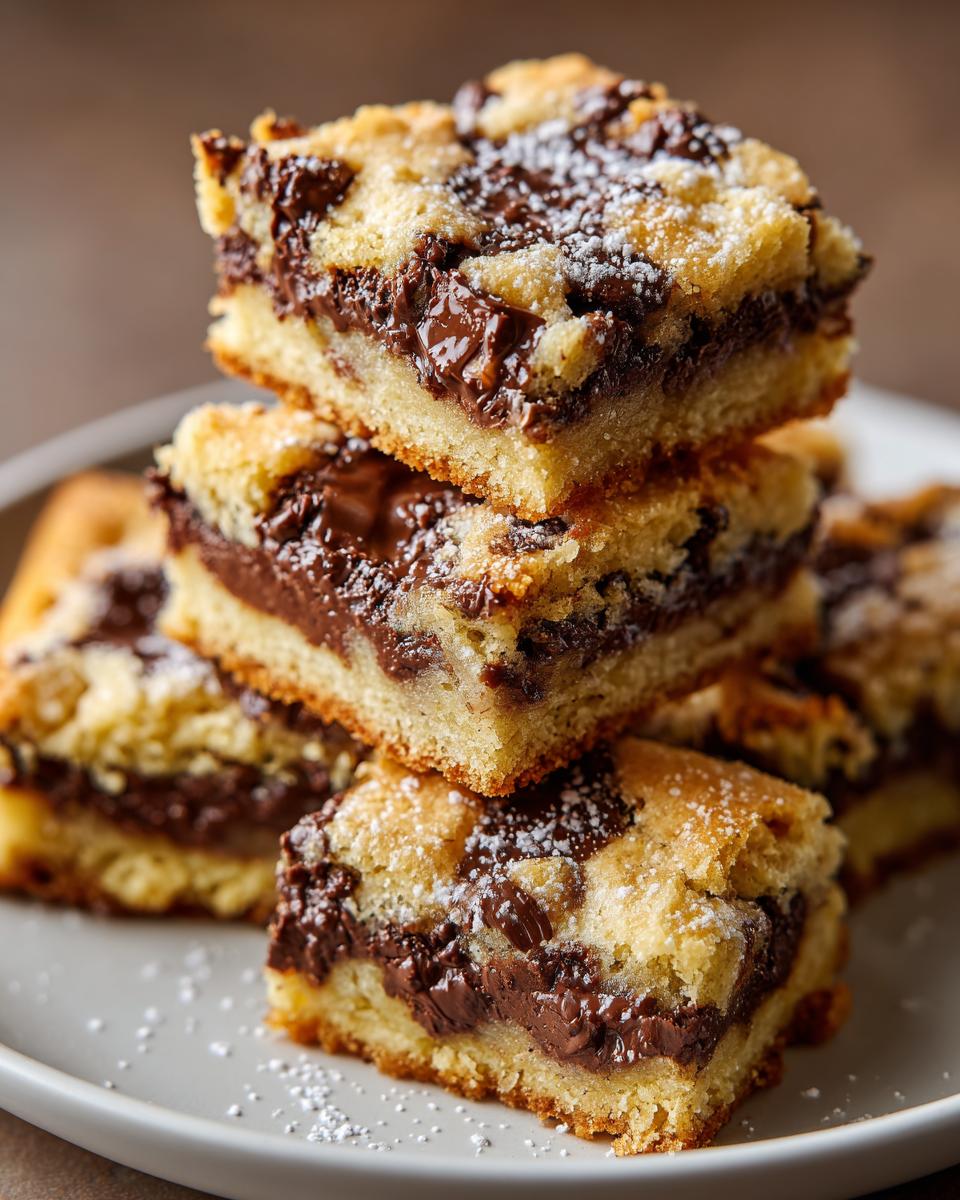
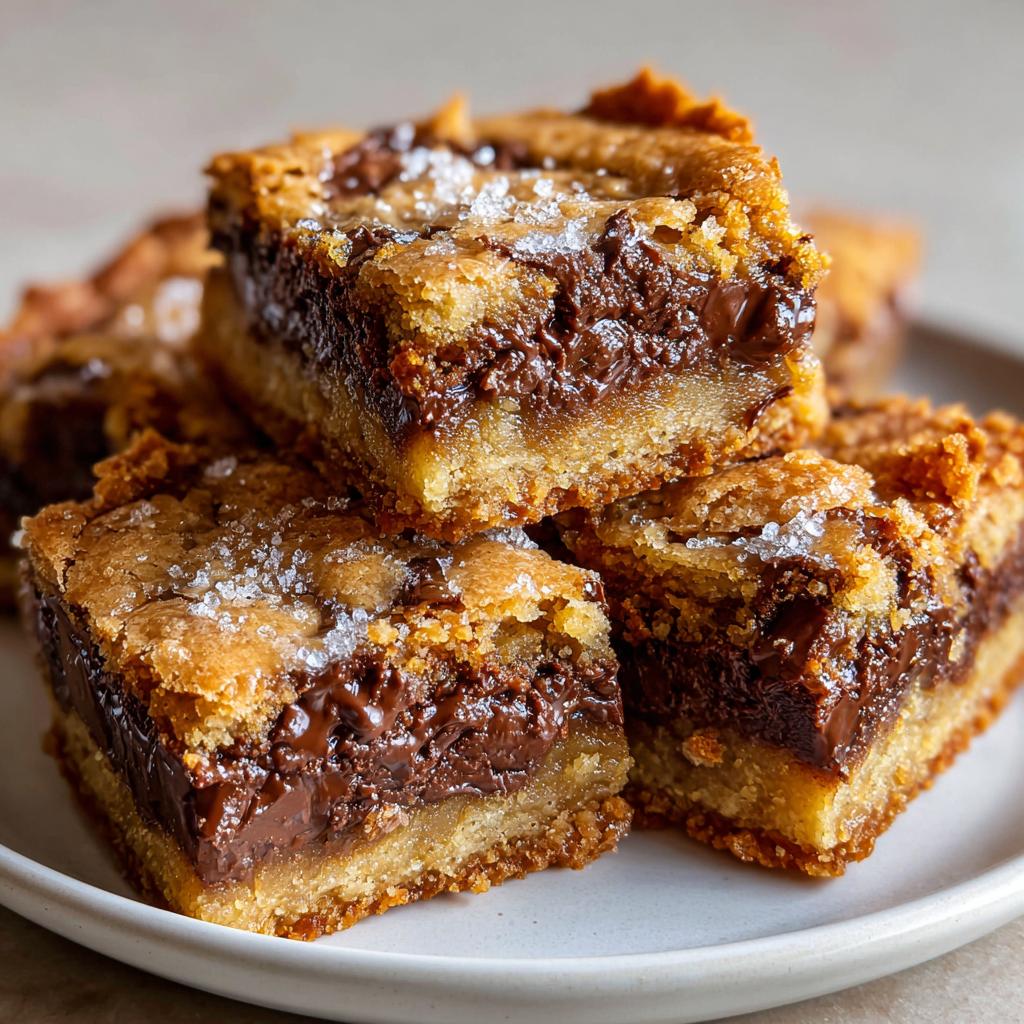
- Perfect texture: That magical combo of crispy edges and gooey chocolate middle makes everyone grab seconds.
Seriously, these snacks have saved me more times than I can count when surprise guests arrive or the kids beg for “just one little treat.”
Ingredients for Homemade Sweet Snacks
Okay, let’s gather our simple ingredients – I promise you probably have most of these in your pantry right now! The magic of this recipe is how ordinary ingredients transform into something extraordinary. I’ve divided everything into two parts because that’s how I always set up my workspace – base ingredients on the left, toppings on the right. It keeps me from forgetting anything (which happens more than I’d like to admit!).
For the Base
- 1 cup all-purpose flour (spooned and leveled – don’t pack it!)
- ¼ cup sugar (I use regular granulated, but brown sugar works too for a caramel twist)
- ½ cup butter, melted (real butter please – it makes all the difference!)
For the Topping
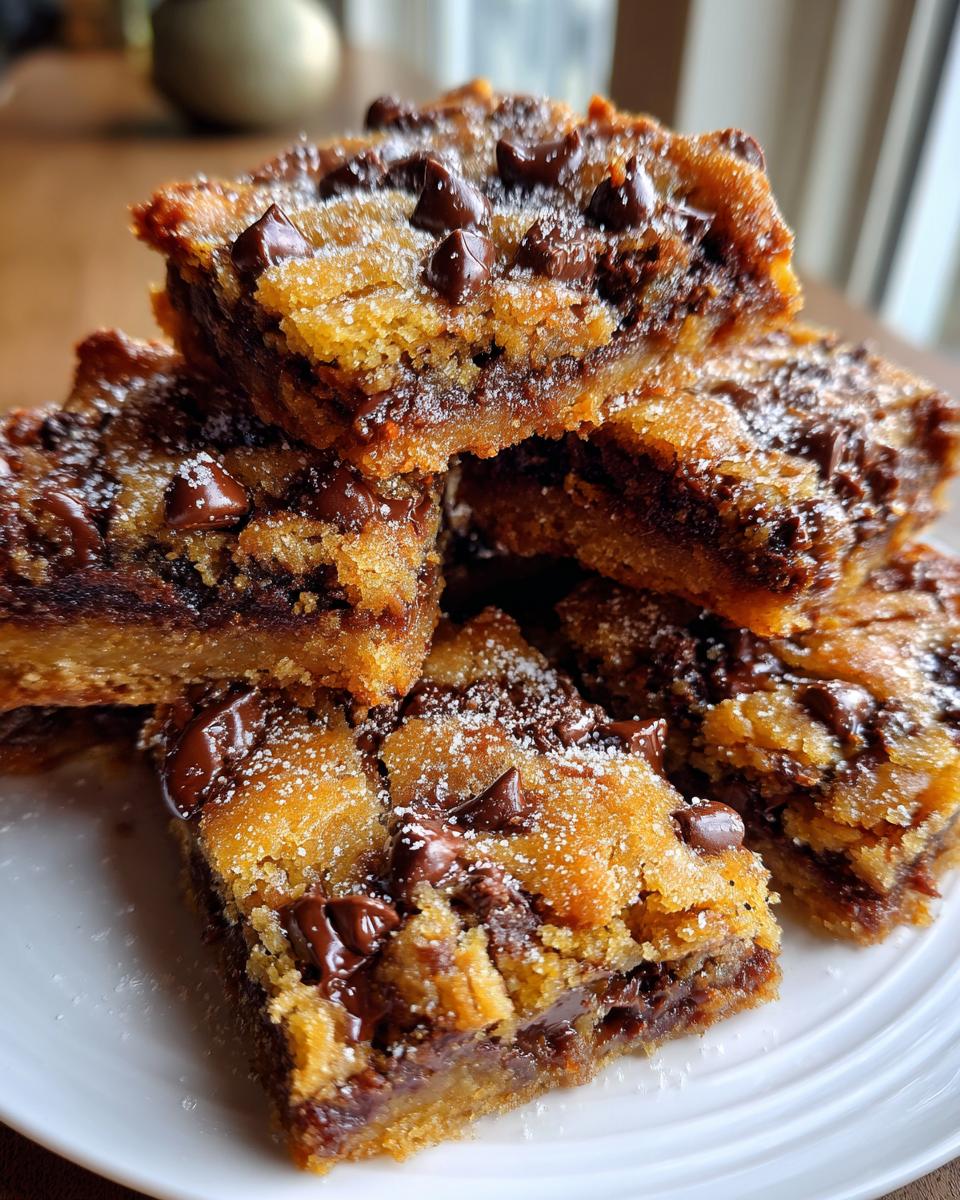
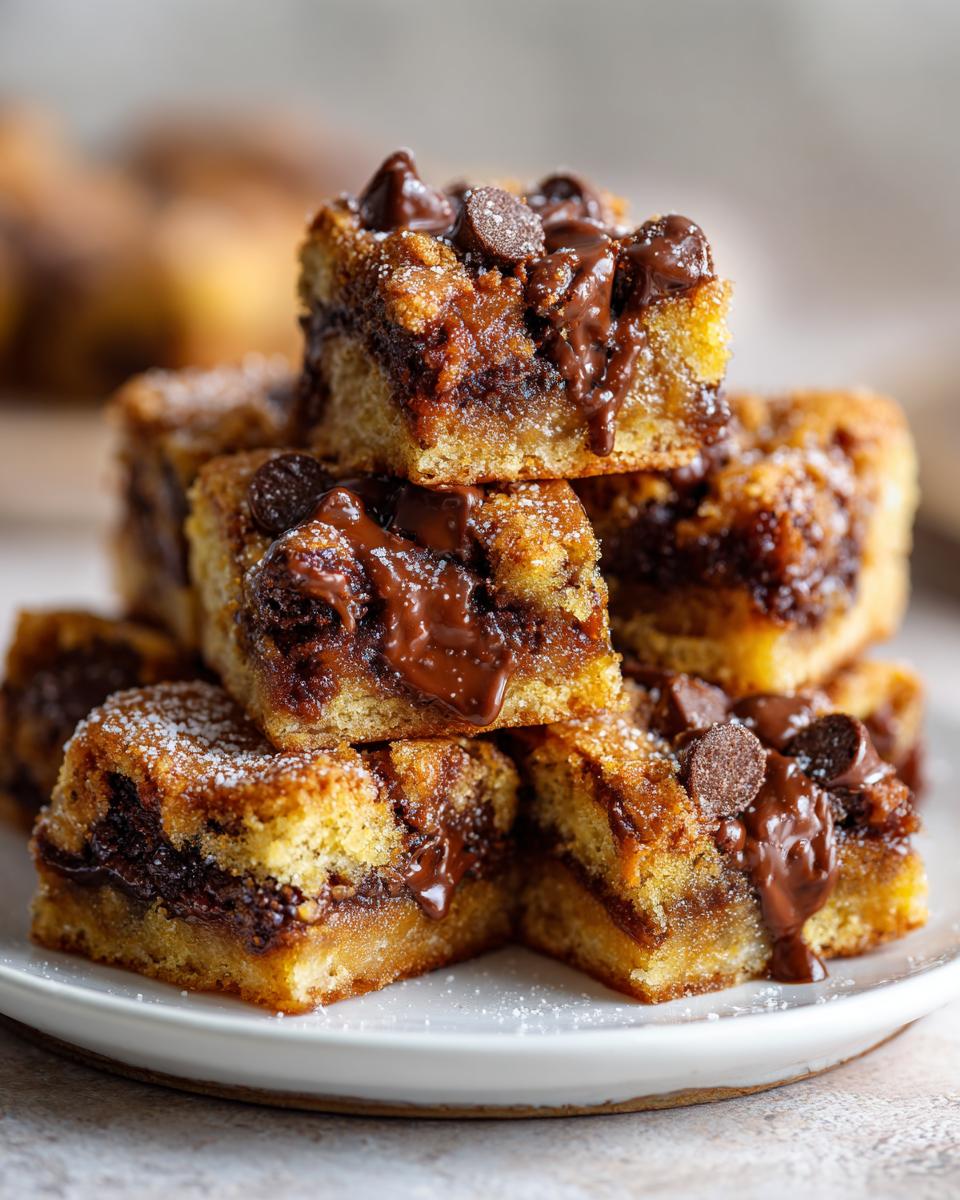
- ½ cup chocolate chips (I’m partial to semi-sweet, but use whatever you love)
- ¼ cup chopped nuts (optional, but walnuts or pecans add amazing crunch)
See? Told you it was simple! These basic ingredients come together to create magic. If you want to explore more dessert ideas, check out our desserts collection for inspiration. Now let’s get mixing!
How to Make Homemade Sweet Snacks
Now for the fun part – let’s turn those simple ingredients into something seriously delicious! I’ve made these so many times I could do it in my sleep, but I’ll walk you through each step carefully. The trick is not to overthink it – just follow your instincts and have fun with it. Trust me, even if you’re new to baking, you can’t mess these up too badly!
Step 1: Prepare the Base
First things first – preheat that oven to 350°F (180°C). While it’s heating up, grab your melted butter (cooled just slightly so it doesn’t cook the flour!) and stir it into the sugar until they’re best friends. Then gently fold in the flour – don’t overmix here! You want it to just come together in a soft, slightly crumbly dough. When you press it between your fingers, it should hold together nicely but not feel sticky. That’s your sign it’s perfect!
Step 2: Add the Toppings
Now take that beautiful base and press it evenly into your baking tray. I like using my fingers – there’s something so satisfying about spreading it out! Then comes the best part – sprinkling on those chocolate chips and nuts. I go heavy on the chocolate because… well, why wouldn’t you? Distribute them evenly so every bite gets some love. Feeling fancy? Add a pinch of sea salt on top before baking – it makes the flavors pop!
Step 3: Bake and Cool
Pop your creation in the oven and set a timer for 20 minutes. About halfway through, give your kitchen a sniff – that buttery, chocolatey aroma is heavenly! When the edges turn that perfect golden brown, they’re done. Here’s the hard part – let them cool completely before cutting. I know, the temptation is real, but this is when the magic happens as the melted chocolate sets. Pro tip: Use a plastic knife to cut them once cooled – it glides through without crumbling!
Tips for Perfect Homemade Sweet Snacks
Alright, let me share all my hard-earned kitchen wisdom for making these sweet snacks absolutely foolproof! After burning more trays than I’d care to admit (who knew ovens could vary so much?), I’ve perfected my technique. Here’s everything I wish someone had told me when I first started making these addictive little treats.
- Butter matters: Melt it but let it cool slightly – too hot and it’ll make your base greasy, too cold and it won’t incorporate well.
- Oven check: My old oven runs hot, so I always do a quick test with an oven thermometer. Nothing worse than burnt edges and raw centers!
- Storage secret: Tuck a piece of bread in the container with your snacks – it keeps them fresh and chewy for days (if they last that long!).
- Cutting trick: Let them cool completely before slicing – I know it’s tempting, but warm snacks crumble like crazy.
- Pan prep: Line your tray with parchment paper for foolproof removal. No scraping needed!
Want to know more about my kitchen adventures? Check out my about page where I share all my best baking fails (and successes!). And remember – even if they’re not picture perfect, homemade treats always taste better when made with love (and chocolate).
Variations of Homemade Sweet Snacks
Here’s where you can really have fun – these sweet snacks are like a blank canvas waiting for your creative touch! My family loves testing new combinations. Last week, my nephew wanted “rainbow snacks,” so we used white chocolate chips mixed with colorful sprinkles (messy but adorable). The week before, I swapped nuts for crushed pretzels – salty-sweet perfection! Here are some of my favorite easy twists:
- Fruit lovers: Swap chocolate chips for dried cranberries or chopped dates – adds a chewy, caramel-like sweetness
- Chocolate overload: Mix semisweet, milk, AND white chocolate chips for variety in every bite
- Spiced version: Add ½ tsp cinnamon + pinch of nutmeg to the base – smells like Christmas morning!
- Coconut dream: Toss shredded coconut with the chocolate chips – tropical vibes in every square
Honestly? Half the fun is coming up with your own signature version. Just keep the base proportions the same and let your imagination run wild with toppings!
Serving and Storing Homemade Sweet Snacks
Oh, the joy of pulling these golden beauties out of the oven – now let’s talk about the best ways to enjoy them! I love serving these warm with a cold glass of milk – the way the chocolate gets all melty again is pure magic. For grown-up gatherings, pair them with strong coffee or vanilla ice cream for an extra special treat. My kids go crazy when I pack these in their lunchboxes (though they never make it to lunchtime!).
Storage is a breeze – just pop them in an airtight container at room temperature. They’ll stay fresh for about 3 days… if they last that long! For longer keeping, you can freeze them for up to a month – though I can’t promise they won’t mysteriously disappear from your freezer first!
Nutritional Information
Now, I’m no nutritionist (I’m the one sneaking extra chocolate chips into everything!), but here’s the scoop on what’s in these sweet snacks. Keep in mind these are just estimates – every brand of butter, chocolate, and flour can change the numbers slightly. Each delicious square has about 250 calories, with that perfect balance of crispy, buttery goodness and melty chocolate. They’re definitely an occasional treat rather than a health food – but who’s counting when they taste this good? Just enjoy them guilt-free in moderation!
Frequently Asked Questions
Can I use gluten-free flour for this recipe?
You sure can! I’ve had great results using a 1:1 gluten-free flour blend. Just make sure it contains xanthan gum – that helps keep everything together since we’re not using eggs in this recipe. The texture comes out slightly more crumbly but still delicious!
How long do these homemade sweet snacks last?
Stored in an airtight container at room temperature, they stay fresh for about 3 days. If you want them to last longer (though they rarely do in my house!), you can freeze them for up to a month. Just thaw at room temperature when you’re ready to enjoy them.
Can I substitute the chocolate chips?
Absolutely! That’s what makes this recipe so fun. I’ve used white chocolate chips, butterscotch chips, even chopped up candy bars when I’m feeling adventurous. Just keep the same measurement (½ cup) so the topping doesn’t overwhelm the base.
Got more questions? I’d love to hear from you! Feel free to contact me anytime – I’m always happy to chat about baking.
Homemade Sweet Snacks
Ingredients
Equipment
Method
- Preheat the oven to 350°F (180°C).
- Mix flour, sugar, and melted butter in a bowl until combined.
- Press the mixture into a baking tray to form a base.
- Sprinkle chocolate chips and nuts evenly over the base.
- Bake for 20 minutes or until golden brown.
- Let cool before cutting into squares.
Nutrition
Notes
Tried this recipe?
Let us know how it was!For more amazing recipes, be sure to check out our other sections to explore a variety of ideas that will enrich your cooking experience. Each section offers its own unique flavors to ensure a delightful culinary journey:
Easy and Quick Recipes: A collection of dishes that guarantee delicious meals with minimal effort and time.
Healthy Recipes: Discover healthy and delicious options that fit your lifestyle.
Desserts: A diverse selection of sweets that will add a special touch of sweetness to your table.
Lunch Recipes: Tasty lunch ideas that you can easily prepare to delight your family.
Dinner Recipes: Delicious and easy-to-make recipes that will make your dinner a memorable occasion.