Oh, homemade candy recipes! Just the thought takes me back to standing on a stool in my grandma’s kitchen, sticky fingers clutching a wooden spoon while she taught me to stir bubbling sugar into magical sweets. That’s the beautiful thing about making candy at home—it’s not nearly as hard as people think, and the results? Pure edible happiness!
There’s something special about turning just sugar, water, and a dash of corn syrup into glossy, sweet creations that make people’s eyes light up. Whether you want to recreate childhood favorites or whip up something new, homemade candy recipes are my go-to for quick treats that feel extra special. I still make that first brittle recipe my grandma showed me every Christmas, and now my own kids beg to help crack the cooled sheets into pieces—though half the pieces mysteriously disappear before they make it to the cookie tin!

If you’re looking for easy dessert recipes, homemade candy is a fantastic place to start. Just wait until you see how simple it is to create these sweet wonders in your own kitchen!
Why You’ll Love These Homemade Candy Recipes
Trust me, once you try making these, you’ll wonder why you ever bought store-bought candy! Here’s why this recipe is a total game-changer:
- Quick & easy: From saucepan to cooling rack in under 30 minutes – perfect for last-minute cravings
- Endlessly customizable: Swap vanilla for peppermint, add food coloring, or mix in crushed nuts – it’s your candy canvas!
- Impressive results: That glossy, professional-looking finish? Way easier than you’d think
- Gift-worthy: Package in pretty jars or bags – homemade sweets make the most heartfelt presents
Seriously, watching sugar transform into candy never gets old. It’s like kitchen magic anyone can master!
Ingredients for Homemade Candy Recipes
Here’s the beautiful thing about homemade candy – you probably have most of these ingredients in your pantry right now! I love recipes that don’t require fancy shopping trips. Just gather these simple ingredients and you’re halfway to sweet success:
For the Candy:
- 1 cup granulated sugar (yes, just plain white sugar – nothing fancy!)
- 1/2 cup water (tap is fine, no need for bottled)
- 1/4 cup light corn syrup (this helps prevent crystallization – don’t skip it!)
- 1 tsp vanilla extract (use the good stuff if you’ve got it)
- 1/4 tsp salt (trust me, it makes all the difference)
See? Told you it was simple! The magic happens in how you combine these basic ingredients. I always double check my measurements before starting – sugar work waits for no one once it gets going. Now grab your saucepan and let’s make some candy!
Equipment Needed for Homemade Candy Recipes
Okay, let’s talk tools! The great news? You don’t need fancy equipment to make amazing homemade candy. Just grab these basics from your kitchen:
- Saucepan: A medium-sized one with a heavy bottom works best – helps prevent hot spots that can burn your sugar
- Baking sheet: Any standard sheet pan will do, but rimmed edges help contain the molten sugar
- Parchment paper: Absolute lifesaver for easy cleanup and preventing sticky disasters
- Candy thermometer: My non-negotiable! Takes the guesswork out of hitting that perfect 300°F hard crack stage
Don’t have a candy thermometer? You can use the cold water test in a pinch (drop a bit in ice water – it should crack when bent). But honestly, investing in a simple thermometer makes candy-making so much less stressful. I keep mine hanging right by the stove!
How to Make Homemade Candy Recipes
Alright, let’s get to the fun part – turning those simple ingredients into shiny, delicious homemade candy! I’ve made this recipe dozens of times, and I’ll walk you through each step so yours turns out perfect. Just remember – sugar gets HOT, so keep little hands away from the stove during this process!
Step 1: Prepare the Baking Sheet
First things first – grab that baking sheet and line it with parchment paper. This isn’t just for easy cleanup (though that’s a nice bonus!). The parchment creates a non-stick surface so your beautiful candy doesn’t weld itself to the pan. Trust me, scraping stuck candy is no fun – ask my ruined spatula collection!
Step 2: Cook the Sugar Mixture
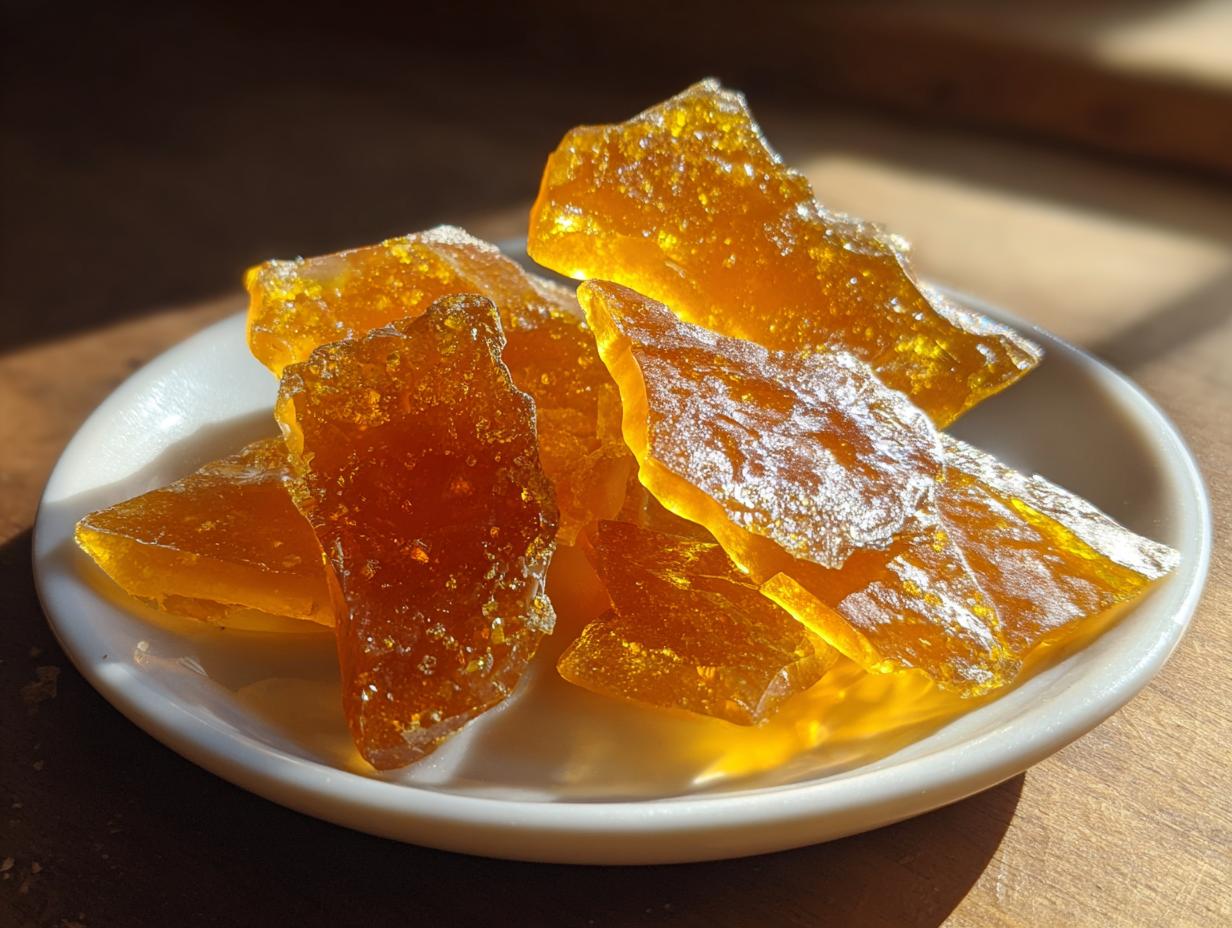
Now for the magic! Combine sugar, water, and corn syrup in your saucepan over medium heat. Stir gently just until the sugar dissolves – then STOP stirring! This is crucial. Once it boils, any stirring can cause crystallization (those yucky sugar chunks). Just let it bubble away until your thermometer hits 300°F (hard crack stage). It’ll go from clear to golden – like liquid sunshine!
Step 3: Add Flavor and Cool
When it hits temperature, pull it off the heat and quickly stir in vanilla and salt. Work fast – the sugar starts setting quickly! Then pour onto your prepared sheet. Let it cool completely (about 30 minutes) before breaking into pieces. The waiting is the hardest part – I may or may not have burned my fingers testing it too soon!
Want to get creative? Try swirling in some melted chocolate like in this homemade chocolate cereal recipe for extra decadence. The possibilities are endless once you’ve mastered this basic technique!
Tips for Perfect Homemade Candy Recipes
After years of sticky fingers and a few candy disasters (we don’t talk about The Great Crystallization Incident of 2018), I’ve learned some foolproof tricks for homemade candy success. These are the tips I wish someone had told me when I first started!
Thermometer is your best friend: That candy thermometer isn’t just a suggestion – it’s your lifeline! Sugar behaves differently at every temperature, and 300°F gives you that perfect hard crack texture. I keep mine clipped to the pan’s side the whole time.
Pick your day: Humid weather? Save candy-making for another time. Moisture makes sugar sticky and prone to crystallization. If your kitchen feels like a rainforest, maybe bake cookies instead!
Storage secrets: Store cooled candy in airtight containers with parchment between layers. Toss in a silica packet if you have one – it absorbs any stray moisture trying to ruin your hard work.
Work fast: When that sugar hits temperature, you’ve got about 30 seconds of work time before it starts setting. Have everything measured and ready to go – this isn’t the time to hunt for your vanilla extract!
Variations for Homemade Candy Recipes
Oh, this is where the real fun begins! Once you’ve mastered the basic recipe, the customization options are endless. I love playing with different flavors and mix-ins – it’s like being a mad scientist, but with sugar!
Try swapping the vanilla for peppermint extract during the holidays – instant candy canes! A few drops of food coloring transforms plain candy into vibrant treats perfect for parties. Feeling fancy? Stir in crushed nuts right before pouring for some crunch. My personal favorite? Swirling in a tablespoon of dark chocolate for a decadent twist.
The best part? Kids adore helping with these variations. My niece once created “rainbow explosion candy” with every food color we owned – messy? Yes. Delicious? Absolutely! What will your signature variation be?
Storing Homemade Candy Recipes
Okay, here’s the deal – homemade candy is amazing, but it turns into a sticky mess if you don’t store it right! I learned this the hard way when my beautiful brittle turned into one giant sugar lump overnight. Here’s how to keep your creations perfect:
First, airtight is everything. I use glass jars with rubber seals or sturdy plastic containers with tight-fitting lids. Layer pieces between sheets of parchment paper – this keeps them from sticking together and saves you from chiseling apart candy shards later!
Second, keep moisture out. Even a little humidity can make your candy weep (yes, that’s the actual term!). If your kitchen tends to be damp, toss in a silica packet or a few grains of rice to absorb moisture. Store in a cool, dry place – not the fridge unless you want chewy candy!
Properly stored, your homemade candy will stay crisp and delicious for about 2 weeks. Though let’s be honest – mine never lasts that long before getting devoured!
Frequently Asked Questions
Can I use honey instead of corn syrup?
Oh, I get this question all the time! While honey seems like a natural swap, it behaves differently than corn syrup in candy-making. Honey can make your candy softer and more prone to crystallization. If you absolutely must substitute, try golden syrup or agave nectar – they’re closer to corn syrup’s properties. But honestly? For your first batch, stick with corn syrup. It’s the secret weapon against grainy candy!
Why did my candy crystallize?
Ugh, crystallization – every candy maker’s nemesis! Usually it happens if you stir after the sugar dissolves (hands off that spoon!) or if sugar crystals stick to the pan sides. Here’s my trick: brush down the sides with a wet pastry brush at the start to dissolve any stray crystals. And remember – once it boils, no stirring allowed! If your candy does crystallize, don’t panic. Melt it down and try again – we’ve all been there!
How long does homemade candy last?
Properly stored in an airtight container (with parchment between layers!), your homemade candy will stay crisp and delicious for about 2 weeks. Though in my house? It’s lucky to last 2 days before disappearing! Humidity is the real enemy here – if your kitchen’s damp, the candy might get sticky faster. Pro tip: If giving as gifts, make it within 3 days of gifting for best texture. Nothing worse than presenting someone with a beautiful candy… that’s turned into one giant sugar blob!
Can I make this without a candy thermometer?
You can… but it’s like baking blindfolded! The cold water test works (drop a bit in ice water – it should crack when bent), but hitting that exact 300°F is tricky without a thermometer. I resisted buying one for years until my third batch of chewy-not-crunchy candy broke me. Now? My $10 thermometer is my candy-making MVP. If you’re serious about homemade candy recipes, it’s worth the small investment!
Why does my candy taste bitter?
Ah, the dreaded burnt sugar taste! This usually means your heat was too high – sugar burns FAST. Medium heat is your friend here – slow and steady wins the candy race. Also, use a light-colored pan so you can see the color change. Dark pans make it hard to spot when things are getting too toasty. If your candy smells like caramel but looks pale gold, you’re golden. If it smells like campfire marshmallows? Time to start over, friend!
Nutritional Information
Just a quick note about nutrition – these homemade candy recipes vary based on the exact ingredients and brands you use. Consider this a general estimate rather than exact numbers. After all, we’re making candy here – let’s focus on the joy of creating something sweet and delicious together!
Homemade Candy
Ingredients
Equipment
Method
- Line a baking sheet with parchment paper and set aside.
- In a saucepan, combine sugar, water, and corn syrup. Stir over medium heat until the sugar dissolves.
- Bring the mixture to a boil without stirring. Cook until it reaches 300°F (hard crack stage) on a candy thermometer.
- Remove from heat and quickly stir in vanilla extract and salt.
- Pour the mixture onto the prepared baking sheet and let it cool completely.
- Once hardened, break into pieces and store in an airtight container.
Notes
Tried this recipe?
Let us know how it was!For more amazing recipes, be sure to check out our other sections to explore a variety of ideas that will enrich your cooking experience. Each section offers its own unique flavors to ensure a delightful culinary journey:
Easy and Quick Recipes: A collection of dishes that guarantee delicious meals with minimal effort and time.
Healthy Recipes: Discover healthy and delicious options that fit your lifestyle.
Desserts: A diverse selection of sweets that will add a special touch of sweetness to your table.
Lunch Recipes: Tasty lunch ideas that you can easily prepare to delight your family.
Dinner Recipes: Delicious and easy-to-make recipes that will make your dinner a memorable occasion.