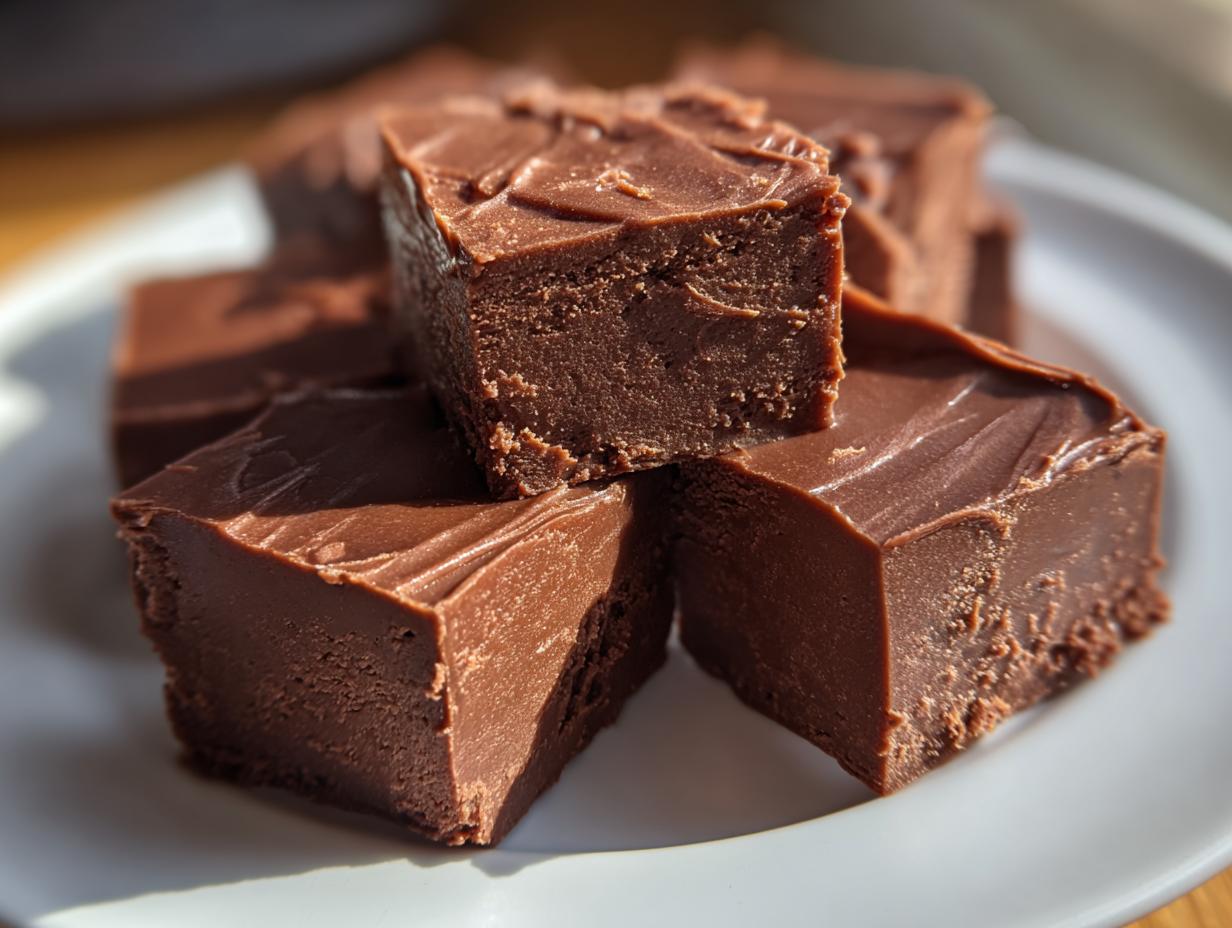
You know that moment when you need something rich, chocolatey, and ridiculously easy to make? That’s exactly why I keep coming back to my perfect chocolate fudge recipe. Just five simple ingredients transform into the creamiest, dreamiest homemade fudge you’ll ever taste. I swear by this one – it’s been my go-to for holiday gifts ever since my aunt showed me you don’t need fancy equipment or hours of work to make something special.
What I love most about chocolate fudge recipes is how forgiving they are. Forget precise piping or complicated steps – this is dump, stir, chill, and enjoy! The magic happens in about 10 minutes of active cooking, though I’ll admit I have to force myself to wait the full 2 hours while it sets (pro tip: licking the spoon helps pass the time).
My secret? That can of sweetened condensed milk working its magic with chocolate chips. It creates this velvety texture that puts those waxy store-bought versions to shame. Plus, it’s endlessly customizable – toss in some nuts or top with sea salt if you’re feeling fancy. But honestly? Plain old classic chocolate fudge never disappoints.
Why You’ll Love These Chocolate Fudge Recipes
Oh my goodness, where do I even start with why this fudge recipe will become your new best friend? Let me count the ways…
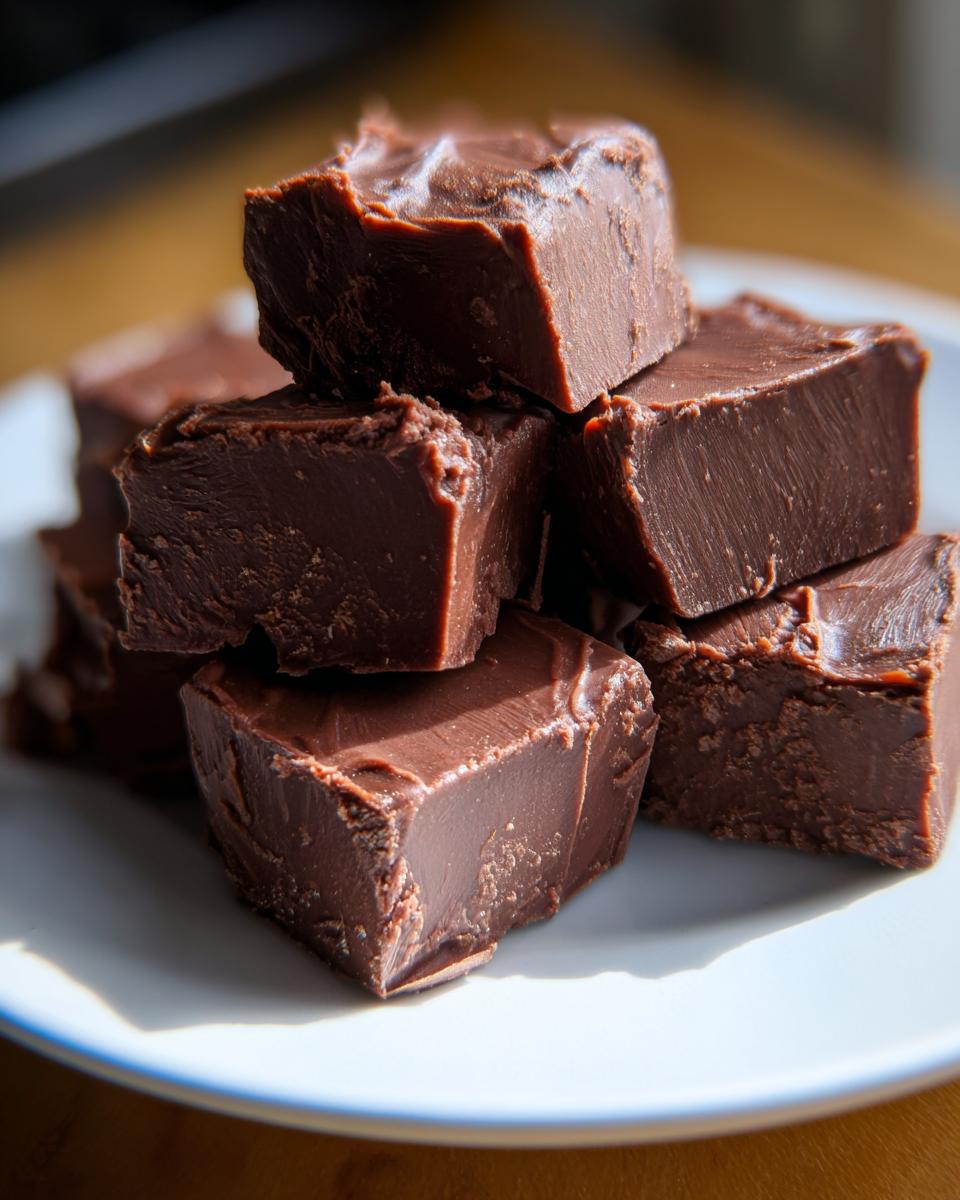
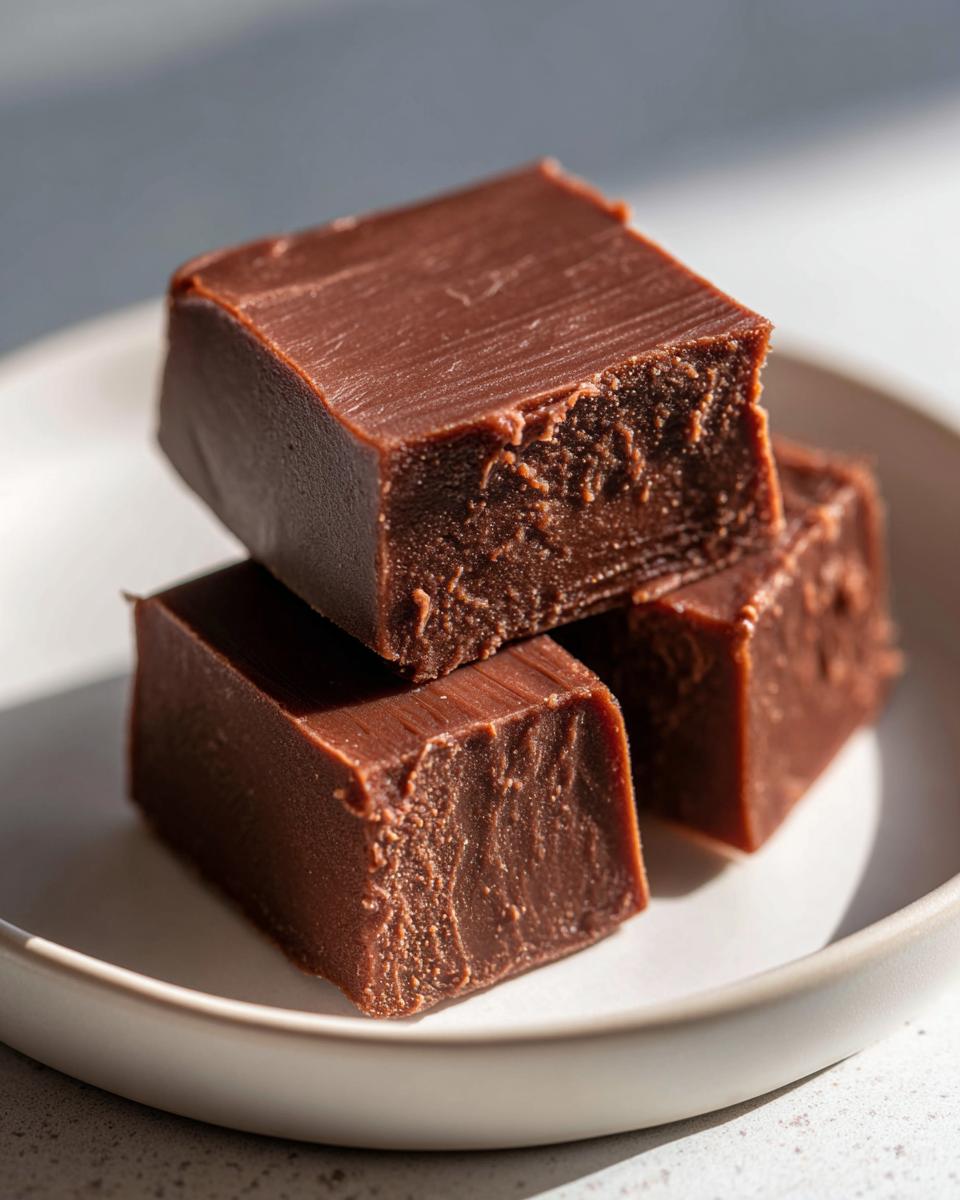
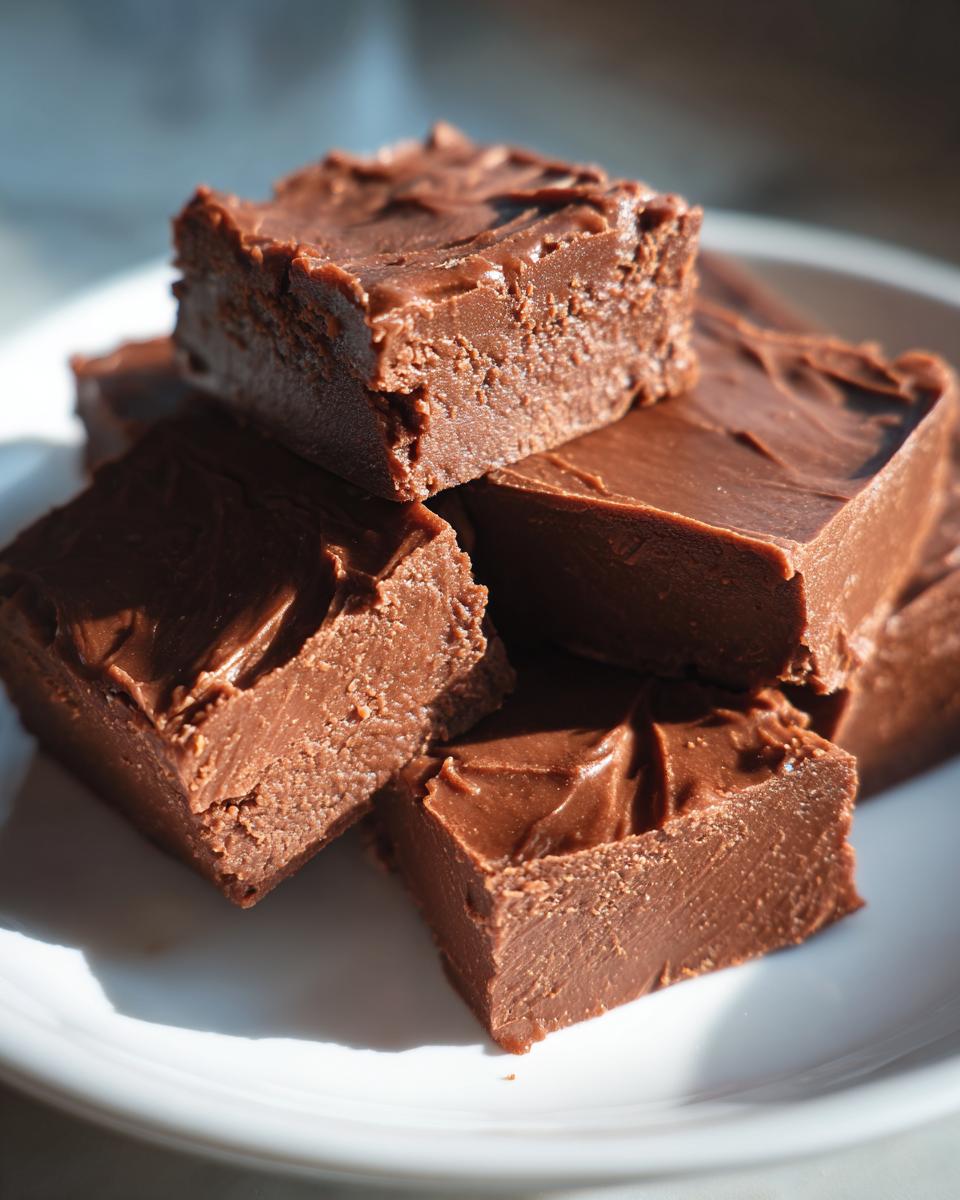
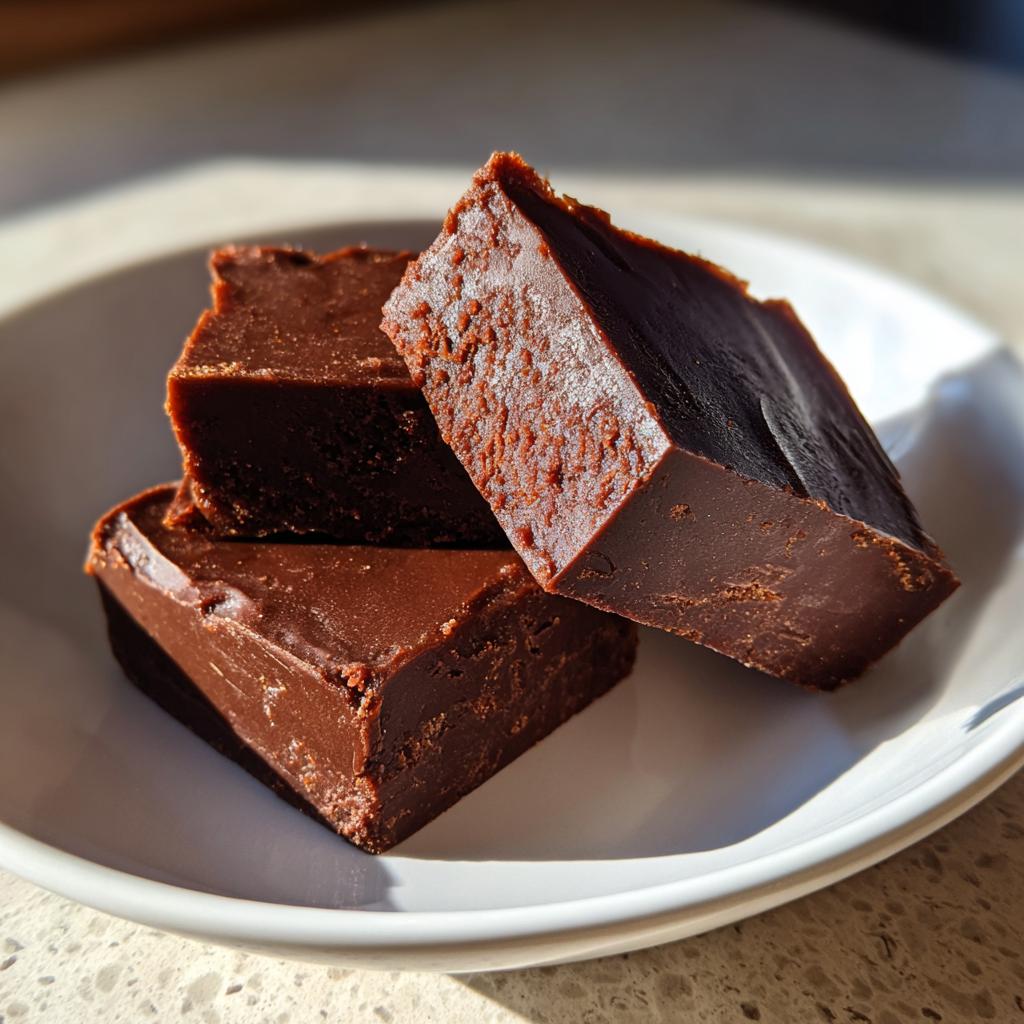
- That dreamy texture: We’re talking silky-smooth, melt-in-your-mouth perfection. No weird graininess or waxy aftertaste like store-bought versions.
- No oven required: As someone who’s burned more desserts than I’d like to admit, I adore that this happens on the stovetop in about 10 minutes flat. Just mix, pour, chill – done!
- Your canvas, your rules: Fold in chopped walnuts for crunch, swirl in peanut butter, or top with crushed candy canes for holiday flair. The base recipe welcomes all your creative twists.
- Gift-worthy magic: Tuck pieces into pretty boxes with parchment paper, and suddenly you’re the most popular person at the cookie exchange. Trust me, I’ve leaned on this trick for years!
- Universal appeal: From kids to grandparents, chocolate lovers can’t resist these rich little squares. They disappear faster than you can say “just one more piece…”
Seriously, whether you’re new to candy-making or just need a reliable dessert that never fails, this recipe belongs in your back pocket. It’s saved me more times than I can count when unexpected guests show up or I need a last-minute hostess gift!
Ingredients for Perfect Chocolate Fudge Recipes
Let me walk you through exactly what you’ll need to make this dreamy fudge. I’ve learned through trial and error (mostly error) that quality ingredients make all the difference here. Here’s what goes into my foolproof version:
For the Fudge
- 3 cups semi-sweet chocolate chips: I prefer the name-brand ones here – they melt smoother than bargain chips. The semi-sweet gives that perfect balance between sweet and chocolatey.
- 1 can (14 oz) sweetened condensed milk: Not evaporated milk! That sticky-sweet magic in the blue-and-white can is what gives our fudge its signature creamy texture.
- 1/4 cup butter: Real butter, please – no substitutes. Cut it into chunks so it melts evenly into the chocolate mixture.
- 1 tsp vanilla extract: The good stuff makes a difference here. It rounds out all the flavors beautifully.
- 1/8 tsp salt: Just a pinch to make all the other flavors pop. I use fine sea salt for even distribution.
See? Nothing fancy or hard-to-find. In fact, I bet you have most of this in your pantry right now. That’s what makes this recipe so dangerous – you’re always just 10 minutes away from fresh fudge!
Step-by-Step Chocolate Fudge Recipes Instructions
Alright, let’s get down to the fun part – making that dreamy chocolate fudge! I’ve made this so many times I could probably do it in my sleep, but I’ll walk you through each step carefully. The key here is patience (hard for me, I know) and keeping an eye on that chocolate as it melts.
- Prep your pan first: Line that 8×8-inch baking pan with parchment paper, leaving some overhang on the sides. This little trick means you can lift the whole slab of fudge out later for easy cutting. No stuck-on bits!
- Melt with love: In your medium saucepan, combine the chocolate chips, sweetened condensed milk, and butter. Here’s where I always remind myself – LOW heat is your friend. Medium will scorch the chocolate, and nobody wants that. Stir constantly with your wooden spoon until everything melts into a glossy, smooth pool of deliciousness.
- Flavor boost: Take the pan off the heat immediately once melted. Stir in the vanilla and salt – this is when the magic really happens. That vanilla makes the chocolate taste even more chocolatey, if that’s possible!
- Pour with purpose: Quickly transfer your molten chocolate heaven into the prepared pan. Use a spatula to spread it evenly into all the corners. Try not to lick the spoon yet… okay maybe just one taste.
- The hardest part – waiting: Pop the pan into the fridge for at least 2 hours. I know, I know – it’s torture. But letting it chill completely is what gives you that perfect firm-yet-creamy texture.
- Slice and enjoy: Use the parchment paper to lift the fudge out, then cut into squares with a sharp knife. For clean cuts, wipe the knife between slices. Or embrace the rustic look like I usually do!

Pro Tip for Smooth Fudge
The number one fudge fail? Grainy texture. Here’s my foolproof method: keep that heat low and stir like your dessert depends on it (because it does!). If you see even tiny unmelted chocolate bits, keep stirring off heat – the residual warmth will melt them. And never let the mixture boil – that’s when sugar crystals form and ruin the smoothness. Patience makes perfect fudge!
Essential Equipment for Chocolate Fudge Recipes
Let me tell you about the three trusty tools that make fudge-making a breeze. You don’t need fancy gadgets – just these basics:
- 8×8-inch baking pan: My go-to for perfect thickness every time. The smaller size means thicker, more satisfying squares than a 9×13 would give you. Plus, it fits in my fridge easily!
- Medium saucepan: Not too big, not too small – just right for melting everything evenly. Heavy-bottomed pans are best because they distribute heat without hot spots that could burn your chocolate.
- Wooden spoon: My absolute must-have! Plastic melts, metal conducts too much heat, but wood? Perfect for constant stirring without scratching your pan. Bonus: it’s the best tool for scraping every last bit of fudge into the pan.
That’s it – three simple tools standing between you and fudge heaven. I’ve tried improvising before (let’s not talk about the microwave incident), and trust me, sticking to these basics gives foolproof results every single time.
Variations to Customize Your Chocolate Fudge Recipes
Oh, the fun really begins when you start playing with this basic fudge recipe! Here are my favorite ways to mix it up – each one tested and approved by my very picky taste-testers (aka my family):
- Nutty delight: Stir in 1/2 cup of toasted walnuts or pecans right before pouring. The crunch against that creamy fudge? Absolute perfection.
- Salty-sweet magic: Sprinkle flaky sea salt over the top right after pouring. It makes the chocolate flavor pop in the most delicious way.
- Dark chocolate twist: Swap half the semi-sweet chips for dark chocolate if you prefer something less sweet. My husband swears by this version!
- Peanut butter swirl: Drop spoonfuls of peanut butter onto the poured fudge, then drag a knife through for pretty swirls. Kid-approved every time.
The best part? You can mix and match these ideas too. Last Christmas I did dark chocolate fudge with sea salt and toasted almonds – disappeared faster than I could say “holiday calories don’t count!”
Storing and Serving Chocolate Fudge Recipes
Okay, here’s the deal – this fudge disappears way too fast to worry about storage, but just in case you have superhuman willpower, here’s how to keep it fresh. Pop those squares in an airtight container with parchment between layers (so they don’t stick together), and they’ll stay dreamy in the fridge for up to 2 weeks. Not that they’ll last that long!
For serving, I love arranging pieces on a pretty platter with other no-bake treats for parties. Around the holidays, I stack them in clear bags with festive ribbons – instant edible gifts that make everyone think you spent hours in the kitchen. Pro tip: let the fudge sit at room temperature for 10 minutes before serving so the chocolate can properly melt on your tongue. Pure bliss!
Nutritional Information for Chocolate Fudge Recipes
Okay, let’s be real – we’re not eating fudge for its health benefits! But since you asked, here’s the scoop on what’s in these decadent little squares. Remember, nutritional values are estimates and can vary based on your specific ingredients and brands.
Each serving (about a 1-inch square) packs approximately:
- 180 calories – Consider it energy for chocolate-induced happiness
- 10g fat (6g saturated) – That’s what makes it so creamy and dreamy
- 22g carbs – Mostly from that magical sweetened condensed milk
- 20g sugar – Worth every single sweet gram if you ask me
There you have it – the delicious truth! Now stop analyzing and enjoy that fudge guilt-free. Life’s too short to count chocolate chips.
FAQs About Chocolate Fudge Recipes
I get asked about fudge all the time – seems like everyone has the same burning questions! Here are my answers to the most common ones after years of fudge-making triumphs (and a few delicious failures):
Can I use milk chocolate instead of semi-sweet?
Absolutely! But heads up – milk chocolate makes the fudge sweeter, so you might want to reduce the condensed milk by a tablespoon or two. I learned this the hard way when my niece declared my first batch “too sugar-y” (and that kid loves sugar!).
Help! My fudge turned out grainy – can I fix it?
Don’t panic! Gently reheat the mixture with an extra splash of milk (about 1 tbsp) and stir like crazy until smooth again. This usually happens when the sugar crystals didn’t fully dissolve – low and slow is the key next time!
Can I freeze chocolate fudge?
You bet! Wrap it well in plastic wrap then pop it in an airtight container. It’ll keep beautifully for up to 3 months. Thaw overnight in the fridge – though I won’t judge if you nibble a frozen piece straight from the freezer like I sometimes do.
Why add salt to something so sweet?
That tiny pinch makes all the difference! Salt enhances the chocolate flavor without making it salty. Think of it like how salted caramel tastes more caramel-y – same magic happens here. Try it once and you’ll never skip the salt again.
Got more questions? Drop them in the comments – I love chatting all things dessert! Now go make that fudge before you eat all the chocolate chips straight from the bag… not that I’ve ever done that.
Chocolate Fudge
Ingredients
Equipment
Method
- Line an 8×8-inch baking pan with parchment paper.
- In a medium saucepan, combine chocolate chips, sweetened condensed milk, and butter. Melt over low heat, stirring constantly.
- Remove from heat and stir in vanilla extract and salt.
- Pour the mixture into the prepared pan and spread evenly.
- Chill in the refrigerator for at least 2 hours or until firm.
- Cut into squares before serving.
Nutrition
Notes
Tried this recipe?
Let us know how it was!For more amazing recipes, be sure to check out our other sections to explore a variety of ideas that will enrich your cooking experience. Each section offers its own unique flavors to ensure a delightful culinary journey:
Easy and Quick Recipes: A collection of dishes that guarantee delicious meals with minimal effort and time.
Healthy Recipes: Discover healthy and delicious options that fit your lifestyle.
Desserts: A diverse selection of sweets that will add a special touch of sweetness to your table.
Lunch Recipes: Tasty lunch ideas that you can easily prepare to delight your family.
Dinner Recipes: Delicious and easy-to-make recipes that will make your dinner a memorable occasion.