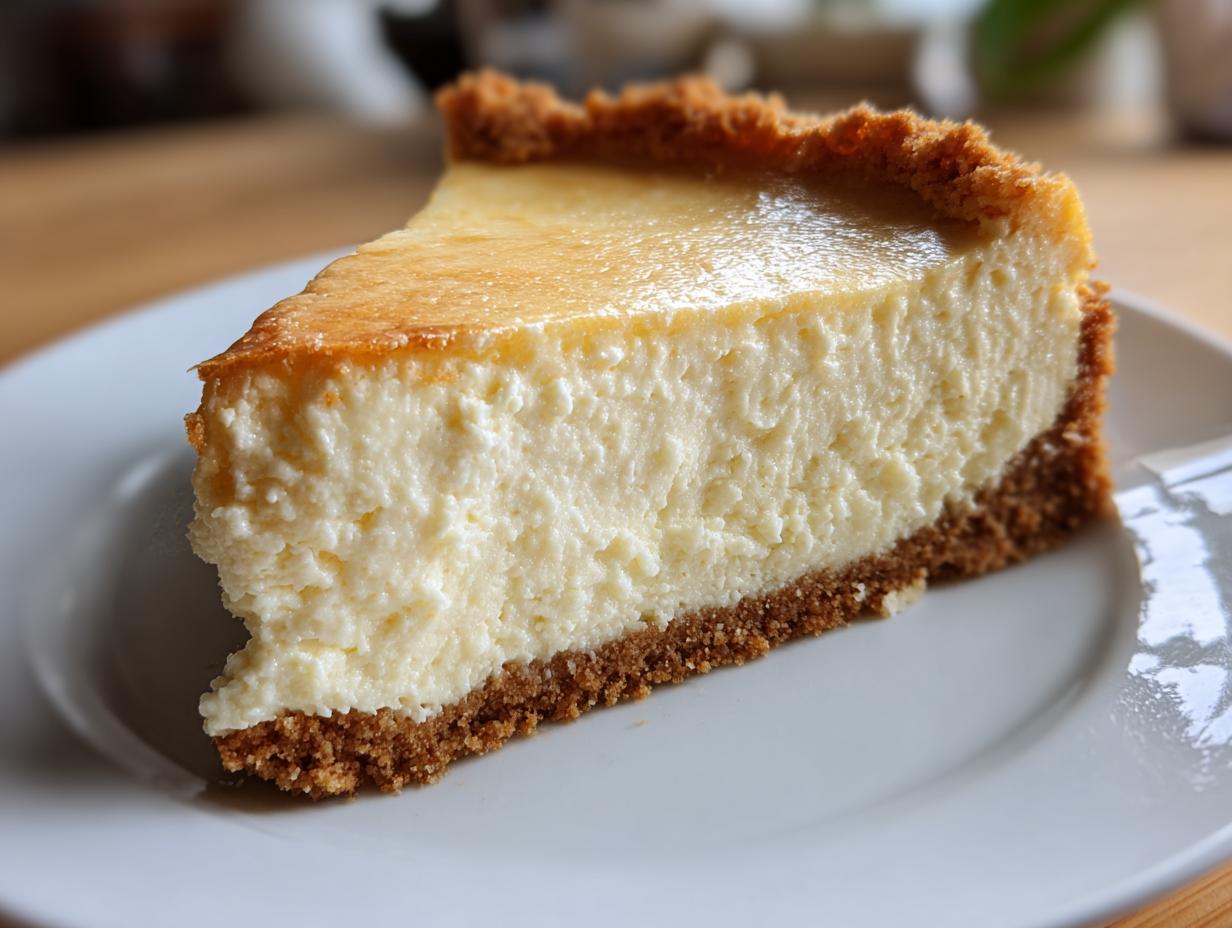
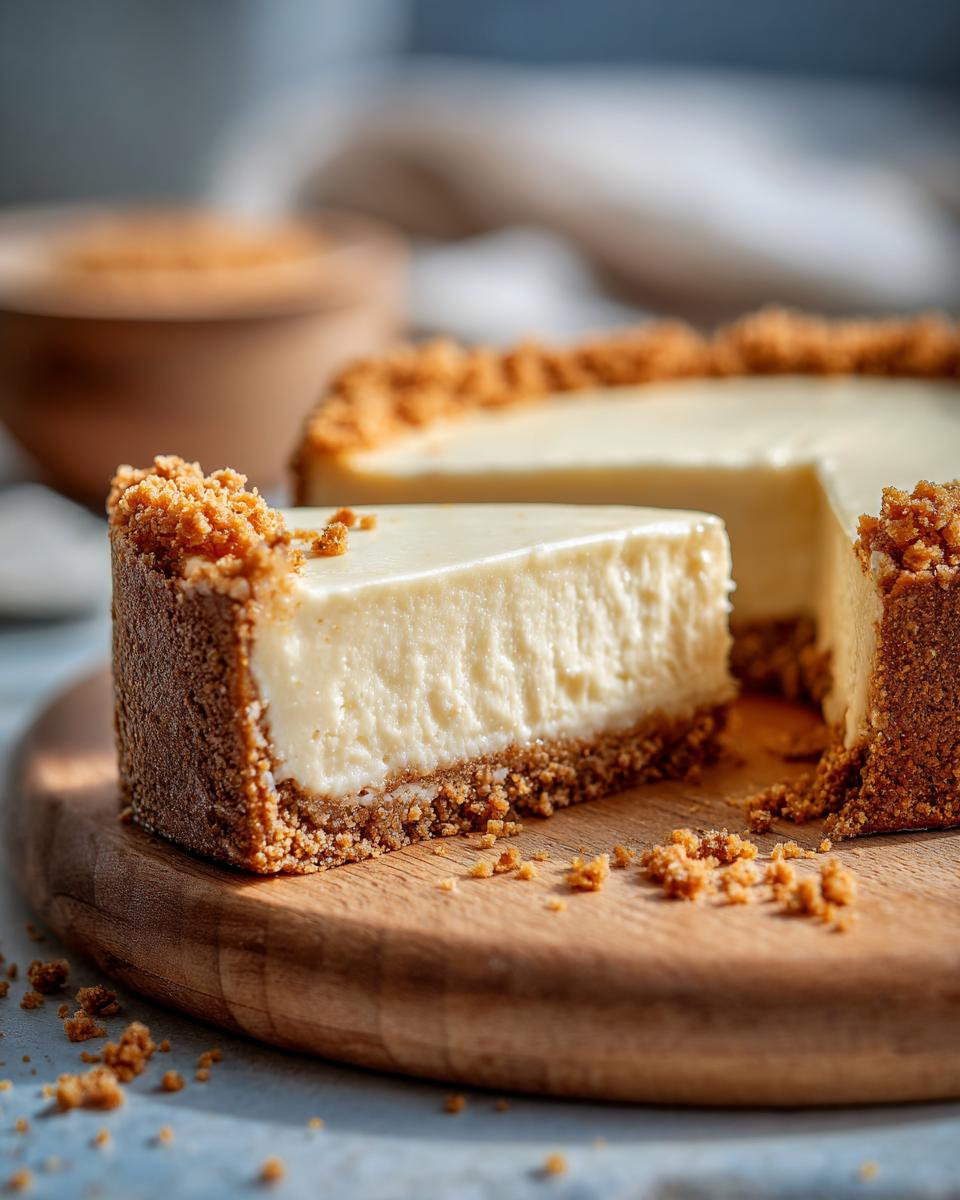
You know what’s crazy? I used to think cheesecake was this intimidating, fancy dessert that only pastry chefs could make. Then I discovered these easy cheesecake ideas that changed everything! My first attempt was for my husband’s birthday – I was so nervous it would crack or sink, but guess what? It came out perfectly creamy and delicious with just a handful of simple ingredients. Now my kids beg me to make it for every special occasion (and sometimes just because it’s Tuesday!). The best part? This recipe is foolproof – no water bath, no fancy techniques, just mix, bake, and chill. Honestly, I’ve served this to guests who swear it’s from a bakery! If you’re looking for a stress-free dessert that tastes like you spent hours in the kitchen, you’ve got to try this. It’s become our family’s go-to treat, and I promise it’ll become yours too. Check out more of my favorite dessert recipes once you master this one!
Why You’ll Love These Easy Cheesecake Ideas
Let me tell you why this cheesecake recipe is my absolute favorite – and why you’ll adore it too! First off, it uses ingredients you probably already have in your kitchen. No running to specialty stores for obscure items. Just cream cheese, eggs, sugar – the basics!
Here’s what makes it so special:
- Super simple ingredients – Nothing fancy, just good old pantry staples
- No special equipment – A mixing bowl and spoon will do (though an electric mixer helps)
- Perfect for beginners – My 12-year-old niece made this perfectly on her first try!
- Endless topping options – Fresh fruit, chocolate sauce, caramel – go wild!
The best part? It tastes like you spent all day baking, but really only takes about 15 minutes of active time. Now that’s what I call a win!
Ingredients for Easy Cheesecake
Okay, let’s talk ingredients – and trust me, you won’t need anything weird or hard to find for this cheesecake! I’ve made this so many times I could probably recite the list in my sleep. The magic is in how simple everything is while still creating that rich, creamy texture we all love.
For the Crust
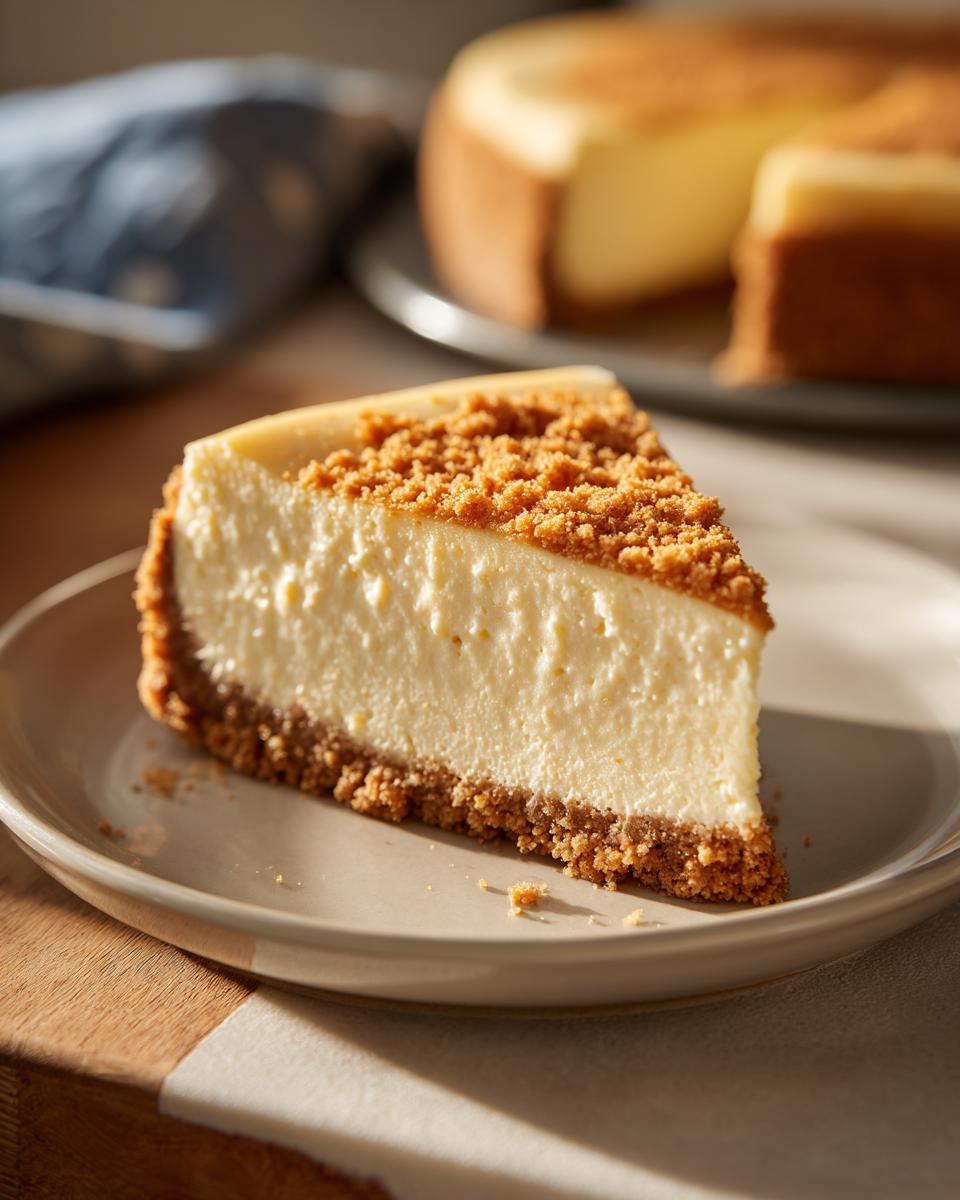
The crust is where it all starts, and you’ll need just three things: 1.5 cups graham cracker crumbs (I like to crush mine fresh, but store-bought works too), 1/4 cup granulated sugar, and 1/2 cup melted unsalted butter. Pro tip: really pack that crust mixture into the pan – I use the bottom of a measuring cup to press it down firmly. This keeps it from crumbling when you slice your masterpiece!
For the Filling
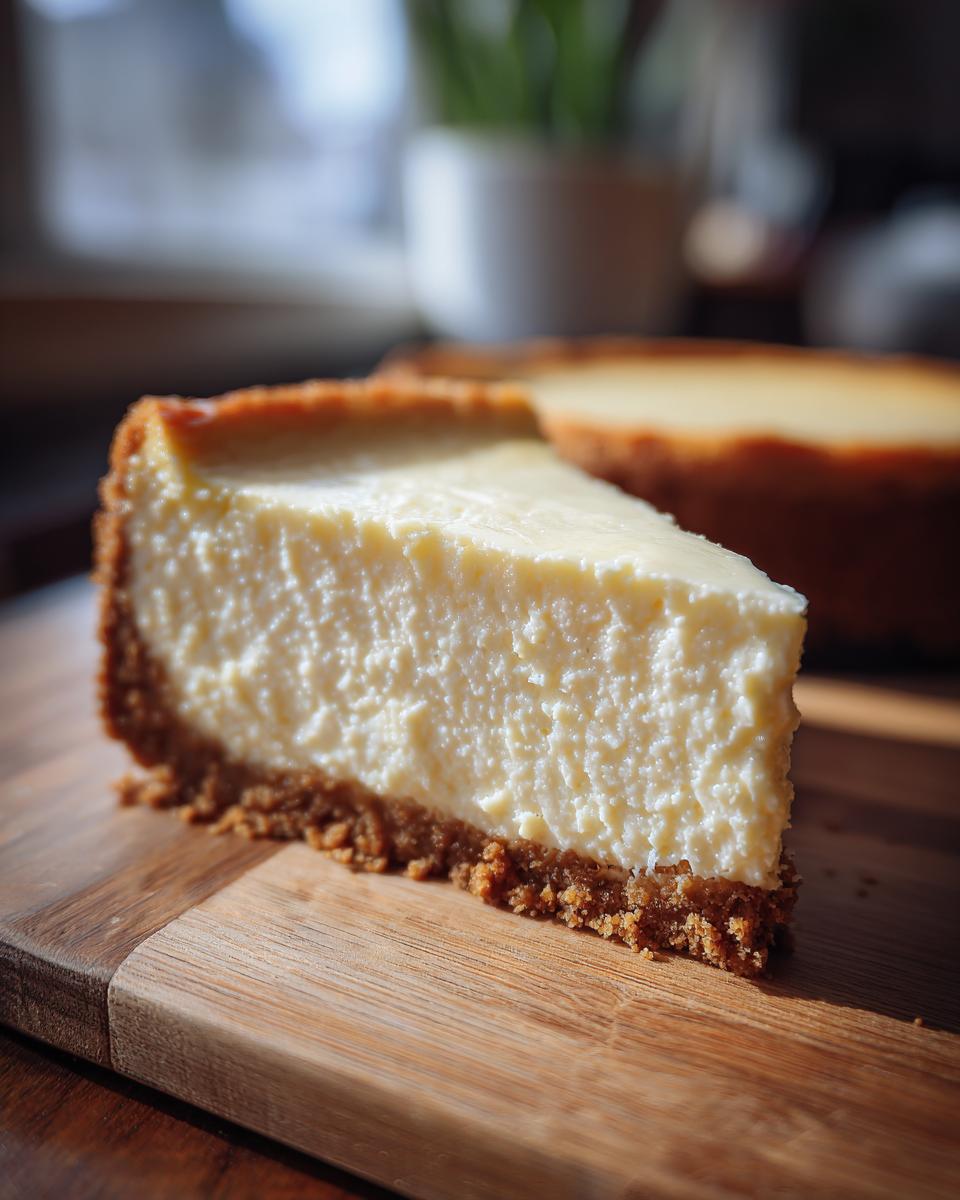
Now for the star of the show! You’ll need 24 oz cream cheese (yes, that’s three packages – and make sure it’s softened!), 3/4 cup granulated sugar, 2 large eggs, 1 tsp vanilla extract, and 1/2 cup sour cream. Here’s my secret: leave all your dairy ingredients out for about 30 minutes before mixing. Room temp ingredients blend smoother and prevent lumps – nobody wants a chunky cheesecake! The sour cream adds just the right tang that makes this recipe special.
Equipment Needed for Easy Cheesecake
Let me tell you – you don’t need a fancy kitchen full of gadgets to make this cheesecake! Just grab these three trusty tools: a 9-inch springform pan (the kind with the removable bottom – lifesaver!), a good-sized mixing bowl, and an electric mixer. That’s it! I’ve used my grandma’s old hand mixer for years and it works perfectly fine. The springform pan is the real MVP here – makes slicing and serving so easy you’ll wonder why all cakes don’t come in one!
How to Make Easy Cheesecake
Alright, let’s get baking! I promise this is easier than you think – we’re just going step by step. First things first: preheat that oven to 325°F (160°C). Trust me, starting with a properly heated oven makes all the difference. Now grab your ingredients and let’s make some cheesecake magic happen!
Step 1: Prepare the Crust
This is where the party starts! Take your graham cracker crumbs, sugar, and melted butter and mix them together in a bowl until it looks like wet sand. Now here’s my trick: dump it all into your springform pan and press it down firmly with your fingers first, then use the bottom of a measuring cup to really pack it in tight. You want it nice and compact so it holds together when you slice it later. No wimpy crusts allowed!
Step 2: Make the Filling
Now for the good stuff! Beat your softened cream cheese and sugar together until it’s smooth and creamy – about 2 minutes should do it. Scrape down the sides of the bowl (don’t skip this – those sneaky lumps hide there!), then add the eggs one at a time, mixing well after each. Finally, mix in the vanilla and sour cream just until combined. Pro tip: don’t overmix after adding the eggs – we want creamy, not tough! If you’re craving something different, check out my no-bake Oreo cheesecake variation too.
Step 3: Bake and Chill
Pour that luscious filling over your crust and smooth the top gently. Bake for about 45 minutes – you’ll know it’s done when the edges are set but the center still has a slight jiggle. Here’s the hardest part: patience! Let it cool completely on the counter (about an hour), then refrigerate for at least 4 hours – overnight is even better. I know it’s tempting to dig in, but trust me, the chilling time is what gives you that perfect creamy texture. Worth the wait!
Tips for Perfect Easy Cheesecake
Okay, let me share all my hard-earned cheesecake wisdom with you! First rule: don’t overmix that batter – I learned this the hard way when my first cheesecake came out dense as a brick. Just mix until everything’s combined, no more. Second, room temp ingredients are non-negotiable. Cold cream cheese equals lumpy filling, and nobody wants that! Here’s my trick: I leave everything out on the counter while I make the crust.
Now about those cracks – they used to break my heart! The secret? Cool your cheesecake gradually. When it’s done baking, turn off the oven and crack the door open for about an hour before taking it out completely. Works like magic! And whatever you do, don’t skip the chilling time – that’s what gives you that dreamy, creamy texture we all love.
Variations for Easy Cheesecake Ideas
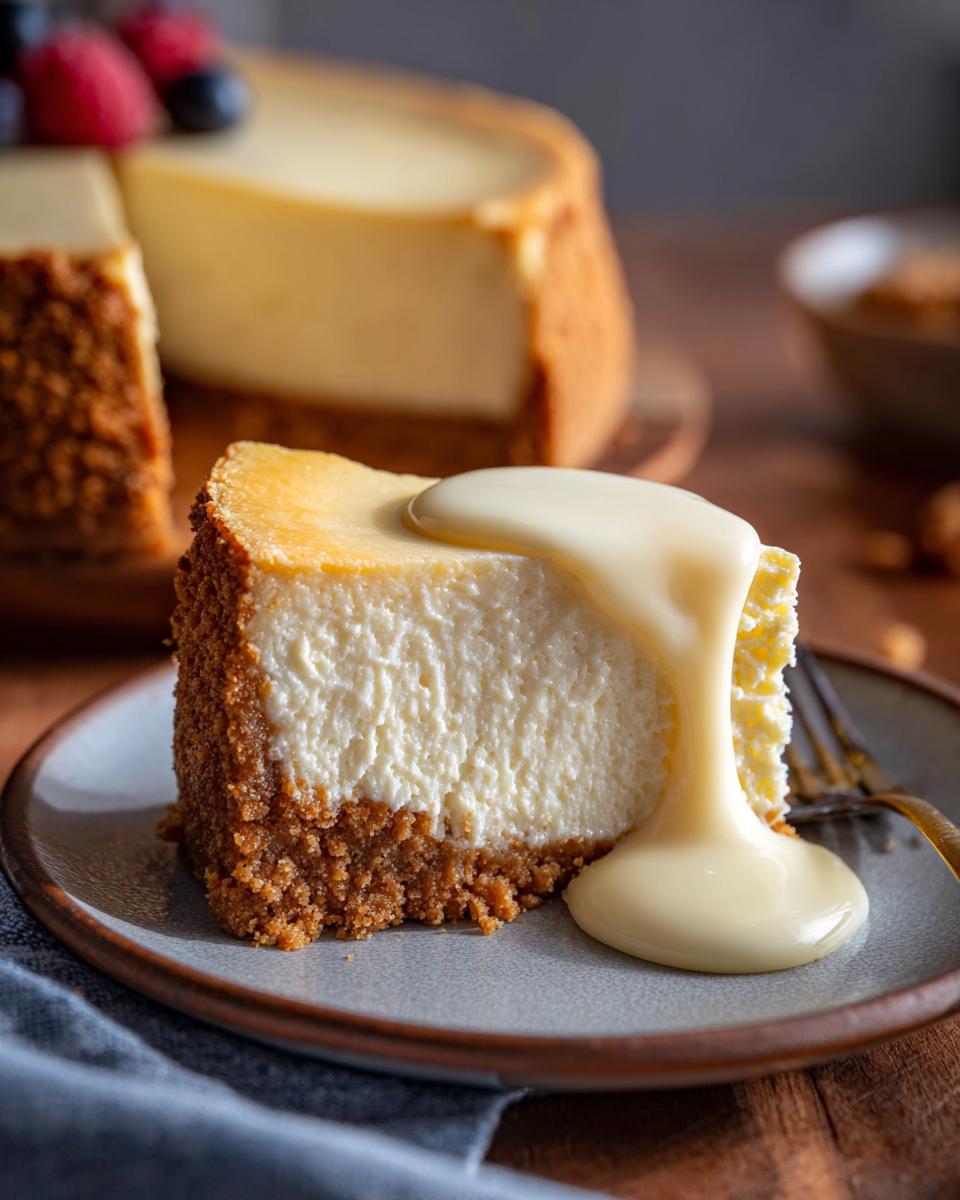
Oh my gosh, this is where the real fun begins! Once you’ve mastered the basic cheesecake, the topping possibilities are endless. My personal favorite? Fresh strawberries piled high with a drizzle of chocolate – it’s like a fancy restaurant dessert but so easy! Berries work great, but don’t stop there. Try swirling in some caramel sauce before baking, or top with crushed Oreos for a cookies-and-cream twist. Feeling fancy? A dollop of whipped cream and a sprinkle of lemon zest takes it to the next level.
Short on time? Skip the oven entirely! Just mix the filling with some whipped cream, pour over your crust, and chill. It’s perfect for summer when you don’t want to heat up the kitchen. And hey, if you’re feeling extra indulgent, serve slices with a scoop of homemade chocolate chip ice cream on the side. Now that’s what I call dessert heaven!
Storage and Serving Suggestions
Here’s the scoop on keeping your cheesecake perfect! Leftovers? Just cover the pan with plastic wrap or transfer slices to an airtight container – they’ll stay fresh in the fridge for up to 5 days (if they last that long!). Always serve it chilled – that’s when the texture is absolute magic. Pro tip: let slices sit at room temperature for about 10 minutes before serving to take the chill off. Perfect every time!
Nutritional Information
Just a quick heads up – these numbers are estimates and might vary depending on your exact ingredients. But here’s the scoop on what you’re getting in each delicious slice: about 450 calories, 32g fat (19g saturated), 35g carbs, and 6g protein. Not too shabby for a dessert that tastes this indulgent! Remember, portion size matters – but honestly, who can stop at just one slice?
Frequently Asked Questions
Can I freeze this cheesecake?
Absolutely! This cheesecake freezes like a dream. Just wrap individual slices (or the whole thing) tightly in plastic wrap, then aluminum foil. It’ll keep for up to 2 months in the freezer. Thaw overnight in the fridge when you’re ready to enjoy – tastes just as creamy as the day you made it!
How do I prevent cracks in my cheesecake?
The number one trick? Don’t overbake it! That slight jiggle in the center when you pull it out is exactly what you want. Also, cool it slowly – I leave mine in the turned-off oven with the door cracked for about an hour. Room temperature ingredients help too. And hey, if it does crack? Just cover it with toppings – nobody will ever know!
What can I use instead of sour cream?
No sour cream? No problem! Plain Greek yogurt works great – just use the same amount. I’ve even used buttermilk in a pinch (about 1/4 cup). The key is keeping that tangy flavor and creamy texture. Whatever you use, make sure it’s room temperature like the rest of your ingredients!
Can I make this cheesecake ahead of time?
Oh honey, this cheesecake practically begs to be made ahead! It actually tastes better after chilling overnight. Just bake it the day before your event, let it cool completely, then refrigerate. The flavors develop beautifully, and you’ll have one less thing to worry about when guests arrive. Win-win!
Easy Cheesecake
Ingredients
Equipment
Method
- Preheat your oven to 325°F (160°C).
- Mix graham cracker crumbs, sugar, and melted butter in a bowl. Press the mixture into the bottom of a 9-inch springform pan.
- Beat cream cheese and sugar in a large bowl until smooth. Add eggs one at a time, then mix in vanilla and sour cream.
- Pour the filling over the crust. Bake for 45 minutes or until the center is set.
- Let the cheesecake cool to room temperature, then refrigerate for at least 4 hours before serving.
Nutrition
Notes
Tried this recipe?
Let us know how it was!For more amazing recipes, be sure to check out our other sections to explore a variety of ideas that will enrich your cooking experience. Each section offers its own unique flavors to ensure a delightful culinary journey:
Easy and Quick Recipes: A collection of dishes that guarantee delicious meals with minimal effort and time.
Healthy Recipes: Discover healthy and delicious options that fit your lifestyle.
Desserts: A diverse selection of sweets that will add a special touch of sweetness to your table.
Lunch Recipes: Tasty lunch ideas that you can easily prepare to delight your family.
Dinner Recipes: Delicious and easy-to-make recipes that will make your dinner a memorable occasion.