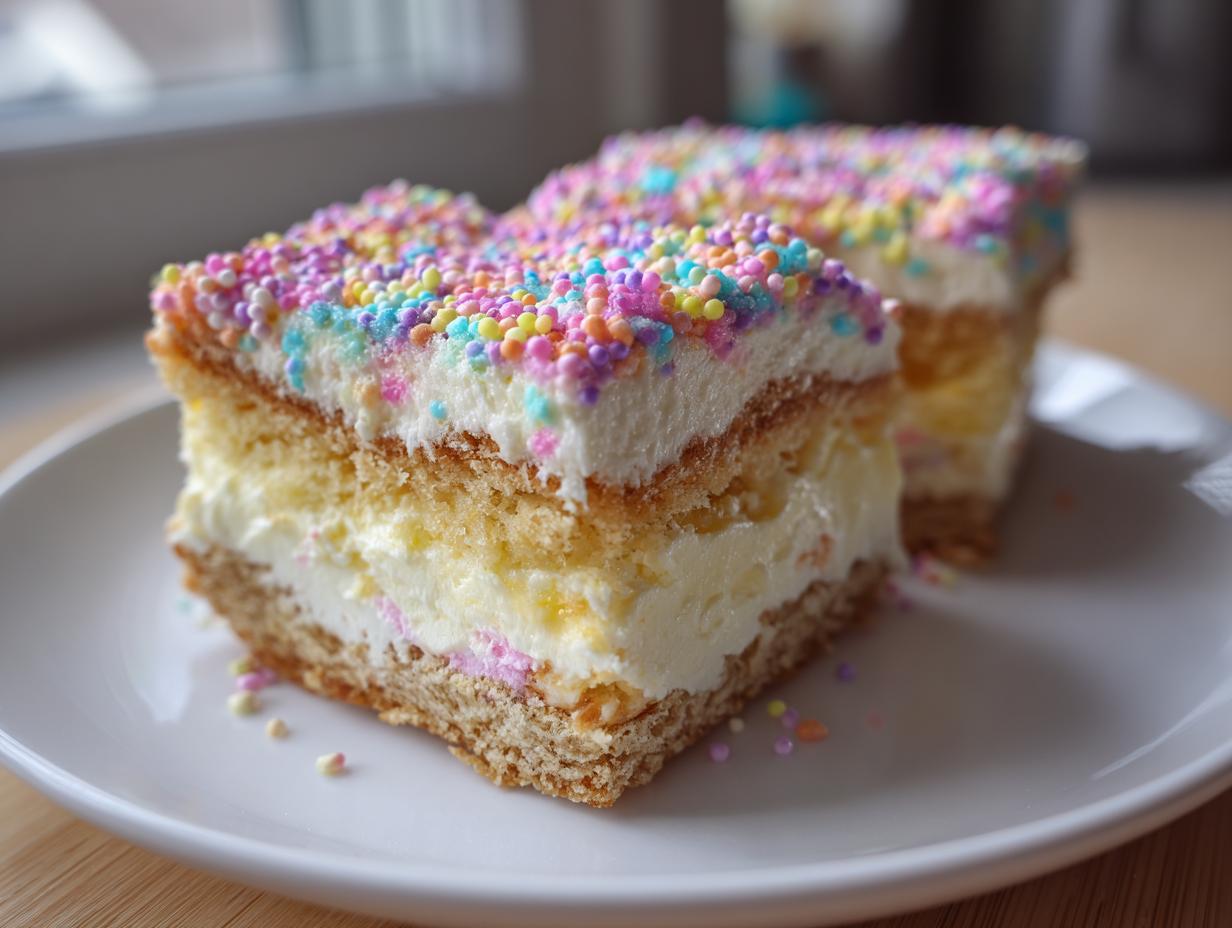
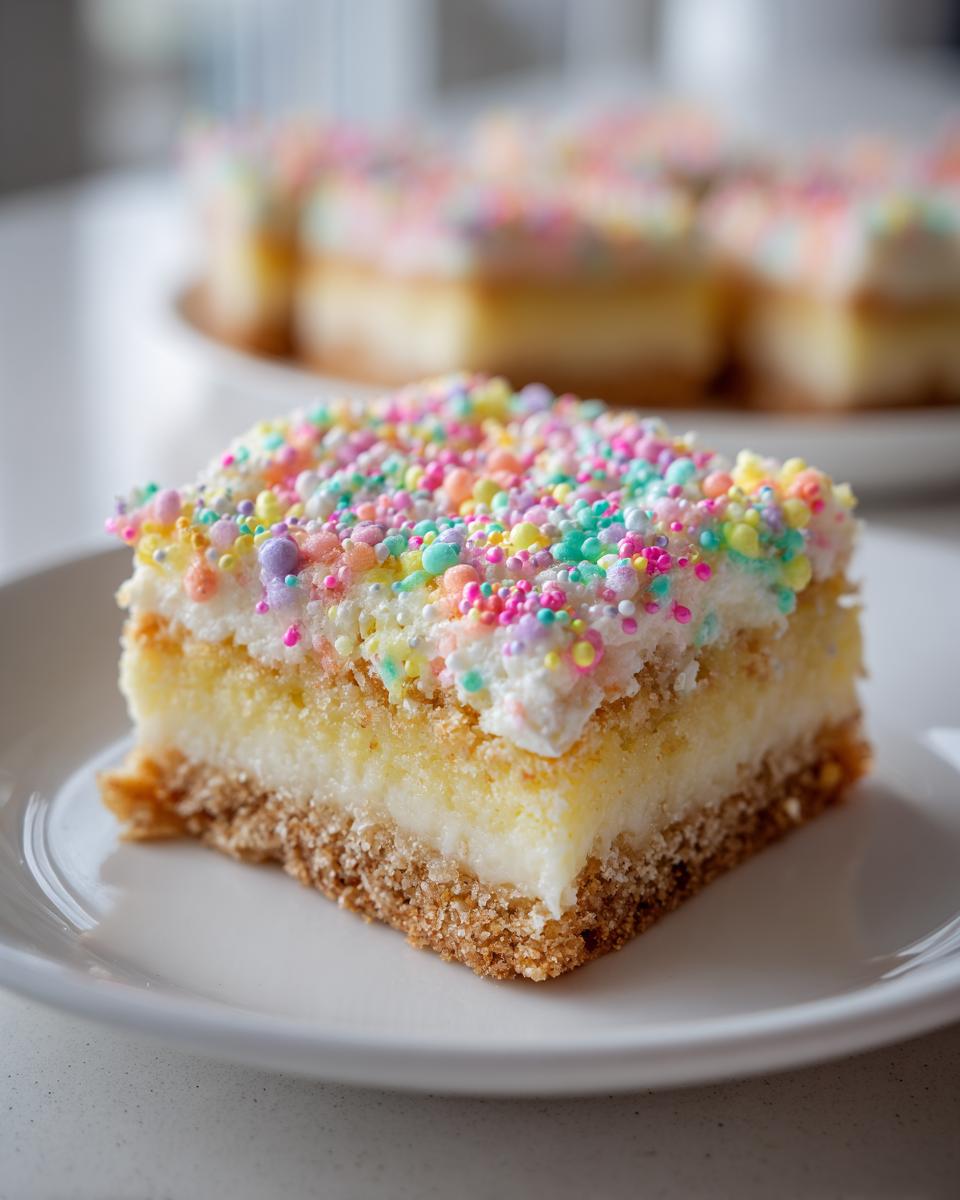
You know how Easter Sunday just wouldn’t feel complete without something sweet sitting on that fancy dessert platter? That’s exactly how I felt five years ago when I decided these Easter dessert bars needed to become our new family tradition. Picture this: a buttery shortbread crust so crisp it practically sings when you bite into it, topped with the creamiest layer of vanilla-speckled filling, all dressed up in its Sunday best with those adorable pastel sprinkles. I’ll never forget my niece’s face when I brought them out that first year – her eyes got huge and she whispered, “Auntie, these look like little pieces of confetti cake!”
Now they’re as much a part of our holiday as hiding eggs in the backyard. What I love most (besides how ridiculously easy they are to make) is how these bars bridge generations. My mom kibitzes from her kitchen chair about the crust’s texture while my toddler “helps” distribute sprinkles with all the precision you’d expect from a three-year-old. Whether you’re feeding a crowd after church service or need a showstopping dessert for your brunch spread, these bars have this magical way of making ordinary days feel celebratory.
Pro tip from someone who’s made them twelve Easters running: make a double batch. They disappear faster than chocolate bunnies left unattended with kids around!
Why You’ll Love These Easter Dessert Bars
Oh honey, let me count the ways these bars will steal your heart (and probably your Easter brunch spotlight)! First off, they’re ridiculously easy – we’re talking “even-with-kids-climbing-your-legs” easy. The crust comes together faster than you can say “peeps,” and that creamy filling? Just three ingredients whirled together. But here’s the real magic:
- Festive without the fuss: Those cheerful sprinkles do all the decorating work for you while hiding any imperfect edges (my secret weapon!)
- Crowd-pleaser alert: The buttery-vanilla combo appeals to both fancy aunt Margaret and picky nephew Timmy
- Make-ahead dream: They actually taste better after chilling overnight, meaning less stress on Easter morning
- Endless variations: Swap sprinkles for crushed cookies or drizzle with white chocolate – it’s your edible canvas!
Trust me, once you see how these disappear at your gathering, you’ll understand why they’ve earned a permanent spot in my holiday rotation. The only problem? You might need to start hiding a few bars for yourself!
Ingredients for Easter Dessert Bars
I’ve learned over the years that the magic of these bars starts with gathering the right ingredients – not just any old stuff from your pantry, but the specific things that make this recipe sing. Trust me, I’ve tried shortcuts (who hasn’t?), but these measurements and prep notes really do make all the difference between “good” and “oh-my-goodness grab me another!”
For the Crust
Listen up, butter temperature matters here! You’ll need:
- 2 cups all-purpose flour – spooned and leveled, not packed
- ½ cup granulated sugar – the sweet foundation
- 1 cup unsalted butter – cold and cubed (no cheating with room temp stuff!) I pop mine in the freezer for 10 minutes before starting
For the Filling
This creamy dream comes together with just three stars:
- 8 oz cream cheese – softened (leave it out for 2 hours or microwave at 30% power for 15-second bursts)
- 1 cup powdered sugar – sifted to avoid lumps
- 1 tsp pure vanilla extract – the good stuff, not imitation
For the Topping
Time to dress these babies up for their Easter debut:
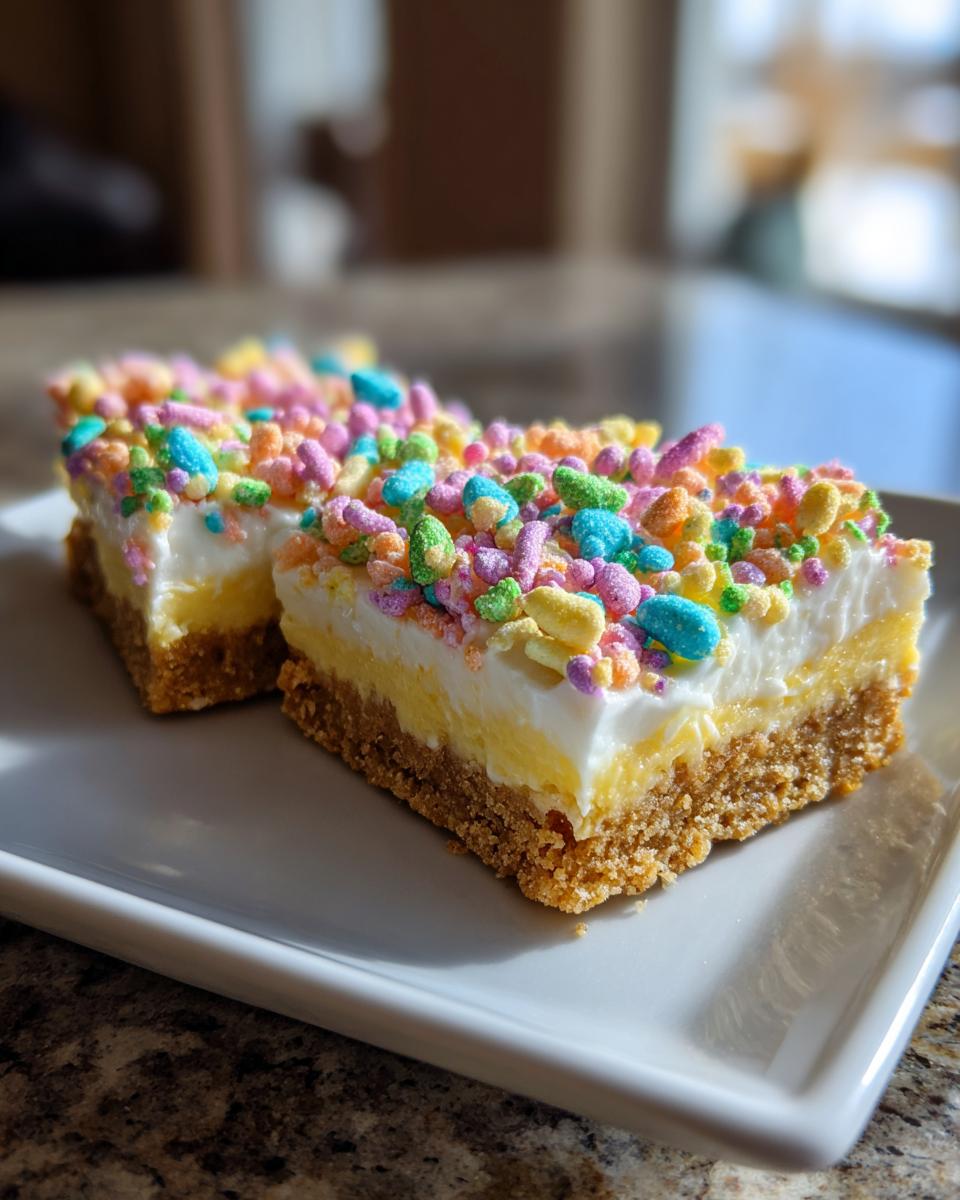
- 1 cup pastel sprinkles – I like the mix with tiny eggs and flowers
- Optional: 2 drops food coloring (pink or yellow look gorgeous swirled into the filling)
How to Make Easter Dessert Bars
Alright, let’s get our hands dirty! I’ve made these Easter dessert bars more times than I can count, and I’ve learned a few tricks along the way. The secret? Take it step by step, and don’t rush the process – good things come to those who wait (especially when cream cheese is involved!).
Preparing the Crust
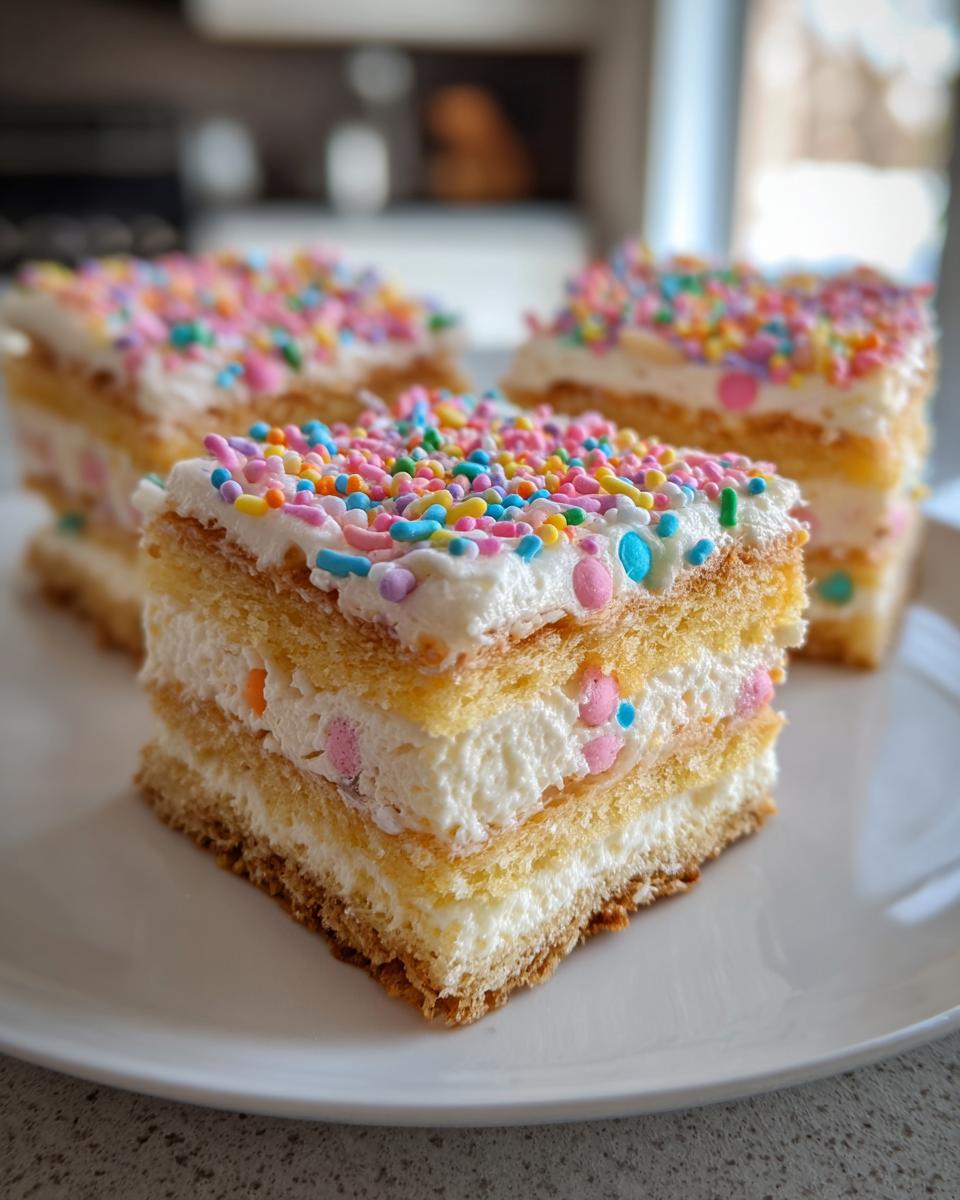
First things first – preheat that oven to 350°F (175°C) and grab your trusty 9×13 pan. Now, here’s where the magic starts: toss your flour and sugar into a big bowl, then grab those cold butter cubes. I like to use my pastry cutter (though two forks work in a pinch) and cut the butter in until it looks like wet sand with pea-sized butter bits. Press this heavenly mixture firmly into your pan – I mean really press it down with your palms – then bake for 15 minutes until it’s lightly golden. Let it cool for about 10 minutes while you work on the filling. No cheating here – a warm crust will melt your filling!
Making the Filling
Okay, time for the creamy dreamy part! Beat that softened cream cheese in a bowl until it’s smooth as silk – no lumps allowed! Gradually add the powdered sugar (unless you want a sugar cloud in your kitchen), then the vanilla. Pro tip: if your mixture looks too thick, let the mixer run an extra minute. It should spread like cheesecake filling when you dollop it onto the crust. Use an offset spatula to spread it evenly, working from the center outward. Don’t stress about perfection – those sprinkles are great at hiding imperfections!
Adding the Topping
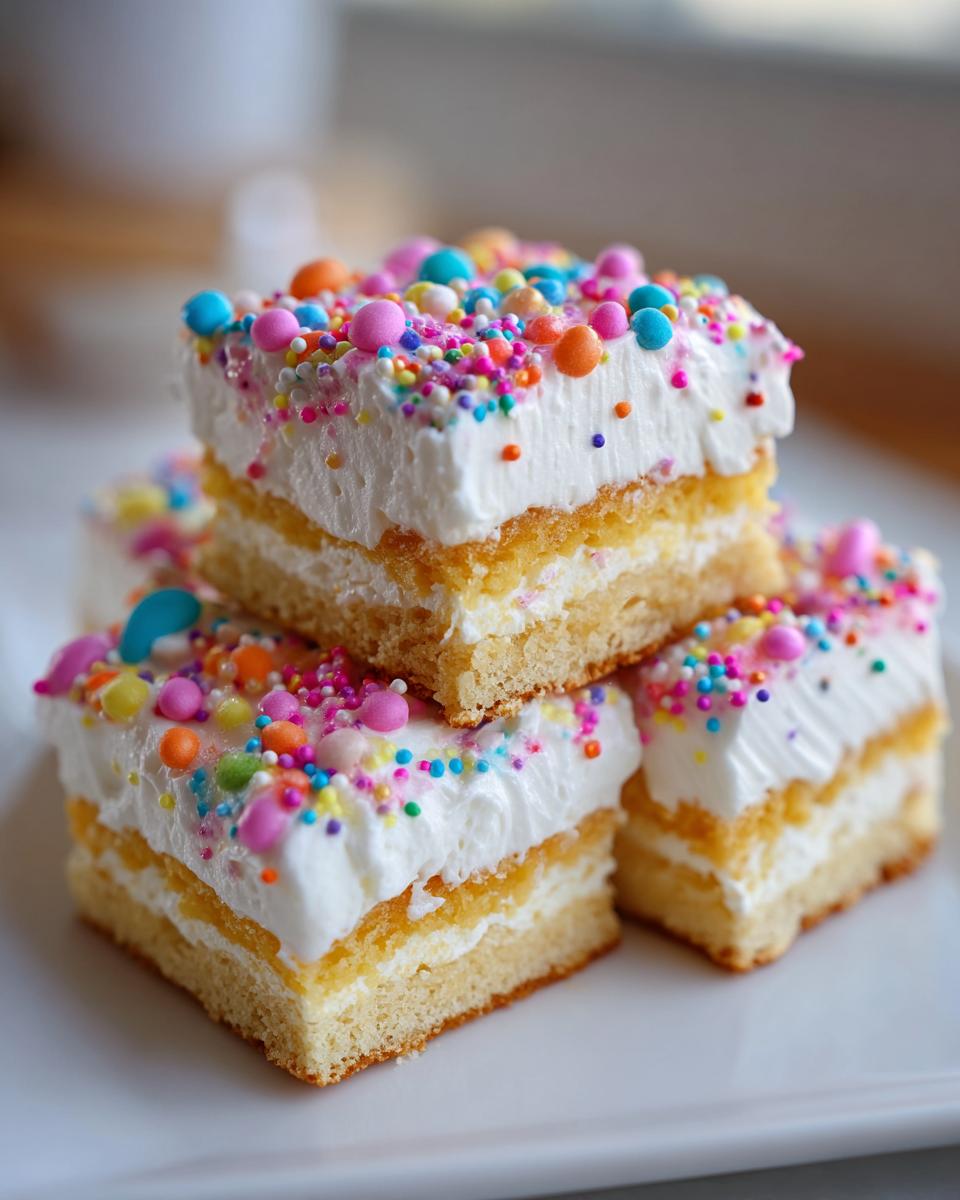
Here comes the fun part! Grab those pastel sprinkles and shower them over the filling like confetti at a parade. I like to hold my hand about a foot above the pan and let them rain down – it gives the prettiest, most even coverage. Now the hardest part: walk away! Pop those beauties in the fridge for at least an hour (two is better) before cutting. When you’re ready, use a sharp knife dipped in hot water for clean cuts. Trust me, the wait is worth it when you see those perfect layers in every bite!
Tips for Perfect Easter Dessert Bars
After making these Easter dessert bars more times than I can count (and surviving a few kitchen disasters along the way), I’ve learned all the tricks to guarantee perfect results every time. First up – that cream cheese must be properly softened. I leave mine on the counter for a good two hours before starting. If you’re in a pinch, microwave it at 30% power in 15-second bursts, turning each time. Cold cream cheese will leave you with lumpy filling, and nobody wants that!
Here’s my golden rule for the crust: don’t overwork the dough. You want to stop mixing when it just holds together when squeezed – any more and your crust will be tough instead of delightfully crumbly. And when pressing it into the pan, use the bottom of a measuring cup to get it perfectly even. No fancy tools needed!
Chilling time is non-negotiable, friends. I know it’s tempting to cut into them right away, but trust me – that hour (or better yet, overnight) in the fridge makes all the difference. The filling sets up beautifully and the flavors meld together. For clean cuts, run your knife under hot water and wipe it dry between slices. Oh, and if your sprinkles bleed color? Just toss them with a tiny bit of cornstarch first – works like a charm!
Variations for Easter Dessert Bars
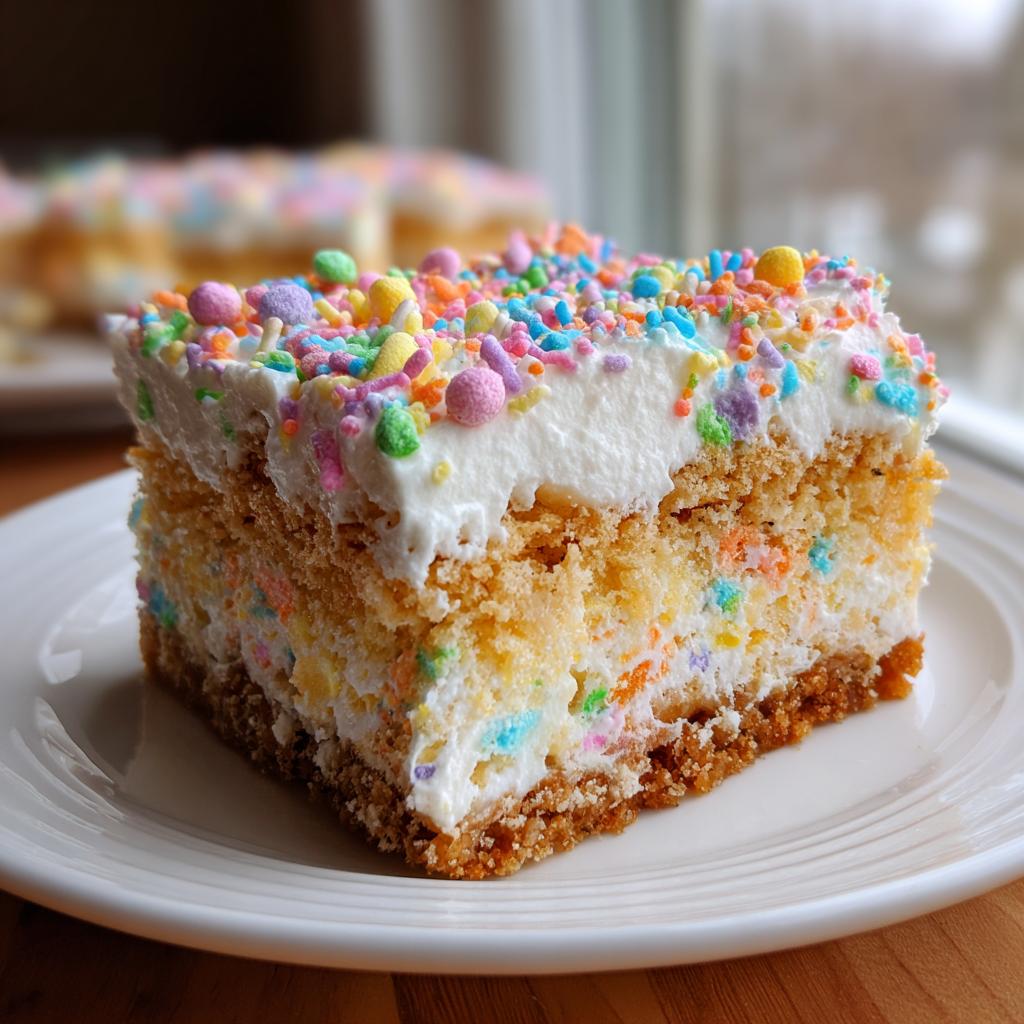
Oh, the fun we can have with these bars! Once you’ve mastered the basic recipe (which, let’s be honest, is already perfection), try these easy twists to keep things fresh year after year. My personal favorite? Swapping the vanilla extract for almond – just 1/2 teaspoon gives this magical toasted marshmallow flavor that pairs beautifully with the pastel sprinkles. Last Easter, I got wild and stirred crushed freeze-dried strawberries into the filling – the pink swirls looked gorgeous peeking through the sprinkles!
For the kiddos (or let’s be real, for me), try mixing mini chocolate chips into the crust before baking. Or go full springtime with lemon zest in the filling and yellow sanding sugar on top. If you’re feeling extra fancy, drizzle melted white chocolate in zigzags over the chilled bars before serving. Honestly, the possibilities are endless – just don’t tell my niece I messed with “her” recipe!
Serving and Storing Easter Dessert Bars
Okay, here’s the deal with these beauties – they’re meant to be served chilled straight from the fridge. That cool, creamy filling against the crisp crust? Absolute magic! I like to arrange them on a pretty platter about 15 minutes before serving – just enough time to take the chill off but keep their perfect texture. Pro tip: use parchment paper between layers if you’re stacking them – those sprinkles have a sneaky way of jumping ship otherwise!
As for leftovers (ha! as if!), they’ll keep beautifully in an airtight container in the fridge for up to 5 days. The crust softens a bit by day three, but honestly? They’re still delicious. Never tried freezing them, but my neighbor swears by wrapping individual bars tightly in plastic wrap before freezing – says they thaw perfectly for up to a month. Just don’t tell her I ate three straight from the freezer last year… cold cheesecake filling is my secret weakness!
Nutritional Information
Alright, let’s talk numbers – but don’t let this scare you off! Each of these heavenly Easter dessert bars clocks in at about 320 calories (worth every single one, if you ask me). You’re looking at 18g of fat (that rich butter and cream cheese magic), 38g carbs (mostly from that dreamy crust), and 3g protein. Now, here’s my baker’s disclaimer: these values can wiggle a bit depending on your exact ingredients. Did you go heavy-handed with the sprinkles? Maybe sneak in an extra pat of butter? No judgment here – just know your mileage may vary!
Frequently Asked Questions
Can I use something besides cream cheese in the filling?
Oh, I get this one all the time! While cream cheese gives that perfect tangy-sweet balance, you can substitute mascarpone for a richer, silkier texture. Just know it’ll be sweeter, so you might want to reduce the powdered sugar by a tablespoon or two. My neighbor swears by ricotta (well-drained!) in a pinch, but I’ll be honest – it changes the vibe completely. If you’re dairy-free, there are some decent vegan cream cheeses out there – just check out our recommendations first!
How far ahead can I make these Easter dessert bars?
Here’s the beautiful part – they actually taste better after chilling overnight! The flavors meld together beautifully. You can make them up to 2 days ahead – just wait to add the sprinkles until a few hours before serving so they stay crisp. Cover tightly with plastic wrap pressed right against the surface to prevent drying. Pro tip: if you’re prepping for a big gathering, freeze the baked crust up to a month ahead – just thaw before adding the filling!
Help! My crust crumbles when I cut the bars. What went wrong?
Don’t panic – I’ve been there! Usually this means either: 1) you didn’t press the crust firmly enough into the pan (really lean into it next time!), or 2) you tried cutting before proper chilling. Let them sit in the fridge at least an hour – two is better. And always use a sharp knife dipped in hot water between cuts. If all else fails? Call them “rustic” and pile on extra sprinkles – no one will notice!
Can I make these in a different pan size?
Absolutely! For thicker bars, use a 9×9 pan – just increase baking time by about 5 minutes. Want individual servings? Mini muffin tins work great – press the crust in with a shot glass, bake for 10 minutes, then add filling. You’ll get about 36 adorable two-bite treats. Just remember – smaller pans mean faster baking, so keep an eye on them!
Easter Dessert Bars
Ingredients
Equipment
Method
- Preheat the oven to 350°F (175°C). Grease a 9×13-inch baking pan.
- In a mixing bowl, combine the flour and sugar for the crust. Cut in the cold butter until the mixture resembles coarse crumbs.
- Press the crust mixture evenly into the prepared baking pan. Bake for 15 minutes, then let cool slightly.
- In another bowl, beat the cream cheese, powdered sugar, and vanilla until smooth. Spread this filling over the cooled crust.
- Sprinkle the pastel-colored sprinkles evenly over the filling. Chill in the refrigerator for at least 1 hour before cutting into bars.
Nutrition
Notes
Tried this recipe?
Let us know how it was!For more amazing recipes, be sure to check out our other sections to explore a variety of ideas that will enrich your cooking experience. Each section offers its own unique flavors to ensure a delightful culinary journey:
Easy and Quick Recipes: A collection of dishes that guarantee delicious meals with minimal effort and time.
Healthy Recipes: Discover healthy and delicious options that fit your lifestyle.
Desserts: A diverse selection of sweets that will add a special touch of sweetness to your table.
Lunch Recipes: Tasty lunch ideas that you can easily prepare to delight your family.
Dinner Recipes: Delicious and easy-to-make recipes that will make your dinner a memorable occasion.