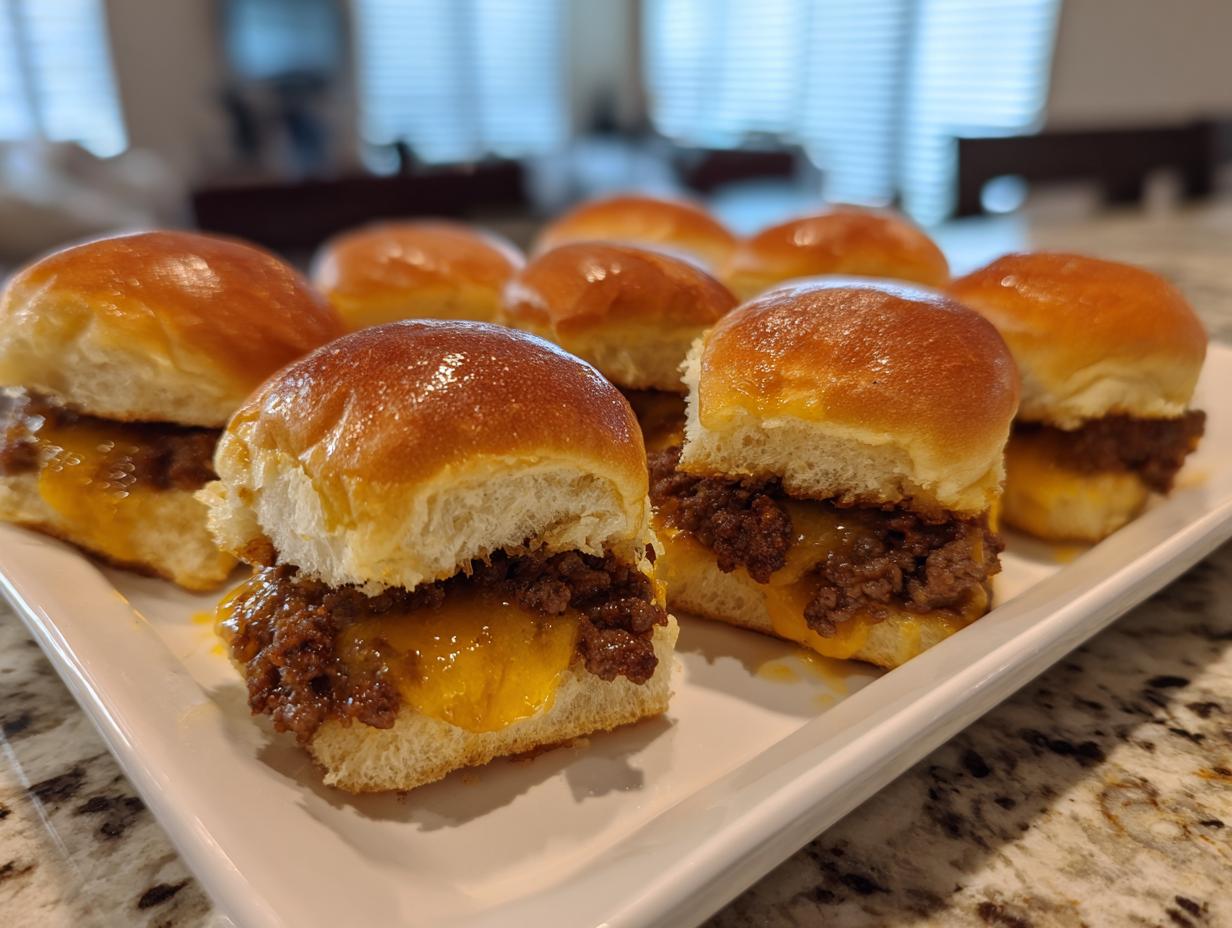
You know that moment when the big game is on, your friends are cheering, and suddenly everyone’s hungry at the same time? That’s when my game day sliders become the MVP of the party! I’ll never forget the first time I made these for my brother’s football watch party – I thought I’d made way too many, but those little burgers disappeared faster than the halftime show. The best part? They’re so easy to throw together, even when you’re juggling drinks, snacks, and keeping up with the score. Just some simple ingredients, one baking sheet, and you’ve got a crowd-pleaser that keeps everyone happy. Trust me, once you try these, they’ll become your go-to game day dinner solution too!
Why You’ll Love These Game Day Sliders
Listen, I know you’ve got a million things to worry about when you’re hosting a game day party – but these sliders? They’re the one thing that won’t stress you out. Here’s why they’re my absolute favorite:
- Quick prep magic: From fridge to table in 35 minutes flat – even my teenager can manage this recipe!
- Pantry-friendly: The ingredient list is so simple, you probably have everything already (no special grocery runs needed).
- Crowd pleaser: I’ve yet to meet someone who doesn’t grab seconds (or thirds) when I put these out.
- Totally customizable: Swap the beef for turkey, use different cheeses, add toppings – they’re like little flavor canvases!
Seriously, these sliders save my bacon every time I’ve got a houseful of hungry sports fans to feed. And isn’t that what we all need on game day?
Ingredients for Game Day Sliders
Here’s everything you’ll need to make these legendary sliders – I bet most are already in your kitchen right now! The beauty of this recipe is in its simplicity, but let me tell you exactly what works best from my many game day trials (and happy accidents).
For the Sliders:
- 12 dinner rolls (whole, not sliced – trust me, that crisp outer layer matters!)
- 1 lb ground beef (I swear by 80/20 blend – leaner beef dries out too fast)
- 1 tsp salt (I use kosher, but any will do in a pinch)
- 1 tsp black pepper (freshly ground if you’ve got it)
- 6 slices cheddar cheese (sharp gives that awesome melt, but mild works too)
For the Topping:
- 1/4 cup butter (melted – real butter only, please!)
- 1 tbsp mustard (yellow works great, but Dijon adds a nice kick)
- 1 tbsp Worcestershire sauce (the secret umami booster)
See what I mean? Nothing fancy, but when these ingredients come together… magic! Now let’s make some sliders!
How to Make Game Day Sliders
Alright, let’s get these sliders going! I’ve made this recipe more times than I can count, and I’ve learned all the little tricks to make them perfect every time. Follow these steps, and you’ll have a tray of golden, cheesy goodness ready before the next commercial break!
- Heat things up: First, preheat your oven to 350°F (175°C). This gives your oven time to get nice and toasty while you prep everything else.
- Brown that beef: Grab a skillet and cook your ground beef over medium heat. Break it up as it cooks – you want small crumbles, not big chunks. Season with salt and pepper when it’s about halfway done. Pro tip: Drain any excess fat unless you want soggy bottoms (and nobody wants that!).
- Roll with it: Take your dinner rolls (keep them connected!) and slice the whole bunch in half horizontally. Place the bottom halves on a baking sheet – I like to give them a little press with my fingers so they stay put.
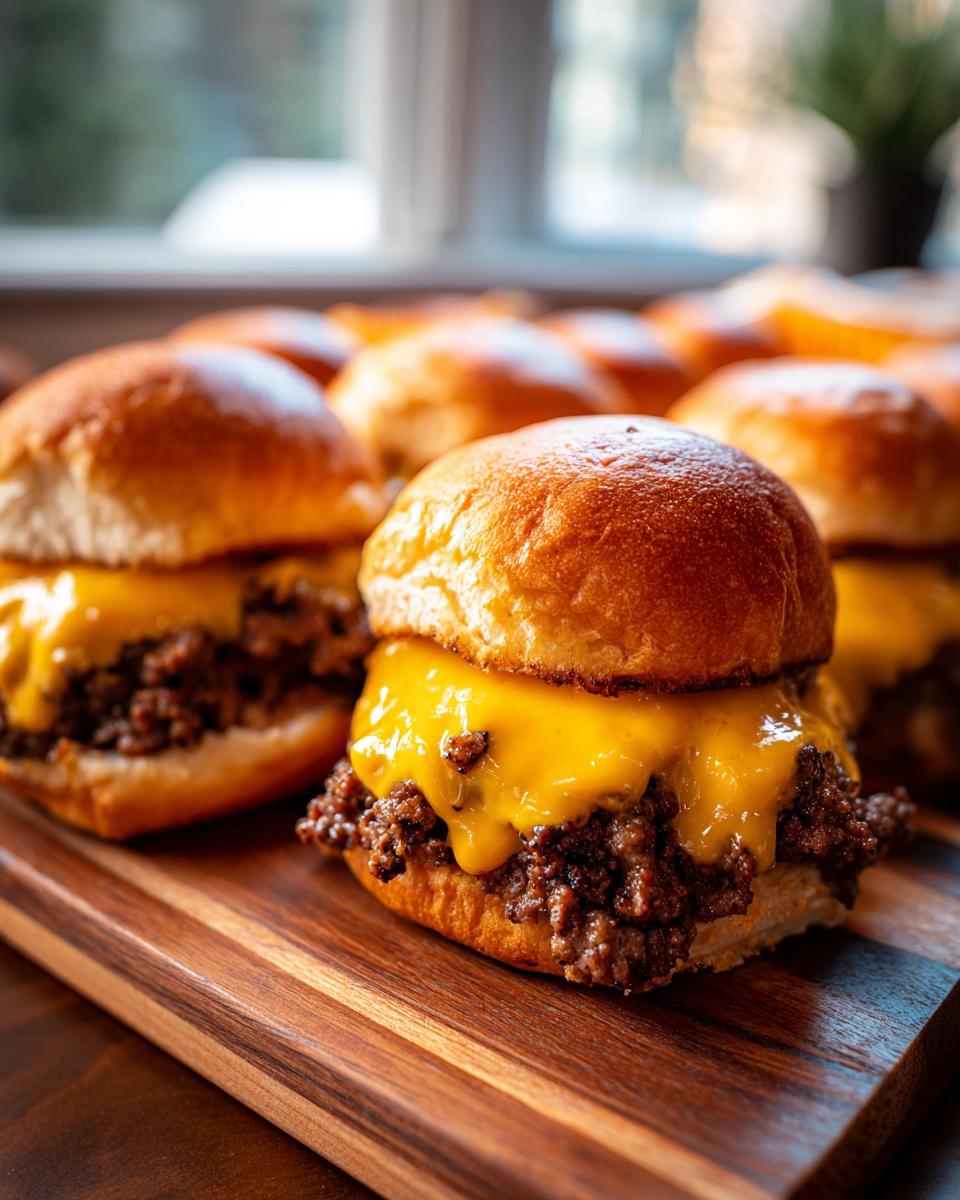
- Layer up: Spread your cooked beef evenly over the rolls, then top with cheese slices. Cover with the top halves of the rolls – it’s like tucking them into a cheesy blanket!
- Brush on the magic: Mix together your melted butter, mustard, and Worcestershire sauce. Brush this glorious mixture all over the tops of the rolls – this is what gives them that irresistible golden shine.
- Bake to perfection: Pop them in the oven for 15-20 minutes. You’ll know they’re done when the cheese is melty and the tops are that perfect golden brown. Your kitchen will smell amazing!
That’s it! Six simple steps to slider heaven. These are perfect for any game day appetizer spread, but honestly, I make them just because sometimes too.
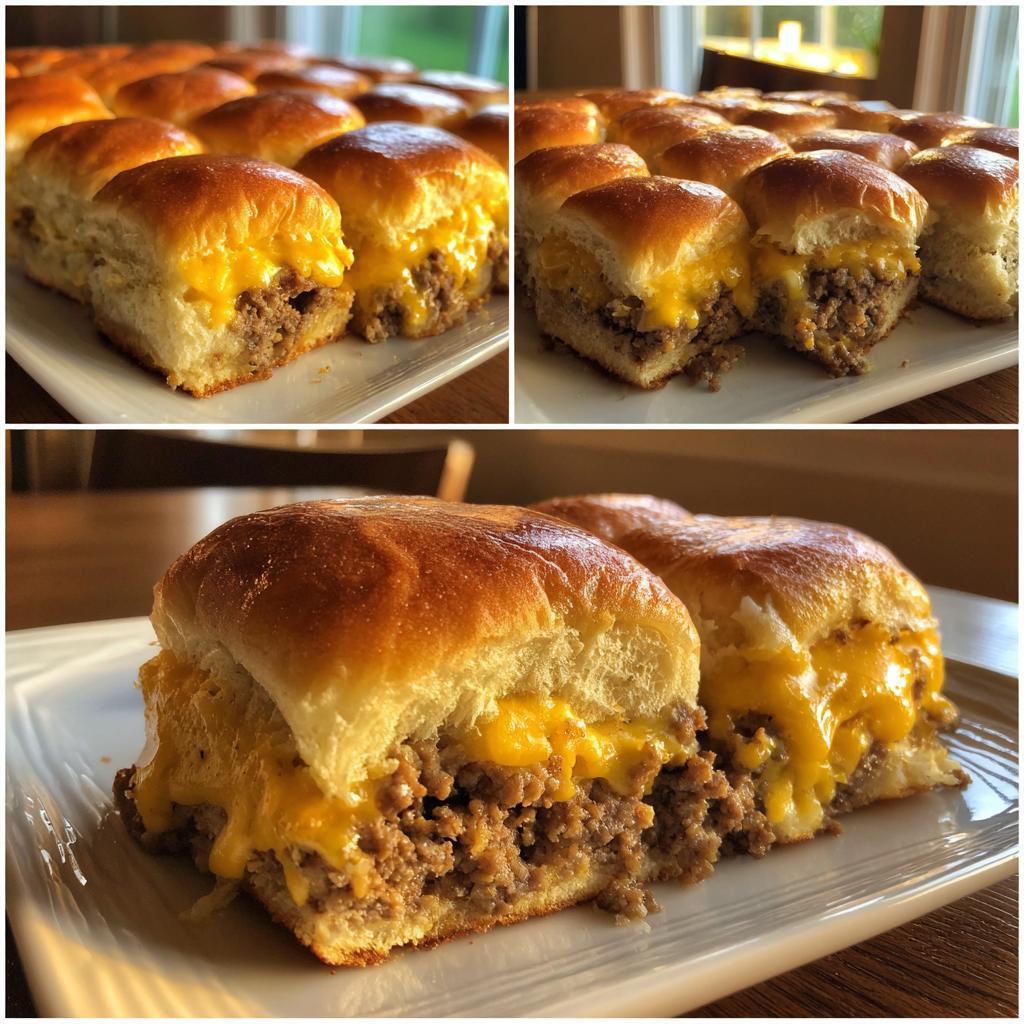
Pro Tip for Perfect Game Day Sliders
Here’s my secret weapon: Let those beauties rest for about 5 minutes after they come out of the oven. I know it’s tempting to dive right in, but this lets the cheese set a bit so they slice cleanly. Learned this the hard way after burning my fingers one too many times! Also, make sure you drain your beef really well – that extra minute saves you from soggy slider sadness later.
Serving Suggestions for Game Day Sliders
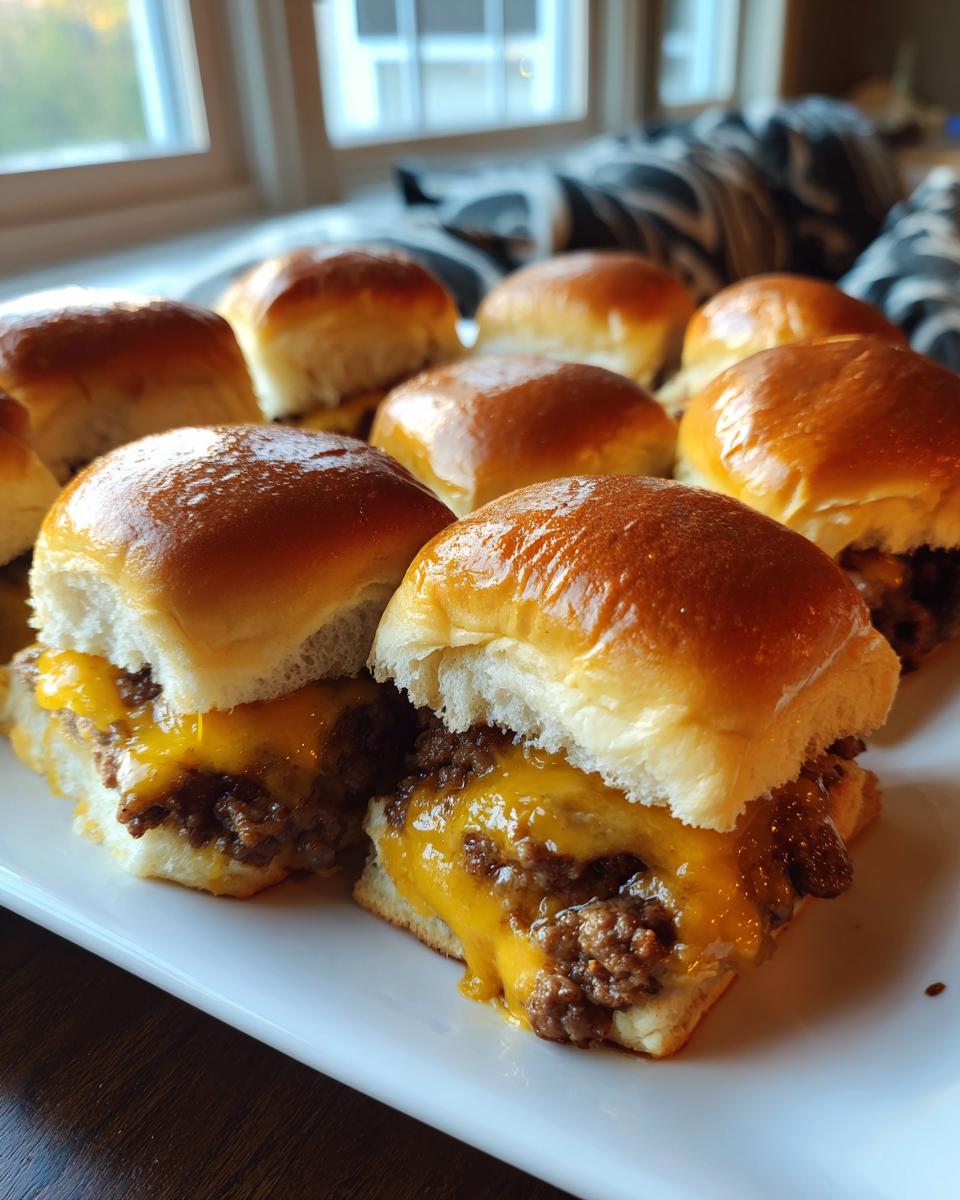
Oh, let me tell you how I love to serve these sliders! First rule – get them to the table while they’re still warm and gooey. That melty cheese is half the fun! I always set out a big tray with pickles on the side (the tang cuts through the richness perfectly) and a bowl of crispy chips for that satisfying crunch. My secret? A little ramekin of ranch dressing for dipping – it’s like the sliders’ best friend! And if you really want to impress, add some spicy mayo or barbecue sauce options. Trust me, your guests will be too busy eating to notice who’s winning the game!
Game Day Sliders Variations
Oh, the fun really starts when you play around with these sliders! My friends always beg me to try new versions – here are my favorite twists that never disappoint:
Pulled Pork Paradise: Swap the beef for leftover pulled pork (or grab some from the deli). The sweet, smoky meat pairs perfectly with a slice of provolone and a drizzle of barbecue sauce. Game changer!
Hawaiian Roll Happiness: Use those sweet Hawaiian rolls instead of dinner rolls. The hint of sweetness makes them irresistible – just ask my niece who ate three at last year’s Super Bowl party!
Onion Lover’s Dream: Add caramelized onions under the cheese. Takes a few extra minutes, but wow – that sweet onion flavor takes these sliders to gourmet territory. My husband’s absolute favorite version!
Storing and Reheating Game Day Sliders
Okay, let’s talk leftovers – because let’s be real, sometimes you actually have some! These sliders keep beautifully in the fridge for up to 3 days if you store them in an airtight container. When you’re ready for round two, here’s my reheating secret: 10 minutes in a 300°F oven brings them back to their melty, golden glory. Sure, you can microwave them for 30 seconds in a pinch, but fair warning – you might end up with a slightly soggy situation. Learned that lesson the hard way during a late-night snack attack!
Game Day Sliders Nutrition Information
Now, let’s talk numbers – but remember, nutrition varies based on ingredients and brands. These values are estimates per slider, so don’t stress too much! Each slider packs about 250 calories, with 14g fat (7g saturated), 12g protein, and 18g carbs. Not bad for a handheld flavor explosion, right? Just keep in mind – if you add extra cheese or go heavy on the butter topping, those numbers might climb a bit. But hey, it’s game day – live a little!
Game Day Sliders FAQs
I get asked these questions all the time when I serve these sliders – here’s everything you need to know to make them perfect every time!
Can I make these ahead?
Absolutely! I often prep them up to the baking step, cover tightly with foil, and refrigerate for a few hours before game time. Just add 5 extra minutes to the baking if they’re going in cold. The butter topping keeps the rolls from drying out – genius, right?
Can I freeze sliders?
You bet! Freeze them after baking (cool completely first). They’ll keep for about a month. Reheat straight from frozen at 325°F for 15-20 minutes. The cheese gets a little less melty, but they’re still delicious – my emergency snack stash!
What cheese works best?
I’m partial to sharp cheddar for that perfect melt, but honestly? Any cheese you love works! My nephew swears by pepper jack, and my sister uses Swiss when she’s feeling fancy. Just avoid pre-shredded cheese – the anti-caking agents make it melt weird. Learned that one the hard way!
Rate This Recipe
Did you make these game day sliders for your crew? I’d love to know how they turned out! Drop a star rating or quick comment below – your feedback helps me (and other hungry fans) create the best bite-sized burgers around. Happy hosting!
Ingredients
Equipment
Method
- Preheat the oven to 350°F (175°C).
- Brown the ground beef in a skillet over medium heat. Season with salt and pepper.
- Slice the dinner rolls in half and place the bottom halves in a baking sheet.
- Layer the cooked beef and cheese slices on the rolls. Cover with the top halves.
- Mix the melted butter, mustard, and Worcestershire sauce. Brush over the sliders.
- Bake for 15-20 minutes until the cheese melts and the tops are golden.
Nutrition
Notes
Tried this recipe?
Let us know how it was!For more amazing recipes, be sure to check out our other sections to explore a variety of ideas that will enrich your cooking experience. Each section offers its own unique flavors to ensure a delightful culinary journey:
Easy and Quick Recipes: A collection of dishes that guarantee delicious meals with minimal effort and time.
Healthy Recipes: Discover healthy and delicious options that fit your lifestyle.
Desserts: A diverse selection of sweets that will add a special touch of sweetness to your table.
Lunch Recipes: Tasty lunch ideas that you can easily prepare to delight your family.
Dinner Recipes: Delicious and easy-to-make recipes that will make your dinner a memorable occasion.