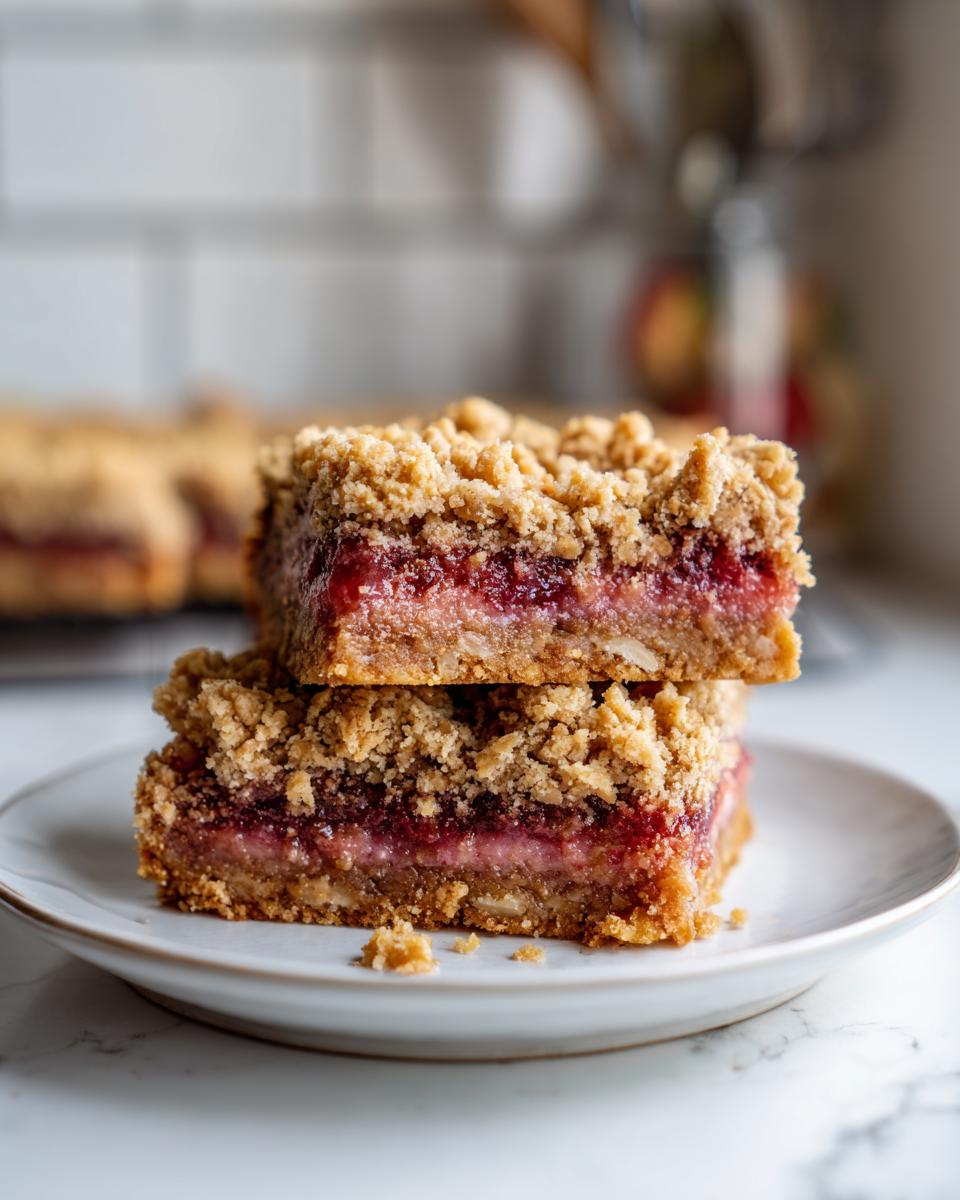
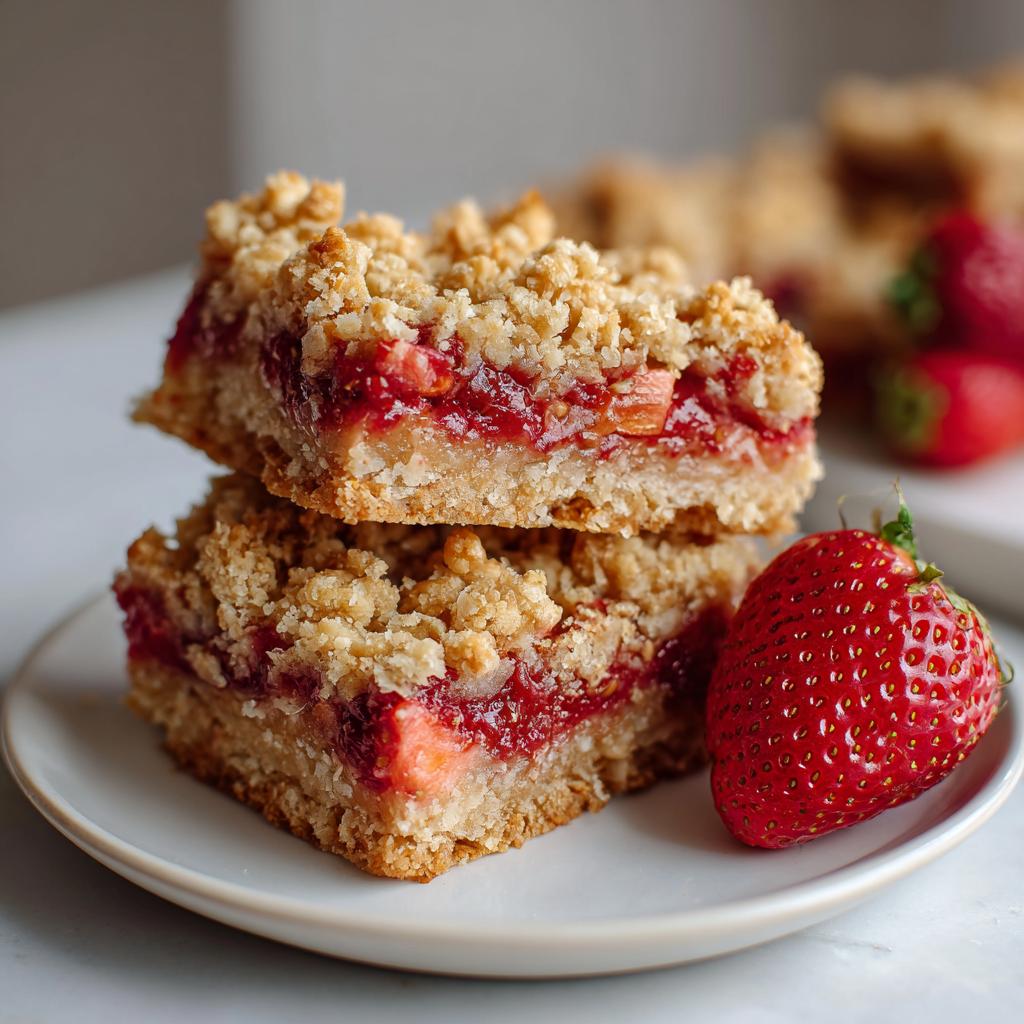
Oh, strawberry oat crumble bars dessert—just saying it makes my mouth water! There’s something magical about the way juicy strawberries nestle into that buttery oat crust, creating the perfect balance of fruity sweetness and hearty crunch. I first made these on a lazy Sunday when I had a mountain of strawberries threatening to go bad, and now they’re my go-to when I need a dessert that pleases everyone (and fast!). The best part? You probably have all the ingredients in your pantry right now. Trust me, once you try these, you’ll be making them on repeat—just like my family does. Check out more of my favorite dessert recipes if you’re looking for other sweet treats!
Why You’ll Love These Strawberry Oat Crumble Bars Dessert
Let me tell you why these bars have become my kitchen MVP—they’re the dessert that checks all the boxes!
- Effortless magic: Just mix, layer, and bake—no fancy techniques needed. I’ve made these half-asleep at 6 AM for school bake sales (don’t judge).
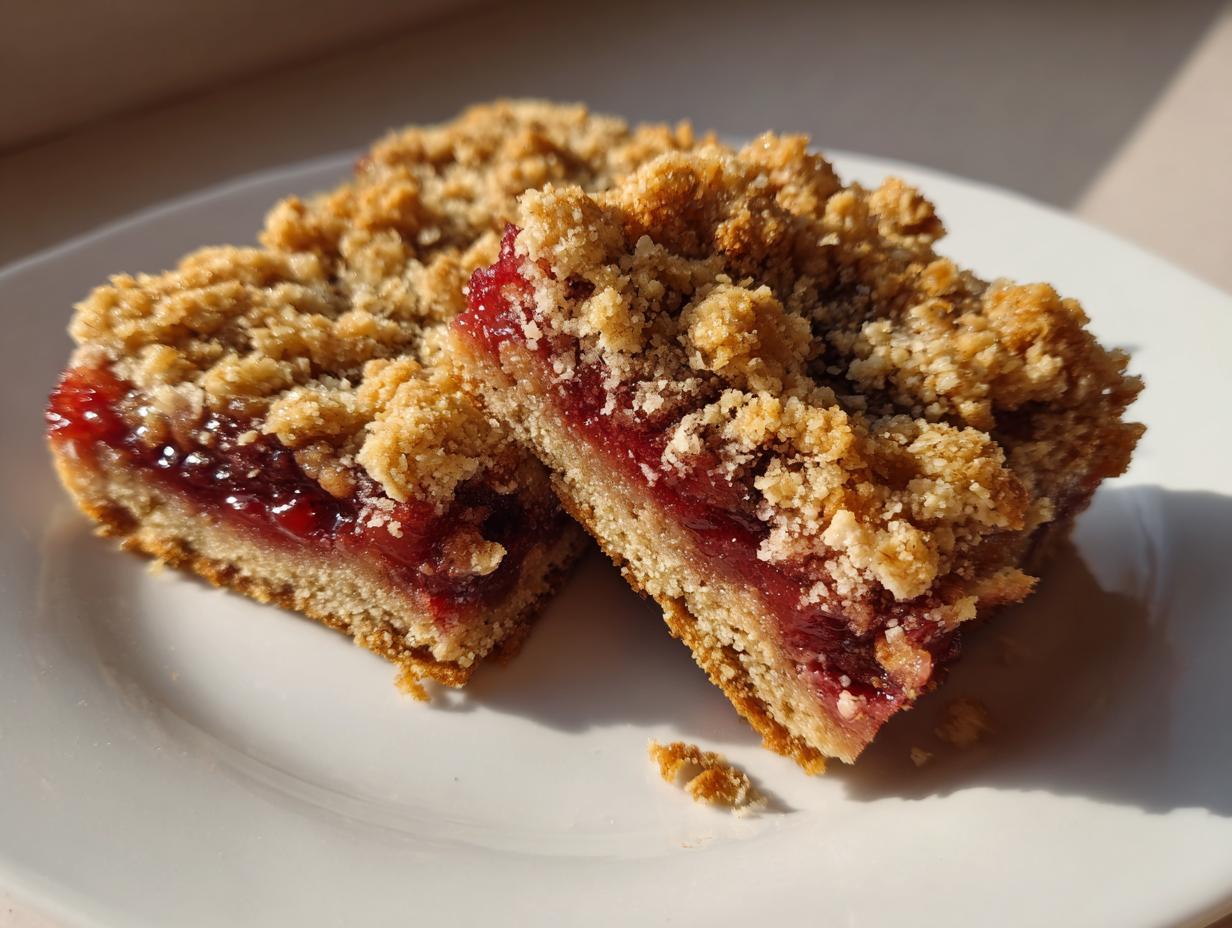
- That perfect crunch-meets-juicy bite: The buttery oat crust shatters beautifully against the jammy strawberry center. It’s like summer in every square.
- Breakfast-worthy dessert: With all those oats and fruit, I don’t even feel guilty sneaking one with my morning coffee. Okay, maybe two.
- Endless variations: Swap strawberries for whatever fruit’s in season—I’ve used everything from peaches to frozen mixed berries when desperate.
Seriously, these disappear faster than I can make them. Last batch? Gone before they even cooled completely. Rude.
Ingredients for Strawberry Oat Crumble Bars Dessert
Gathering ingredients for these bars is like assembling a dream team—each one plays a crucial role in creating that perfect balance of texture and flavor. I’ve learned through trial and error (and many delicious mistakes) that quality matters here. Don’t skimp on the butter or try to substitute quick oats—trust me, it makes all the difference!
For the Crust and Topping
This magical oat mixture does double duty as both the base and the crumbly crown. Here’s what you’ll need:
- 1.5 cups old-fashioned oats – Not quick oats! They give that perfect chewy-crunchy texture.
- 1 cup all-purpose flour – Spoon and level it, don’t scoop!
- 1/2 cup brown sugar – Pack it like you mean it—this adds caramel depth.
- 1/4 tsp salt – Just a pinch to make all the flavors pop.
- 1/2 cup unsalted butter, melted – I use the good stuff—European-style if I’m feeling fancy.
For the Strawberry Filling
The star of the show! This juicy layer is what makes everyone beg for seconds:
- 2 cups fresh strawberries, chopped – About 1/4-inch pieces—big enough to taste, small enough to bake evenly.
- 2 tbsp granulated sugar – Adjust based on your berries’ sweetness.
- 1 tbsp cornstarch – Our secret weapon against runny filling.
- 1 tsp lemon juice – Brightens everything up—fresh squeezed if you can!
See? Nothing complicated—just honest ingredients that work together beautifully. Now let’s get mixing!
How to Make Strawberry Oat Crumble Bars Dessert
Alright, let’s get to the fun part—turning these simple ingredients into those irresistible strawberry oat crumble bars! I’ve made this recipe so many times I could probably do it in my sleep, but I’ll walk you through each step carefully. The key is not to rush—especially when pressing that crust. Trust me, taking an extra minute here makes all the difference in getting those perfect, clean-cut bars later.
Step 1: Prepare the Crust
First things first—preheat that oven to 350°F (175°C). While it’s warming up, grab your 8×8 pan and line it with parchment paper, leaving some overhang on the sides. This little trick will save you so much frustration when it’s time to lift out those bars! Now, in a big mixing bowl, combine the oats, flour, brown sugar, and salt. Pour in that glorious melted butter and stir until everything looks like wet sand—you want it clumpy but still crumbly. Here’s my pro tip: reserve about 1 cup of this mixture for the topping before pressing the rest firmly into the pan. I mean business when I say firmly—use the bottom of a measuring cup to really pack it down. Pop it in the oven for 10 minutes just to set—this prevents a soggy bottom layer.
Step 2: Make the Strawberry Filling
While the crust is getting toasty, let’s make that luscious strawberry filling. Toss your chopped strawberries (don’t make them too small—we want some texture!) with the sugar, cornstarch, and lemon juice right in the bowl. The mixture should look glossy and slightly syrupy after a good stir—that’s the cornstarch working its magic to thicken all those delicious juices. If your strawberries are super ripe and juicy, you might see quite a bit of liquid—that’s perfect! It’ll bake into the most amazing jammy layer. Just give it another stir right before using to redistribute all that goodness.
Step 3: Assemble and Bake
Okay, crust is pre-baked—time to build! Spread your strawberry filling evenly over the warm crust (those juices will start soaking in immediately—yum!). Now take that reserved oat mixture and sprinkle it over the top like you’re decorating the most delicious sandcastle. Don’t pack it down—we want those craggy bits to get golden and crispy. Bake for about 25 minutes until the topping is golden brown and you can see those strawberry juices bubbling along the edges. Your kitchen will smell like heaven! Here’s the hardest part—let it cool completely before cutting. I know, I know—but rushing this means messy, crumbly bars instead of those perfect squares we’re after.
Tips for Perfect Strawberry Oat Crumble Bars Dessert
After making these bars more times than I can count (and eating way too many “test” pieces), I’ve picked up some tricks that’ll make yours absolutely foolproof. First, if you’re using frozen strawberries—no shame, I do it all winter—just thaw and drain them well first. That extra juice will make your filling too runny otherwise. When pressing the crust, really put some muscle into it! I use the bottom of a measuring cup and press until my arm gets tired—that tight pack is what gives you those clean slices later. And here’s my biggest secret: let them cool completely before cutting. I know it’s torture, but rushing this means crumbly disaster. If you absolutely can’t wait (I get it), pop them in the fridge for 30 minutes to set faster. Last tip? Always make a double batch—they disappear faster than you’d believe!
Storage and Serving Suggestions
These strawberry oat crumble bars keep beautifully in an airtight container for up to 3 days—if they last that long! For longer storage, freeze them (individually wrapped) for up to a month. My favorite way to serve? Warm with a scoop of vanilla ice cream melting over the top—pure magic! They’re also fantastic with afternoon tea or packed in lunchboxes (trust me, your kids will trade anything for these). Just remember—if you’re cutting them for a party, use a sharp knife and wipe it clean between slices for those picture-perfect edges.
Nutritional Information
Just so you know – all nutrition info here is a general estimate since ingredients vary by brand. I always say: when you’re mixing butter, oats, and jammy strawberries, worrying about numbers kinda spoils the fun!
Frequently Asked Questions
I get so many questions about these strawberry oat crumble bars—here are the ones that pop up most often in my kitchen (and inbox)!
Can I use frozen strawberries instead of fresh?
Absolutely! I do this all winter when fresh berries cost a fortune. Just thaw them first and drain off any extra liquid—otherwise your filling might get too runny. Pro tip: toss them frozen with the sugar and let them sit for 10 minutes before draining—they’ll release even more juice that way!
What’s the best gluten-free option for this recipe?
Easy swap—just use a 1:1 gluten-free flour blend instead of regular flour. I’ve had great results with Bob’s Red Mill. And make sure your oats are certified gluten-free (regular oats are often processed in facilities with wheat). The texture comes out nearly identical—my gluten-sensitive friends never know the difference!
How long can I freeze these bars?
They freeze like a dream! I wrap individual bars tightly in plastic wrap, then pop them in a freezer bag for up to 2 months. Thaw at room temperature when the craving hits. Want a fun summer treat? Try them partially frozen—they’re like a cross between a crumble bar and frozen yogurt popsicles!
Can I use other fruits besides strawberries?
Oh honey, the world’s your oyster! Blueberries, raspberries, peaches—they all work beautifully. Just adjust the sugar based on the fruit’s sweetness (tart fruits like rhubarb need more, super sweet ones need less). My personal favorite? A mix of blackberries and peaches with a dash of cinnamon in the oat topping. Heaven!
Why did my bars fall apart when cutting?
Been there! Two likely culprits: either you didn’t press the crust firmly enough (really pack it down!), or you didn’t let them cool completely. I know it’s hard to wait, but that cooling time lets everything set up properly. If you’re in a rush, the fridge trick I mentioned earlier works wonders!
Strawberry Oat Crumble Bars
Ingredients
Equipment
Method
- Preheat the oven to 350°F (175°C). Line an 8×8-inch baking pan with parchment paper.
- In a bowl, mix oats, flour, brown sugar, and salt. Stir in melted butter until crumbly.
- Press half the mixture into the pan to form the crust. Bake for 10 minutes.
- In another bowl, combine strawberries, sugar, cornstarch, and lemon juice. Spread over the crust.
- Sprinkle the remaining oat mixture over the strawberry layer. Bake for 25 minutes or until golden.
- Let cool completely before cutting into bars.
Nutrition
Notes
Tried this recipe?
Let us know how it was!For more amazing recipes, be sure to check out our other sections to explore a variety of ideas that will enrich your cooking experience. Each section offers its own unique flavors to ensure a delightful culinary journey:
Easy and Quick Recipes: A collection of dishes that guarantee delicious meals with minimal effort and time.
Healthy Recipes: Discover healthy and delicious options that fit your lifestyle.
Desserts: A diverse selection of sweets that will add a special touch of sweetness to your table.
Lunch Recipes: Tasty lunch ideas that you can easily prepare to delight your family.
Dinner Recipes: Delicious and easy-to-make recipes that will make your dinner a memorable occasion.