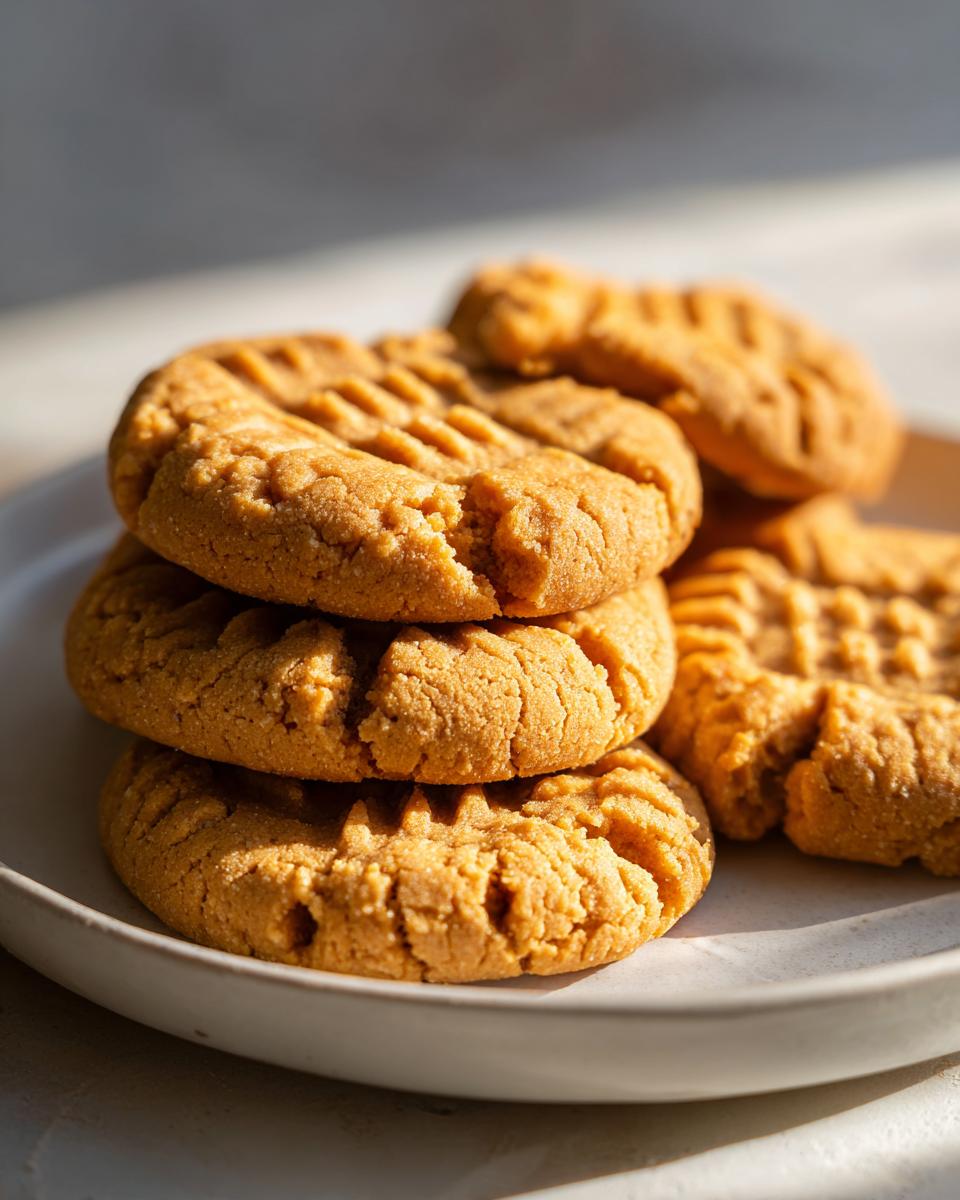
I still remember the first time I baked this flourless peanut butter cookie recipe—my skeptical niece, who usually turns her nose up at gluten-free treats, devoured three in one go! These cookies are total game-changers with their chewy centers and crisp edges, and the fact that they need just five basic ingredients makes them my go-to when cookie cravings strike. No fancy flours, no complicated steps—just pure peanut butter bliss in under 20 minutes. That’s the magic of this recipe—it proves gluten-free baking doesn’t have to be fussy. Now, it’s the first thing my sister requests from my dessert repertoire whenever she visits, and I love how the crumbly texture melts perfectly with a glass of cold milk. Trust me, once you try this version, you’ll never miss the flour!
Why You’ll Love This Flourless Peanut Butter Cookie Recipe
Oh, where do I even start with these little wonders? They’re the kind of cookies you whip up when you’re craving something sweet but don’t want to drag out the entire baking pantry. Here’s why they’ve become my ultimate cookie emergency lifesaver:
- Gluten-free magic: No flour means no fuss—perfect for friends with dietary restrictions or when you suddenly realize you’re out of all-purpose flour (been there!).
- Five ingredients, one bowl: Peanut butter, egg, sugar, baking soda, and salt—that’s it! I’ve made these while half-asleep at midnight, and they still turn out perfect.
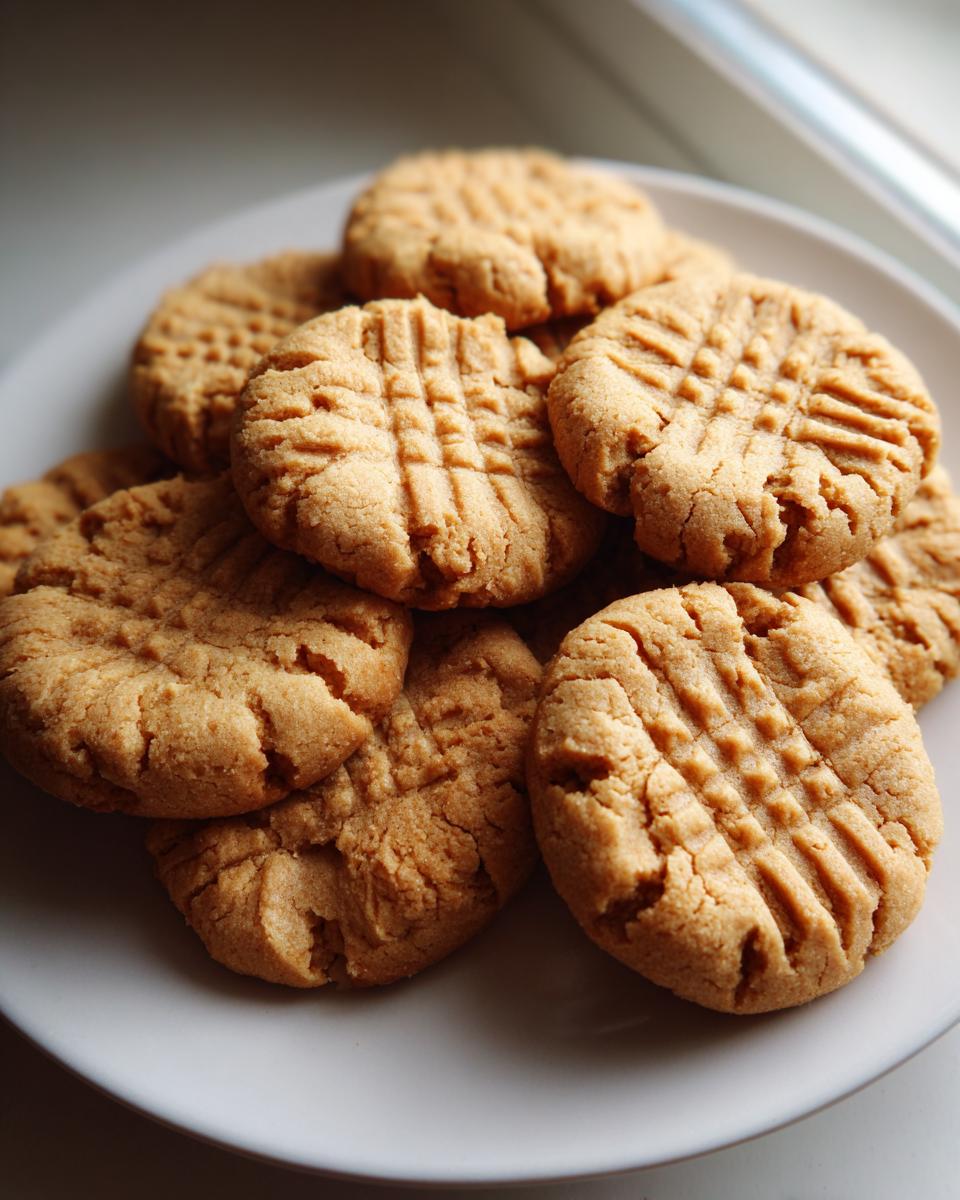
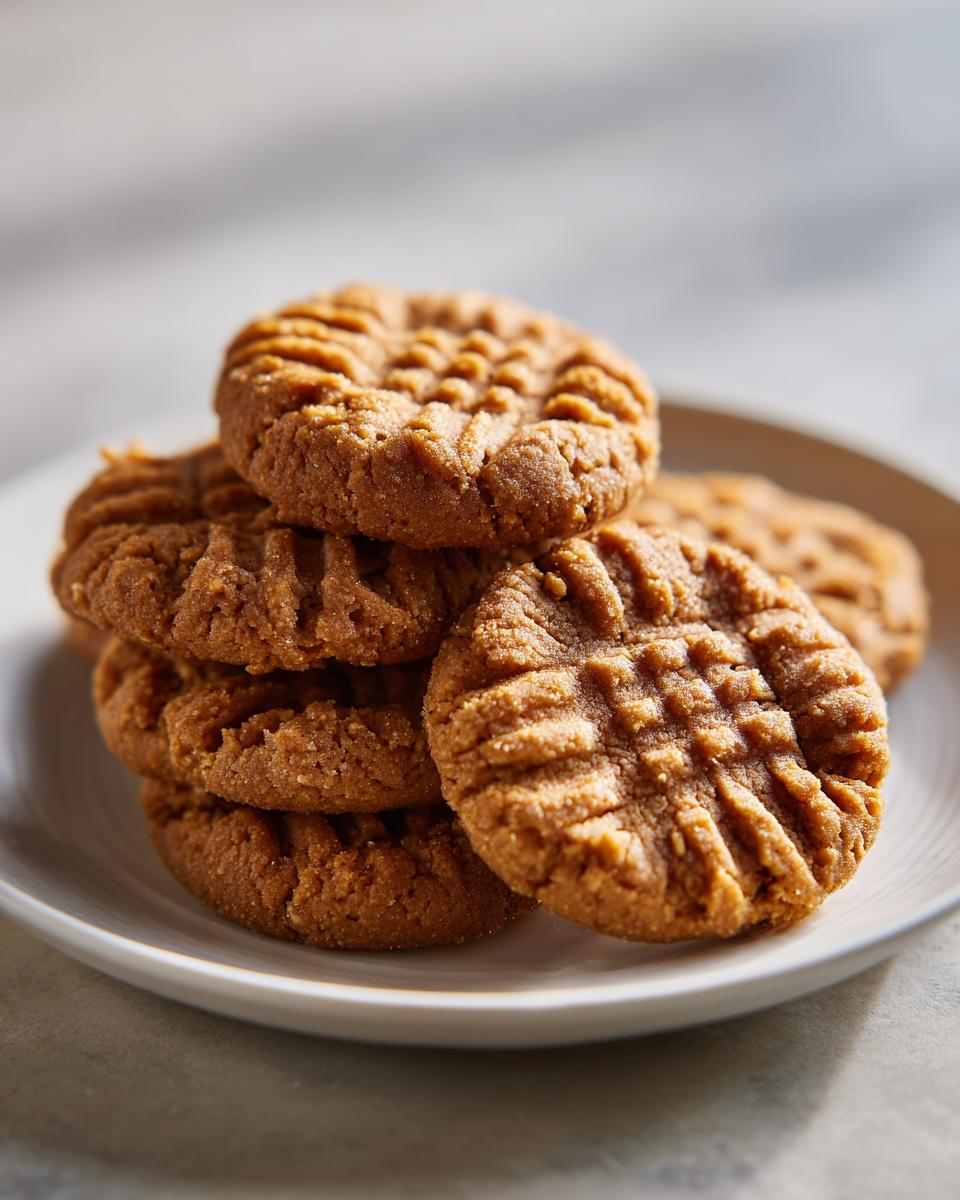
- The texture dream: Chewy centers with slightly crisp edges—exactly how peanut butter cookies should be. They stay soft for days (if they last that long).
- Peanut butter lover’s dream: The flavor is pure, unapologetic peanut butter bliss. I use extra-crunchy sometimes for little nutty surprises in every bite.
- 20-minute miracle: From craving to cookie in less time than it takes to watch a sitcom episode. I always say they’re faster than Uber Eats!
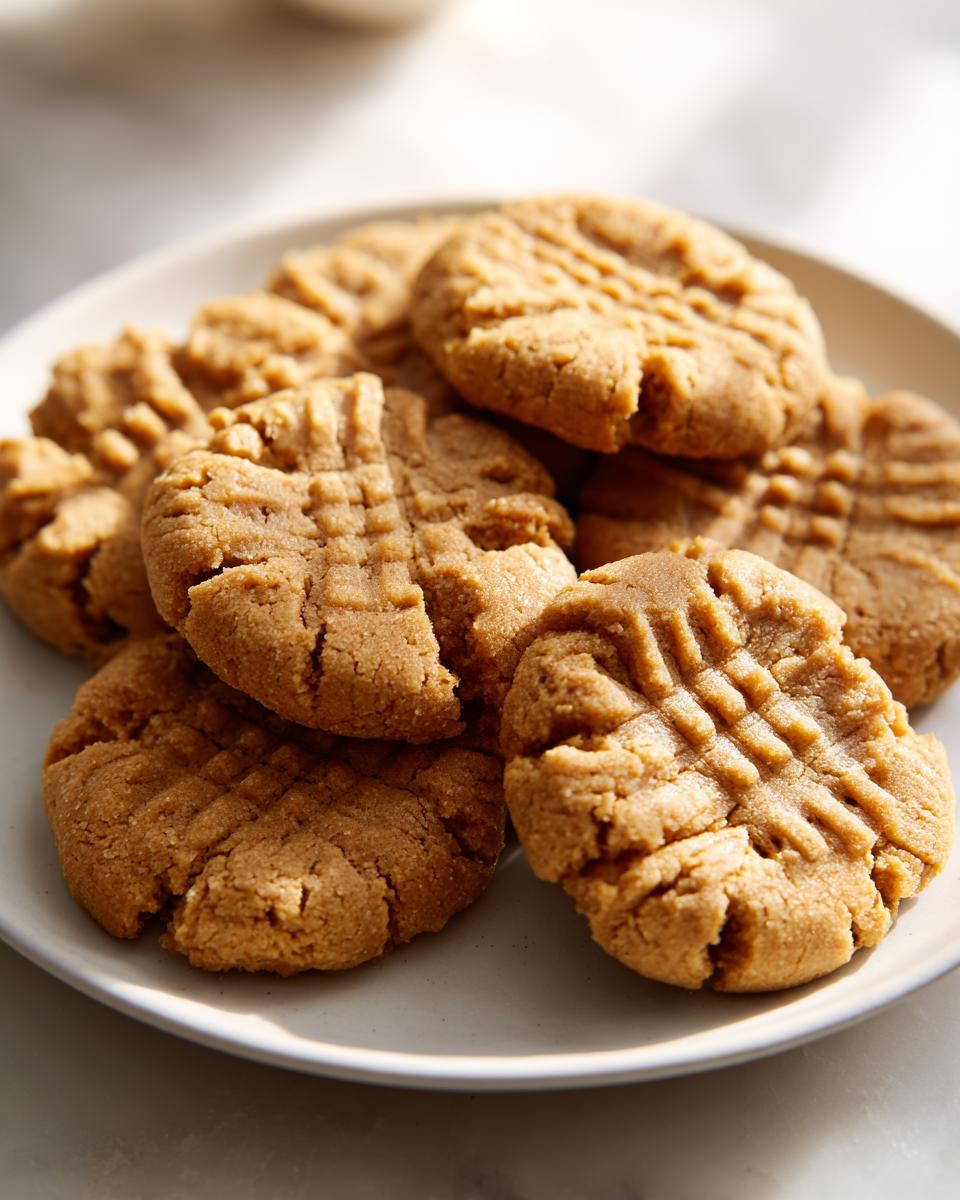
Honestly, these cookies prove simple can be spectacular. They’re the recipe I share most often—always with that “wait, that’s REALLY all?” look from friends.
Ingredients for Flourless Peanut Butter Cookies
Oh, I love how short this ingredient list is—it’s basically my pantry staples with a little magic mixed in! Here’s everything you’ll need for that perfect chewy texture and peanut butter punch:
- 1 cup creamy peanut butter: The star of the show! I use standard shelf-stable peanut butter (not natural/oily kinds) for the best texture. If yours is super stiff, give it a good stir before measuring.
- 1 large egg: Room temperature is ideal—it blends smoother into the dough. I just pop mine in warm water for 5 minutes if I forgot to set it out.
- ½ cup granulated sugar: Yes, just plain white sugar does the trick. Don’t pack it—loosely spoon it into your measuring cup.
- ½ teaspoon baking soda: Our leavening secret weapon! Make sure yours is fresh (no clumps).
- ¼ teaspoon salt: Balances the sweetness perfectly. I use fine sea salt, but table salt works too.
See what I mean? Five humble ingredients that somehow transform into cookie magic. Now let’s get mixing!
How to Make Flourless Peanut Butter Cookies
Okay, let’s get to the fun part—making these ridiculously easy cookies! You won’t believe how quickly they come together. Here’s my step-by-step, tested-to-perfection method:
- Heat things up: Preheat your oven to 350°F (175°C) and line a baking sheet with parchment paper. No parchment? A silicone mat or even a light greasing will work, but parchment gives you that flawless release I swear by.
- Mix it real good: In your trusty mixing bowl, combine the peanut butter, egg, sugar, baking soda, and salt. Stir until smooth—but don’t overdo it! I use a wooden spoon and stop when everything’s just combined (about 30 seconds of stirring). The dough will be thick and slightly sticky—that’s exactly what we want.
- Scoop and space: Use a tablespoon or cookie scoop to portion the dough onto your prepared sheet, spacing them about 2 inches apart. Pro tip: Lightly damp hands keep the dough from sticking when you roll them into balls. They won’t spread much before baking, but trust me, they’ll expand beautifully.
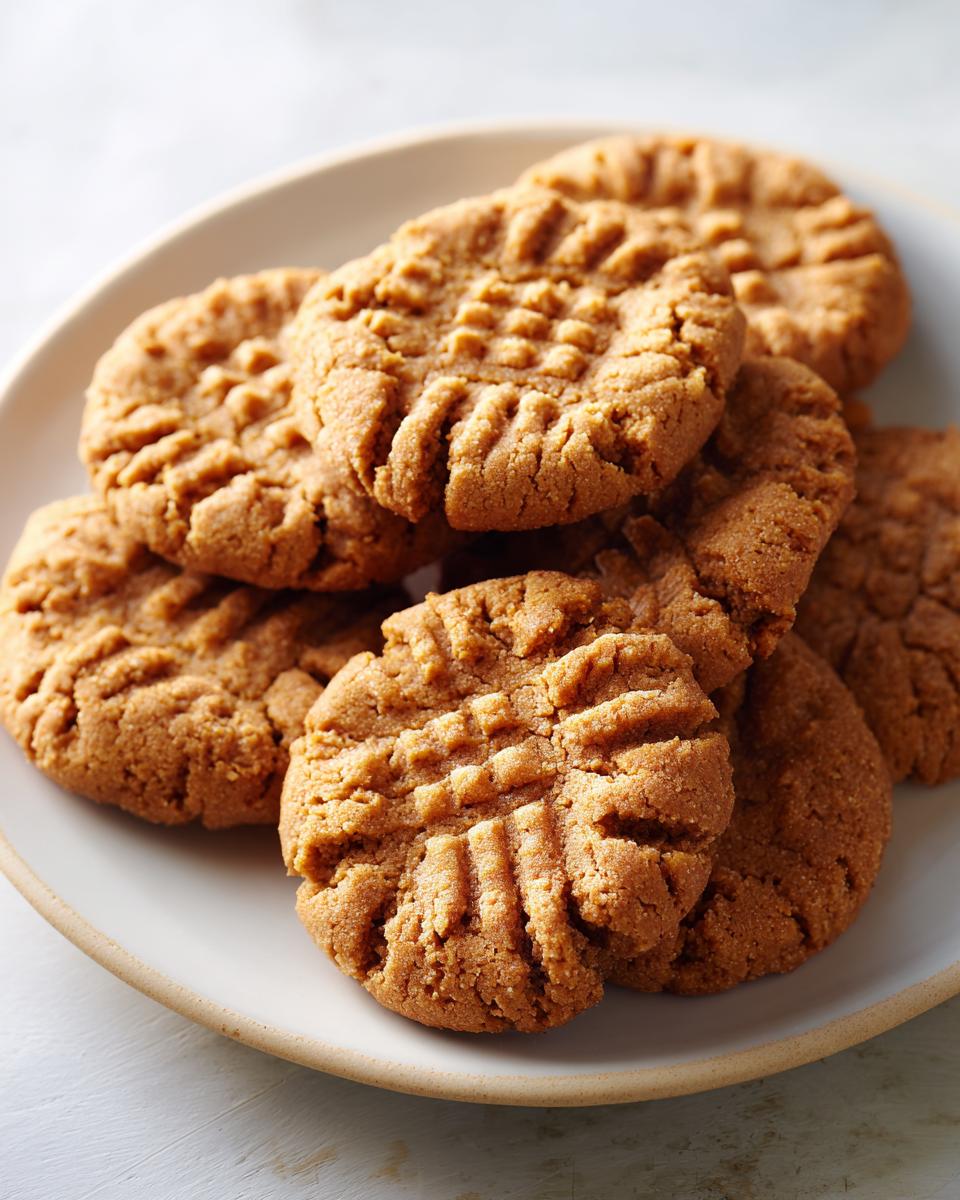
- The signature press: Grab a fork and gently flatten each cookie, then rotate 90 degrees and press again to create that classic crisscross pattern. Fun fact—this isn’t just for looks! The ridges help the cookies bake evenly and give them maximum crisp-edge-to-chewy-center ratio.
- Bake to golden perfection: Slide them into the oven for 10 minutes max. They’re done when the edges look set and just barely golden—the centers will still seem soft, but that’s the magic! Overbaking makes them crumbly, so set that timer religiously.
- Cool like a pro: Let them cool on the baking sheet for at least 5 minutes before transferring. I know it’s torture, but this helps them firm up without falling apart. Then move them to a wire rack—if they last that long!
Tips for Perfect Flourless Peanut Butter Cookies
After making these dozens of times (not exaggerating—my neighbors demand them monthly), here are my golden rules:
- Peanut butter matters: Skip the natural, oily varieties unless you want flat, greasy cookies. The classic shelf-stable kind (like Jif or Skippy) gives the best texture.
- Timing is everything: Pull them out when they still look slightly underdone—they’ll finish setting as they cool. Overbaked cookies turn into peanut butter gravel (still tasty, but not the dreamy chew we’re after).
- Sheet loyalty: Letting them cool completely on the baking sheet prevents crumbles. I’ve learned this the hard way after impatiently moving warm cookies that collapsed into delicious rubble.
- Storage smarts: Keep them in an airtight container at room temperature for up to 5 days—if they last that long! For longer storage, freeze the baked cookies or even the dough balls for future emergencies (just add 1-2 extra minutes baking time from frozen).
Common Questions About Flourless Peanut Butter Cookies
I get so many questions about these cookies—everyone’s shocked something so simple can be so delicious! Here are the answers to the ones I hear most often (and a few I wish I’d known before my first batch):
Can I use crunchy peanut butter instead of creamy?
Absolutely! I actually prefer crunchy sometimes—those little peanut bits add such a fun texture. Just make sure it’s the same shelf-stable type (not the natural kind that separates). The dough might be slightly less smooth when shaping, but they’ll bake up just as beautifully. My husband calls these the “peanut surprise” version!
How should I store these cookies to keep them fresh?
An airtight container at room temperature is perfect—they’ll stay soft and chewy for up to 5 days (if they last that long!). I sometimes tuck a slice of bread in the container—the cookies absorb just enough moisture to stay perfect. For longer storage, freeze the baked cookies in a zip-top bag for up to 3 months. They thaw in minutes, and honestly? I’ve been known to eat them straight from the freezer when cravings hit.
Can I freeze the dough for later baking?
Yes, and this is one of my favorite tricks! Scoop the dough into balls, freeze them on a tray until solid (about 1 hour), then transfer to a freezer bag. When cookie emergencies strike, bake them straight from frozen—just add 1-2 extra minutes to the baking time. It’s like having fresh-baked cookies on demand! I always keep a stash in my freezer—great for last-minute guests or, you know, Tuesday afternoons.
Why do my cookies turn out dry or crumbly?
Oh no—this usually means they were overbaked or the peanut butter was too thick. Next time, pull them out when the edges are just set (they’ll still look soft in the center) and let them cool completely on the baking sheet. Also, double-check your peanut butter—if it’s super stiff, try stirring in a teaspoon of neutral oil before mixing the dough. Still having trouble? Drop me a line—I’m happy to troubleshoot!
Can I reduce the sugar in this recipe?
You can, but the texture will change. The sugar helps bind everything together in these flourless cookies. I’ve had success reducing it to ⅓ cup, but anything less makes them too dense. For a lower-sugar option, try using a natural peanut butter with no added sugar—the flavor will be more savory, but still delicious with a glass of milk!
Nutritional Information for Flourless Peanut Butter Cookies
Now, let’s be real—these cookies aren’t exactly health food, but they’re made with simple, wholesome ingredients, and that counts for something, right? The nutritional values will vary depending on your peanut butter brand (some are sweeter than others) and how big you scoop your cookies—I won’t judge if yours are “generously” sized like mine sometimes are! Just remember, these are estimates—your mileage may vary. That said, each cookie packs a decent protein punch from the peanut butter, making them slightly more virtuous than your average dessert. Store-bought versions often have way more additives, so homemade wins in my book!
More Dessert Recipes You Might Enjoy
If you’re as obsessed with easy, no-fuss desserts as I am (and let’s be real, who isn’t?), you’ve gotta try these other favorites from my kitchen! They’re all just as simple and satisfying as these flourless peanut butter cookies—perfect for when you need something sweet without the hassle:
- No-Bake Oreo Cheesecake: My most-requested dessert ever—creamy, dreamy, and packed with cookie crunch. It sets in the fridge while you do absolutely nothing, and the look on people’s faces when you reveal it? Priceless.
- Chocolate Chip Ice Cream: Only 3 ingredients and no ice cream maker needed! I make this on summer nights when the kids beg for something cold—it’s ridiculously smooth and tastes like nostalgia in a bowl.
Both of these recipes share the same magic as our peanut butter cookies—minimal effort, maximum deliciousness. Because let’s face it, sometimes you just need dessert NOW, right?
Flourless Peanut Butter Cookies
Ingredients
Equipment
Method
- Preheat your oven to 350°F (175°C) and line a baking sheet with parchment paper.
- In a mixing bowl, combine the peanut butter, egg, sugar, baking soda, and salt. Stir until smooth.
- Scoop tablespoon-sized portions of dough onto the prepared baking sheet, spacing them about 2 inches apart.
- Use a fork to flatten each cookie slightly and create a crisscross pattern on top.
- Bake for 10 minutes, or until the edges are lightly golden. Let cool on the baking sheet for 5 minutes before transferring to a wire rack.
Nutrition
Notes
Tried this recipe?
Let us know how it was!For more amazing recipes, be sure to check out our other sections to explore a variety of ideas that will enrich your cooking experience. Each section offers its own unique flavors to ensure a delightful culinary journey:
Easy and Quick Recipes: A collection of dishes that guarantee delicious meals with minimal effort and time.
Healthy Recipes: Discover healthy and delicious options that fit your lifestyle.
Desserts: A diverse selection of sweets that will add a special touch of sweetness to your table.
Lunch Recipes: Tasty lunch ideas that you can easily prepare to delight your family.
Dinner Recipes: Delicious and easy-to-make recipes that will make your dinner a memorable occasion.