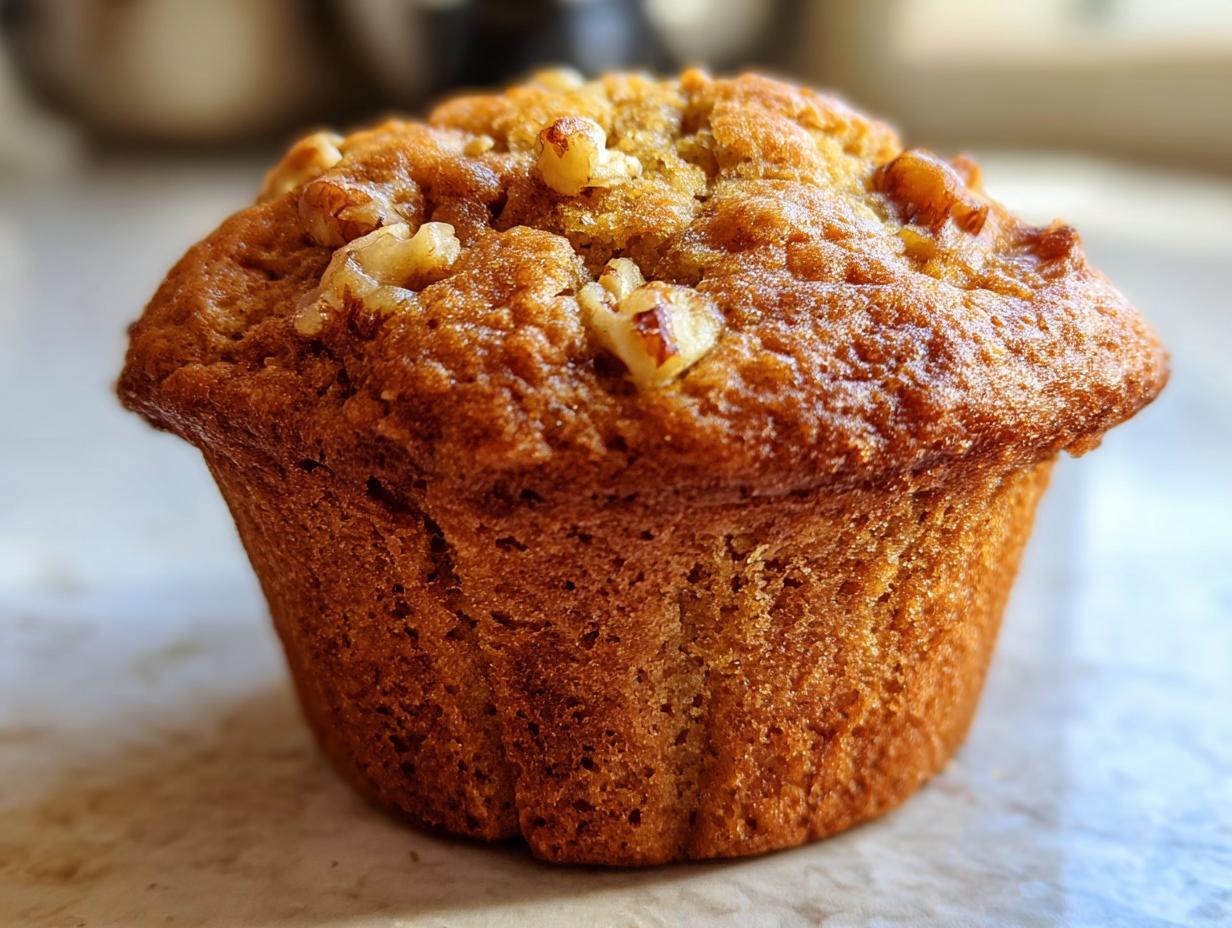
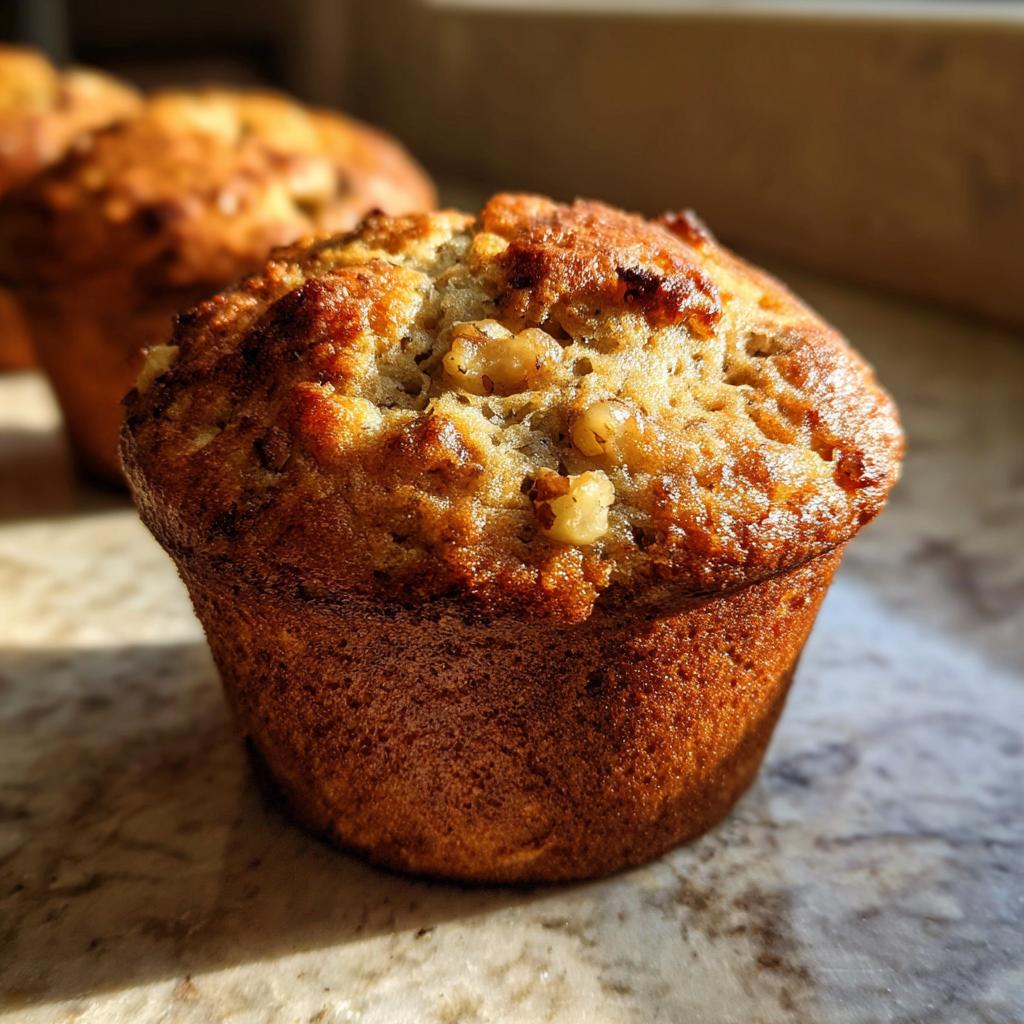
There’s nothing quite like the smell of banana nut muffins wafting through the kitchen on a lazy Sunday morning. That sweet, nutty aroma takes me right back to childhood when my grandma would bake them for our family brunches. I still use her trick – those black-spotted, overripe bananas you’d normally toss? They’re the secret to making these muffins incredibly moist and flavorful. My kids now beg me to make them every weekend, and I love how this simple recipe turns those forgotten bananas into something magical. Whether you’re looking for an easy breakfast treat or a comforting snack, these banana nut muffins never disappoint.
Why You’ll Love These Banana Nut Muffins
Oh, where do I even begin? These banana nut muffins are my absolute go-to when I need something delicious in a hurry. Here’s why you’ll adore them as much as I do:
- Quick as a wink: From bowl to oven in just 10 minutes – perfect for those “I-need-baked-goods-now” emergencies!
- Pantry staples only: No fancy ingredients here – just simple things you probably already have in your kitchen.
- Breakfast or snack hero: They’re equally perfect with your morning coffee or as an afternoon pick-me-up.
- Totally customizable: Not a walnut fan? No problem! Swap them for pecans, or toss in some chocolate chips if you’re feeling fancy.
Trust me, once you try these, you’ll understand why they’re always the first to disappear from my kitchen counter!
Ingredients for Banana Nut Muffins
Let me tell you, the magic of these muffins starts with gathering the right ingredients. I’ve made this recipe dozens of times, and I’ve learned exactly what works best. Everything comes together so easily – you’ll probably have most of these in your pantry already! Just make sure to measure carefully, especially with the flour. Too much can make your muffins dry, and we definitely don’t want that.
Dry Ingredients
Here’s what you’ll need for the dry mix:
- 1.5 cups all-purpose flour – spoon it into the measuring cup and level it off for accuracy
- 1 teaspoon baking soda – fresh is best for maximum rise
- ½ teaspoon salt – just enough to balance the sweetness
I like to whisk these together in a big bowl before adding anything else – it helps distribute everything evenly.
Wet Ingredients
Now for the good stuff that makes these muffins moist and flavorful:
- 3 ripe bananas – the spottier, the better! Mash them well with a fork
- ¾ cup granulated sugar – I sometimes use brown sugar for extra richness
- 1 large egg – room temperature blends in better
- ⅓ cup butter – melted and slightly cooled
- ½ cup chopped walnuts – toast them first for incredible flavor
The bananas are the real star here – they should be so ripe they’re practically begging to be baked!
How to Make Banana Nut Muffins
Alright, let’s get baking! I promise this is easier than you think. The first time I made these banana nut muffins, I was shocked at how quickly they came together. Now I can practically make them with my eyes closed – though I don’t recommend trying that!
Step 1: Preheat that oven to 350°F (175°C). While it’s warming up, line your muffin tin with paper liners or give it a quick spray with non-stick. Trust me, nobody likes muffins that stick!
Step 2: Grab a big bowl for your dry ingredients – the flour, baking soda, and salt. Whisk them together until they’re best friends. I like to sift mine through my fingers to make sure there are no lumps. This is where your muffins get their perfect rise!
Step 3: In another bowl (yes, dishes are piling up already!), mash those bananas like they owe you money. Add the sugar, egg, and melted butter. Mix until it looks like a happy, lumpy mess. Don’t overdo it – some banana chunks are actually delicious surprises!
Step 4: Now the magic happens! Pour your wet mixture into the dry ingredients and gently fold them together. When there’s just a bit of flour showing, toss in those walnuts. A few more folds and voila – perfect batter! Remember, overmixing is the enemy of fluffy muffins.
Step 5: Spoon the batter into your prepared muffin cups, filling each about ⅔ full. I use an ice cream scoop for perfect portions every time. Pop them in the oven for 18-20 minutes. You’ll know they’re done when they’re golden brown and a toothpick comes out clean (or with just a crumb or two).
Pro tip: Let them cool in the pan for 5 minutes before transferring to a rack. This keeps them from getting soggy bottoms. Now try to resist eating them all at once! These banana nut muffins are perfect with coffee, packed in lunches, or as a sneaky midnight snack. Want more sweet ideas? Check out our favorite dessert recipes for your next baking adventure!
Tips for Perfect Banana Nut Muffins
After burning more batches than I’d like to admit, I’ve learned a few secrets for banana nut muffin perfection. First – those bananas need to be practically black! The spottier they are, the sweeter and more flavorful your muffins will be. I keep a stash in my freezer just for baking emergencies.
Here’s my golden rule: mix until just combined, then stop! Overworking the batter makes tough muffins. Fold gently like you’re tucking in a baby – those flour streaks will disappear as they bake.
Living in the mountains? Add 5 extra minutes to the bake time. And here’s my secret weapon – a pinch of cinnamon stirred into the dry ingredients. It adds warmth without overpowering the banana flavor.
Oh, and don’t skip toasting those walnuts first – it brings out their nutty goodness. Just watch them carefully – they go from golden to burnt in seconds!
Variations for Banana Nut Muffins
Oh, how I love playing around with this recipe! Banana nut muffins are like a blank canvas just waiting for your personal touch. My favorite quick swap? Pecans instead of walnuts – they add this buttery richness that’s absolutely dreamy. When my kids are helping, we always toss in a handful of chocolate chips (because let’s be honest, everything’s better with chocolate).
Feeling fancy? Try a streusel topping! Just mix equal parts flour, brown sugar, and cold butter with your fingers until crumbly. Sprinkle it on before baking for that perfect bakery-style crunch. The possibilities are endless – sometimes I even add a swirl of peanut butter or a dash of cinnamon to the batter. What will you try first?
Storing and Freezing Banana Nut Muffins
Now, here’s the beautiful part – these banana nut muffins keep like a dream! If they last beyond breakfast (which, in my house, is rare), I pop them in an airtight container at room temperature. They’ll stay moist and delicious for about 3 days. Want to keep them longer? Freeze them! Just wrap each muffin individually in plastic wrap, then tuck them into a freezer bag. They’ll be good for up to 3 months – perfect for when those muffin cravings hit!
When you’re ready to enjoy, here’s my trick: microwave a frozen muffin for about 30 seconds until just warm. Or, if you’re patient, let it thaw at room temperature for an hour. Either way, they taste just-baked! Sometimes I’ll even warm them in the oven at 300°F for 5 minutes to get that freshly-baked crispness on the edges again.
Banana Nut Muffins FAQs
I get asked about these banana nut muffins all the time, so let me share the answers to the most common questions that pop up!
Can I use frozen bananas?
Absolutely! Those frozen black bananas in your freezer are perfect. Just thaw them completely and drain any extra liquid before mashing. Honestly, frozen bananas often make the muffins even sweeter and more flavorful!
How do I prevent muffins from sticking?
Oh honey, I’ve had my share of muffin disasters! Here’s what works for me: either use good quality paper liners, or generously grease every nook of your muffin tin with butter or non-stick spray. Don’t skimp – those walnuts love to cling!
Can I make these gluten-free?
You bet! Swap the all-purpose flour for your favorite gluten-free blend (I like ones with xanthan gum already added). The texture might be slightly different, but they’ll still taste delicious. Just be extra gentle when mixing – gluten-free batters can be delicate!
Nutritional Information
Now, I’m no nutritionist, but here’s the scoop on what’s in these delicious banana nut muffins! Keep in mind these are just estimates – your exact numbers might vary depending on your ingredients. Each muffin packs about:
- 180 calories – perfect for a satisfying snack
- 28g carbs – mostly from those sweet bananas
- 3g protein – thanks to the egg and walnuts
- 7g fat – gotta love that butter goodness
Not too shabby for something that tastes this indulgent, right? Remember, these are approximations – your mileage may vary depending on your specific ingredients and portion sizes!
Banana Nut Muffins
Ingredients
Equipment
Method
- Preheat the oven to 350°F (175°C). Line a muffin tin with paper liners.
- In a bowl, mix flour, baking soda, and salt.
- In another bowl, mash bananas and mix with sugar, egg, and melted butter.
- Combine wet and dry ingredients. Fold in chopped walnuts.
- Divide batter into muffin cups. Bake for 18-20 minutes until a toothpick comes out clean.
Nutrition
Notes
Tried this recipe?
Let us know how it was!For more amazing recipes, be sure to check out our other sections to explore a variety of ideas that will enrich your cooking experience. Each section offers its own unique flavors to ensure a delightful culinary journey:
Easy and Quick Recipes: A collection of dishes that guarantee delicious meals with minimal effort and time.
Healthy Recipes: Discover healthy and delicious options that fit your lifestyle.
Desserts: A diverse selection of sweets that will add a special touch of sweetness to your table.
Lunch Recipes: Tasty lunch ideas that you can easily prepare to delight your family.
Dinner Recipes: Delicious and easy-to-make recipes that will make your dinner a memorable occasion.