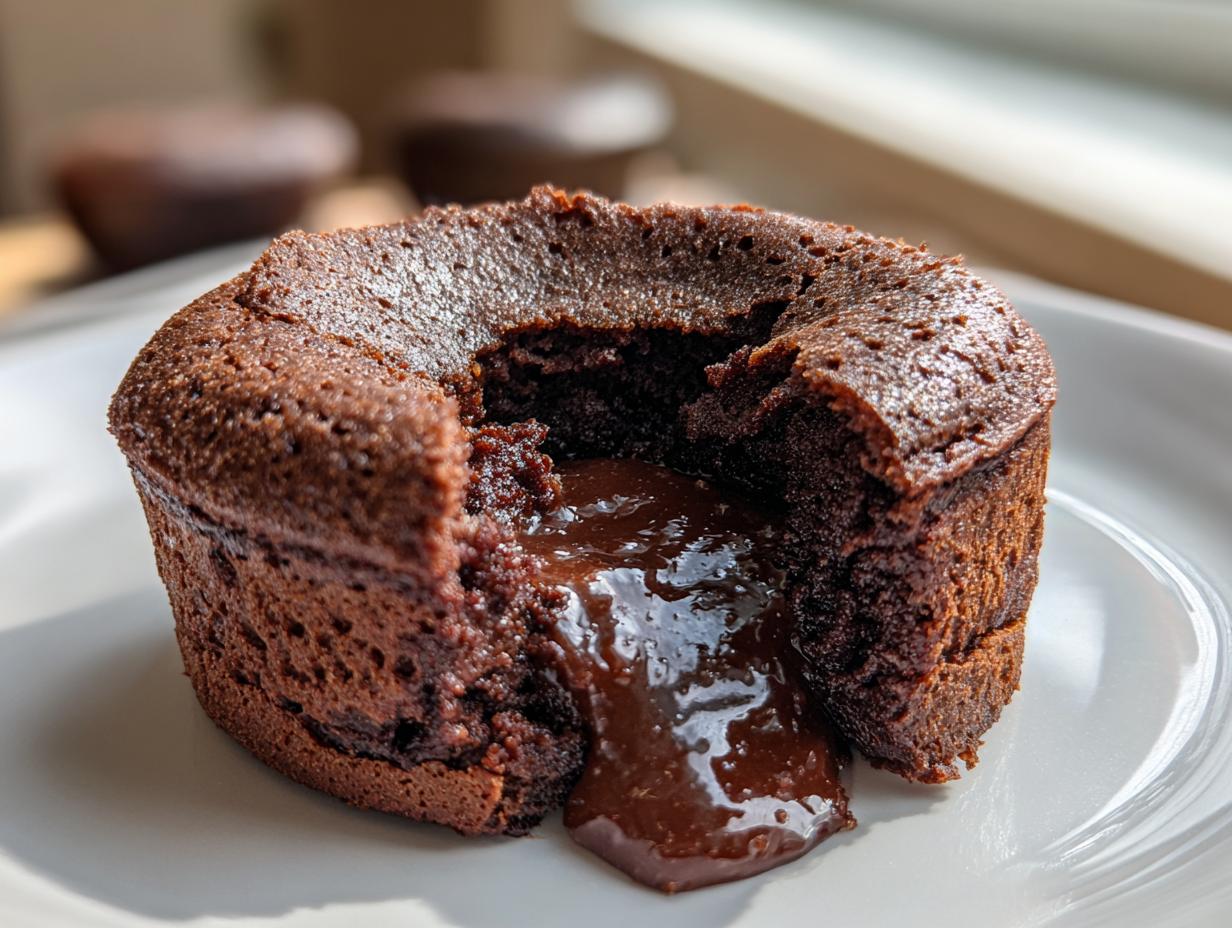
Oh my goodness, let me tell you about the first time I experienced chocolate lava cake – it was pure magic! I was celebrating my anniversary at this tiny French bistro when the waiter brought out this unassuming little cake. Then I took one bite and – wow! – warm, molten chocolate came pouring out like a delicious surprise. That moment changed my dessert life forever. Now I make chocolate lava cake for every special occasion, and trust me, it never fails to impress. There’s something about that rich, flowing center that feels so decadent yet comforting at the same time. The French really nailed it with this one!
What I love most about chocolate lava cake is how it balances elegance with simplicity. It looks fancy enough for a dinner party but comes together in under 30 minutes – my kind of dessert! The secret is in the timing – bake it just long enough for the edges to set while keeping that glorious molten center. I’ve served this at birthdays, Valentine’s Days, and even just because-Tuesdays when we needed a chocolate pick-me-up. Every time, people act like I’ve performed some culinary miracle when really, it’s one of the easiest desserts in my repertoire.
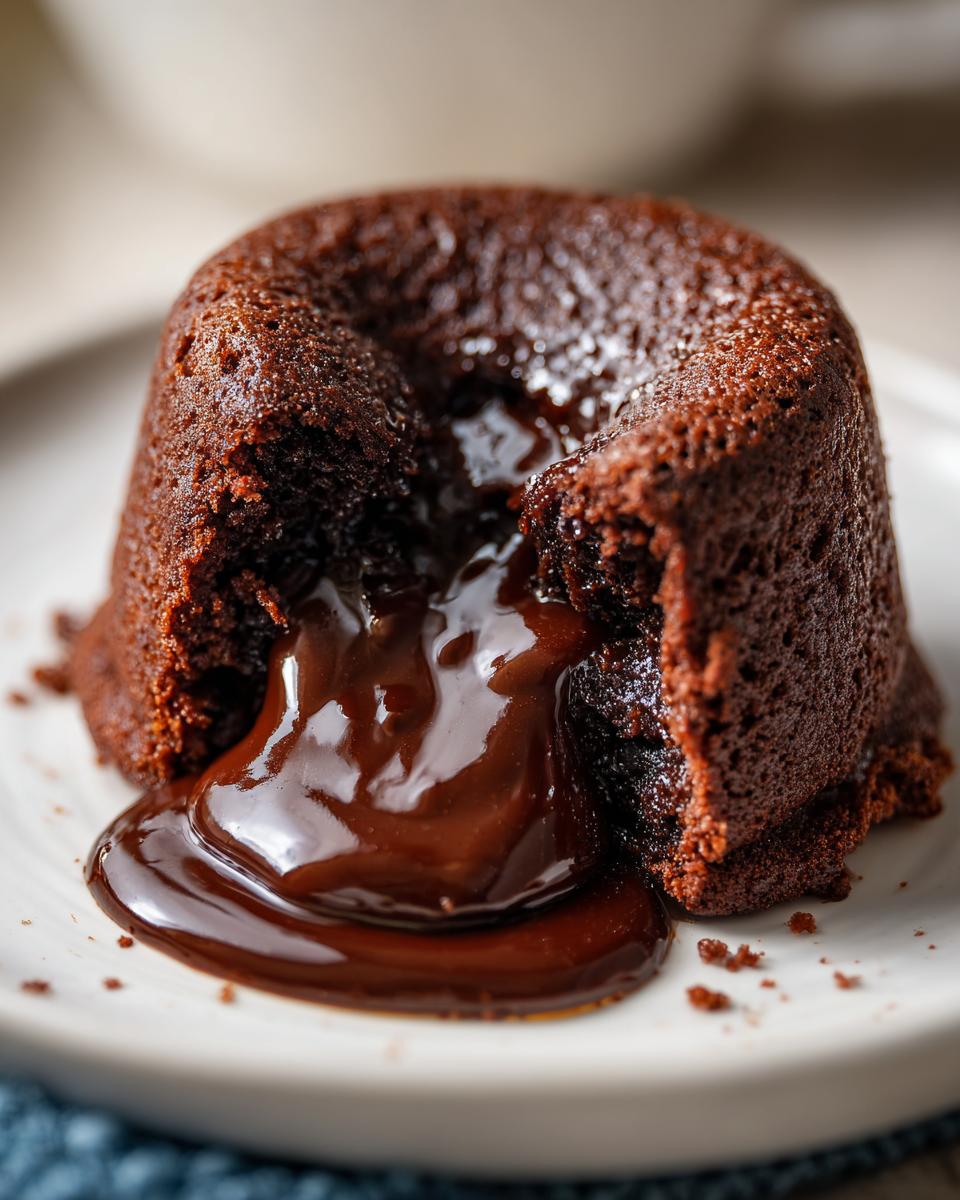
My husband still talks about the first chocolate lava cake I made him – slightly overcooked (oops!) but still delicious. After that, I perfected my technique and now it’s our go-to celebration dessert. There’s nothing quite like breaking into that warm cake and watching the chocolate lava flow onto the plate. It’s pure happiness in dessert form!
Why You’ll Love This Chocolate Lava Cake
Listen up, chocolate lovers – this recipe is about to become your new best friend! Here’s why I’m absolutely obsessed with this chocolate lava cake:
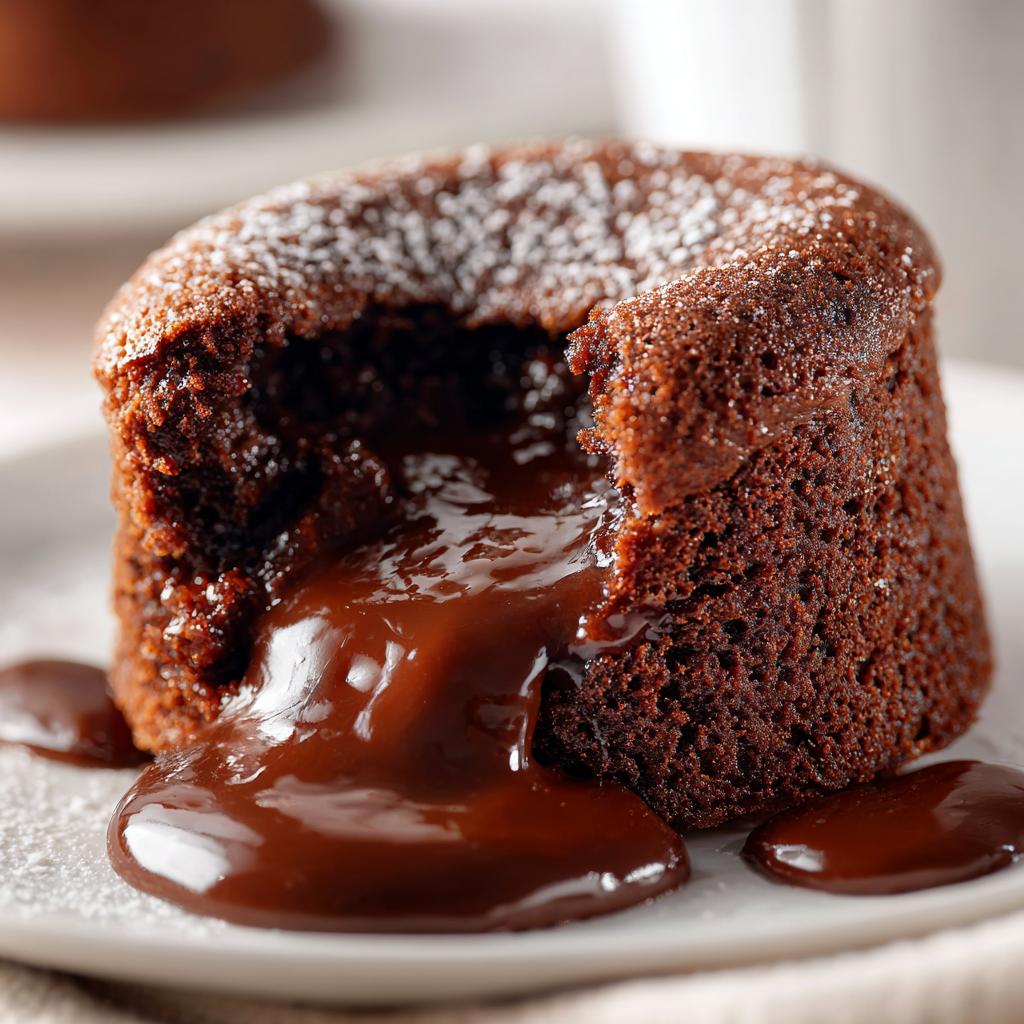
- Rich and dreamy texture: That first spoonful where the warm chocolate center oozes out? Pure bliss. The contrast between the slightly crisp exterior and gooey middle is just perfection.
- Quick prep time: From fridge to plate in under 30 minutes – perfect for when chocolate cravings hit hard and fast (we’ve all been there!).
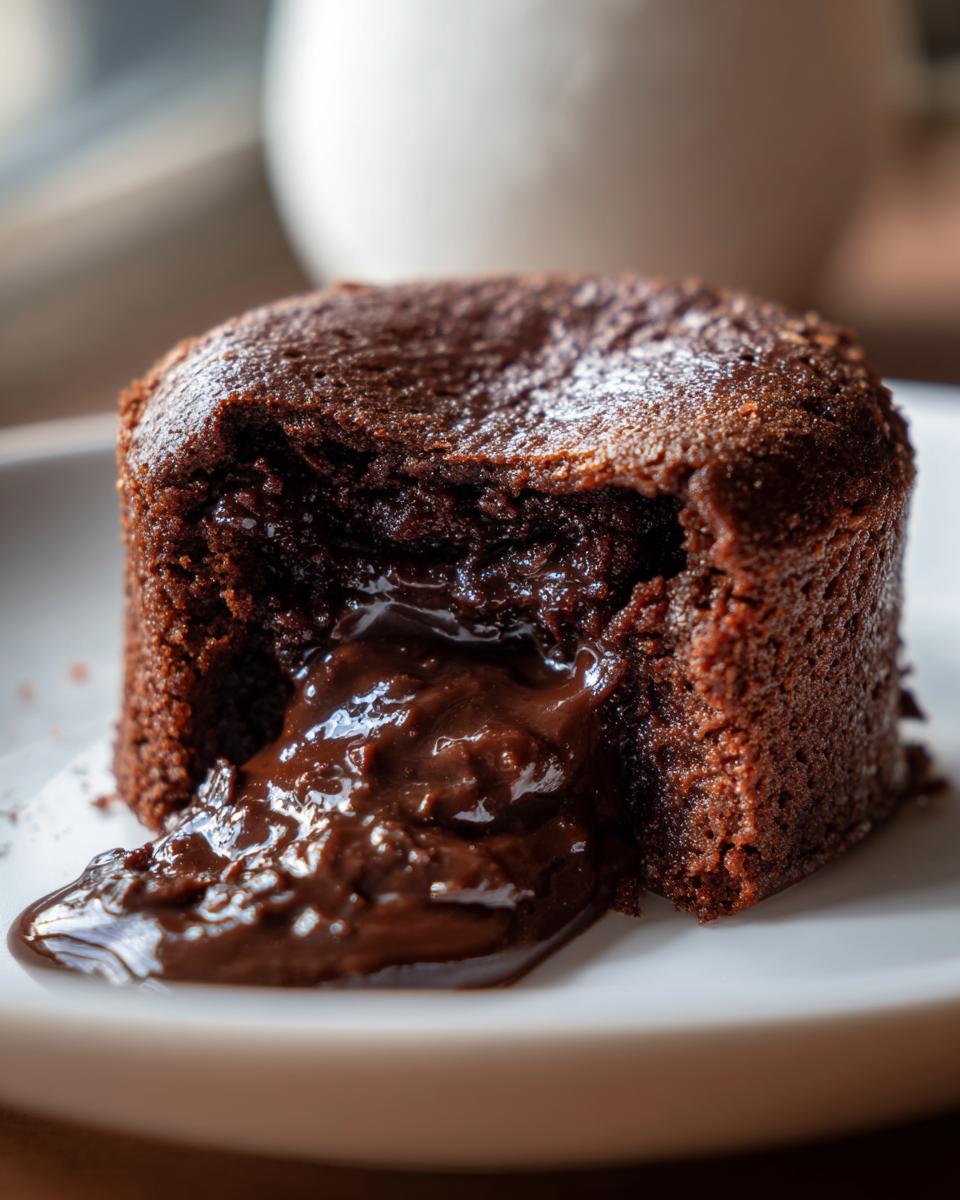
- Restaurant-worthy presentation: It looks so fancy when you invert it onto the plate and that chocolate river starts flowing. Your guests will think you’re a pastry chef!
- Forgiving recipe: Even when I’ve slightly overbaked mine (okay, more than slightly the first few tries), it’s still delicious. The high chocolate content means it stays moist.
- Special occasion magic: There’s something so celebratory about breaking into that molten center – instant mood lifter for any occasion!
The best part? It’s deceptively easy to make. I promise you, once you’ve mastered this recipe, you’ll be making it all the time (I definitely do!).
Chocolate Lava Cake Ingredients
Okay, let’s talk ingredients – because let me tell you, the magic of chocolate lava cake starts with quality stuff! I’ve learned through many (many) trials that each ingredient plays a crucial role in creating that perfect molten center. Here’s what you’ll need:
- Dark chocolate (6 oz): Go for the good stuff here – at least 70% cocoa. I personally love using dark chocolate because it gives that deep, rich flavor without being overly sweet.
- Unsalted butter (½ cup + extra for greasing): Real butter only, please! The bit for greasing those ramekins is crucial too – trust me, you don’t want your masterpiece sticking.
- Eggs (2 whole + 2 yolks): Those extra yolks make all the difference for the velvety texture. Room temperature works best!
- Granulated sugar (¼ cup): Just enough sweetness to balance the dark chocolate’s intensity.
- Vanilla extract (1 tsp): My secret flavor booster. Don’t skip it!
- Salt (⅛ tsp): A tiny pinch makes the chocolate taste even more chocolatey.
- All-purpose flour (2 tbsp): Just enough to give the cake structure while letting that center stay gorgeously molten.
Pro tip from my personal mishaps: measure everything before you start! When you’re working with molten chocolate, there’s no time for last-minute ingredient hunts. Plus, having everything ready makes you feel like a fancy TV chef – bonus confidence boost!
Equipment Needed for Chocolate Lava Cake
You won’t need fancy equipment to make this showstopping dessert – I promise! Here’s what’s on my must-have list when making chocolate lava cakes:
Ramekins (4-6 oz size): These little ceramic baking dishes are perfect for individual servings. Don’t have ramekins? I’ve used oven-safe teacups in a pinch – just grease them well!
Mixing bowls (2): One for melting chocolate, one for whisking eggs. Glass or metal works best since you’ll be using one over simmering water.
Whisk: Essential for getting that egg mixture nice and frothy. A fork can work in an emergency, but the whisk does it better.
Spatula: My trusty rubber spatula helps scrape every last bit of that precious chocolate batter. Waste not, want not!
Double boiler setup (or makeshift): Just a heatproof bowl over a saucepan with an inch of simmering water. I’ve even used a glass measuring cup in a pinch!
See? Nothing too crazy. The best part? These are all things I bet you already have in your kitchen. Now let’s get baking!
How to Make Chocolate Lava Cake
Alright, let’s get to the fun part – making that gorgeous chocolate lava cake! I’ve made this recipe more times than I can count, and I promise it’s easier than you think. The key? Taking it step by step and not stressing about perfection. Ready to dive in?
Preparing the Ramekins
First things first – let’s get those ramekins ready! I’ve learned this the hard way: skip this step and you might spend your romantic dessert moment scraping cake off ceramic (not fun). Grab some softened butter and smear it all over the insides – don’t be shy, get into every nook. Then dust with cocoa powder (just a light coating) like you’re sugaring a doughnut. This dynamic duo creates a non-stick miracle that lets your cakes slide out perfectly. Trust me, this one minute of prep saves so much frustration later!
Melting the Chocolate and Butter
Now for my favorite part – melting that luscious chocolate and butter together. I use the double boiler method: a heatproof bowl over gently simmering water (make sure the bowl doesn’t touch the water!). Chop your dark chocolate nice and fine – smaller pieces melt more evenly. Watch it like a hawk and stir occasionally. The moment everything’s smooth and glossy, take it off the heat. Overheated chocolate gets grainy, and we’re aiming for silky perfection here. Let it cool slightly while you prepare the eggs – this prevents them from cooking when you combine everything.
Baking the Chocolate Lava Cake
This is where the magic happens! Fill those prepped ramekins about ¾ full (they’ll rise a bit). Bake at 425°F for exactly 10-12 minutes. No peeking for the first 8 minutes – we need that steady heat! Here’s my foolproof test: the edges should look set and slightly pulled away, while the center still jiggles slightly when shaken (like jello that’s not quite set). Remember – underbaked is better than overbaked in lava cake world. Let them rest just 1 minute before inverting onto plates – any longer and they’ll keep cooking from residual heat. Then prepare for the oohs and aahs when you cut into that molten center!

Tips for Perfect Chocolate Lava Cake
Oh friends, let me share all the little secrets I’ve learned after many chocolate-covered trials (and a few delicious errors!). First rule? Splurge on the chocolate. This cake is basically chocolate with some friends, so grab the good stuff – at least 70% cocoa. The first time I cheaped out, my lava cakes just didn’t have that wow factor.
Here’s my golden rule – don’t overmix the batter! Fold gently just until combined. I ruined my third batch by whisking it like pancake batter – ended up with chocolate muffins (still tasty, but no lava magic).
Timing is everything! Bake until just set around the edges – the center should still jiggle slightly when you nudge the ramekin. My first attempt? I got nervous it was underdone and baked it another 3 minutes. Rock-solid cakes. Delicious rocks, but not what we’re going for here!
Serve immediately! That molten center waits for no one. I’ve learned to have plates ready, forks out, and maybe even ice cream scooped ahead. Nothing worse than perfect cakes cooling while you hunt for clean spoons!
One last trick – let the melted chocolate cool slightly before adding to eggs. I learned this the hard way when I ended up with chocolate scrambled eggs. Not recommended!
Serving Suggestions for Chocolate Lava Cake
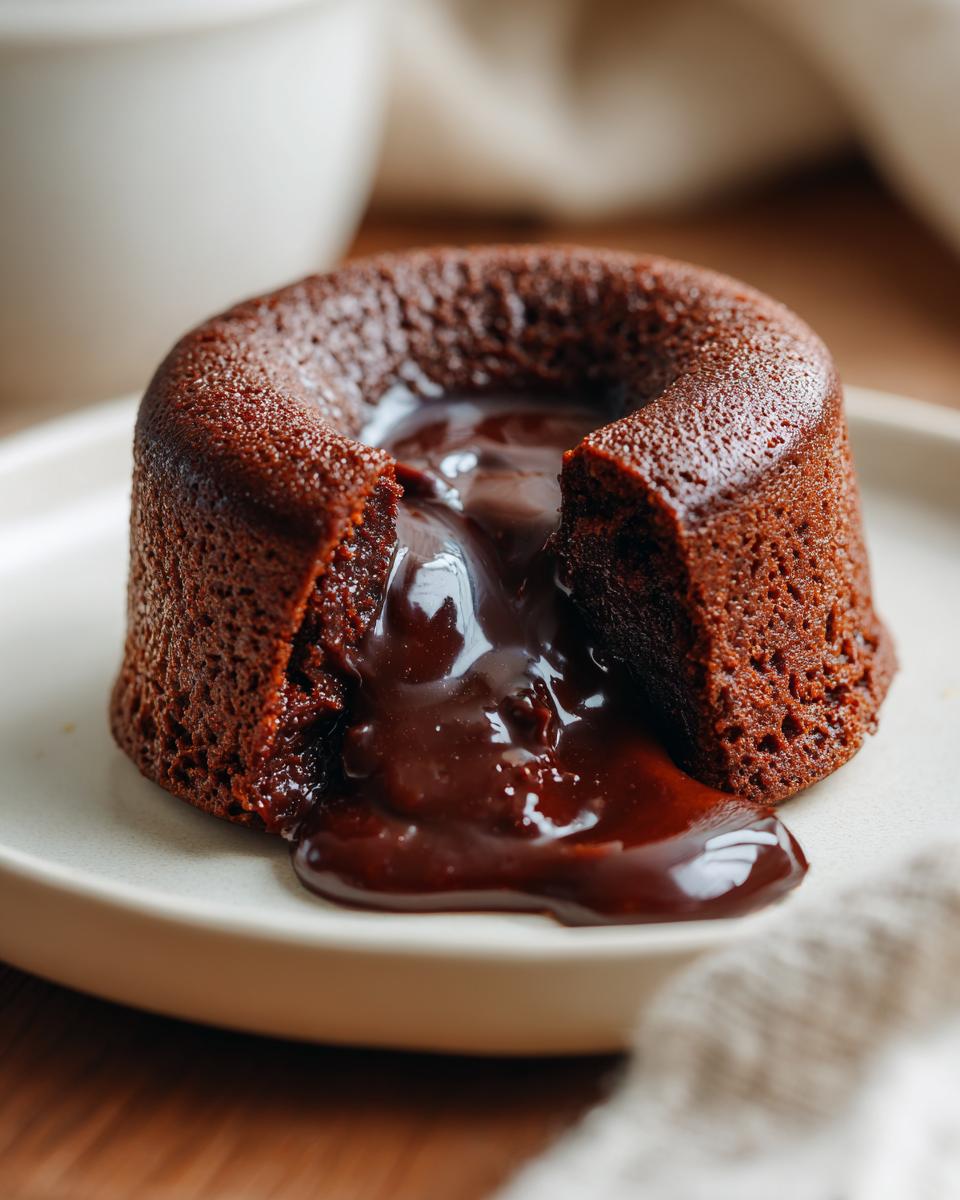
Oh, the fun part – dressing up your chocolate lava cake for its grand debut! First rule: always serve it warm – that molten center waits for no one. My absolute must-have pairing? A big scoop of vanilla bean ice cream melting right on top. The hot-cold combo is pure magic, and the creamy vanilla cuts through the rich chocolate perfectly. (Pro tip: put the ice cream scoop in the freezer ahead of time – it helps get those perfect round scoops!)
Feeling fancy? Dust the plate with powdered sugar or cocoa powder right before serving – it looks totally professional. Fresh berries on the side not only add color but give a nice tart contrast. For special occasions, I’ll drizzle some caramel or raspberry sauce in artistically messy swirls. Last time I did this, my guests thought I’d ordered dessert from a restaurant – little did they know it took me 20 minutes!
And here’s my secret weapon – mint leaves. Just one or two perched on top makes the whole thing look like it came from a gourmet bakery. But honestly? Even just plopping that warm cake straight from the ramekin onto a pretty plate makes people swoon. The chocolate lava does all the dramatic work for you!
Chocolate Lava Cake Variations
Okay, let’s get creative with our chocolate lava cakes! One of my favorite things about this recipe is how easily you can tweak it to make it your own. Feeling fancy? Add a teaspoon of espresso powder to the melted chocolate – it makes the chocolate flavor sing without tasting like coffee. Or try stirring in some orange zest for a citrusy twist (my husband goes crazy for this version).
For special occasions, I’ll sometimes sprinkle a few chocolate chips in the center before baking – extra molten surprise! Peppermint extract around the holidays gives it a festive kick. And if you’re feeling adventurous, a pinch of chili powder creates this amazing sweet-heat combo that’ll wow your guests. The possibilities are endless!
Just remember – whatever variation you try, keep that core chocolate ratio intact. We still want that glorious lava flow when we cut into it!
Chocolate Lava Cake FAQs
I get so many questions about chocolate lava cakes – which means I’m not the only one obsessed with them! Let me answer the ones I hear most often (from personal experience, trust me!).
Can I make chocolate lava cake ahead?
Oh honey, I wish! These beauties are best fresh from the oven. That molten center starts solidifying as it cools. That said, you can prep the batter a few hours ahead – just keep it covered in the fridge. When ready to bake, let it sit at room temp for 15 minutes first. And maybe add an extra minute to baking time since cold batter bakes slower.
How do I store leftovers?
Alright, first – who has leftovers? But just in case: store cooled cakes in an airtight container. They’ll lose that lava magic but still taste amazing warmed up later! Microwave for 10-15 seconds to soften. They turn into dense chocolate cakes – still delicious with ice cream!
My center didn’t stay molten – what went wrong?
Usually means getting baked too long. Next time, check at 10 minutes exactly – edges set but center still jiggly! Ovens vary, so yours might run hot. I keep an oven thermometer handy now – total game changer.
Can I freeze chocolate lava cakes?
You can, but… the texture changes. The frozen and reheated version won’t have that glorious flow. Better to freeze just the batter in ramekins, then bake from frozen (add 2-3 extra minutes). Still not quite the same as fresh though!
Can I make this in one big cake instead of ramekins?
Technically yes, but timing gets tricky! You’d need to watch it like a hawk – maybe start checking at 20 minutes? The problem is the center stays molten while edges might overcook. Individual ramekins really work best. Trust me on this one!
Nutritional Information for Chocolate Lava Cake
Okay, let’s be real – we’re not eating chocolate lava cake for its health benefits! But since you asked (and because I’m nosy about these things too), here’s the scoop on what’s in each glorious serving:
Each decadent chocolate lava cake clocks in at about 420 calories – consider it an investment in happiness! You’re looking at 32g of fat (19g saturated – hey, it’s dessert!), 28g carbs (20g sugar), and 6g protein. There’s also 3g fiber from that dark chocolate goodness.
Now, here’s my disclaimer (learned from my nutritionist friend): these numbers can vary based on your exact ingredients. Using milk chocolate instead of dark? More sugar. Different brand of butter? Fat content changes. But honestly? When that molten chocolate hits your tongue, none of these numbers matter – just pure joy!
Chocolate Lava Cake
Ingredients
Equipment
Method
- Preheat your oven to 425°F (220°C). Grease 4 ramekins with butter and dust with cocoa powder.
- Melt the butter and chocolate together in a heatproof bowl set over simmering water. Stir until smooth, then remove from heat.
- In a separate bowl, whisk the eggs, egg yolks, sugar, vanilla, and salt until pale and slightly thickened.
- Fold the melted chocolate mixture into the egg mixture. Gently stir in the flour until just combined.
- Divide the batter evenly among the prepared ramekins. Bake for 10-12 minutes until the edges are set but the center is still soft.
- Let the cakes cool for 1 minute, then invert onto plates. Serve immediately.
Nutrition
Notes
Tried this recipe?
Let us know how it was!For more amazing recipes, be sure to check out our other sections to explore a variety of ideas that will enrich your cooking experience. Each section offers its own unique flavors to ensure a delightful culinary journey:
Easy and Quick Recipes: A collection of dishes that guarantee delicious meals with minimal effort and time.
Healthy Recipes: Discover healthy and delicious options that fit your lifestyle.
Desserts: A diverse selection of sweets that will add a special touch of sweetness to your table.
Lunch Recipes: Tasty lunch ideas that you can easily prepare to delight your family.
Dinner Recipes: Delicious and easy-to-make recipes that will make your dinner a memorable occasion.