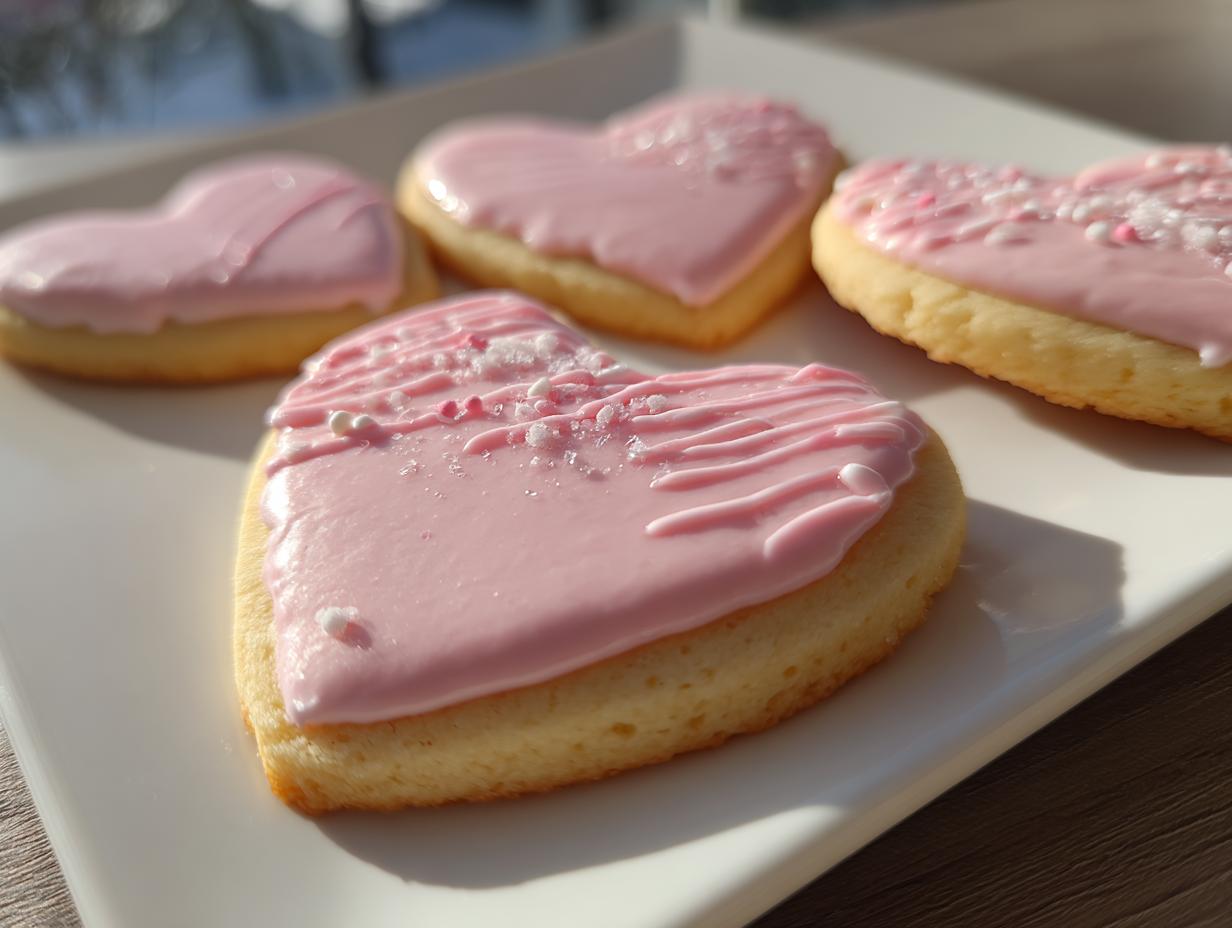
There’s something magical about pulling a tray of freshly baked heart shaped sugar cookies from the oven—the way the sweet vanilla scent fills the kitchen and the edges turn that perfect golden hue. I’ve been making these every Valentine’s Day since I was tall enough to reach the counter, standing on a stool next to my mom as we’d press heart-shaped cutters into the soft dough. Now I bake them with my niece, her tiny hands carefully sprinkling red sugar crystals while telling me about her kindergarten crush. Whether you’re celebrating love or just craving something sweet, these classic cookies wrapped in pink icing and nostalgia are my go-to. They’re simple enough for beginners but special enough to make any day feel like a celebration—just like those other cherished desserts we keep coming back to year after year.

Why You’ll Love These Heart Shaped Sugar Cookies
Oh my gosh, these aren’t just any cookies—they’re little edible hugs! Here’s why everyone from busy moms to baking newbies adores this recipe:
- Easiest love letters you’ll ever make: No fancy techniques here—just cream, roll, cut, and bake. Even my niece can do it (though she might sneak extra sprinkles).
- Blank canvas for creativity: Pink icing today, chocolate drizzle tomorrow. Add crushed candies, write sweet messages—I once did polka dots with a toothpick!
- Instant mood boosters: That moment when you pull out the heart-shaped cutter? Pure joy. They make terrible days better and good days magical.
- More versatile than your favorite sweater: Valentine’s Day, Galentine’s brunch, wedding favors—I’ve even packed them in school lunches with “U R Awesome” scribbled in icing.
Trust me, once you see someone’s face light up biting into these tender, buttery hearts, you’ll understand why this recipe never gets old.
Ingredients for Heart Shaped Sugar Cookies
Alright, let’s dig into the good stuff—what you’ll need to make these adorable heart shaped sugar cookies. I’ve separated everything so you can see exactly what goes into the cookies themselves and the optional icing (though trust me, the icing totally takes these from cute to swoon-worthy). Here’s what you’ll be grabbing from your pantry:
For the Cookies
- 1 cup unsalted butter, softened – Don’t you dare use cold butter! It should feel like softened cream cheese when you poke it.
- 1 cup granulated sugar – Regular white sugar does the trick, though I sometimes swap half with brown sugar for extra chew.
- 1 large egg – Room temperature is best—no one likes cold egg surprises in their creamed butter.
- 1 tsp vanilla extract – The good stuff, please! None of that imitation vanilla flavoring.
- 3 cups all-purpose flour – Spoon and level it, don’t scoop! Too much flour makes dry cookies.
- 1/2 tsp baking powder – Our little rising helper.
- 1/4 tsp salt – Just enough to make the sweet pop.
For the Icing (Optional but So Worth It)
- 2 cups powdered sugar – Sift it first unless you like lumpy icing (I’ve made that mistake).
- 2-3 tbsp milk – Start with 2, add more as needed. Whole milk makes it extra creamy.
- 1/2 tsp vanilla extract – Because more vanilla is always a good idea.
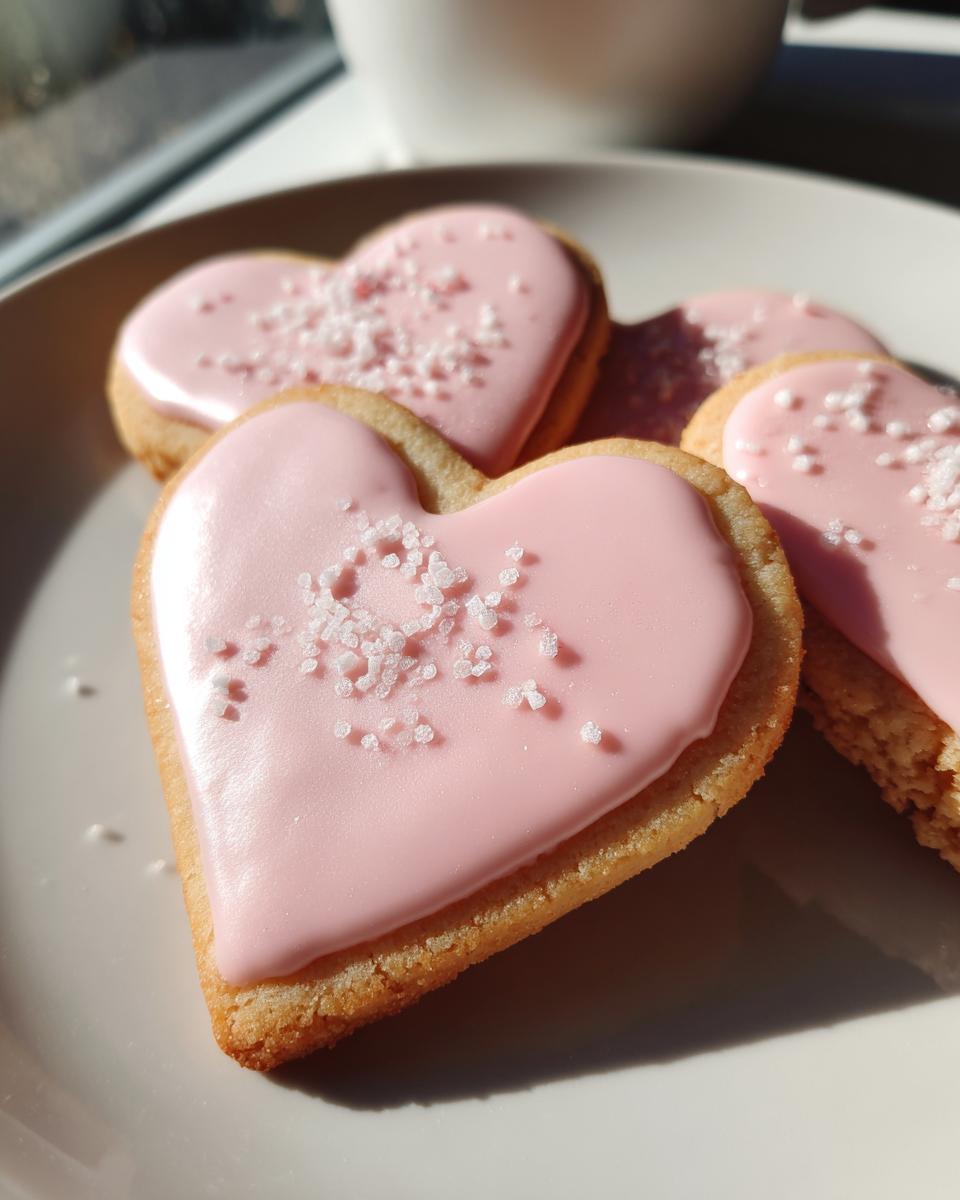
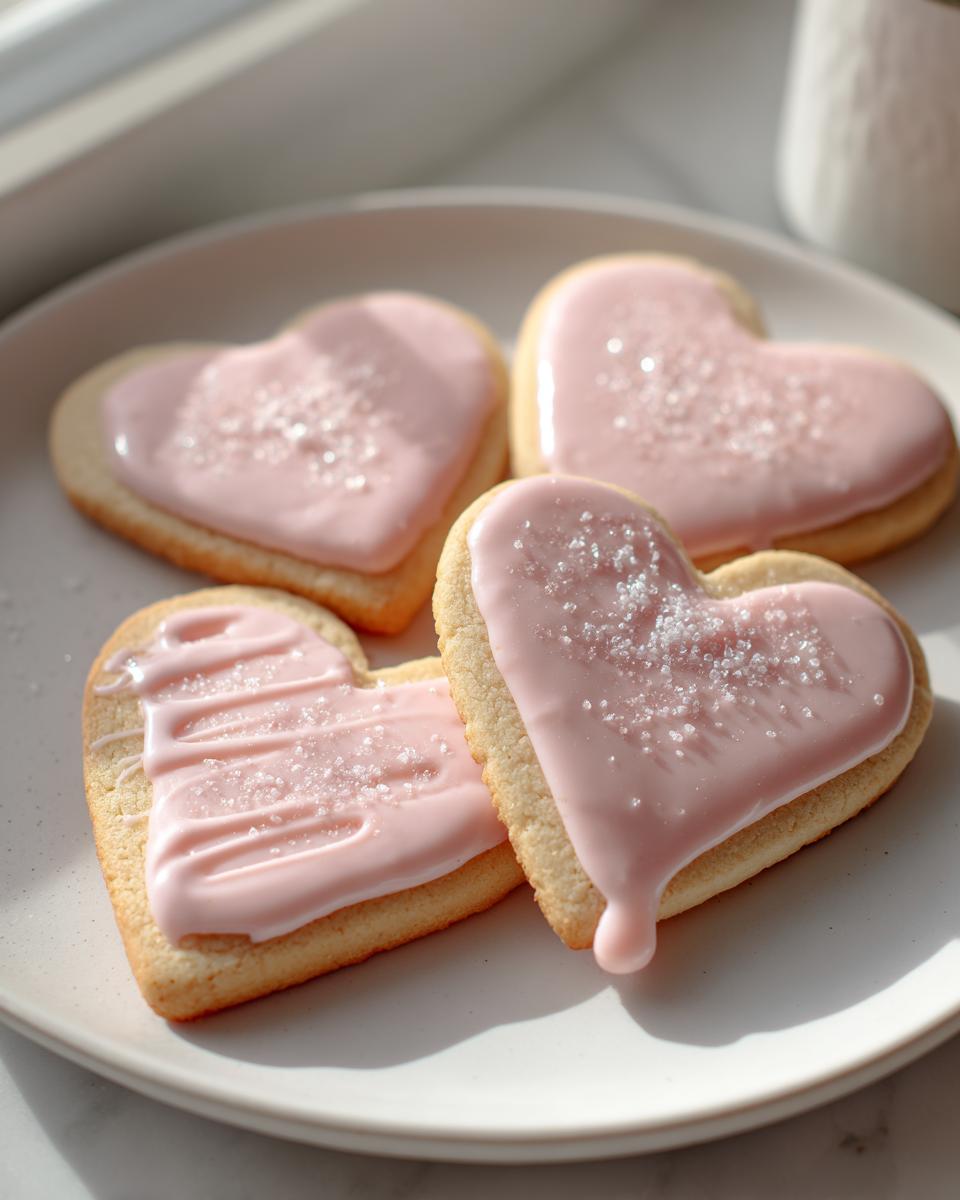
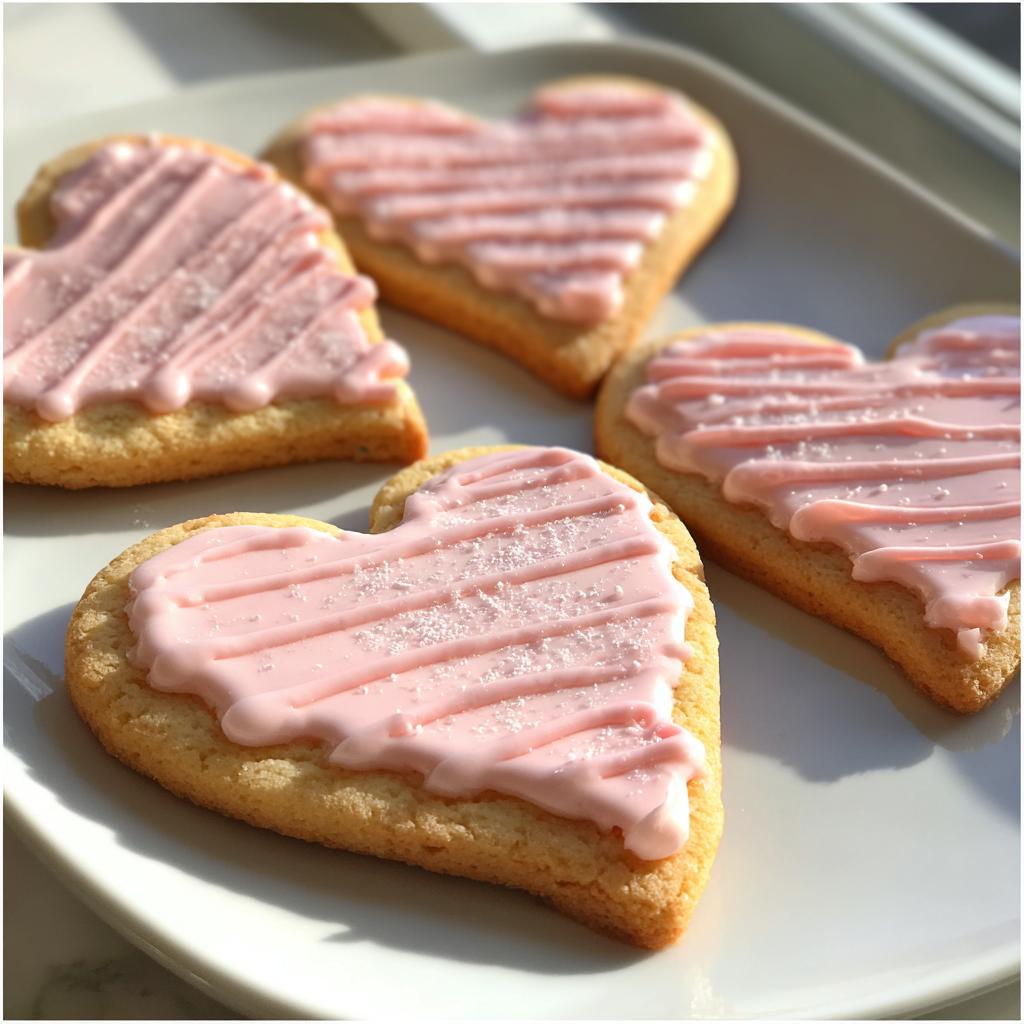
- 1 drop red food coloring (optional) – For that perfect Valentine’s pink. Gel works better than liquid!
See? Nothing crazy—just simple ingredients that turn into edible love notes. Now let’s get mixing!
Equipment Needed for Heart Shaped Sugar Cookies
You won’t need any fancy gadgets for these cookies—just the basics that probably already live in your kitchen drawers! Here’s what I always grab:
- Heart-shaped cookie cutter – Mine’s a little dented from years of Valentine’s Days, but it still works perfectly
- Mixing bowl – Big enough to contain my enthusiastic stirring
- Rolling pin – The one with the cute flower designs that belonged to my grandma
- Parchment paper – Lifesaver for easy cleanup and no-stick baking
- Wire rack – So your cookies don’t get soggy bottoms while cooling
That’s it! Though I sometimes use a piping bag for fancy icing when I’m feeling extra. But honestly? A zip-top bag with the corner snipped off works just as well.
How to Make Heart Shaped Sugar Cookies
Okay, let’s get to the fun part—making these adorable heart shaped sugar cookies! I’ve made this recipe so many times I could probably do it in my sleep, but I’ll walk you through each step so yours turn out perfect. Just follow along and soon you’ll have a whole tray of edible love notes ready to decorate.
- Preheat that oven! Crank it up to 350°F (175°C) and line your baking sheets with parchment paper. Trust me, you’ll thank me later when cleanup takes two seconds.
- Cream the butter and sugar in a big bowl until it’s light and fluffy—about 2 minutes with a mixer. This is where the magic starts! The mixture should look pale yellow and feel like whipped cream.
- Beat in the egg and vanilla until everything’s happily combined. Don’t freak out if it looks a little curdled at first—it’ll smooth out when you add the dry ingredients.
- Whisk together flour, baking powder, and salt in another bowl. I like to give it a good stir with a fork to make sure the baking powder doesn’t clump.
- Gradually mix the dry ingredients into the wet ones. Go slow—add about a cup at a time until a soft dough forms. It should pull away from the sides of the bowl when it’s ready.
- Roll it out! Flour your surface lightly (too much and your cookies will be tough) and roll the dough to about 1/4-inch thickness. Pro tip: roll between two sheets of parchment paper if your dough sticks.
- Cut those hearts! Press your cookie cutter straight down—no twisting! Twisting makes the edges seal and your cookies won’t rise as nicely. Place them about an inch apart on your prepared sheets.
- Bake for 8-10 minutes until the edges are just barely golden. They’ll keep cooking a bit on the sheet after you take them out, so don’t wait for them to brown!
- Cool completely before icing—about 15 minutes on a wire rack. I know it’s hard to wait, but runny icing is no one’s friend.
Tips for Perfect Heart Shaped Sugar Cookies
Here are my hard-earned secrets after years of making these heart shaped sugar cookies (and yes, there were some disasters along the way):
- Chill sticky dough for 30 minutes if it’s too soft to roll. Warm dough spreads too much—I learned this the hard way with some heart-shaped pancakes!
- Use parchment paper every time. Silicone mats are great too, but parchment gives you those perfect golden bottoms.
- Rotate your baking sheets halfway through if your oven heats unevenly. Nothing worse than one side getting more tan than the other!
- Watch closely after 8 minutes—these go from perfect to overdone FAST. The edges should be set but still pale.
- Make extras! The dough keeps well in the fridge for 3 days, so you can bake fresh cookies whenever the mood strikes. Perfect for those last-minute dessert emergencies.
There you have it—everything I know about making these sweet little hearts! Now grab that rolling pin and let’s make some cookie magic.
Ingredient Substitutions for Heart Shaped Sugar Cookies
Okay, let’s talk swaps—because we’ve all been there staring into an empty fridge at 9 PM with a cookie craving! Here’s how to adapt this recipe when you’re missing something (I’ve tested all these myself, sometimes accidentally):
- Out of butter? Margarine works in a pinch, but your cookies might spread more. For best results, use 3/4 cup coconut oil (solid, not melted) plus 1/4 cup milk. Texture stays surprisingly close!
- No vanilla extract? Almond extract gives a lovely marzipan twist—just use half the amount since it’s stronger. Or try maple syrup for a cozy flavor (reduce sugar slightly).
- Need gluten-free? Swap in a 1:1 gluten-free flour blend (I like King Arthur’s). Add 1/2 tsp xanthan gum if your mix doesn’t include it—this keeps them from crumbling.
- Egg allergy? Mix 1 tbsp ground flaxseed with 3 tbsp water, let it gel for 5 minutes. Works great, though cookies bake up slightly denser.
Just remember—every change affects the final cookies a bit. Less butter means less crisp edges, gluten-free flour makes them more delicate. But hey, imperfect homemade cookies still taste like love!
Storage and Freezing Tips for Heart Shaped Sugar Cookies
Here’s the scoop on keeping these sweethearts fresh—because nothing’s sadder than stale Valentine’s cookies! My tested-and-approved methods:
Room temp storage: Stack cooled cookies with parchment between layers in an airtight container. They’ll stay soft and delicious for up to 5 days (if they last that long!). Tuck a slice of bread in the container—it absorbs excess moisture and keeps cookies chewier longer.
Freezing baked cookies: Freeze them naked (no icing!) on a tray first, then transfer to freezer bags. They’ll keep for 3 months! Thaw at room temp before decorating. Pro tip: Write the date on the bag—future you will be grateful.
Freezing dough: Roll dough into logs wrapped in plastic, then foil. Slice-and-bake straight from freezer (add 1-2 mins to bake time). Perfect for when surprise cookie cravings strike!
Reviving day-old cookies: Pop them in a 300°F oven for 2 minutes—they’ll taste freshly baked again. Works like magic!
Nutritional Information for Heart Shaped Sugar Cookies
Just a quick note—these nutritional estimates are like my baking attempts before I perfected the recipe: close but not exact! Actual values change based on your specific ingredients (like butter brands or organic flour). I always say homemade treats are about joy more than numbers anyway—one heart-shaped cookie won’t break your diet, but it might just melt your heart!
Frequently Asked Questions About Heart Shaped Sugar Cookies
I’ve gotten so many questions about these sweet little cookies over the years—here are the ones that pop up most often! (And yes, I’ve made all these mistakes so you don’t have to.)
Can I make these without a heart-shaped cookie cutter?
Absolutely! While I’m partial to hearts (obviously), any shape works. Get creative—use a knife to cut squares or triangles, or try a drinking glass for circles. My niece once used dinosaur cutters for “Valentine’s Day dinosaurs,” which was adorable. Just roll and cut the same way!
How do I prevent my cookies from spreading too much?
Oh man, I’ve had heart-shaped cookies turn into blobs before! The secret is chilled dough—pop it in the fridge for 30 minutes if it feels sticky. Also, make sure your butter is softened but not melted, and don’t skip the parchment paper. If all else fails, add an extra tablespoon of flour to the dough.
Can I decorate these cookies in advance?
You can, but hear me out—the icing tastes best when fresh! If you must decorate ahead, wait until cookies are completely cooled, then store them single-layer in an airtight container with parchment between layers. The icing might lose some shine after a day, but they’ll still be delicious.
Why are my cookies tough instead of tender?
Overmixing is usually the culprit! Once you add the flour, mix just until combined—those last few streaks will disappear as you roll. Also, measure your flour correctly (spoon and level!) because too much makes dry cookies. And don’t overbake—they firm up as they cool.
Can I freeze decorated cookies?
Yes, but the icing might get slightly sticky when thawed. Freeze them uncovered first so the icing sets hard, then pack carefully in airtight containers with parchment between layers. They’ll keep for a month—perfect for sneaking a sweet treat when you need it most!

Share Your Heart Shaped Sugar Cookies
I’d love to see your cookie creations! Did you try pink icing? Maybe add sprinkles? Snap a photo and share it with me—nothing makes me happier than seeing your kitchen adventures. Leave a comment below telling me who you baked these for (or okay, fess up if you ate them all yourself—no judgment here!). Your stories and photos inspire me to keep baking and sharing these sweet traditions.
Heart Shaped Sugar Cookies
Ingredients
Equipment
Method
- Preheat the oven to 350°F (175°C). Line baking sheets with parchment paper.
- In a large bowl, cream together the butter and sugar until light and fluffy.
- Beat in the egg and vanilla extract until well combined.
- In a separate bowl, whisk together the flour, baking powder, and salt.
- Gradually mix the dry ingredients into the wet ingredients until a dough forms.
- Roll out the dough on a floured surface to about 1/4-inch thickness.
- Use a heart-shaped cookie cutter to cut out cookies and place them on the prepared baking sheets.
- Bake for 8-10 minutes, or until the edges are lightly golden. Let cool on the baking sheet for 5 minutes before transferring to a wire rack.
- For the icing, whisk together powdered sugar, milk, vanilla extract, and food coloring (if using) until smooth. Drizzle or spread over cooled cookies.
Nutrition
Notes
Tried this recipe?
Let us know how it was!For more amazing recipes, be sure to check out our other sections to explore a variety of ideas that will enrich your cooking experience. Each section offers its own unique flavors to ensure a delightful culinary journey:
Easy and Quick Recipes: A collection of dishes that guarantee delicious meals with minimal effort and time.
Healthy Recipes: Discover healthy and delicious options that fit your lifestyle.
Desserts: A diverse selection of sweets that will add a special touch of sweetness to your table.
Lunch Recipes: Tasty lunch ideas that you can easily prepare to delight your family.
Dinner Recipes: Delicious and easy-to-make recipes that will make your dinner a memorable occasion.